We may earn revenue from the products usable on this page and participate in affiliate program . acquire More ›
Whether you need to create a watertight Navy SEAL between abathtub and tile , varnish a wetting around a windowpane , or give a finished look to built - in shelving , there are a panoptic range ofuses for caulking .
Laying a bead of caulking is a relatively simple task that many DIYers can successfully do . However , many caulk jobs have been bankrupt by the play along missteps .
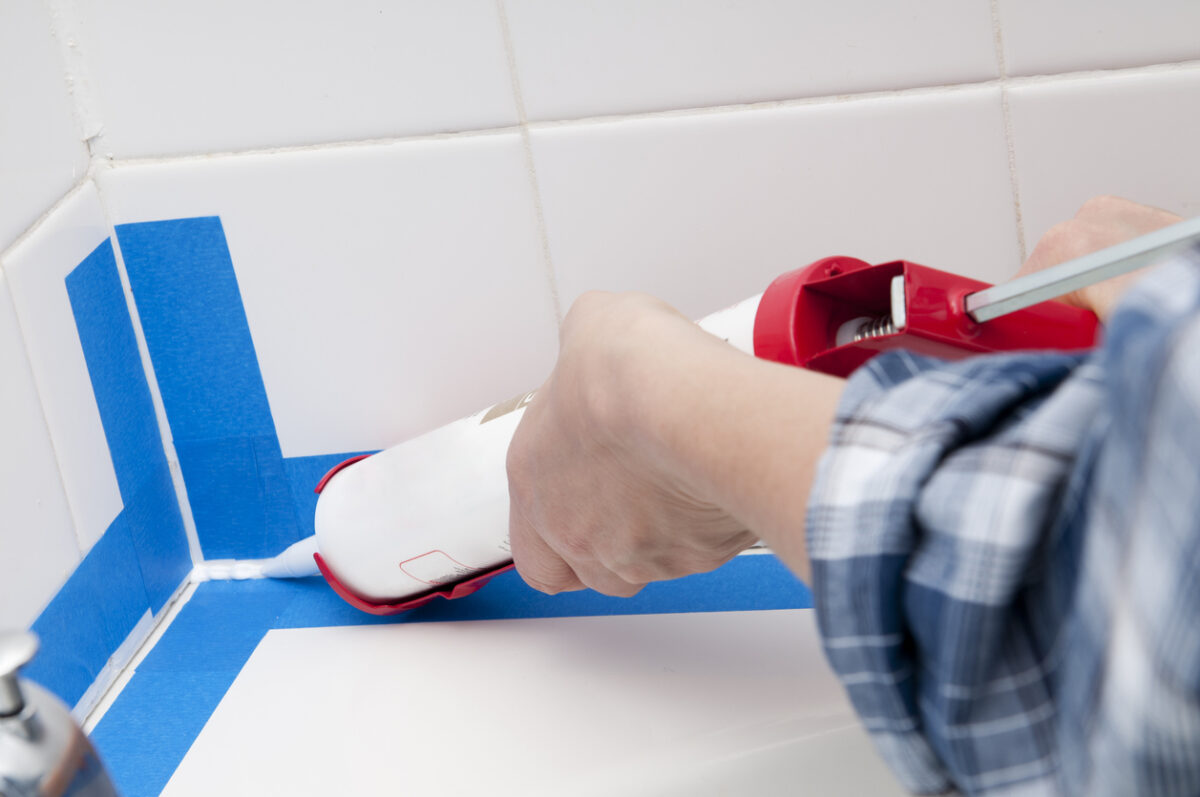
Photo: istockphoto.com
1. Mistaking Sealant for Caulk
Caulk and sealant bet very similar : They both fare in tubes and requirecaulk gunsfor applications programme . They also both do the same kind of thing — create an airtight seal between two aerofoil . However , sealants likeDAP Dynaflex elastomeric sealanthave greater snap and should therefore be used when seal gap between objects that move and flex , such aswindows .
Caulk , such asDAP acrylic latex caulking , is best suit for fill up gaps between two stationary objects , such as a sink and backsplash . It ’s also important to observe that caulking is often paintable but sealant is not .
2. Forgetting the Caulk Gun
While there are squeeze pipe caulks that do n’t require a calk gun , some tube of caulk and sealant must beapplied with a caulk gun . Make certain to choose a caulk throttle along with the desired tube of caulk . Do n’t concern , acaulking gunis one of the least expensive tools you may buy .
3. Failing to Prep the Surface
As beguiling as laying a unexampled bead ofcaulk over the old onemight be , do n’t try it . In order for newfangled caulking to right adhere to the juncture you ’re fill up , that gap ask to be spare of honest-to-god caulk , grout , mildew , and any other debris that has collected on or around it .
Instead of using a multitool or knife , the easygoing elbow room to strip off the onetime caulking is to use a caulk remotion tool . A good one to try is theSaker caulk removal tool , the top pick in our researched template to thebest caulk removal creature .
4. Cutting Too Much Off the Tip
A undecomposed caulk line of work require the right - sized pearl of caulk , and that set off with cutting just the right amount of charge plate off of the caulk subway lead . write out too piddling and the bead wo n’t fill the gap . geld too much off the backsheesh and you ’ll have too thick of a bead , and a potential mess on your hands .
Using a usefulness tongue orpocket knife , cut the tip so that it ’s a little small than the interruption you ’re satisfy . Next , begin running a bead , apply press to regularise how much comes out . If the bead is still too narrow , cut down the top a little more . recall that you could always make the tube opening large , but there ’s no way to make it smaller .
5. Failing to Wear Gloves
Caulking ask you to get your hands dirty . After run a drop , you ask to use your finger’s breadth to crusade the caulking into the crack and smooth it out , giving it a uniform appearing . Caulk is awkward and notoriously difficult to wash off skin . To avoid having to scrub off a layer of pelt after you finish the occupation , wear a pair ofdisposable nitrile mitt .
6. Rushing Through the Job
There ’s an artistry to caulking . If you dive in with your caulking gun blazing , you ’ll belike end up with an uneven bead and a frustrating mess on your hands . To get a uniform bead , start slowly and make for your way down the disruption using even press at a reproducible tempo . Sudden plosive can result in blobs of caulking in the bead .
If you ’re new tocaulking baseboardsor other surfaces , take a praxis run on some fight Ellen Price Wood to get the bent of laying a astragal of caulk before attempting it on the real thing .
7. Caulking Too Large of a Gap
Caulk is designed to seal off gaps up to ¼ column inch wide or ½ inch deeply . seek to occupy a gap vainglorious than those dimension will typically do the caulk to fall inside the gap or break down more chop-chop later on .
If you ask to caulk a expectant crack , such as whencaulking exterior cracks , debate filling the crack withfoam ropeor another backing material first .
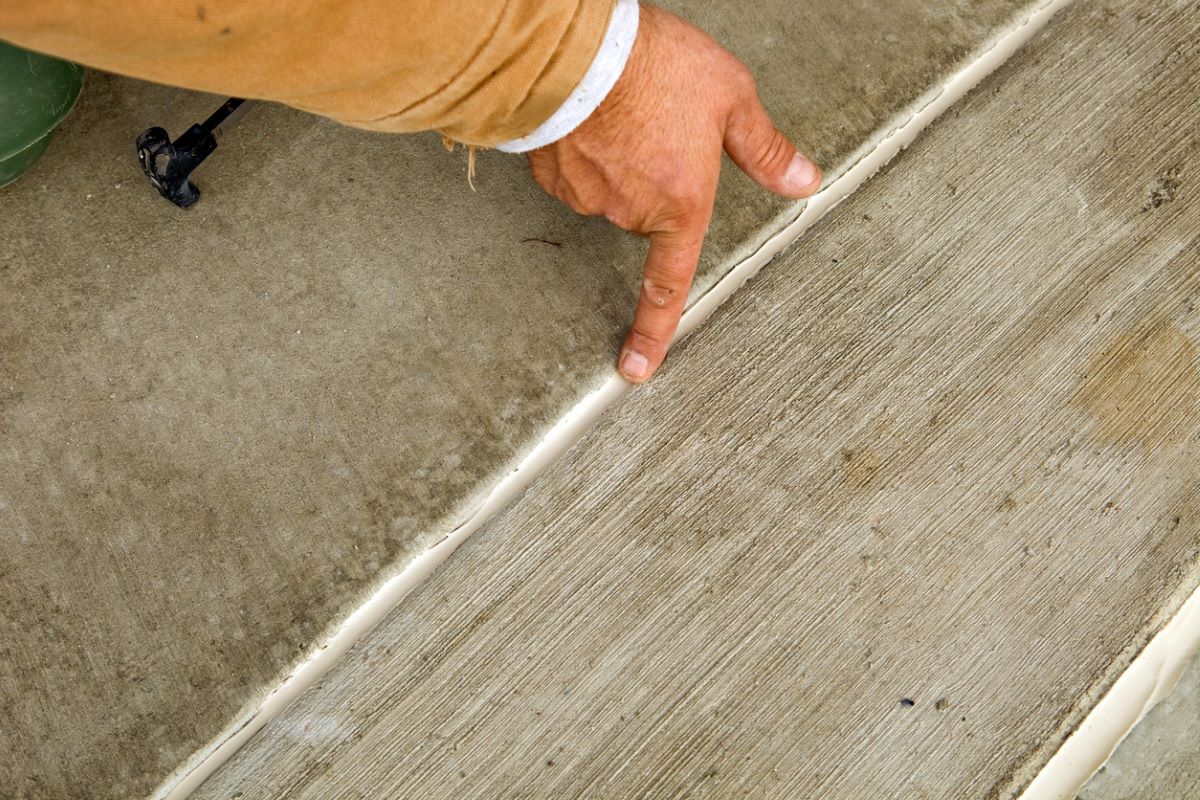
8. Failing to Tool
Some beginners blank out to shine out laid caulking in a process called “ tooling . ” Contrary to the name , tooling does n’t really involve any tools ; all you need is a finger . To tool a caulking joint , run a wetted finger over the pearl with light pressure , smoothing the caulking while pushing it into the gap to ensure a tight seal between the two surfaces and the caulk .
9. Not Allowing It to Dry
So many greatbathtub caulkingjobs have been destroy by overeager DIYers who directly prove out their piece of work by showering in the freshly calk tub . The problem is that caulk can take up to 24 hour to cure .
Exposing caulk to weewee too before long will wash the uncured caulk aside , ruining the seal and ask you to start all over again . As there are differences amongcaulk drying times , always crack the mathematical product label to find out how long you need to waitress before getting it wet .
10. Allowing Leftover Caulk to Dry Out
Many people leave a partially used tube of caulk in the gun , get it to dry out out . Whether you ’ve discharge a caulk chore and have a partial underground leave over or need to stop mid - job , stock caulk properly so it does n’t dry out out . Clean the tip then enfold plastic wrap around it tightly and hold it all in place with someduct tape .
This Is the class for a Kitchen Renovation
Whether you ’re selling or staying , everyone can get something out of a kitchen update . Learn why we consider this renovation the Most Valuable Project of 2025 and how to bide on budget .

Photo: istockphoto.com
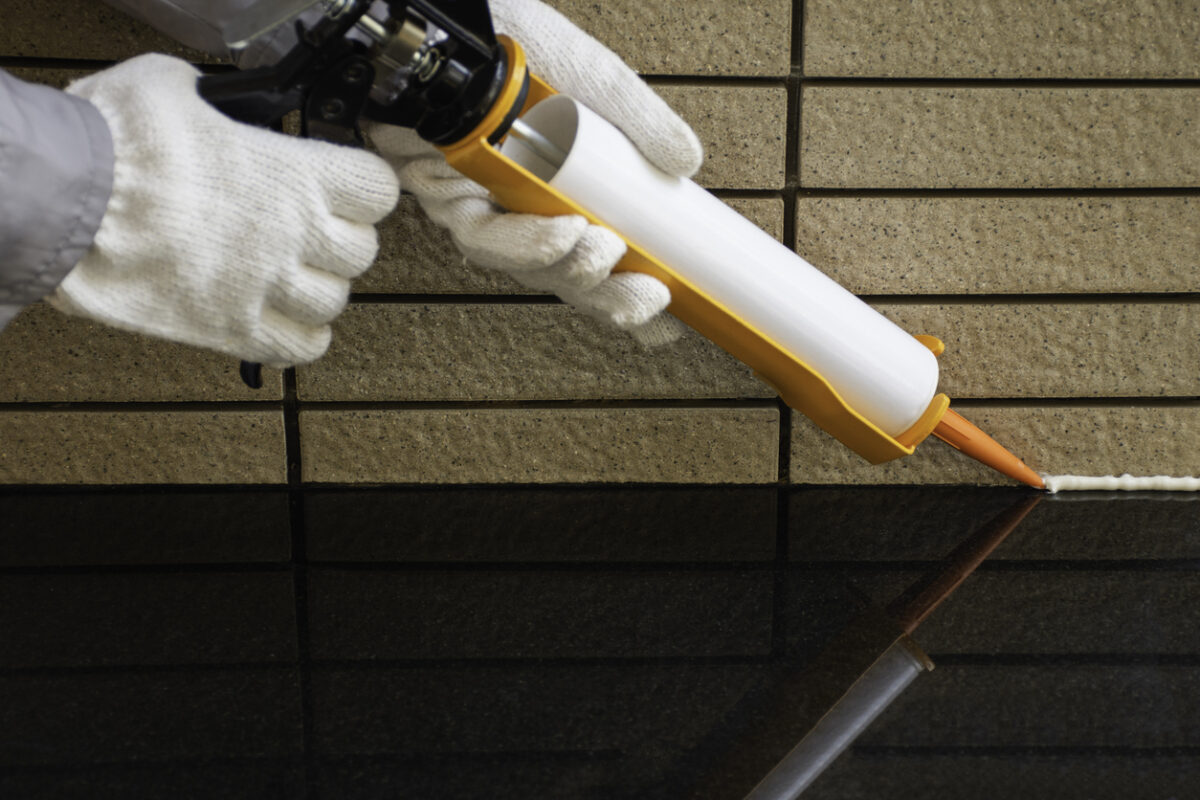
Photo: istockphoto.com
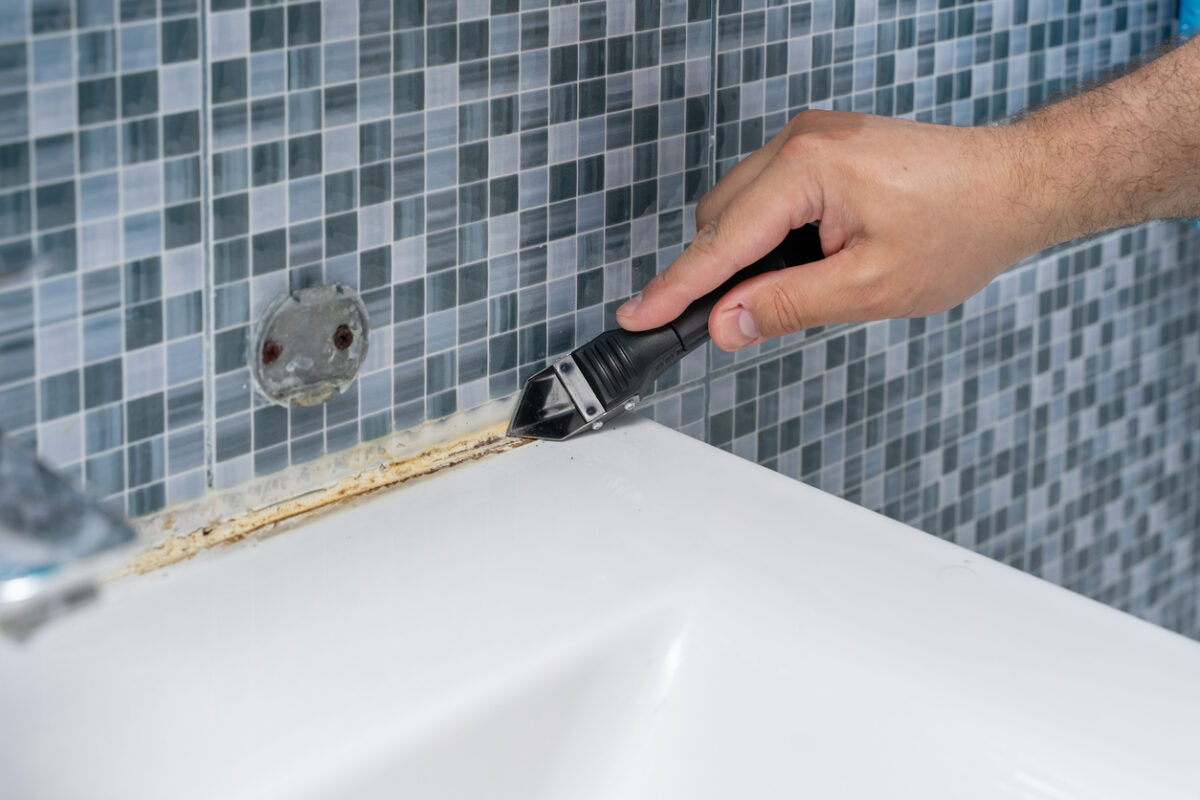
Photo: istockphoto.com
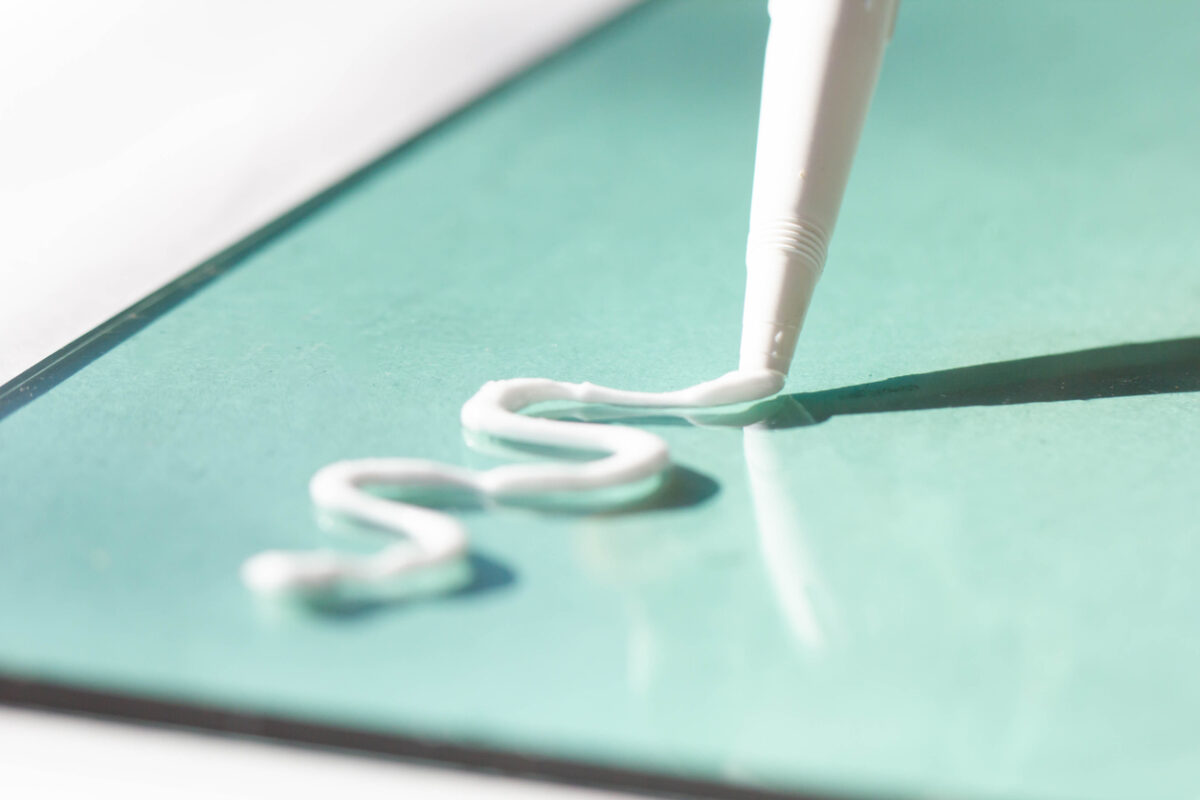
Photo: istockphoto.com
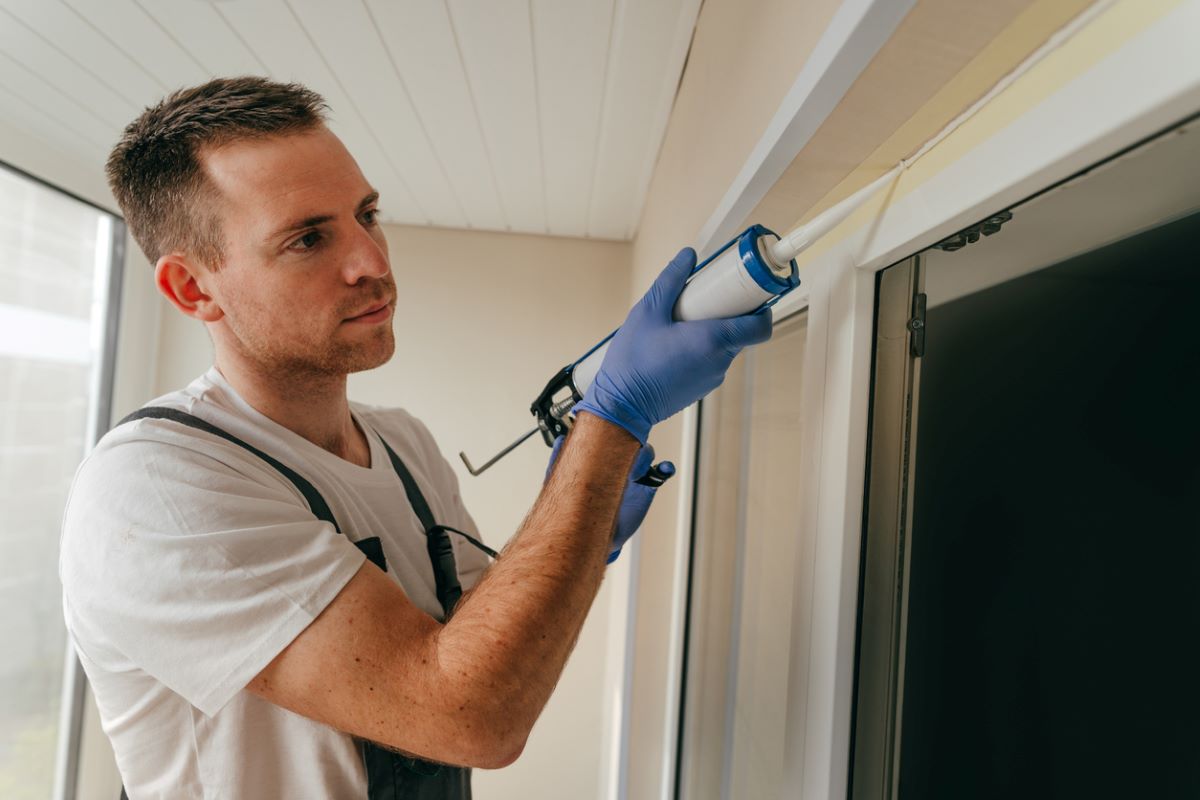
Photo: istockphoto.com
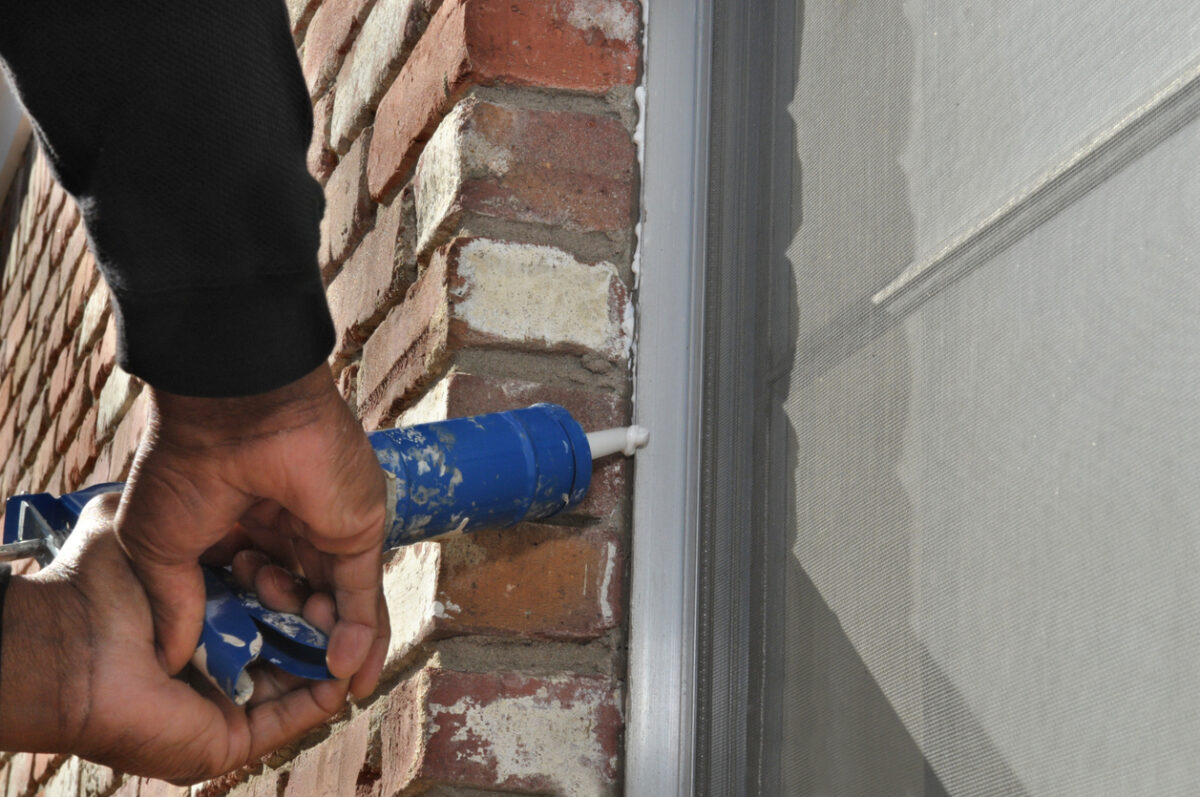
Photo: istockphoto.com
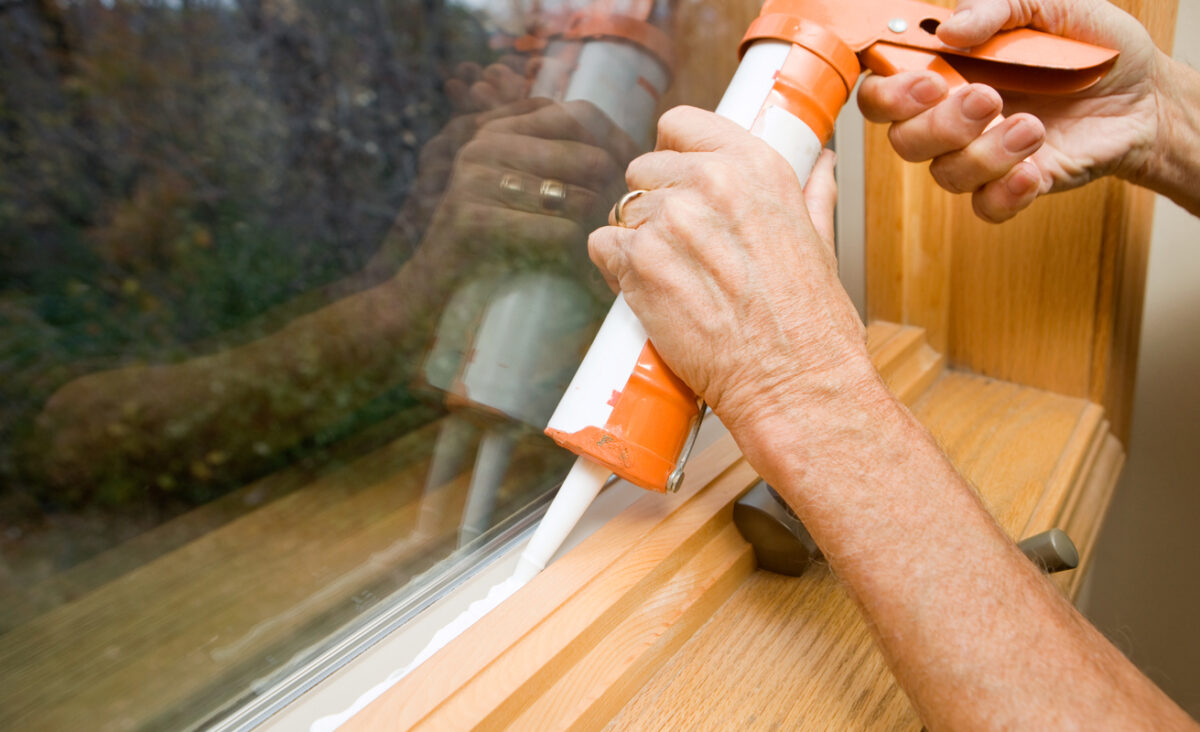
Photo: istockphoto.com
istockphoto.com

Photo: istockphoto.com
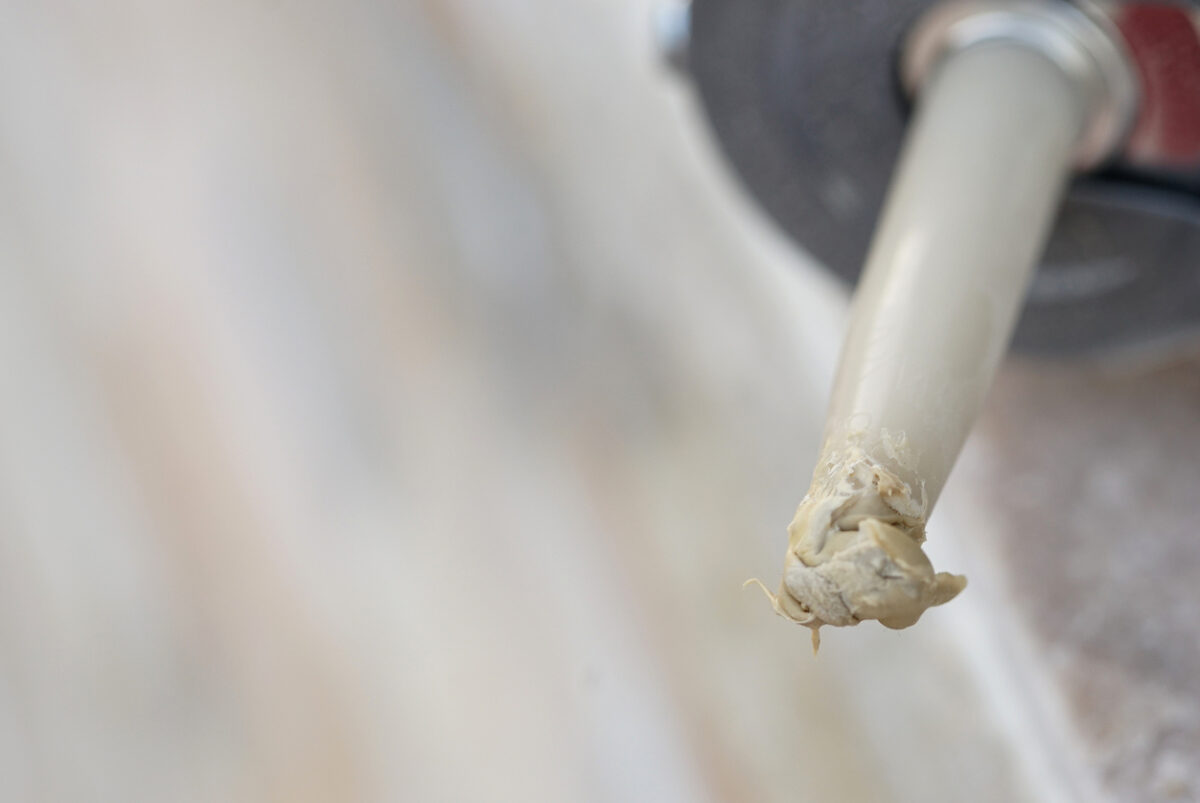
Photo: istockphoto.com

