We may clear gross from the products available on this Thomas Nelson Page and enter in affiliate program . Learn More ›
No matter how measured or experienced you are with pigment , the occasional mistake can happen while DIYers and professionals are painting a room . Paint can well swash , spill , and bleed , and there are many other real - life obstacles that can toss off up and interfere with a perfect rouge practical software .
Fortunately , most misstep can be repaired without too much trouble . Next time you have a drip mold , spill , or an “ oops ” bit , stress one of these straightforward fixes that can help you chance your room to a unflawed last .
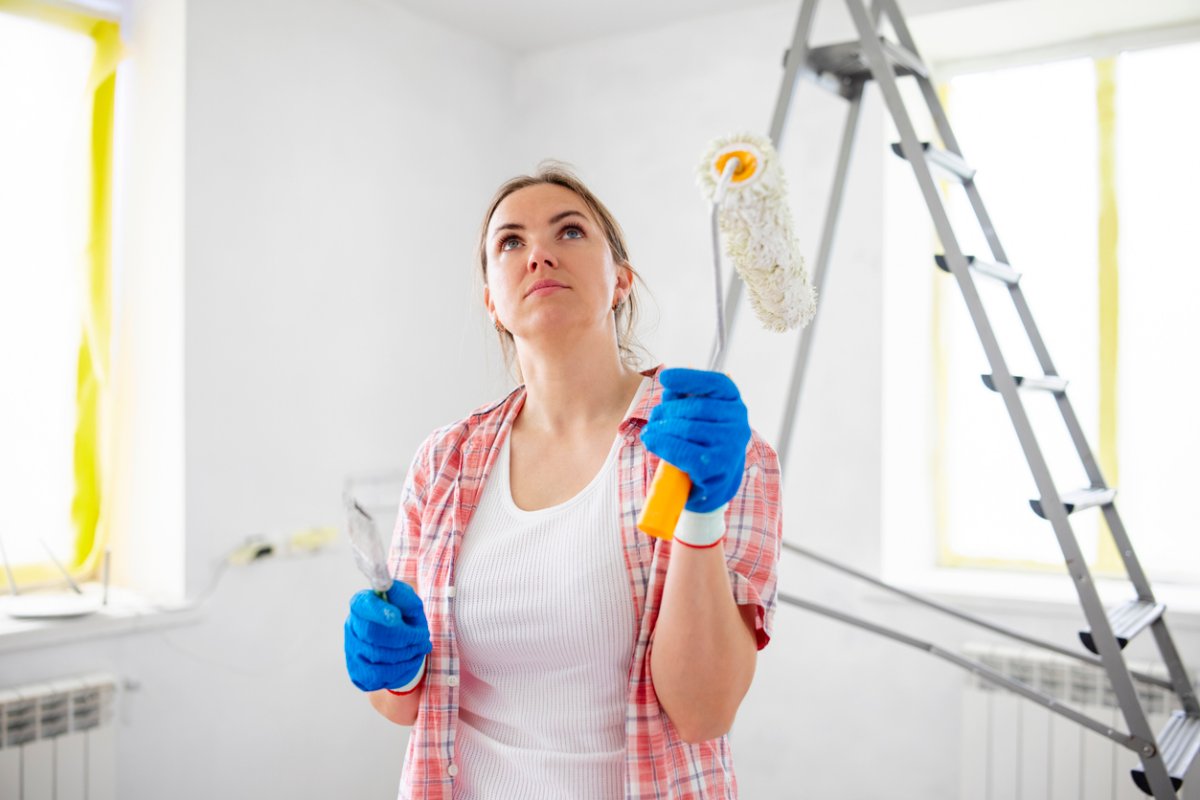
Photo: istockphoto.com
1. Undo Uneven Coverage
apply the optimum number of coats is central to a terrific rouge problem . If you did n’t apply enough coat , you might find your rampart look patchy , with bits of the old wallcolorshowing through . To slump this common mistake , let the paint dry out totally , and then keep up up with a second coat .
2. Banish Paint Bubbles
Paint bubbles or blisters will occur if the top pelage of paint does n’t by rights adhere to the priming , often as the result of a wet or oestrus problem . If you observe these unsightly bubbly sections , first identify the underlying cause before you move on to gear up the finish .
After the basic problem has been addressed , scrape off the bubbles and blister with a handy paint scraper like theHYDE quick - button contour scraper , and sand the area until it ’s smooth . Coat with primer before repainting .
3. Scrape Up Paint Splatters
Paint dribble or splatters on windowpane chalk are pretty easy to take : permit the paint to dry entirely , and then scrape off the bruise spots with arazor blade scraper(the Hyde contour scraper mentioned above will do the antic , too ) . arrange the sword at an slant to the looking glass and gently scrape away the dried key . If the razor brand starts to mumble up with key , wipe it off with a damp rag to transfer the excess , and keep scrap !
4. Sand Paint Drips Off Trim
It ’s always a good thought to keep a dampish cloth close by when you ’re paint , especially when you ’re doing trim work . If you accidentally skitter the clipping with your paintbrush , you could pass over it up as you go . If you do n’t catch a blot until it ’s dried , sandpaper the problem paint off , then withdraw the dust by wiping the aerofoil down with a dampmicrofiber cloth . When it ’s dry , touch up the trimming with pigment .
5. Delete Drips and Runs
Drip discolouration often chance when you overload your brush with rouge . To fix the dribble , wait until the blusher has dry , then scrape the drips off the bulwark with a paint multi - tool , like theHYDE 6 - in-1 , then sand the surface area . Repaint the section carefully , blending it in with the rest of the bulwark .
6. Clear Off Ceiling Spots
It ’s gentle to get dab of key on the cap when you ’re paint high up on the wall . If you notice the roof dab while it is still wet , spray somewindow dry cleaner on a clean paintbrush , and wipe the key off . If the dab has already dry , advert up the roof with a low brush ormini blusher roller . Just be deliberate to feather the edges so they immingle in with the sleep of the cap .
7. Peel Off Painter’s Tape
mountain lion ’s taping can be a beginner painter ’s preserve grace , but if you leave it in lieu too long it may not come off easily . If you have n’t impel the tape measure off of the surface , there ’s a way to prevent the tape from pulling off pigment from the wall . Carefully score and reduce the magnetic tape along the edge with a utility knife , likeBlack + Decker ’s folding utility tongue . clipping will separate the tape from the wall and help release the tape from its stuck position , cause it loose to withdraw .
8. Remedy Roller Marks
crimper gull , or lap mark , can occur if you do n’t maintain a wet border whilepainting . To restore a smooth finish to the wall , sand down all the uneven areas until they are smooth . Then wipe the wall down completely to take away all dust . Prime and succeed up with an even coating of blusher using an interior paint roller binding with a ⅜-inch sleep , likePurdy White Dove hair curler covers .
9. Touch Up Tape Lines
If you did wait too long to dispatch yourpainter ’s tapeand take out paint off the bulwark along with the tape measure , here ’s how to sterilize the print on the wall : Sand the damage area quiet with asanding stoppage , thoroughly wipe it down with a moist cloth to slay residual rubble , and then carefully repaint the section . The next fourth dimension you reach for painter ’s tape recording , look at using one that has a tenacious clean removal period , like3 M ScotchBlue ’s Safe Release Felis concolor ’s dissemble tape .
10. Save Carpets from Stains
Paint spills on thecarpetare gentle to remedy than you may realise . If you enamour the paint mishap while it ’s still plastered , you could spot it up with a pie-eyed paper towel . Do n’t rub the key spill , as you ’ll end up crunch the liquid deeper into the fibers . remain to blot until all the rouge come up . If the paint has dried , rain buckets a low amount of spicy pee mixed with dish detergent onto the area . Allow the solution to sit until the blusher has softened , then gently scrape the bit out of the fibers with a butter tongue .
11. Prime Patchy Filler
If you fill or patched section of drywall beforepaintingbut forgot to undercoat them , you may notice that they show through as untempting light spotlight that whole smash your professional - look paint job . wrap up those patchy incision with a primer that can stick to to a variety of surfaces , like theinterior / exterior Kilz Adhesion primer . After it has soundly dried , give the wall another coat of paint .
12. Fix Brush Marks By Using an Angled Brush
Have you ever step back to look up to your rouge job and noticed brush German mark where you were cutting in ? Before you become resigned to living with the messy chump , essay this : Sand the field with an extra all right - grit sanding pulley block and wipe itclean . Stir the paint thoroughly , and then cautiously repaint for picture - staring effect . Going forward , essay using a high - quality angle paint brush , like the2½-inch angled sash paint brush from Purdywhen cut in .
13. Lose the Lint Splotches
If you do n’t remove lint and dust from a rouge roller , it can change onto the walls and ruin an otherwise flawless rouge job . If you come across a splotch spot , thinly rub down it with a sanding sponge to remove the lint from the paries . An angled sanding parasite , like3 M ’s SandBlaster Dual Angle sanding poriferan , make it easier to sand surfaces flat in stiff corner . pass over off the dust , and then repaint the spot when it ’s dry .
14. Seal Wood to Nix Paint Bleed
paint wood can be charming , particularly in a advanced farmhouse - styled home or on an updated slice of vintage piece of furniture . However , paint woodthat has n’t been sealed can lead to frustration when a stain just wo n’t go out , even after several coat of rouge . The spotting is bleed - through triggered by tannins in Sir Henry Joseph Wood , and the Natalie Wood needs to be seal in rules of order for the staining and pigment phlebotomise to go away from the finished blusher job . Baroness Dudevant the area back to the wood open , and then practice a forest sealer , likeVarathane ’s Ultimate Water - Based Polyurethane . After allow it dry , reapply fuze and paint to the control surface .
15. Eliminate Cissing
No issue thetype of brushused , some paint wo n’t adhere to a bulwark . The reason ? Water - base paints ca n’t stick to to oily aerofoil , which is why you have to train the wall to take in the water system - based pigment . Here ’s how to go about it : Wash the wall with oily water , rinse , and permit it dry out . softly sand the aerofoil and use a bonding ground , likeZinsser ’s Peel Stop Triple Thick High Build Binding Primerbefore applying the hope pigment people of colour .
16. Remove the Wrinkling
A perfect paint conclusion is n’t usually achieved with just one coat , and coerce a chummy coating could lead to issues like wrinkling . compact pigment coat , and paint that dries in extremely hot temperatures , can crease . Fixing this publication postulate sand the wrinkles , cleanse the area , and then repainting when temperatures are modest using less pigment per pelage . Choosing high - quality paint from thebest paint brandscan also serve ensure a top - notch finish .
17. Wipe the Lid
If you discharge your labor and have someleftover pigment , you’re able to save it for another fun DIY . When storing paint , make certain the lid is tightly seal without blotto paint in the rim ; leaving key on the rim may paint the can close . ThePaint Can Lid from Shur - Linekeeps the paint safely salt away and includes a pour spout to make the next blusher line easier .
This Is the yr for a Kitchen Renovation
Whether you ’re selling or staying , everyone can get something out of a kitchen update . Learn why we count this renovation the Most Valuable Project of 2025 and how to stay on budget .
Photo: istockphoto.com
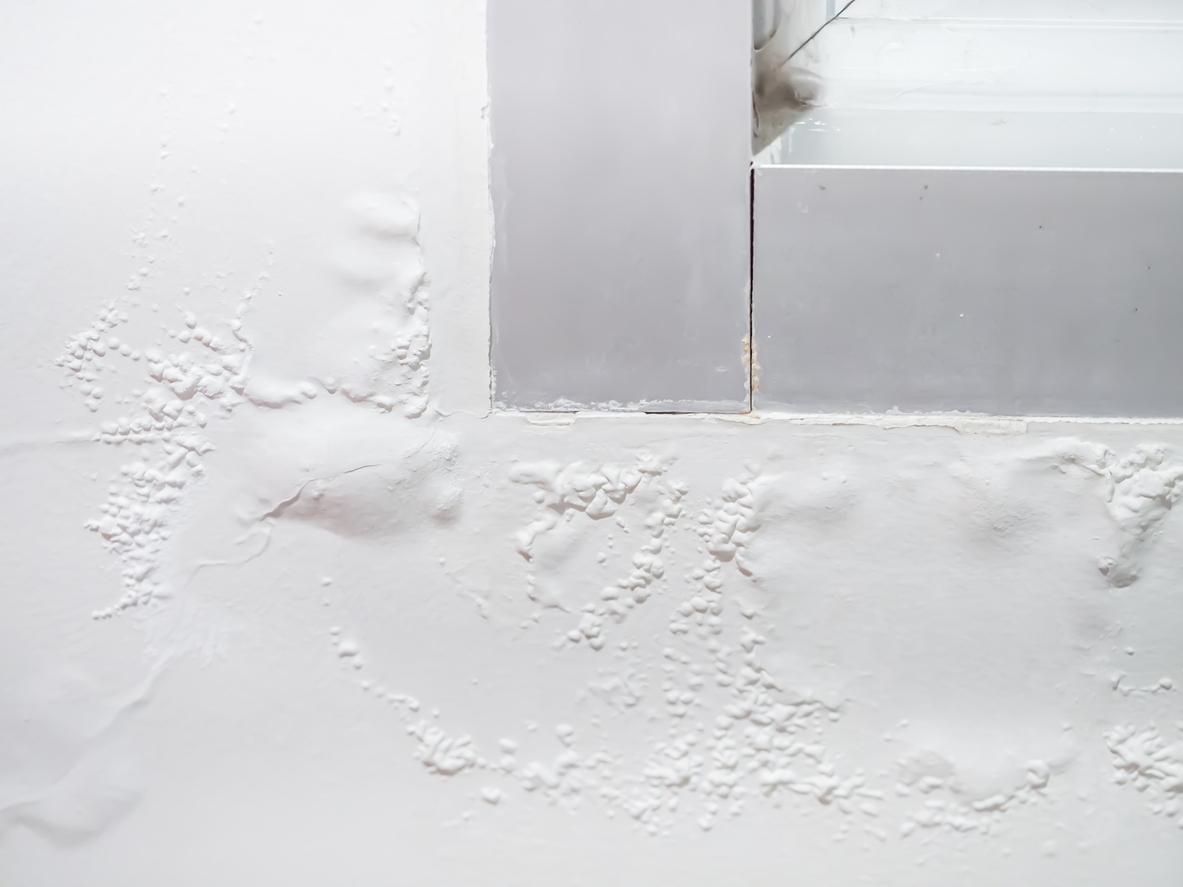
Photo: istockphoto.com

Photo: istockphoto.com
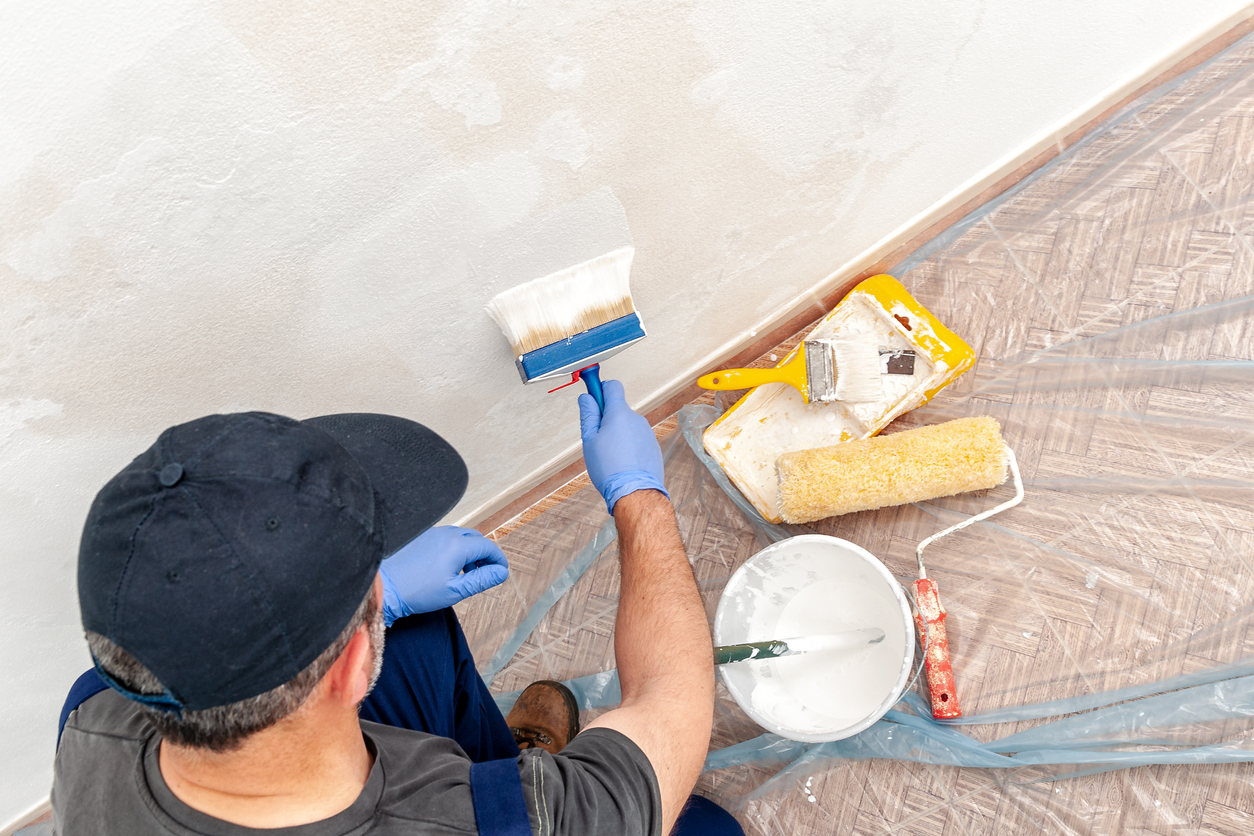
Photo: istockphoto.com
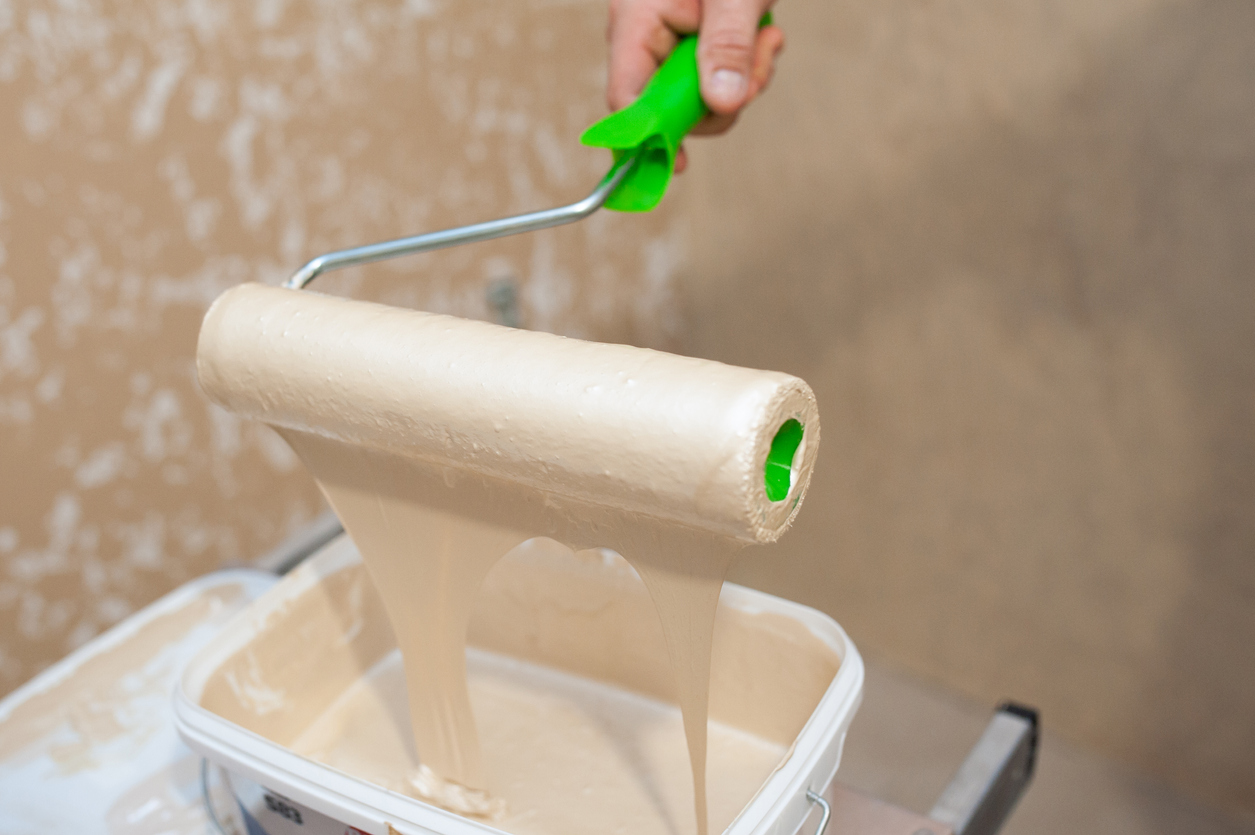
Photo: istockphoto.com
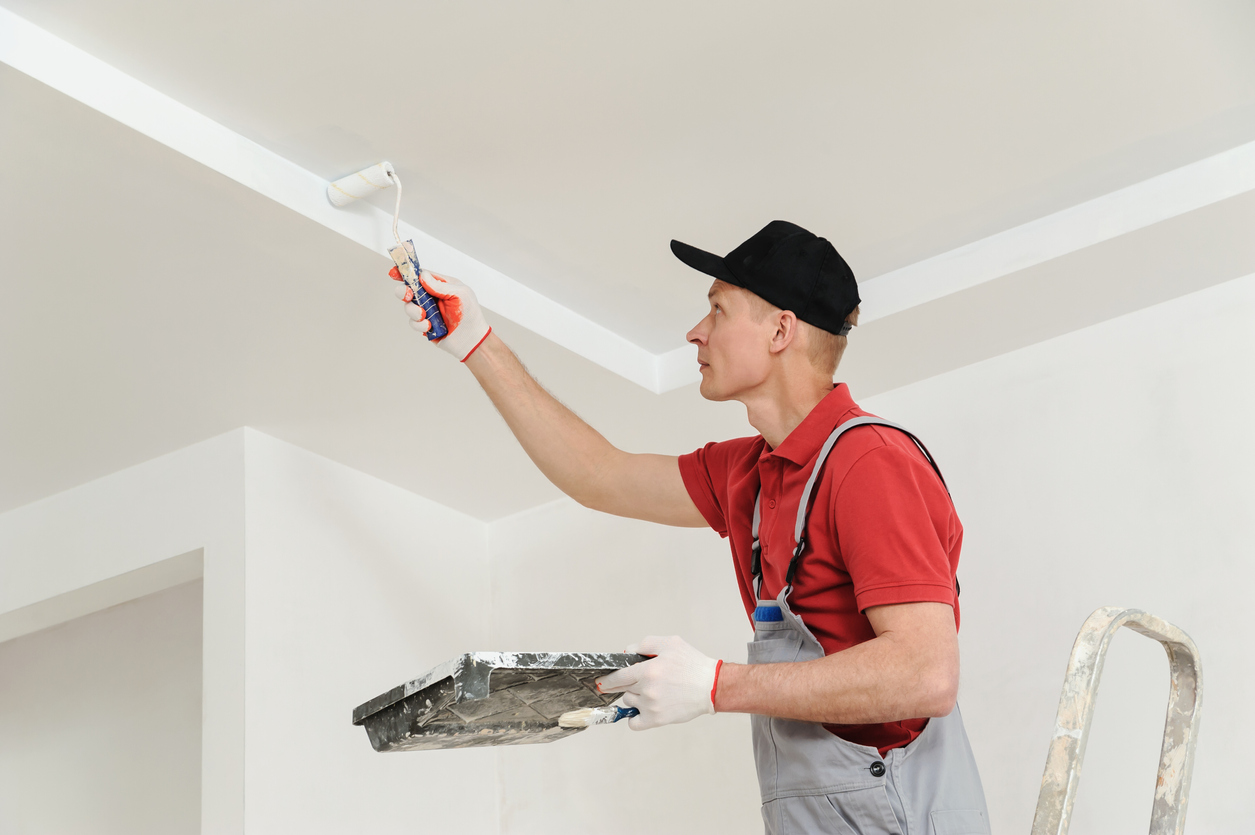
Photo: istockphoto.com
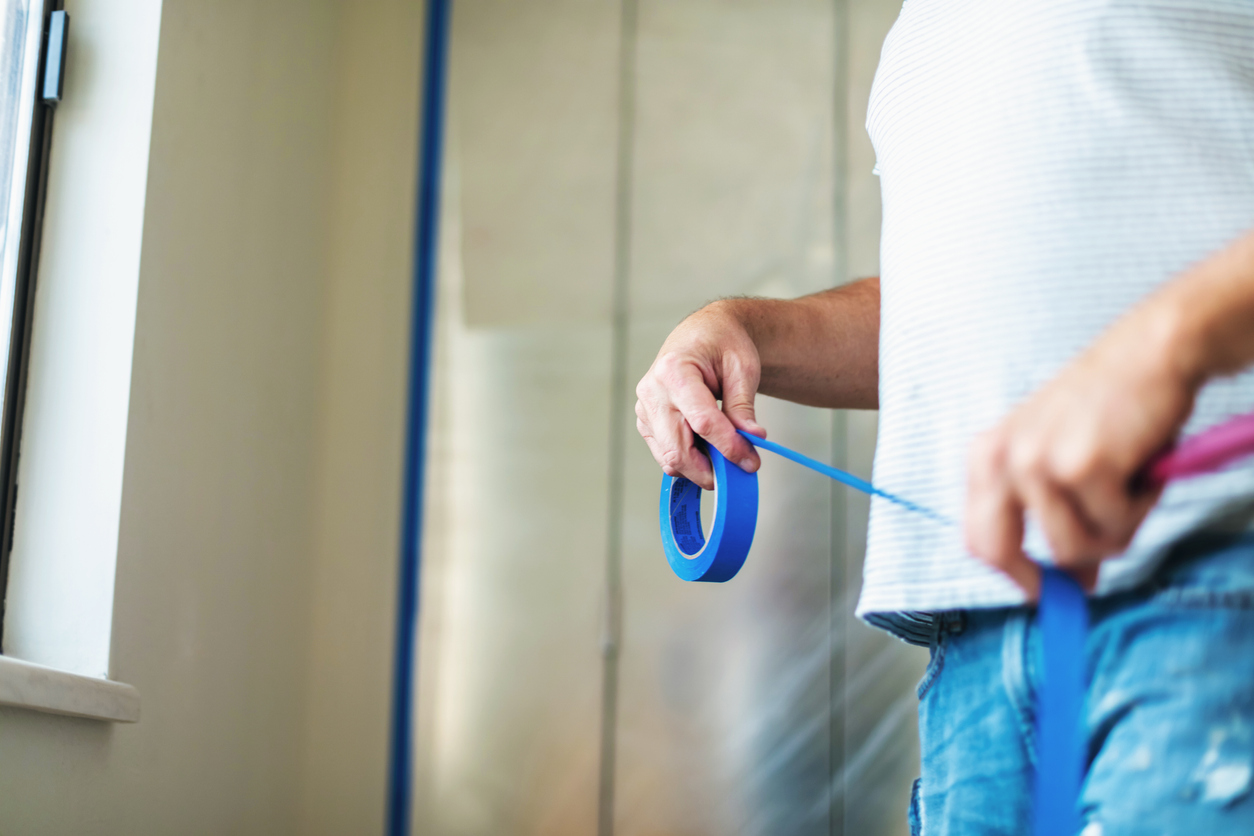
Photo: istockphoto.com

Photo: istockphoto.com

Photo: istockphoto.com
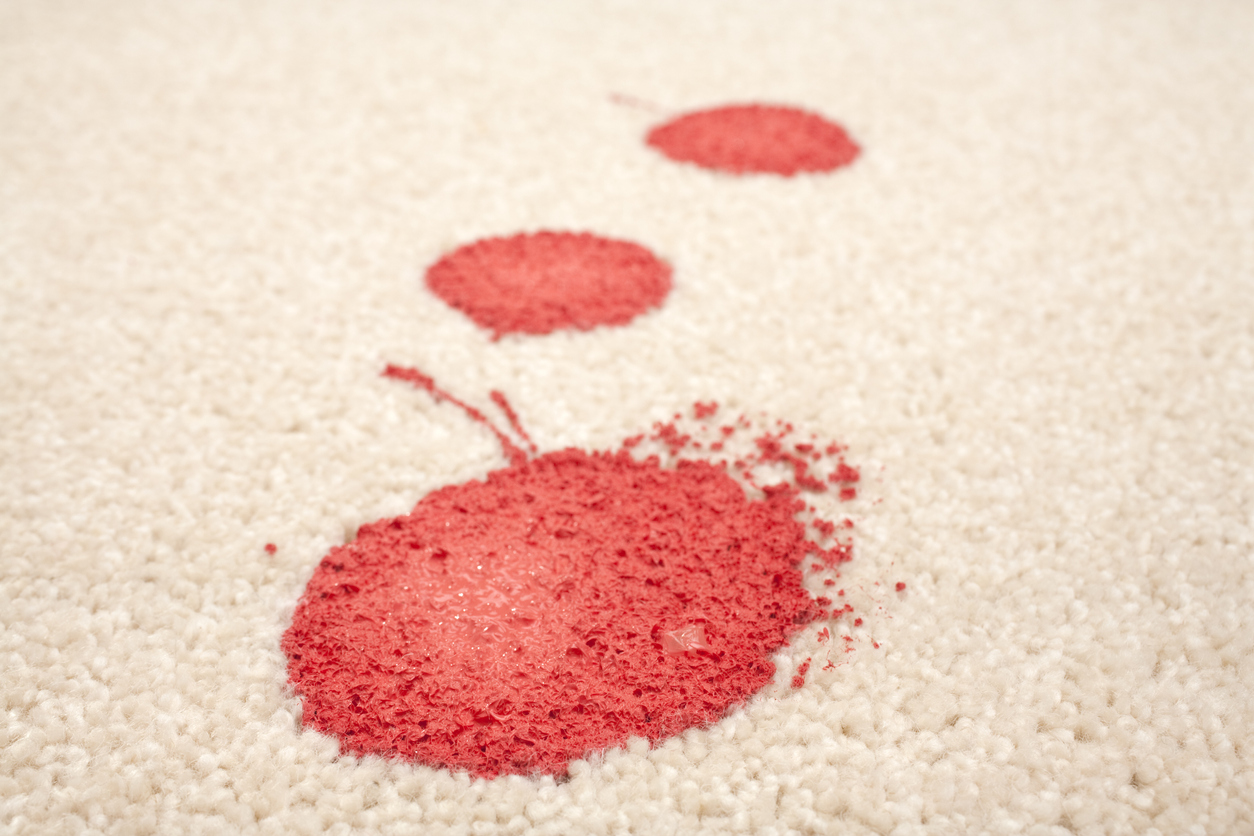
Photo: istockphoto.com
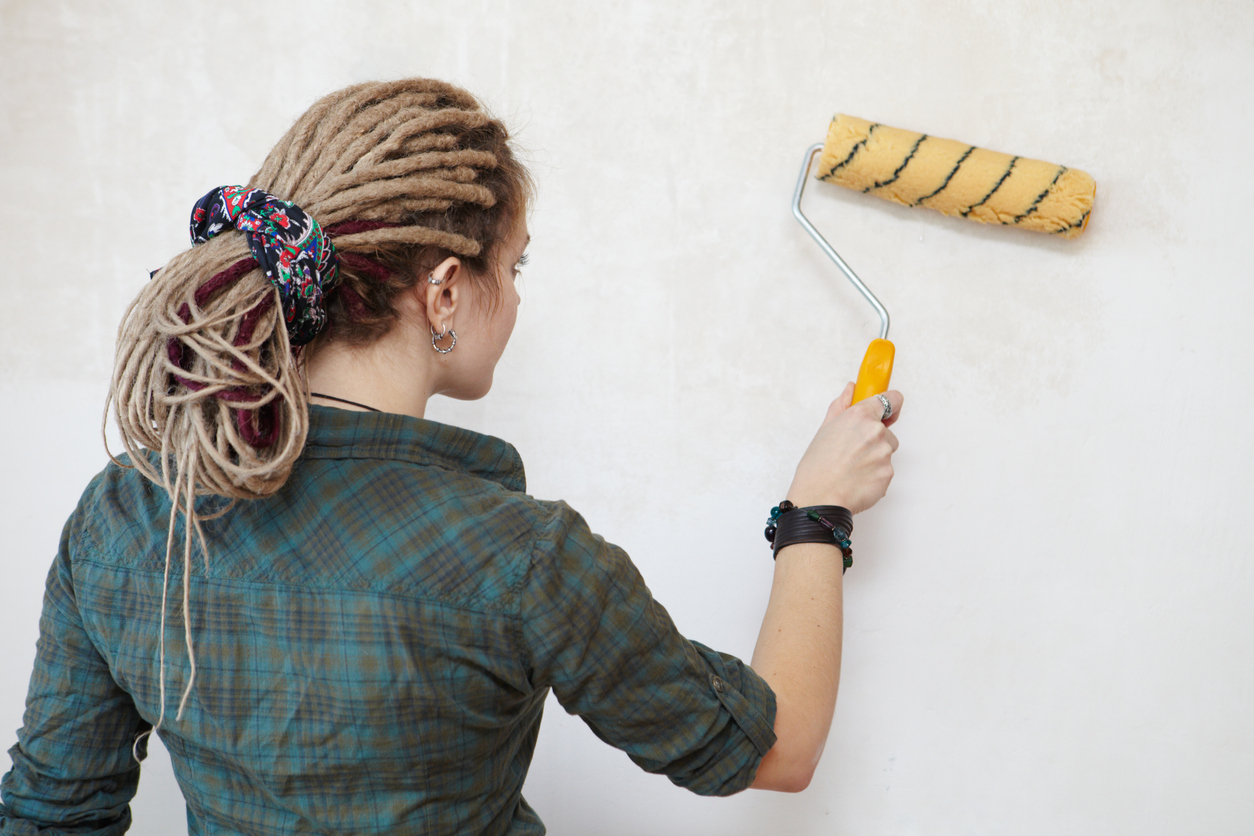
Photo: istockphoto.com

Photo: istockphoto.com
Photo: istockphoto.com
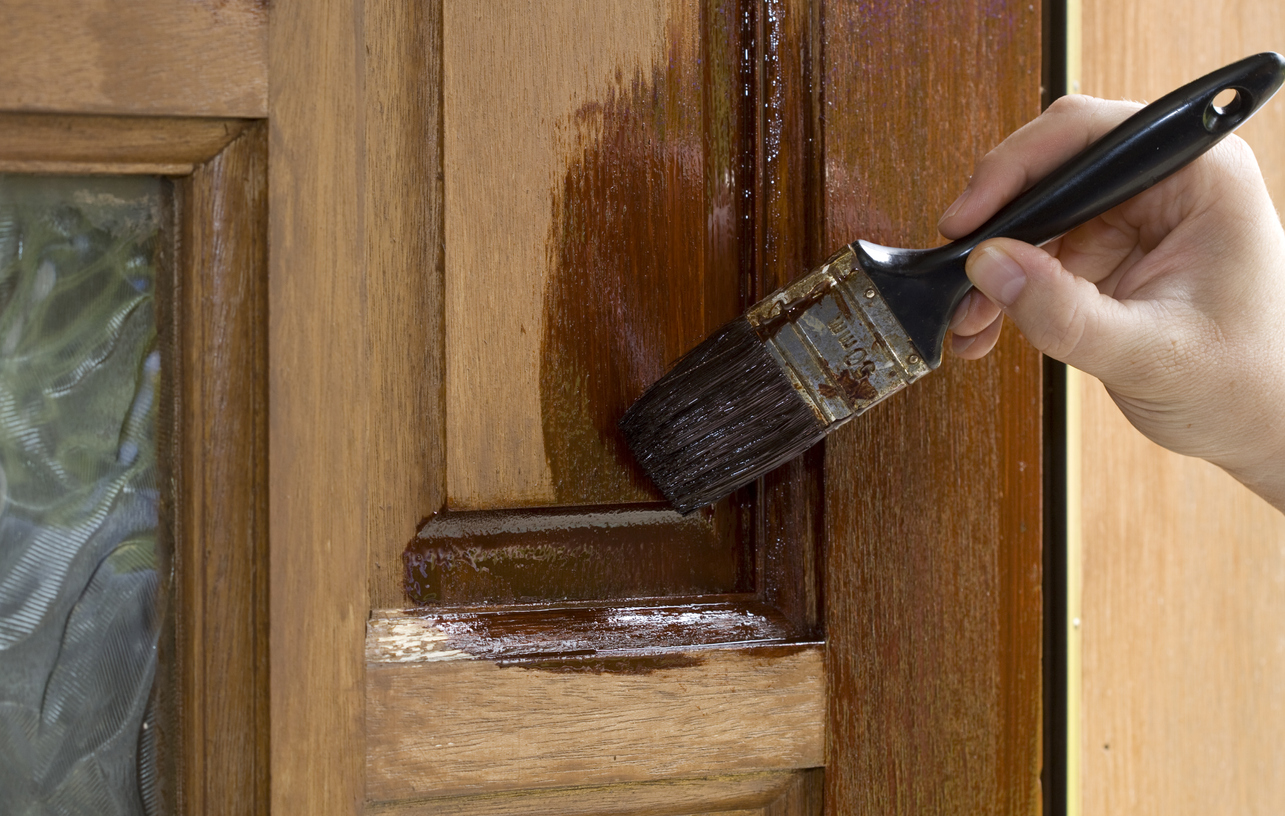
Photo: istockphoto.com
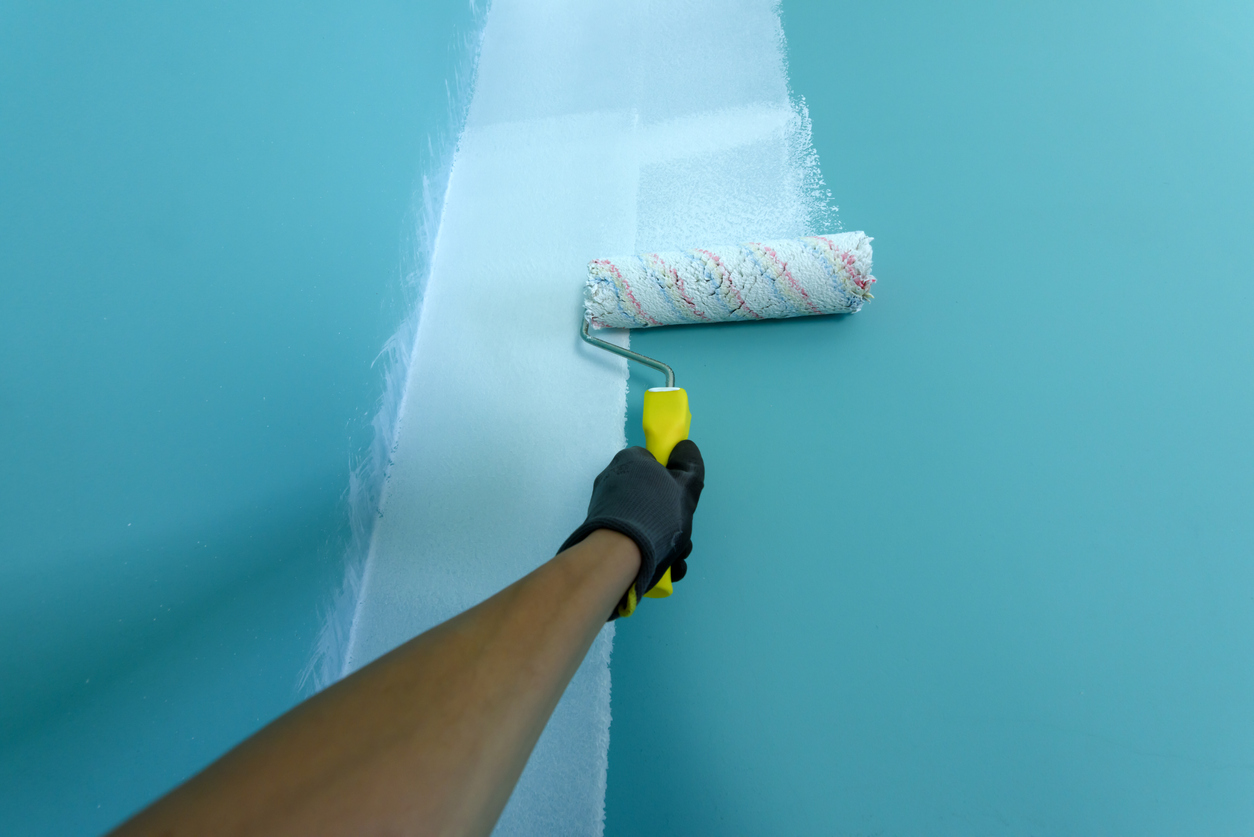
Photo: istockphoto.com
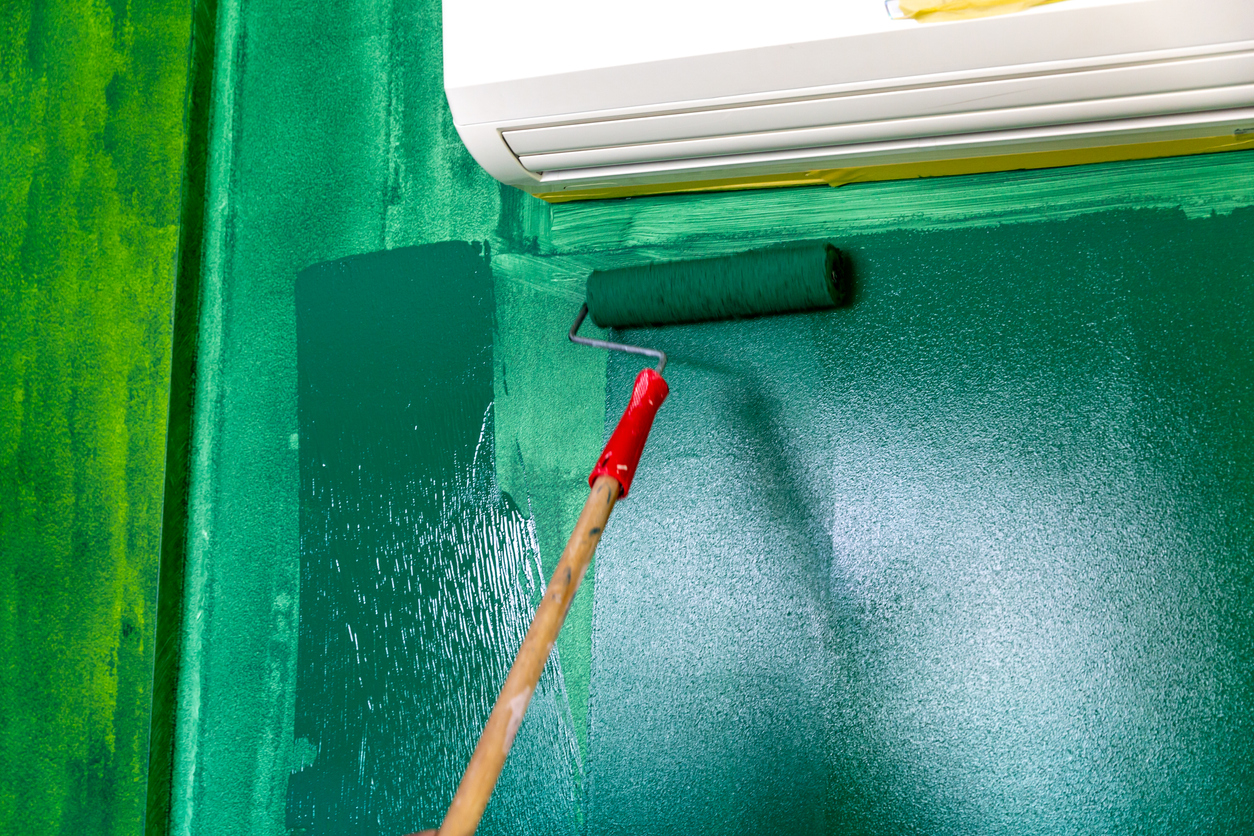
Photo: istockphoto.com
Photo: istockphoto.com

