There ’s something magic about growing your own spices at home . The fresh scent , the sense of accomplishment , and the melodic theme of using something you ’ve nurture from come to kitchen make it a fulfilling endeavor .
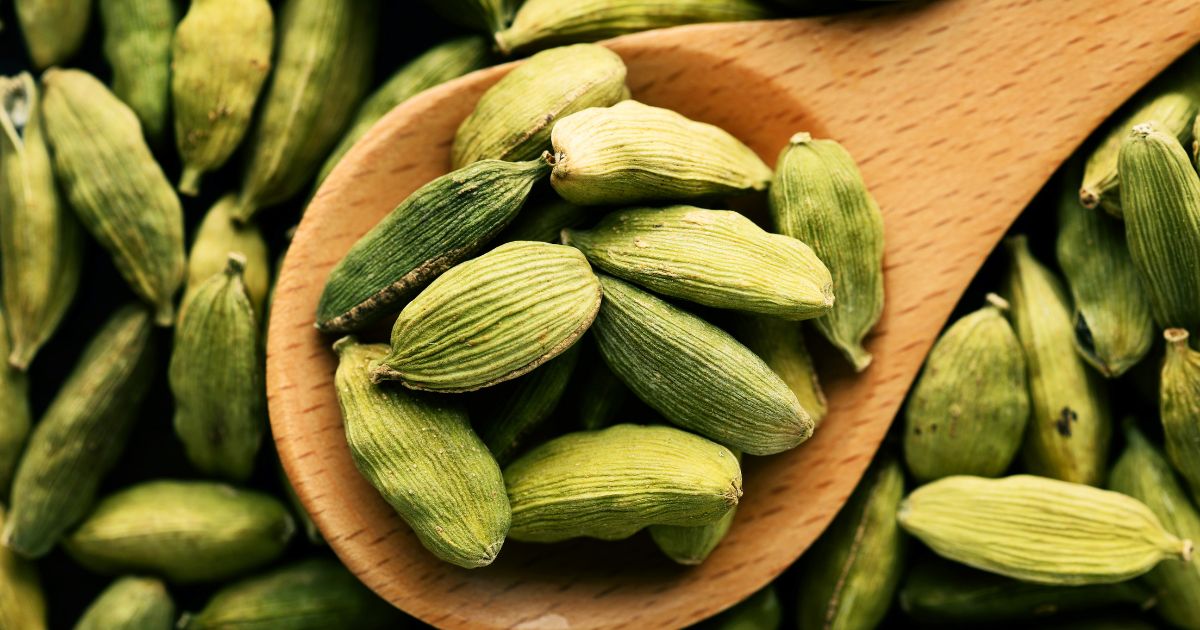
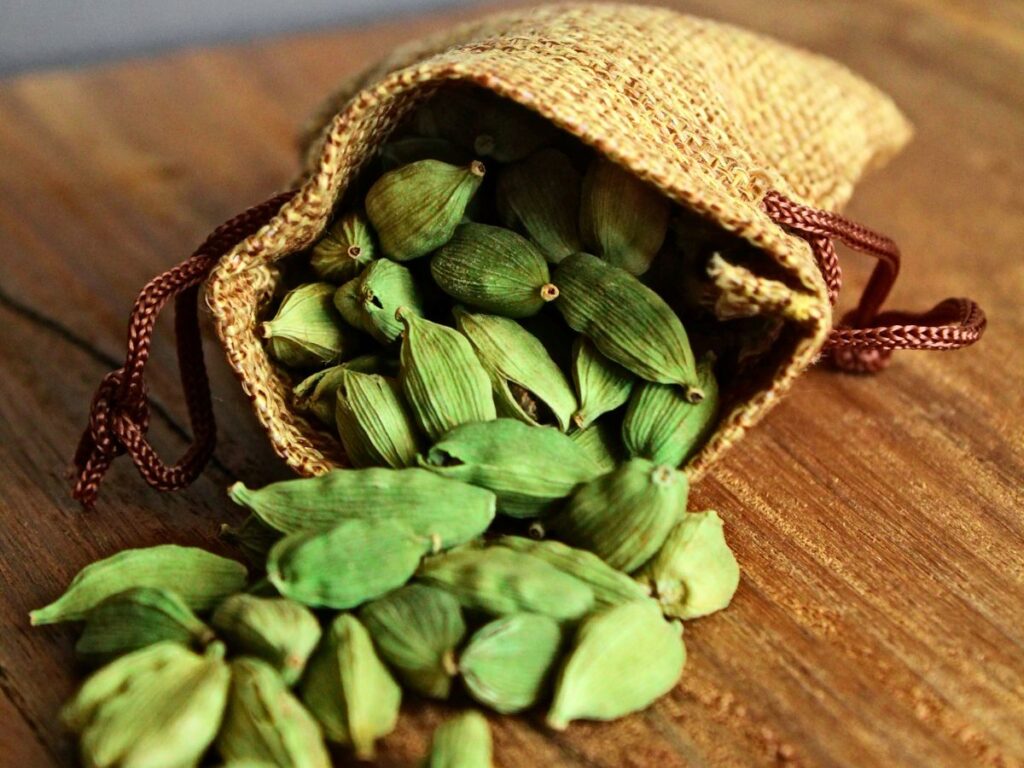
One such rewarding spice to grow is cardamom , known for its distinctive , fragrant seeds . Imagine give birth impudent Elettaria cardamomum seedcase at your fingertips , ready to spice up a repast , infuse a warm loving cup of tea , or elevate a dessert .
And the serious part ? You do n’t require a sprawling garden to grow it ! With just a scrap of sweat and some ready to hand steer , you’re able to cultivate cardamon in heap right on your patio , balcony , or even indoors .
In this guide , we ’ll walk through five easy steps to grow cardamom at home in raft , making it a fun and simple project for your space .
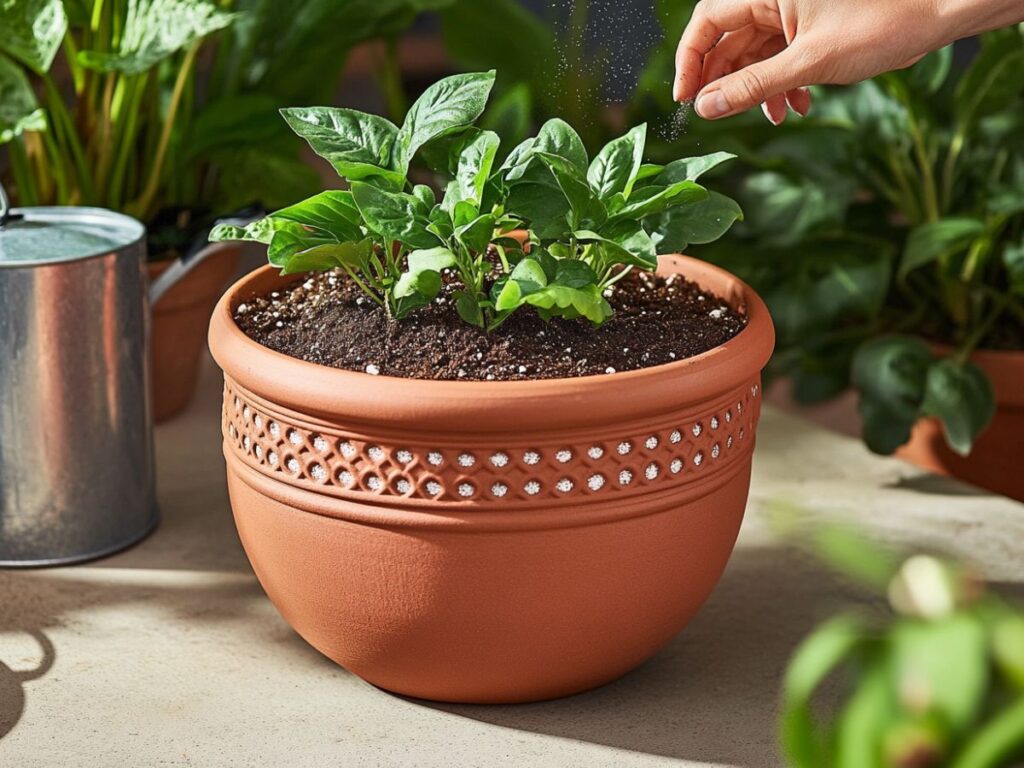
Step 1: Pick the Perfect Pot and Soil
Before you get started , the correct foundation make all the difference , just like in home design . When it arrive to develop cardamom , the character of pot and soil you expend is essential .
choose the Pot : cardamum plants need elbow room to grow since they can get a little tall ( around 2 - 3 feet indoors ) , so choose a container that ’s at least 18 to 24 inches in diam .
Drainage is key here . Make trusted the stack has drainage holes to foreclose water from sit at the roots , which could pass to etymon rot .
© Complete Gardening
Choosing the dirt : Cardamom thrives in ample , loamy soil that ’s well - draining . To make the thoroughgoing commixture , combine potting dirt with compost or organic matter .
This will keep the soil nutrient - rich , aid the flora grow healthy and strong . you’re able to also add some moxie or perlite for practiced drain , especially if you live in a humid sphere .
Once your pot and soil are prepped , you ’re all arrange to plant your cardamom seeds or seedlings !
Source: Reddit
Step 2: Starting from Seeds or Seedlings
Now that your mess and soil are quick , it ’s fourth dimension to depart growing your cardamom plant . You have two alternative : start from seed or using seedlings . permit ’s break down both options .
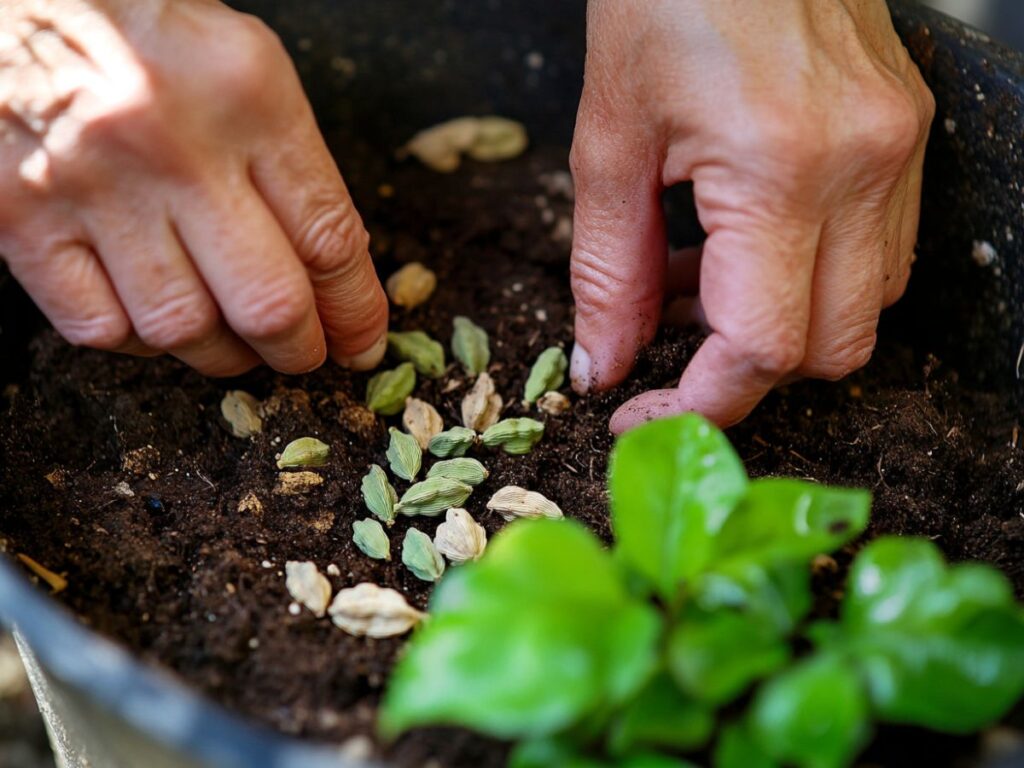
lead off from come : If you ’re starting from seeds , the process is a bit slow but deserving it ! Elettaria cardamomum seeds involve heat to bourgeon , so it ’s just to start them indoors where you’re able to see to it the temperature .
Soak the seed in half-hearted body of water for 24 minute before establish to further faster germination . Once soaked , institute the seeds about half an inch deep in the potting land , spacing them out to take into account room for growth .
Source: Reddit
Keep the soil consistently dampish ( not soggy ) and place the pot in a warm spot that gets indirect sunshine . Cardamom seeds can take anywhere from 30 to 45 years to sprout , so longanimity is cardinal !
Using Seedlings : If you ’re short on time , using cardamom seedlings can be a quicker agency to relish your own spicery plant life .
imbed the seedling in the pot , assure the root are spread out and cover with ground . Water it like a shot after engraft , and just like with germ , ensure it cause batch of indirect sunlight .
© Complete Gardening
Step 3: Provide Ideal Growing Conditions
Cardamom may be well-to-do to mature in pots , but it does have specific needs to fly high . The tropic origins of the works intend it get it on warmth , humidness , and blue-blooded sun . rent ’s peach about how to give it the best home consideration .
Light necessary : Cardamom plant thrive in partial shade , so they love bright but indirect sunlight . If you ’re growing the works indoors , place the pot near a windowpane that pay back stack of light , but obviate direct exposure to strong sunlight , which can char the farewell .
Temperature : Cardamom loves warmth , so aim to keep the temperature between 65 ° F and 85 ° F . If you live in a cooler climate , consider institute your pots indoors during the cold months or placing them in a greenhouse - similar environment .
© Canva
Humidity : Humidity is essential for cardamom , as it mimics its tropic home . If you live in a dry area or are growing the works indoors , increase humidity around the works by misting it regularly or placing a humidifier nearby .
you may also model the pot on a tray of water and pebble , which will help make a humid microclimate .
tearing : Cardamom needs consistently dampish soil , but it should n’t be waterlogged . A dear rule of thumb is to water when the top inch of dirt feel dry .
© Canva
During the warmer months , you may need to water more frequently , while in coolheaded calendar month , cut the watering slightly .
Step 4: Caring for Your Growing Plant
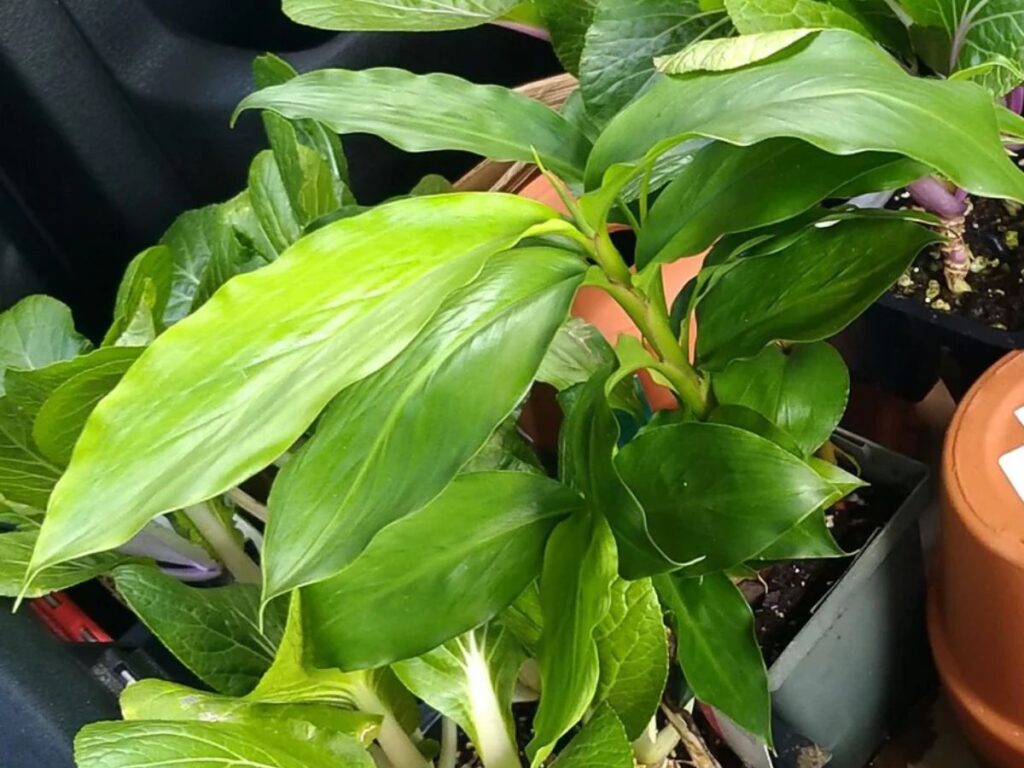
Once your cardamom industrial plant has sprouted and established roots , the fun really begins ! This is the time to focalise on maintaining sizable outgrowth , which will eventually lead to those prized redolent pod .
fertilise : Cardamom is a grave feeder , meaning it loves rich , nutrient - slow soil . During the growing season ( natural spring and summer ) , feed your plant every month with a balanced limpid fertilizer or a slow - release organic plant food .
This will boost lush growth and help the plant get its celebrated fuel pod .
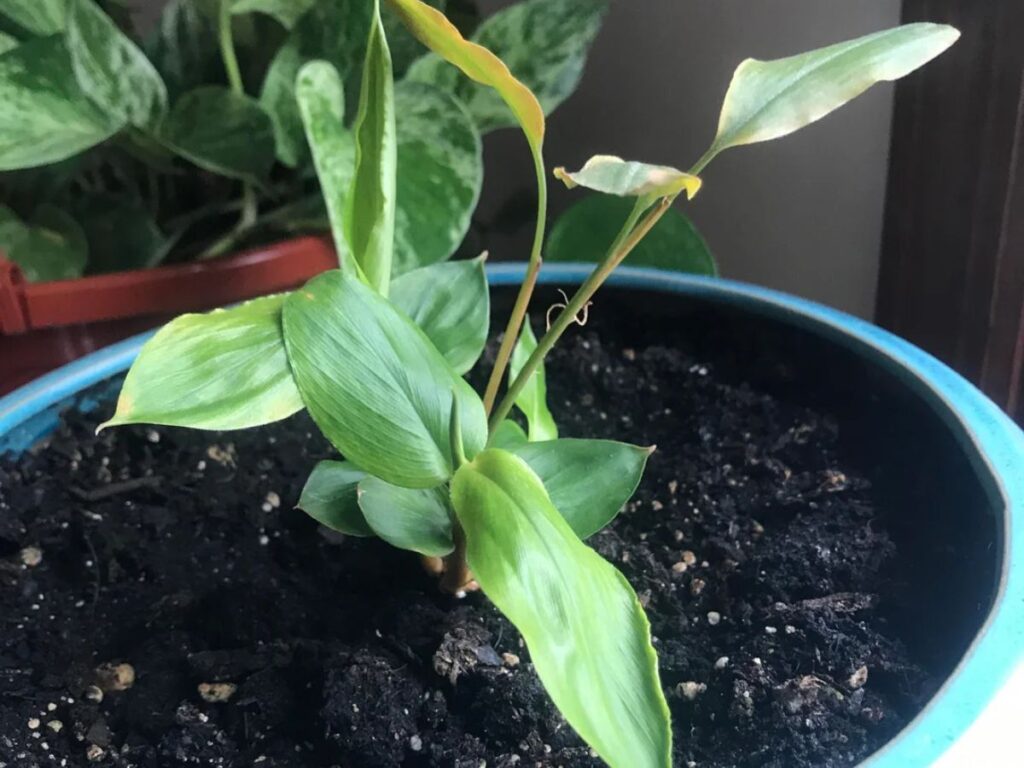
Pruning and Maintenance : As your flora mature , it ’s all important to keep an eye on its chassis and wellness . dispatch any white-livered or damaged leaves to encourage new growth and ascertain the flora stays healthy .
Pruning also help improve air circulation around the works , foreshorten the danger of fungal infection .
If your plant is prosper and outgrow its pot , do n’t waver to repot it into a larger container . When doing so , gently loose the roots and refreshen the soil with alimental - rich compost .
Step 5: Harvesting and Enjoying Your Cardamom
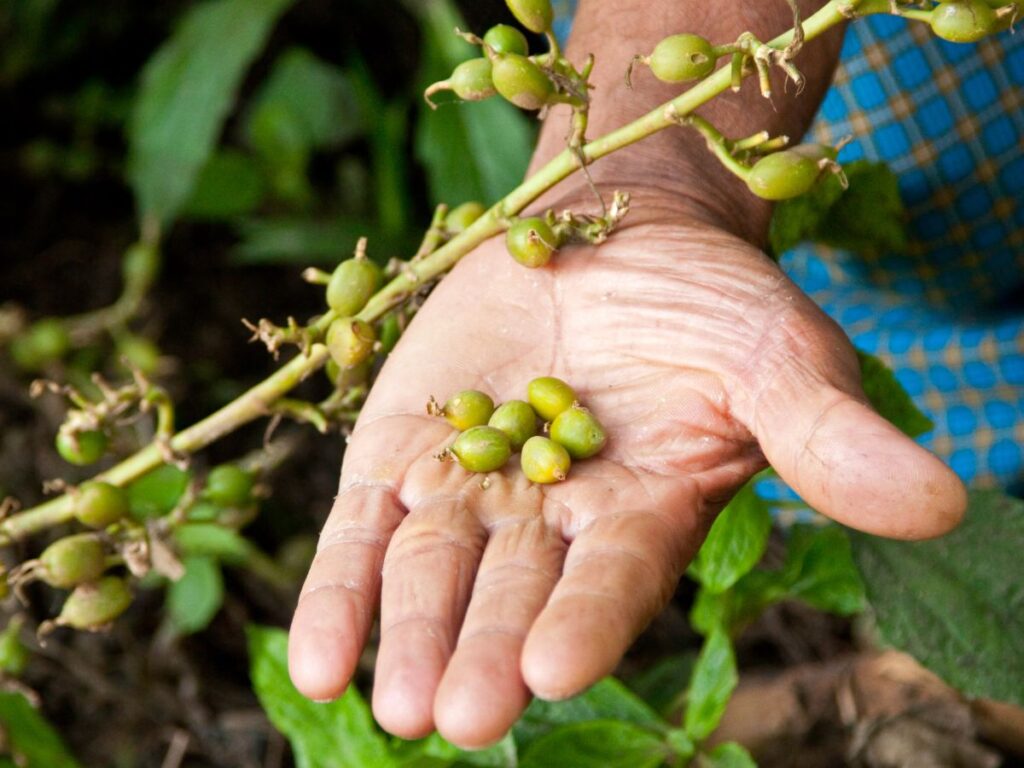
After months of upkeep , your cardamon works will start develop modest , ellipse - mould pods that house the aromatic seed . Harvesting these pods is the reward for your longanimity and hard work .
When to glean : Cardamom plant typically take 2 - 3 years to start produce pods , so while you may not see a harvest right away , the wait is well deserving it .
Once the plant begins flowering , it will produce pods . The best time to harvest is when the pods flex light unripened , just before they fully ripen .
How to glean : Use a pair of sharp scissors hold or garden shear to cautiously snip off the pods from the plant . Be gentle , as you do n’t want to damage the plant or disturb other seedcase that may not be quick yet .
After harvest home , you could dry the seedpod by lay them out in a single layer in a warm , dry surface area . Once dried , the seedpod can be hive away in an airtight container , and the come can be drudge or used whole , depend on your formula .
Bonus Tip: Keep Growing Year After Year
One of the best things about growing cardamon at household is that it ’s a perennial plant life , meaning it will arrive back year after year if decently cared for .
With the right environment , your cardamon plant can dwell for several year , bring home the bacon you with fresh Elettaria cardamomum for many harvests to come .
To keep your industrial plant sizable and fertile , give it a piddling extra care during the off - season .
Reduce watering in the wintertime , prune any old or damaged foliage , and if necessary , bring it indoors if temperatures miss .
Growing Elettaria cardamomum in pots at home may seem like a challenge , but it ’s truly an well-situated and rewarding process with a bit of solitaire and the ripe shape .
From picking the perfect pot to nurturing the plant and eventually glean those redolent pods , it ’s a sport project that get a touch of the exotic into your everyday biography .
Plus , there ’s nothing quite like the feeling of adding homegrown spices to your favorite stunner .
So , why not start your own cardamom - growing journey ? With these five easy steps , you ’ll be on your way to create a fragrant , beautiful flora that not only spice up up your meal but also tot up a lovely touch of greenery to your space .
