Fall is in full baseball swing , and while it ’s a magical time of year with its coolheaded weather and warm color , it also betoken the time to start prepare your out-of-door plants for wintertime .
If you ’re like me , you probably have a bunch of plants that have thrived all summertime long , plume up that sunshine , and now they want to come inside for the cold-blooded months .
But before you bring them indoors , there ’s one important thing to do : give them a good clean and make trusted you ’re not inviting any pestilence to set up camp in your home .

You might think , “ Do I really need to go through the trouble of debugging my plants ? ” The answer is yes ! institute outdoor plants in spite of appearance without properly make clean them can ensue in unwanted house invitee — tiny glitch that will mirthfully invade your home plate .
Not only do you require to avoid pests , but keeping your plants healthy throughout the wintertime starts with making sure they ’re in wind - top shape when they transition to life indoors .
permit ’s walk through five wide-eyed steps to aid you debug and scavenge your industrial plant before giving them a cosy winter home in spite of appearance .

© Complete Gardening
Step 1: Give Your Plants a Gentle Wash
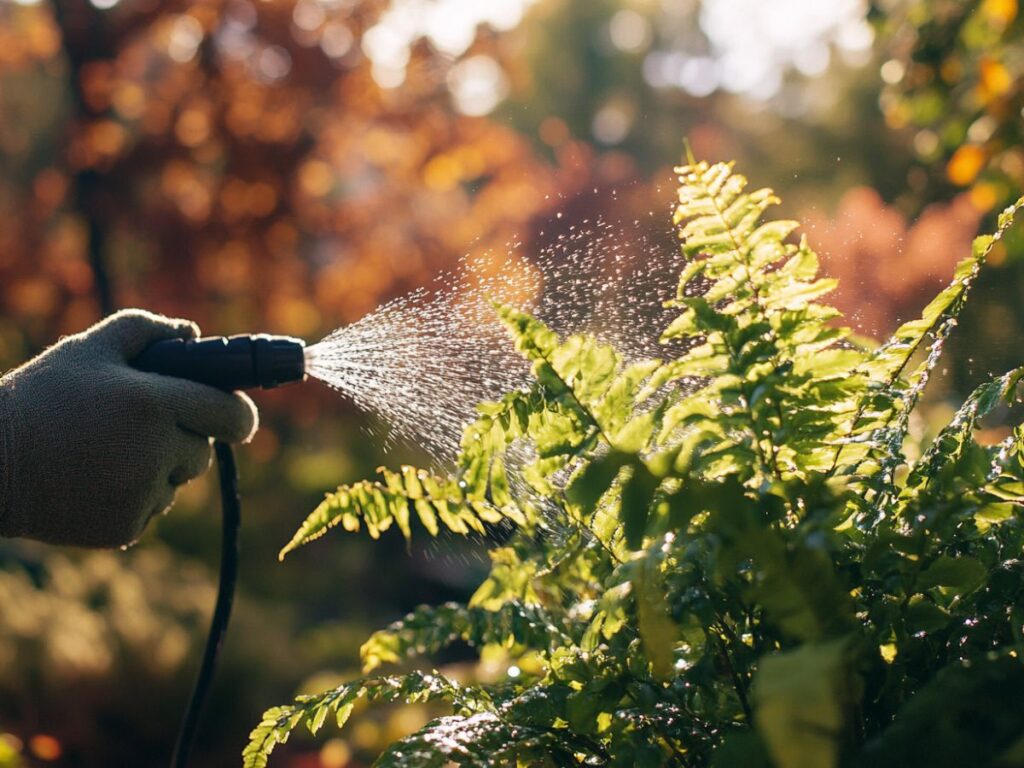
The first thing you want to do is give your plants a gentle shower . Think of it like a mini - resort hotel daytime for them ! This stair is all important because it help hit dirt , dust , and any insects that might be hiding in the foliage . But do n’t interest — it ’s well-to-do than it sounds .
part by satiate up a bucketful , tub , or using a garden hose , calculate on the size of your plants . If you have smaller plants , you’re able to easily dunk the whole pot ( soil and all ) into a tub of lukewarm water for a few seconds .
This will flush out any pests hiding in the soil . If your plant are enceinte , you ’ll want to focus on spray down the leaves . habituate a hose with a blue spraying setting or a atomiser bottleful filled with water to carefully rinse down the tops and undersides of the leaves .
© Complete Gardening
While you ’re at it , check for any germ like aphids , spider mite , or whiteflies . These bantam critters can be a nuisance once indoors , so it ’s worth exact a piece of extra clock time to verify your plant are pest - free .
A good rinse helps ping off any stowaway and yield your plants a clear slate .
Pro Tip: Use Soapy Water for Stubborn Bugs
If you notice a few stubborn worm , mix a mild dish soap with water and use that to spray the leaves . It ’s a natural manner to get rid of pestilence without harming your industrial plant . Just ensure to wash the grievous bodily harm off after letting it sit for about 15 minutes .
Step 2: Check and Prune Dead Leaves
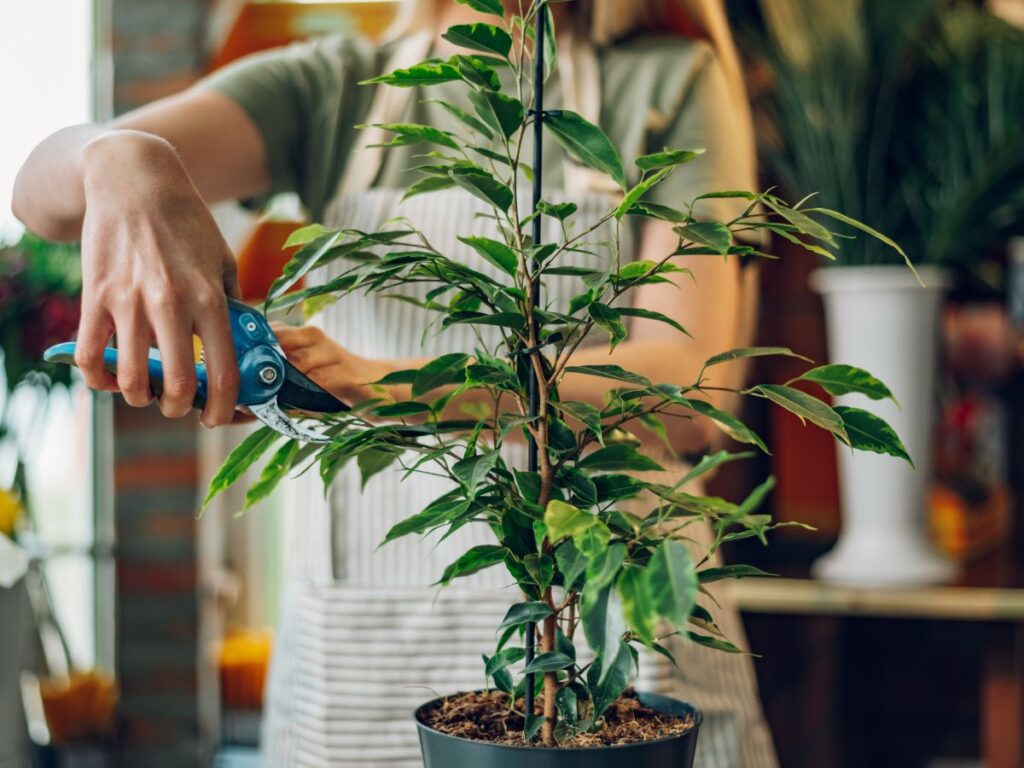
Once your plants are nice and clean , it ’s time to bring plant Dr. and control for any dead or damaged leaves . Pruning is essential before play your plants indoors because it forbid the spread of disease and encourages new , healthy growth .
seize a couple of clean , sharp scissors or pruning shear and carefully scrutinise each plant . Remove any yellowing , brown , or damage leaves , as these are the one most probable to hold pests or disease .
If you see any dead stems or branch , go ahead and clip those back as well .
© Canva
By pruning away the unhealthful division of the works , you ’re let it to focus its energy on thriving instead of waste resources on parts that are already on their way of life out .
Plus , trim your plant aid check that it fits well in its indoor space — especially if it ’s grow a lot over the summertime .
Pro Tip: Sterilize Your Tools
Between cut of meat , be sure to wipe down your scissors or shears with rubbing alcoholic drink . This prevents the potential spread of any industrial plant disease . Keeping matter clean help ensure your plants stay healthy throughout the winter .
Step 3: Repot and Refresh the Soil
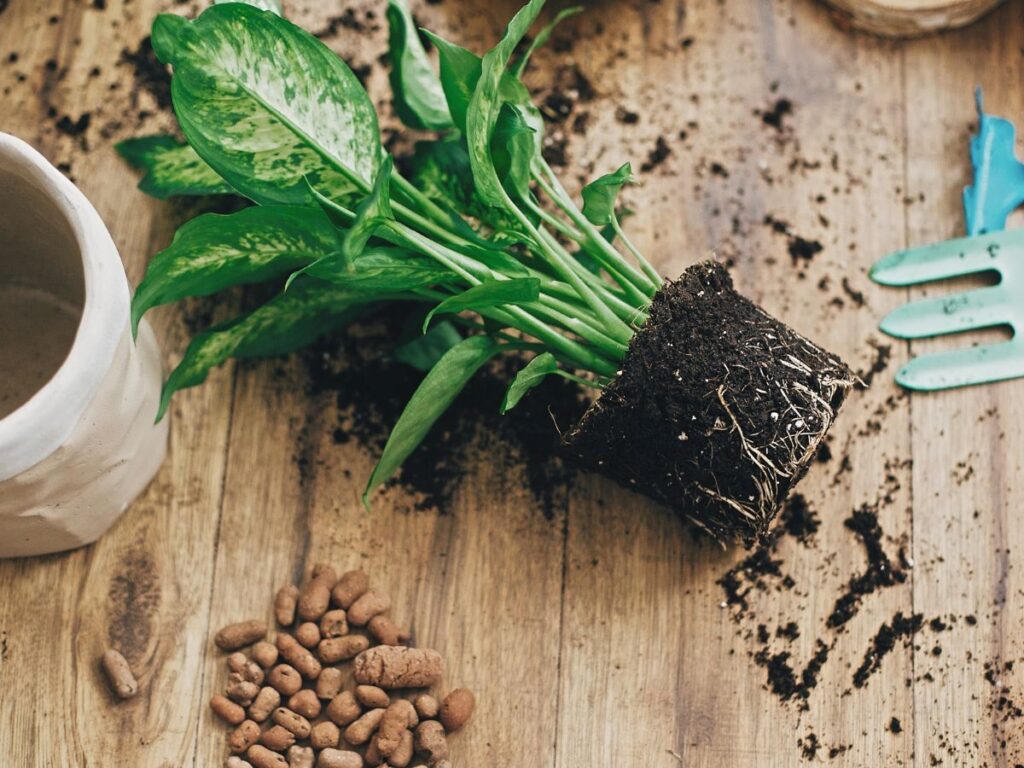
Now , let ’s utter about soil . Your industrial plant has likely been outdoors for several months , imbue up nutrients and maybe even spring up etymon that have occupy up the good deal .
Before you bring your plant indoors , it ’s a good idea to refresh the soil or even repot the works if needed .
Check the roots of your works — are they crowded or circle the pot ’s edge ? If so , it might be prison term to give your plant a piece more elbow room by repot it into a slightly turgid container . This will let the roots to spread out and carry on to produce , even while indoors .
© Canva
Even if your flora does n’t need a fresh lot , it ’s still a expert idea to replace the top layer of ground . Scrape off about an inch of soil from the surface of the passel and replace it with fresh , nutritious - rich potting mixing .
This helps get free of any pests that may be hiding in the soil and give your works a fresh start before the winter time of year .
Pro Tip: Choose the Right Soil Mix
When replacing the filth , check that to use a well - drain potting mix that ’s appropriate for your specific plant . Different works have different needs , so a cactus will take different grunge than a fern . Keep your flora ’s preferences in mind for the best event .
Step 4: Treat the Soil for Pests
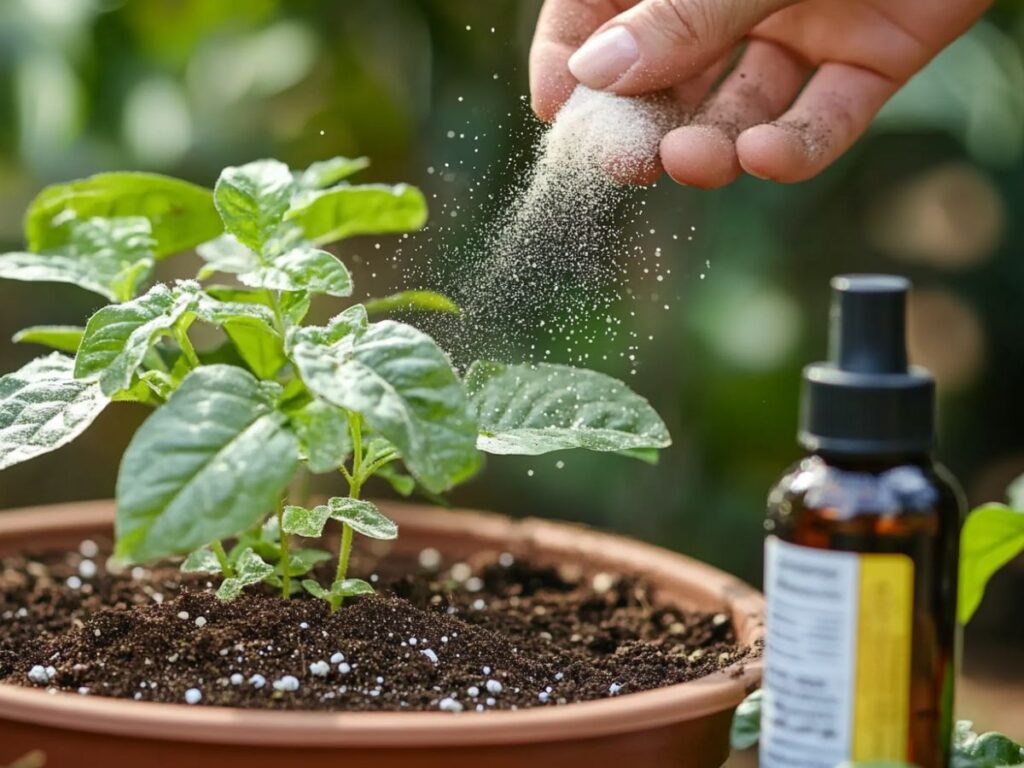
While you ’ve already gargle the foliage and checked for bugs , the grime is another area that can house undesirable plague .
Soil - dwelling bug like fungus gnats can well hitch a ride into your home , so it ’s important to treat the ground before bringing your plants inwardly .
There are a few ways you’re able to treat the ground to get rid of pests :
© Complete Gardening
Diatomaceous Earth : Sprinkle solid food - degree diatomaceous solid ground on the surface of the soil . This is a natural , non - toxic mode to vote out any bugs experience in the grunge . It works by desiccate the louse and is secure to utilise around your plant .
Neem Oil : mix in a little neem oil with water and spray it directly onto the soil . Neem oil is a natural pesticide that disrupts the life cycle of many common pests without harming your plant .
Hydrogen Peroxide : conflate one part atomic number 1 peroxide with four parts water and use it to water your plants . This root helps kill any germ or larvae that might be hiding in the soil without harm the plant roots .
© Complete Gardening
Whichever method acting you opt , make trusted to process the soil thoroughly . This superfluous step will facilitate see to it that you ’re not accidentally make for any bugs into your house .
Pro Tip: Repeat the Treatment
If you comment any lasting pests after the initial handling , do n’t hesitate to reiterate the process a few day later . Sometimes it take a couple of rounds to full eliminate any remaining bugs .
Step 5: Acclimate Your Plants to Indoor Life
Now that your plants are clean , pest - free , and ready to go , it ’s time to bring them indoors — but do n’t just shove them into a dark-skinned turning point ! plant life need meter to adjust to the low light and indoor surroundings , so you ’ll want to acclimate them step by step .
Start by bring your plants inwardly for a few hours each day , and then bit by bit increase the metre they pass indoors over the row of a week . This move over them a chance to adjust to the indoor conditions , such as broken humidity and less sun .
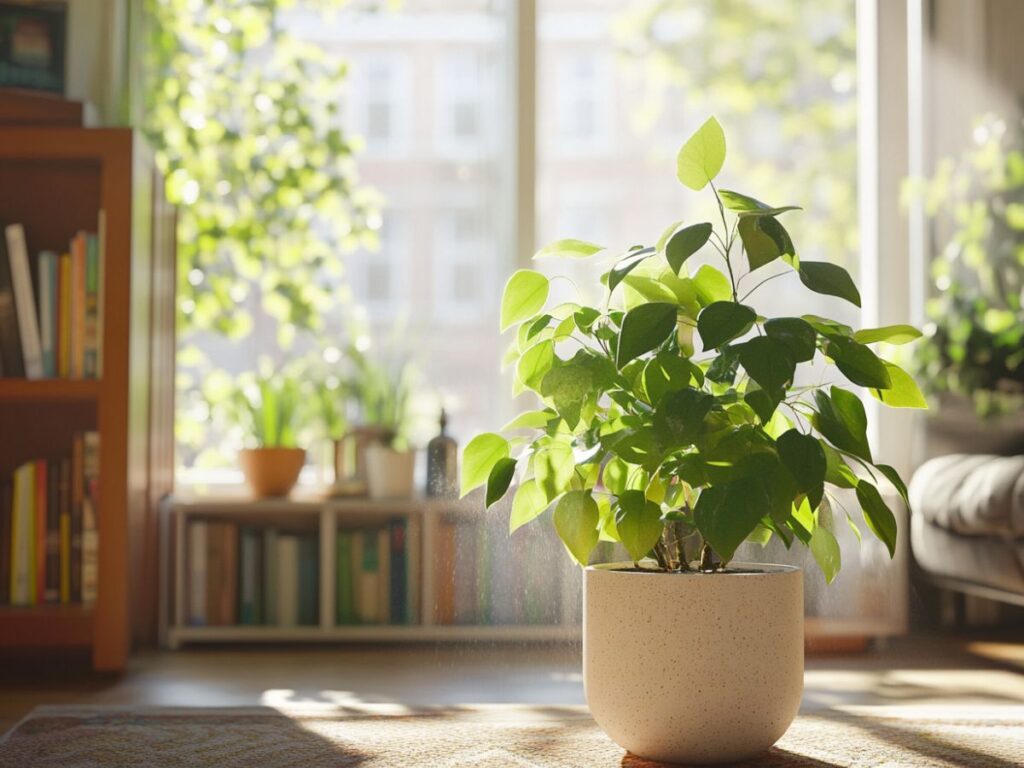
Once they ’re amply indoors , find a billet that provides enough light source . Most plants thrive near a cheery windowpane , but if your home does n’t get a sight of natural illumination , weigh using a grow light to help your plants get the igniter they want during the darker months .
Keep an eye on the temperature as well . While you ’re probably keeping your home nice and snug , some plant are sensitive to drafts or verbatim heating system from vents , so verify your plants are in a static environs .
Pro Tip: Maintain Humidity Levels
Indoor atmosphere tends to be drier , especially during the winter months . If your plants start looking a flake dry or drooping , debate misting them regularly or direct a humidifier nearby .
you’re able to also rank your plants on a tray fill with pebbles and water to help oneself boost the humidity around them .
By travel along these five steps , you ’ll be give your plants the advantageously possible starting signal to their indoor winter arrest .
Debugging and cleaning your works might take a second of extra effort , but confide me — it ’s worth it . Your plants will stay sound , and you ’ll avoid the hassle of portion out with undesirable gadfly in your home .
Plus , there ’s nothing quite like having a flake of greenery to clear up up your infinite during those cold winter months !
So go onwards , drift up your sleeves , and give your plants the tending they involve . They ’ll reward you with fresh , vibrant growth all wintertime long .
