We may earn revenue from the products available on this varlet and enter in affiliate program . pick up More ›
This contentedness is presented by The Home Depot . The included fact and opinions are those of BobVila.com .
After the wall , the flooring is often the next big design feature of speech that mass notice when they enter your home . peachy if you are proud of your floors , but not - so - great if you have previous carpeting , cracked roofing tile , or pass hardwood .
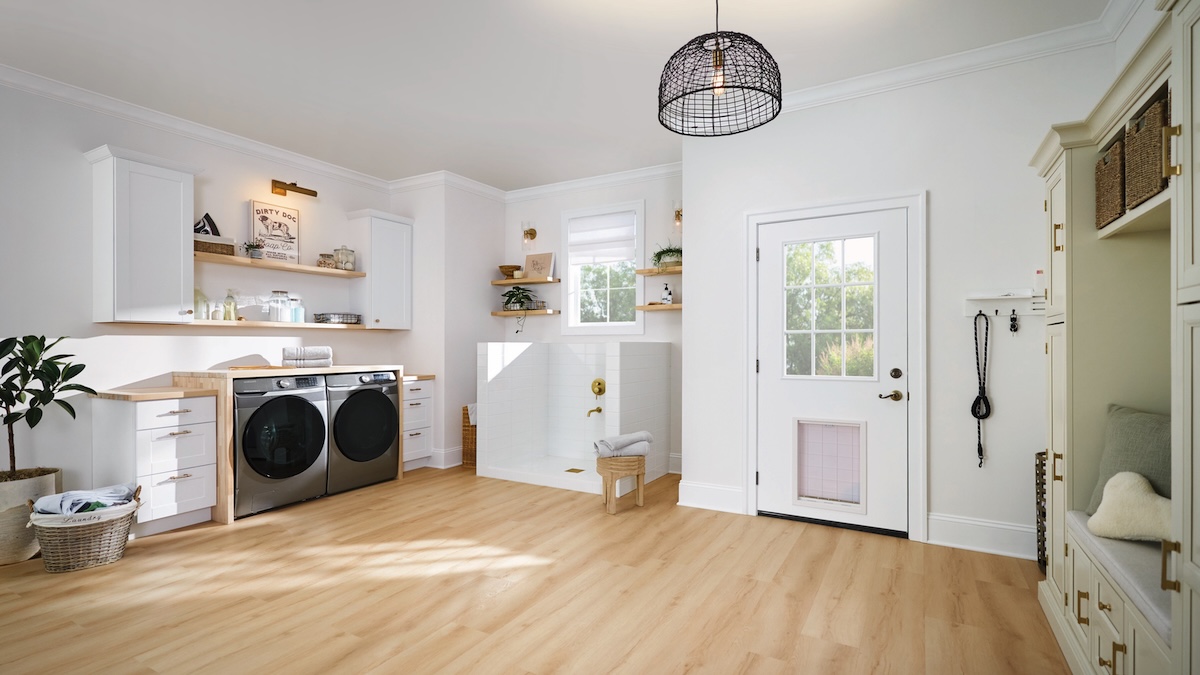
Photo: The Home Depot
Even if the judgment from Guest does n’t matter , it can be in person disheartening to seem at wear out - out flooring solar day in and day out . If you have the prison term and require accomplishment , you could update the existing floor with laminate , vinyl group plank , or hardwood .
Do n’t wait until your floors are warped , broken , and peeling to learn how to substitute flooring . Find out now with this helpful guide .
Choosing New Floors
The first step to installing newfangled floor is to settle on the best eccentric of flooring for each elbow room in your home . The ideal storey depends on a variety of divisor , include where the floor will be installed , how much understructure dealings the floor will call for to contend , the appearance and required upkeep of the floor , the cost , and installation trouble . debate these factors to help narrow your choices to the best pick for your position .
How to Replace Flooring
Learning how to supervene upon flooring take time and effort — and it can be disruptive in a house — so it is n’t a project you should start on a whim . verify you set aside at least a full day or more , count on the size and complexness of the room , and do your best to share the work load with one or more helpers .
Step 1: Remove trim, molding, and existing flooring.
Before you may add the new floor , you will need to remove the older floor . Start by using a wrecking bar bar to remove any trimming or baseboard molding around the perimeter of the room . If you plan to recycle the substructure trim , process slowly to fend off damage the clay sculpture . likewise , any transition strip that currently bridge the gap between rooms should be removed with a wrecking bar bar or screwdriver , depending on how they are presently secured .
Next , you will need to remove the onetime floor . The method to remove the flooring differs base on the case of flooring :
Step 2: Prepare the subfloor.
After the old floor has been removed , scrutinize the subfloor for any damages , signs of wet , or unevenness . Patch up any small-scale damages and check that the entire subfloor is completely dry before proceeding .
Check the floor with a level to ensure that it ’s flavourless and even . habituate a self - leveler , available in powder or premixed human body , to fill any low spots and sand down any high spots to create a level , smooth surface .
Step 3: Measure the room and plan the layout.
Take measurements of the entire room to find out precisely how much flooring is needed . appraise the distance and width , then multiply these measurement to get the full square footage . If the elbow room is oddly shaped , interrupt it down into single outer space and measure each space on an individual basis , then add them together to get the full square footage .
Pinpoint the area of the room with the greatest width and measure out this space from paries to wall , then divide the breadth of the way by the width of your flooring planks . Use this measurement to learn how many plank you will need from one side to the other and to retrieve out on the nose how wide of the mark the last course will necessitate to be to fit right . Just check that that when you are necessitate measurements you let in a ½-inch spread around the perimeter which will form the expansion crack . ( The mopboard trim will cover this interruption . )
Step 4: Install underlayment.
Depending on the eccentric of flooring , you may want to establish underlayment , which will protect the base from price and wet . However , some flooring material come with pre - attached carpet pad , in which event , you’re able to move on to cut flooring planks to length .
If you do need underlayment , start in one niche and roll out the underlay . Trim the underlayment to the right size of it and use bed mag tape to fix the edges and the sections where the underlayment connects .
Step 5: Set expansion gaps.
Add ½-inch wooden spacer blocks around the perimeter of the room along the wall to form the expansion crack between the wall and the flooring . This prevents the floor from bulging or heave when it expands in response to passion or humidity .
snarl a chalk line parallel to the start paries , while accounting for the ½-inch expansion break . The first board will be placed along this job with any grooves facing the wall . If your wall is n’t perfectly straight , then you may have to scribe the first row to fit the shape of the wall .
Step 6: Cut flooring planks to length.
With your measurements in script , apply a miter saw to cut the deck planks to the proper distance , keeping in judgment that you want the joints to be varied . This means you need to start and terminate with different length of flooring for each rowing . ( Use a table see to rip your last row to the correct breadth to fit your floor . )
Test the first three rows of knock down with a dry fit installation to ensure everything works as mean and stagger the joint by about 6 inches for the idealistic result . Continue with the installing form across the entire distance and width of the floor , ensuring that you keep the ½-inch expanding upon gap around the room ’s perimeter .
Secure the floor agree to your chosen facility method .

Photo: Grace Cary/Moment via Getty Images
Step 7: Install the last row and reinstall trim/molding.
Check the width of the last row of flooring and pull it to size using a table saw , if necessary . skid the final few boards into spot , keep a ½-inch break between the concluding wrangle and the rampart . Once the last row is instal , move out all spacers , then reinstall the trim and moulding to complete the project .
Tips and Tricks to Know When Replacing Flooring
When you are learning how to put back flooring , a few bakshis and tricks can avail make the integral process easier to manage . By heeding these hint during the planning and execution stage , you’re able to save yourself a lot of hassle and finally complete the project within a shorter timeframe .
This Is the Year for a Kitchen Renovation
Whether you ’re selling or staying , everyone can get something out of a kitchen update . see why we consider this renovation the Most Valuable Project of 2025 and how to continue on budget .
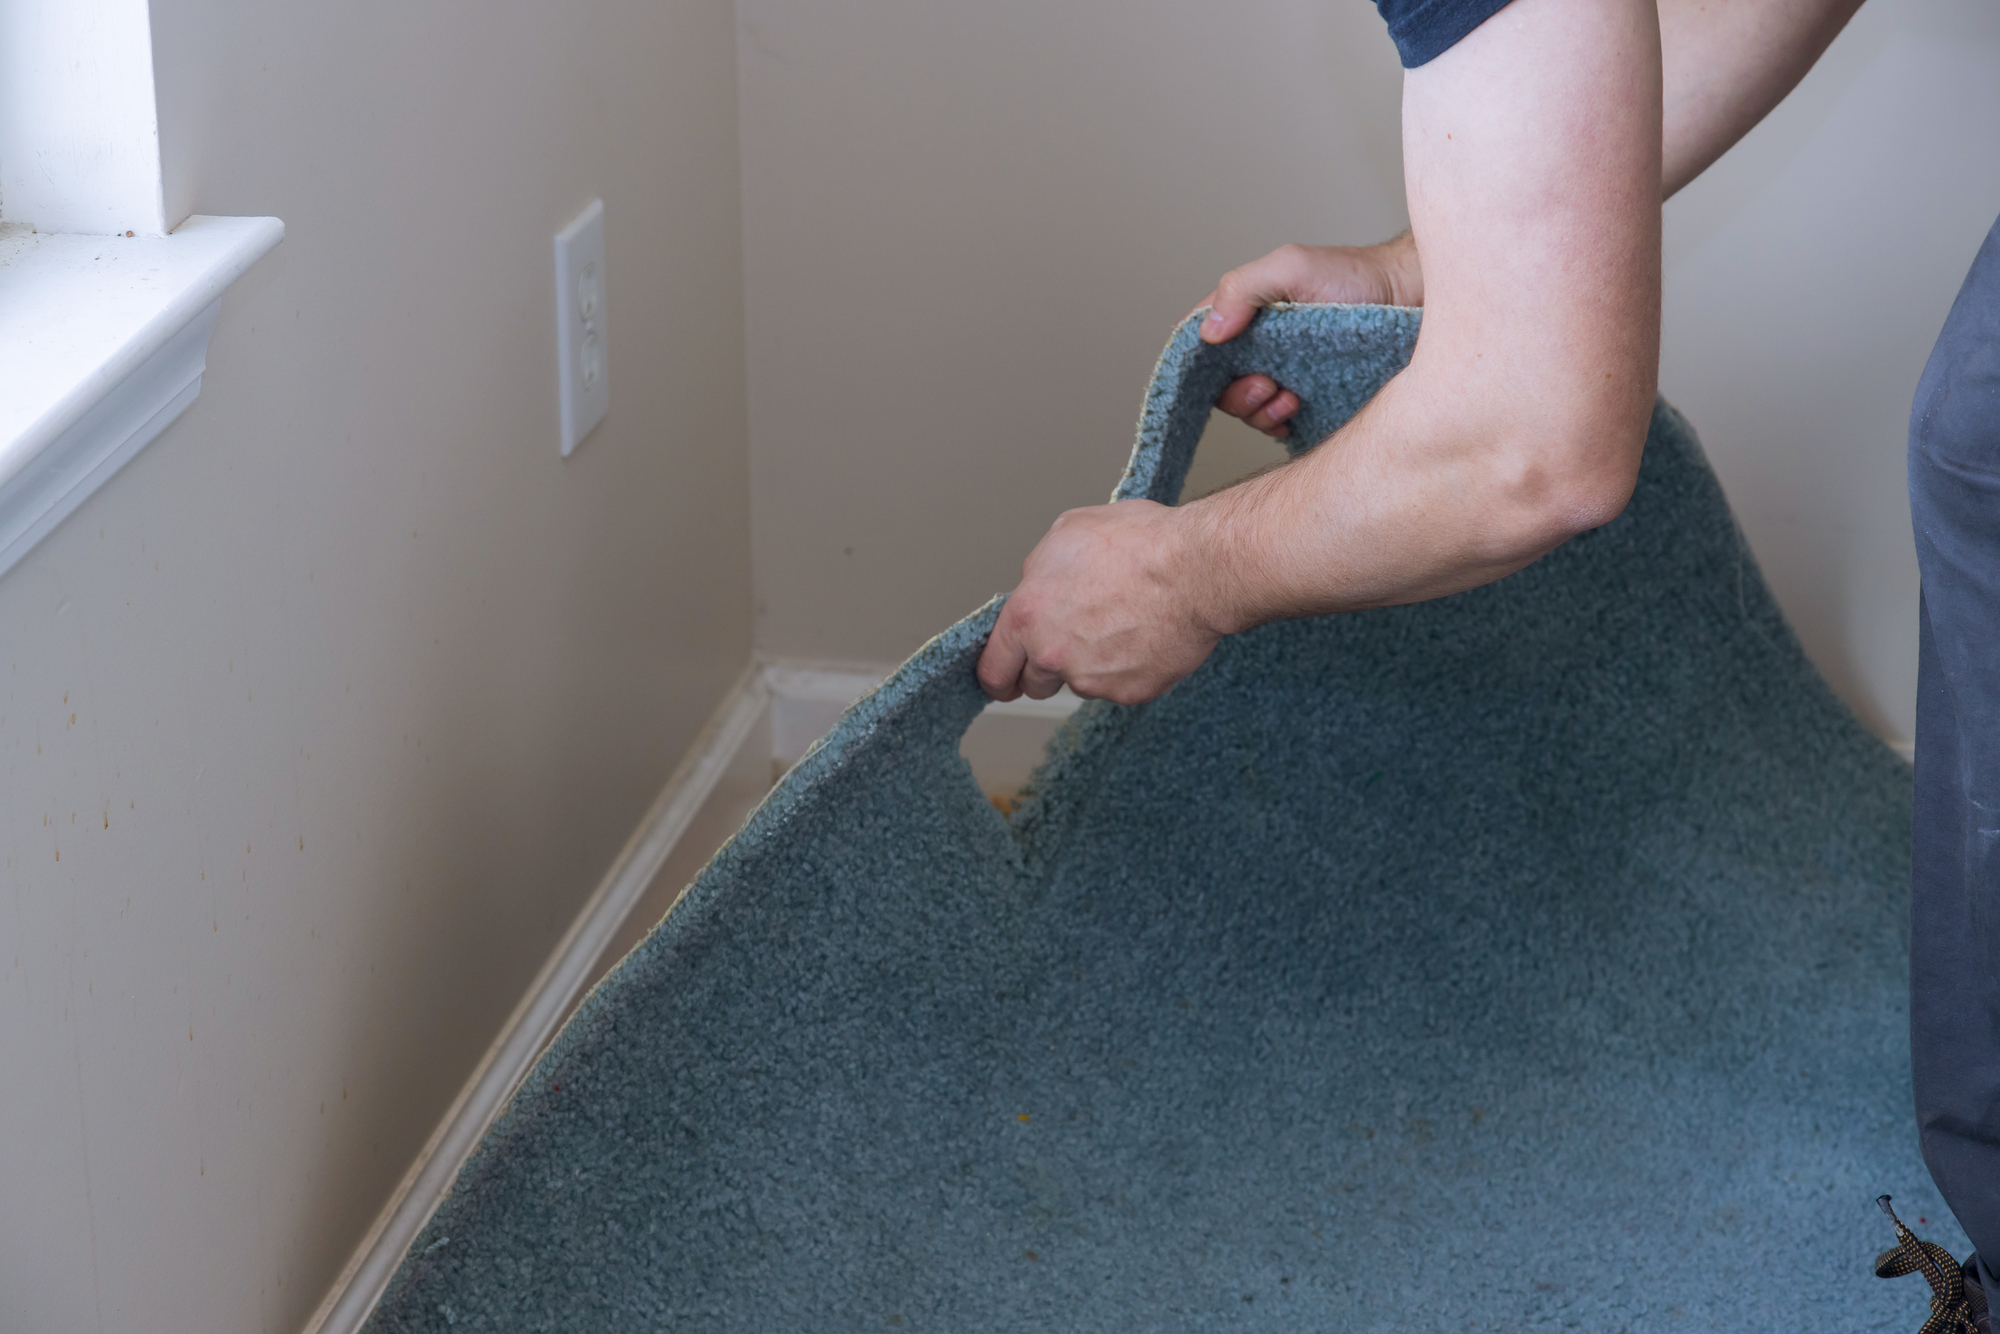
Photo: Depositphotos

Photo: Fancy/Veer/Corbis via Getty Images
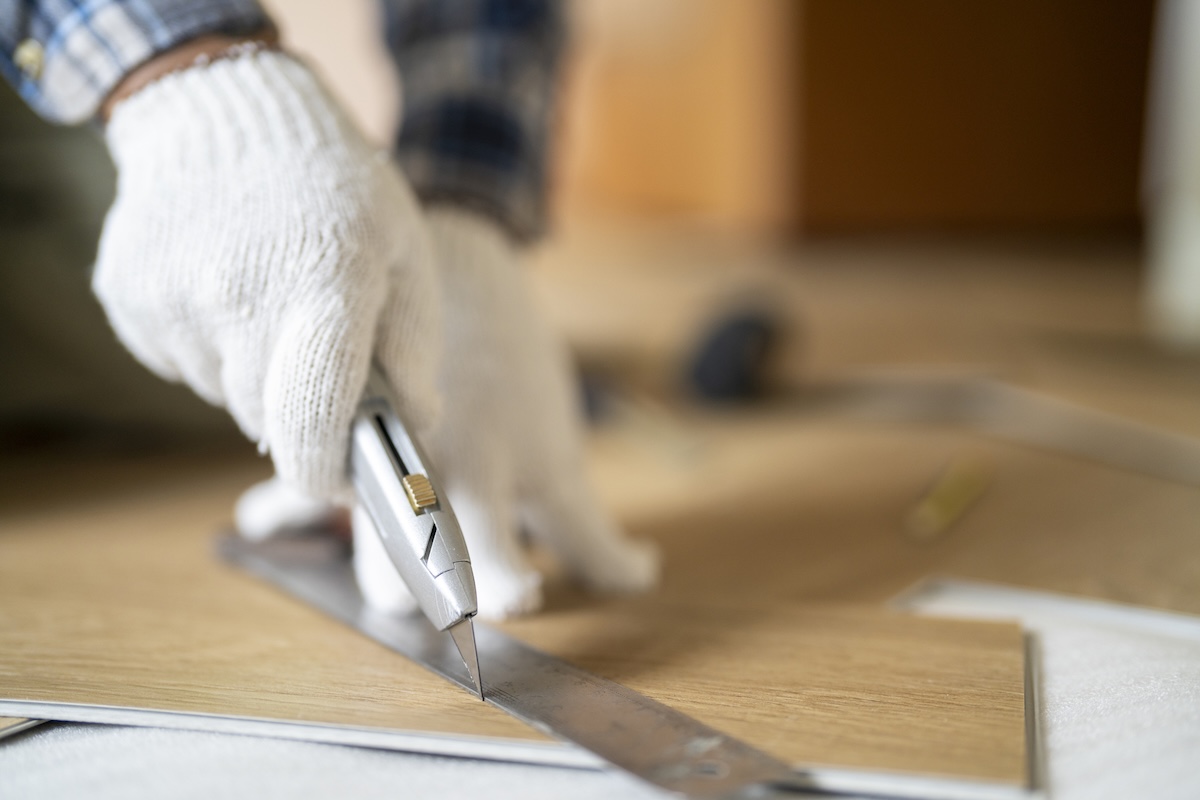
Photo: Witthaya Prasongsin/Moment via Getty Images
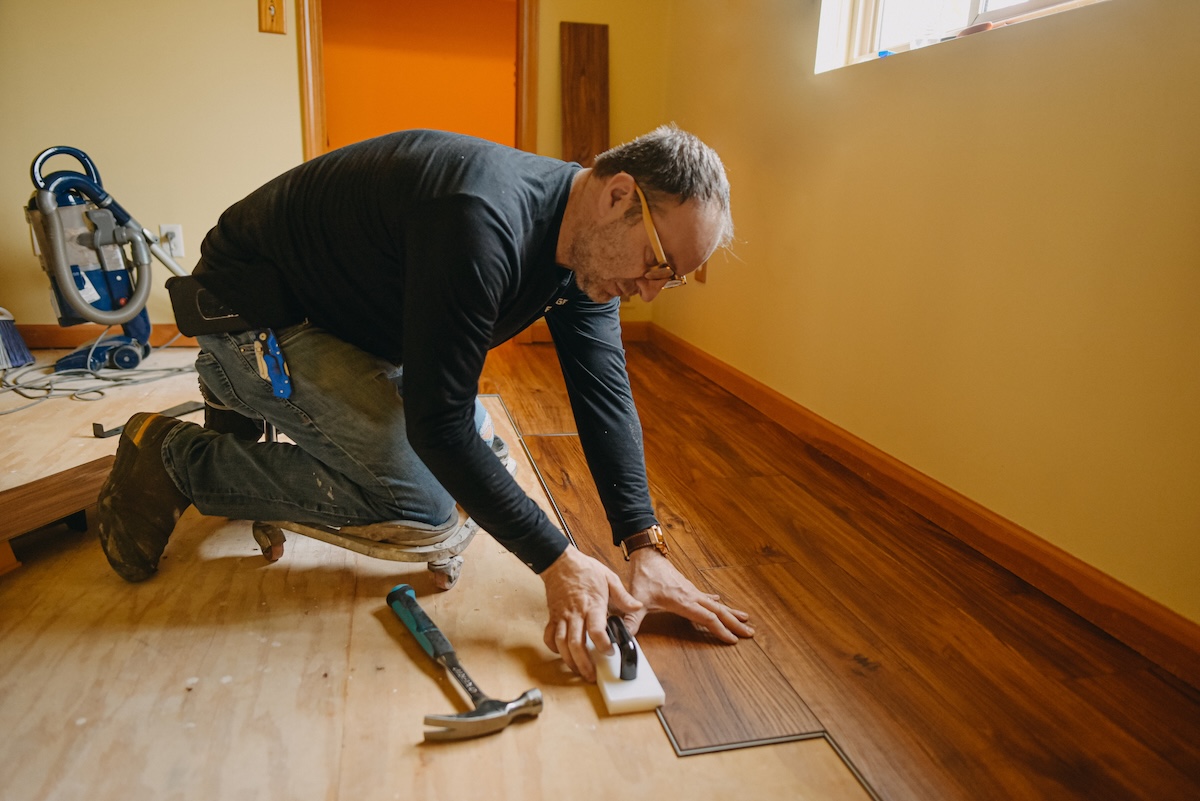
Photo: Stefania Pelfini, La Waziya Photography/Moment via Getty Images

