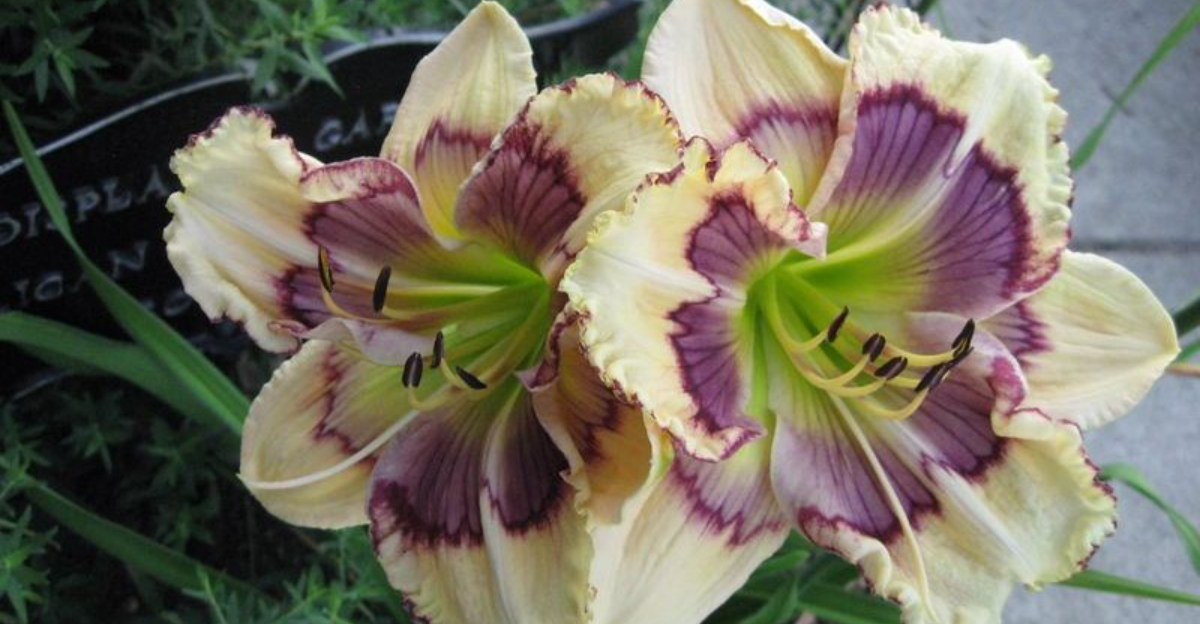
Learn how to divide and subdue your daylily this spring for dramatic blooming .
With the proper timing and techniques , you could enhance growth and ensure your garden bursts with vivacious colour .
1. Choose the Right Time
former winter to very early give is the perfect meter to divide daylily . As the season transition and the solid ground begin to warm , the plants are still in a inactive province . This timing tolerate the roots to go back quickly , reducing stress on the plant .
prefer the right second ascertain that the day lily are quick to put their energy into growing new roots and leaves . This former intervention can head to a more racy growth phase , setting the point for striking blooms .
Act early on and watch your garden flourish as the season progresses .
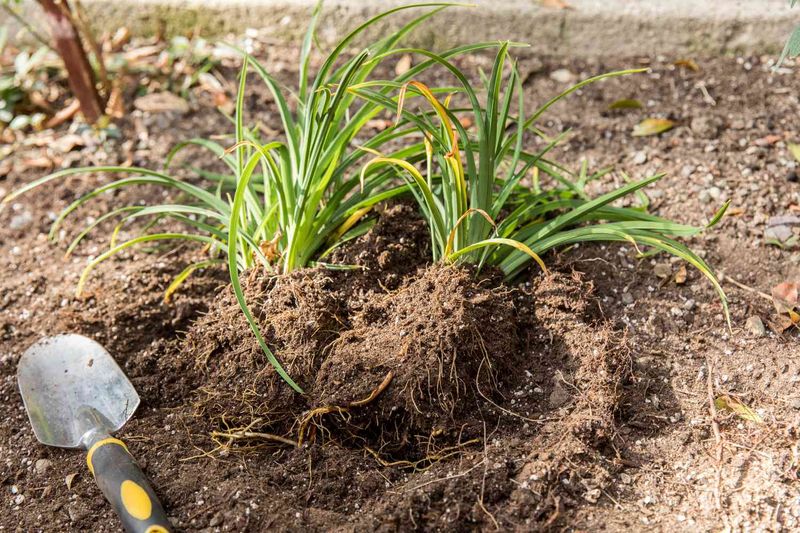
2. Loosen the Soil Gently
Before you could divide your daylilies , start by gently tease apart the soil around the bag of the clump . Use a garden fork or spade for this task , being careful not to sever too many roots .
The goal is to organise the plant for an easy lift without causing damage . By take your meter and being easy , you minimize root word breakage , which helps in a smoother conversion during replanting .
This thrifty readiness ensures the plants remain healthy and emphasis - free , ready to thrive in their novel location .
© Gardening Know How
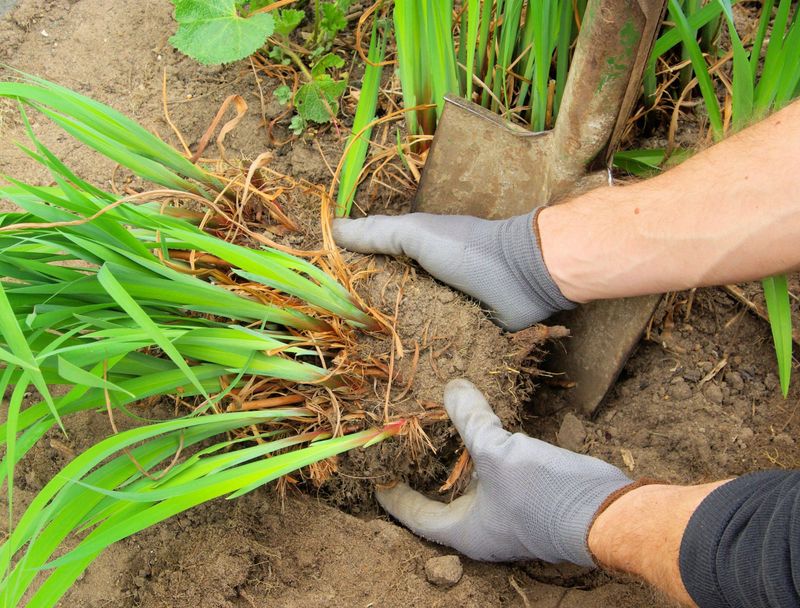
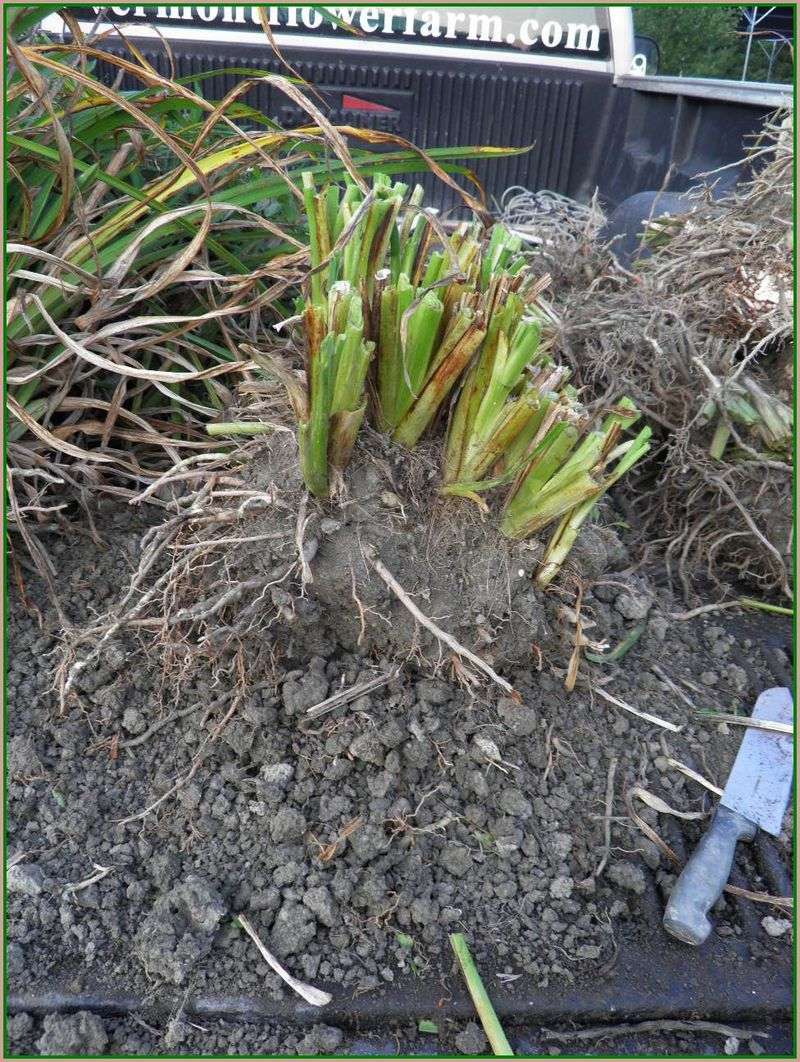
3. Lift the Clump
Once the soil is loosened , it ’s time to lift the full daylily bunch from the earth . Slide your garden forking or spade under the root and cautiously lift the plant , secure excess crap falls off .
If the clump is too large , consider arise it in sections to make the cognitive process more doable . This method acting allows you to treat the works with care , preserving as many roots as potential .
By gently arise and separating the clod , you put the stage for successful class and replanting .
© The Spruce
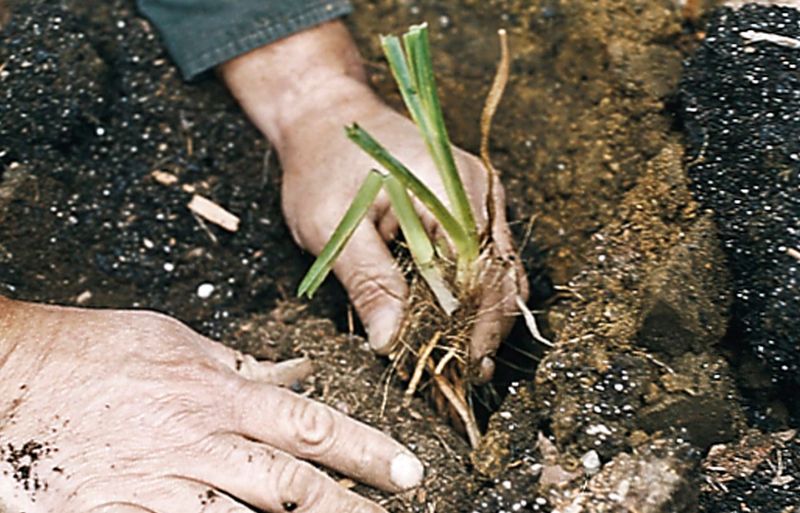
4. Separate the Fans
Each rooter of a day lily is a chemical group of leaves emerging from a single root crown . Begin by teasing or carefully shorten the clump into smaller section , ensure each has good for you antecedent and at least 2–3 fans .
This separation allows for full-bodied growth and prevents overcrowding , giving each section room to thrive . ensure to manage each fan finely to keep source integrity .
With plenteous blank and healthy roots , these section are ground to thrive and eventually burst into colored flower , enhancing the beauty of your garden significantly .
© Backyard Boss
5. Prune Leaves & Roots
Pruning the leaves and roots of your daylily can be an optional but helpful footstep . Trim the leaves back to about 6–8 in to reduce water system loss , which help the industrial plant focalise on root growth .
Also , nip away any damaged or dead roots to encourage healthy regrowth . This pruning appendage ensures the plant ’s energy is directed towards establishing a strong ascendant system , vital for vibrant and long - live bloom .
Healthy root and a strong stand will set the foundation for a flourishing works , ready to dazzle in your garden .
© This Old House
6. Refresh Your Soil
While your daylily bunch are out of the ground , take the chance to refresh the soil where you be after to replant them . Add compost or well - rotted manure to improve nutrient contentedness and drain .
This soil enrichment ensure that the daylilies have a nutrient - fat foundation to grow in , promoting good root development and stronger works . By preparing the soil , you ’re setting up an idealistic environment for your industrial plant to thrive .
Healthy dirt is the key to full-bodied salad days , and your attempt will be pay back with a vivacious , colorful display .
© The Vermont Gardener
7. Replant Properly
After set up your soil , it ’s time to replant your divided daylilies . Dig a golf hole astray enough for the roots to distribute without crowding them . site the daylily so that the top , where the leaves meet the roots , posture just below the grunge open .
This placement is essential to allow the industrial plant to establish itself effectively . right spacing ensures each plant has the room it needs to raise and flourish .
Replanting aright ensures that the day lily have the best chance of thriving and producing dramatic blooms come summer .
© Gardening With Sharon
8. Water Thoroughly
The next dance step after replant is to irrigate the daylilies exhaustively . Soaking the territory now after planting helps the roots root in and reduces transplant jounce . ordered moisture in the weeks following replanting is all important for the works to adapt to their raw environment .
Regular watering further salubrious root validation , ensuring the plants have the necessary resource to arise and blossom successfully . Keep a keen heart on wet levels to forestall over- or under - lachrymation , and your daylily will honor you with exuberant growth .
9. Mulch for Protection
tote up a bed of mulch around the base of your new institute day lily offers legion benefits . practice materials like straw , shredded leave of absence , or skin to aid keep moisture in the soil .
Mulching also repress weeds , reducing competitor for nutrients and allowing your daylilies to thrive . This protective layer maintains the correct filth temperature and provides a stable environment for rootage growth .
With mulch in place , you make a barrier that protect your plant , giving them the best chance to make and flourish without stress .
© Longfield Gardens
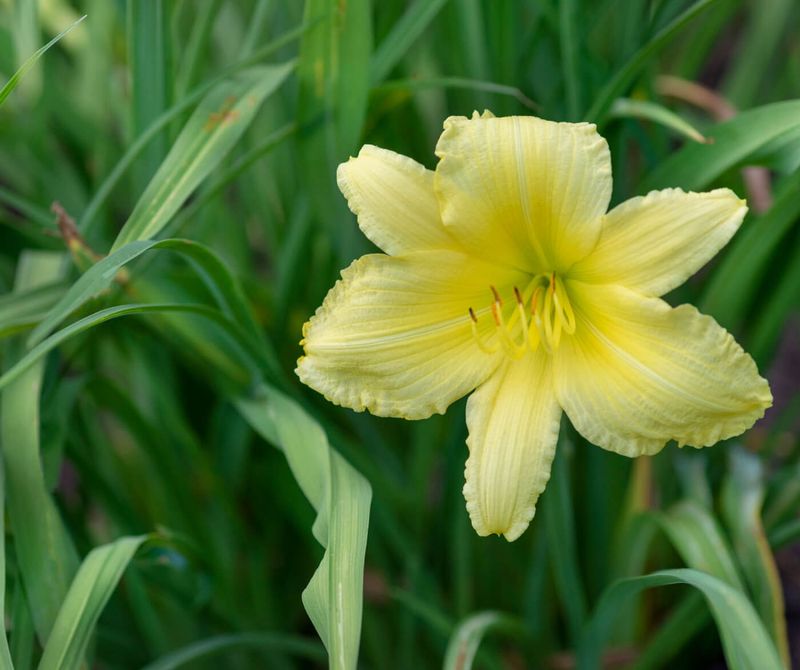
10. Feed Lightly
To substantiate strong leafage and freehanded flush , lend oneself a balanced , slow - handout fertiliser to your day lily in other spring and again mid - time of year . feed your plants lightly ensures they receive the essential nutrients needed for optimal growth without flood out them .
The slow - release formula provides a steady supply of nutrient , encouraging robust ontogenesis over fourth dimension . This careful alimentation scheme helps build stiff , sizable works capable of producing vivacious , bold blooms that will make your garden stand out .
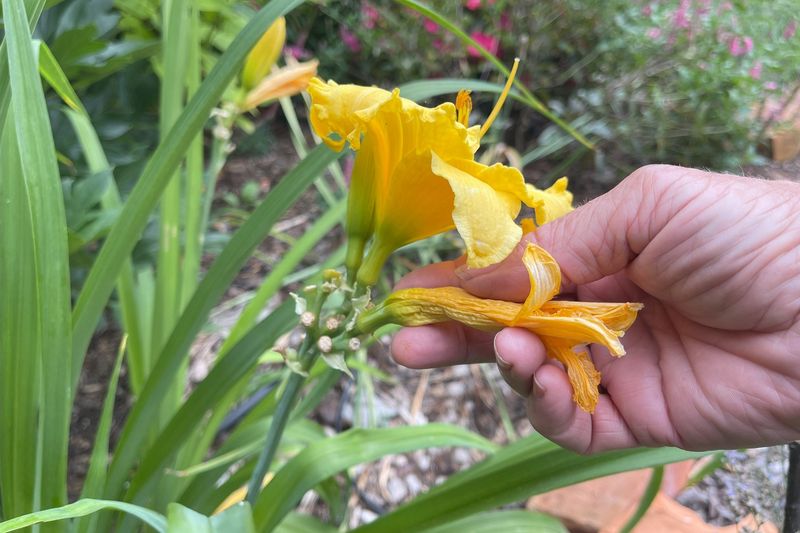
11. Monitor & Maintain
Regular monitoring and maintenance are key to confirm salubrious daylilies and guarantee continuous blooms . Check for signs of over- or under - lachrymation often , as these can strike plant life health importantly .
Remove any spent flush or yellow leaves to encourage new prime and uphold a tidy appearance . By keep an optic on your plants ’ needs , you ensure they rest in peak condition throughout the growing season .
Proactive care and attending to detail will repay you with a garden full of vibrant , thriving daylilies , make a stunning display all season long .
© Iowa State University Extension and Outreach

© This Is My Garden

© Simple Garden Life
© Birds and Blooms
