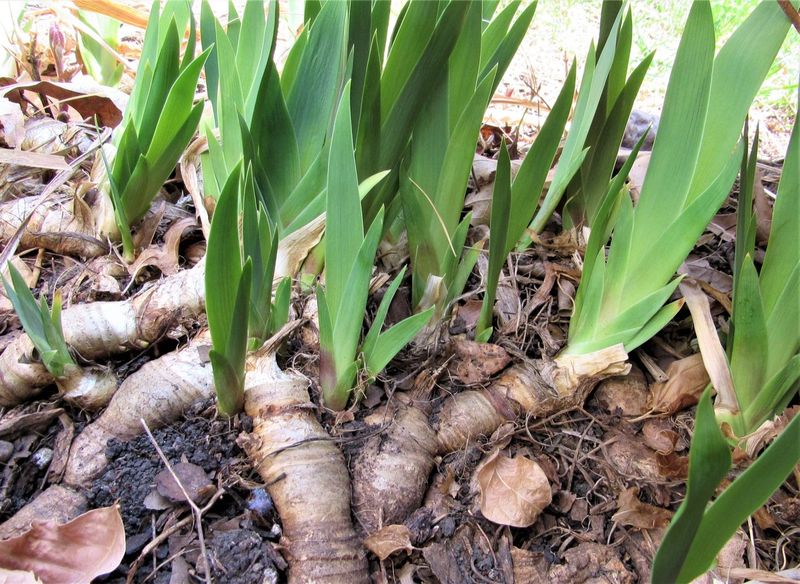
Ever notice your iris diaphragm bed looking a bit crowded , with few blooms each year ? Dividing irises is like impart your garden a tonic scratch line .
This simple technique breathes new life into trite plants , multiply your collecting , and keep those gorgeous peak come in back strong .
1. Choose the Perfect Timing
later summertime to former fall offers the sweet blot for iris division . Aim for 6 - 8 weeks after the net heyday have faded , giving plants fourth dimension to salt away push before the split .
Your local climate matters too — northern nurseryman should separate in July , while southern regions can wait until September . Morning hour offer cooler temperatures that minimize plant stress during this garden makeover .
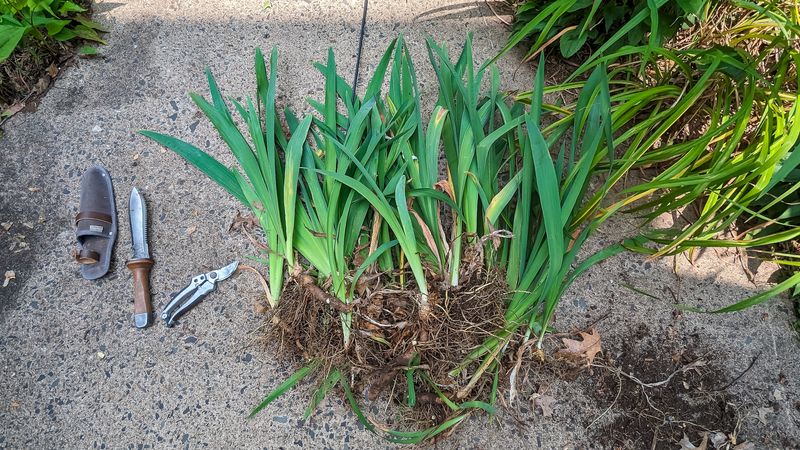
2. Gather Your Arsenal
acute garden tool make all the remainder when divide flag . Round up a sturdy garden ramification , sharp pruning shear , and a clear knife for exact cutting off . Do n’t forget your garden gloves !
A small tarp provides the perfect workspace to classify your rhizomes . Keep a bucket of water with a splash of blanching agent nearby to sanitize tools between cuts , preventing disease spread among your cute plants .
3. Trim Back the Foliage
Grab those pruning shear and give your iris leaves a haircut ! prune the buff - regulate foliage down to about 4 - 6 inches marvellous before digging up the plant . This fan - determine passementerie reduces water red and makes handling much easier .
The rock-bottom leafage surface help the plant focus vim on source development rather than supporting redundant foliage . Those trimmed fan will strike off where your new divisions should face when replanting .
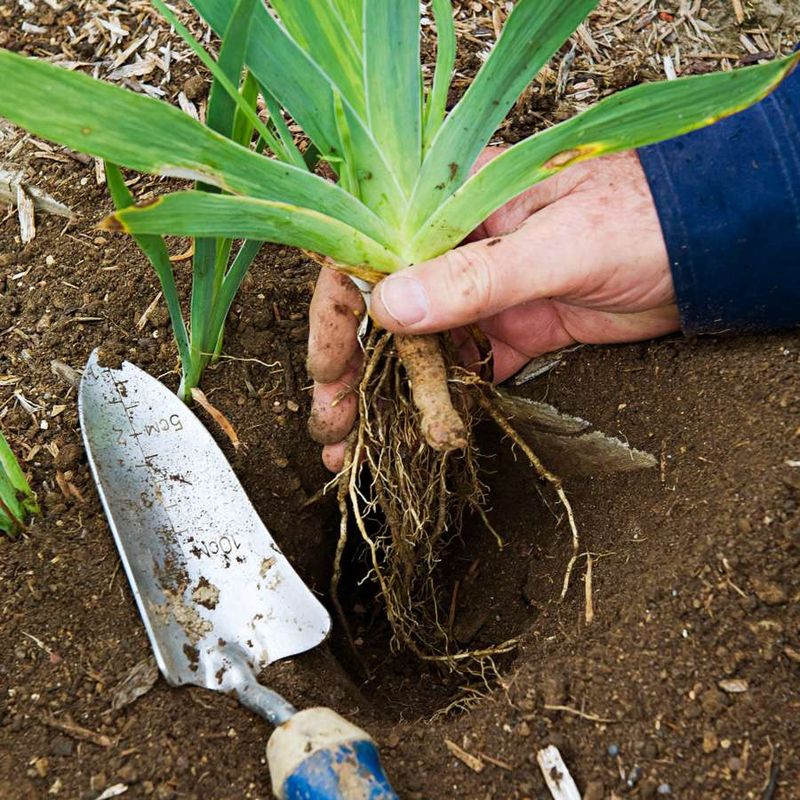
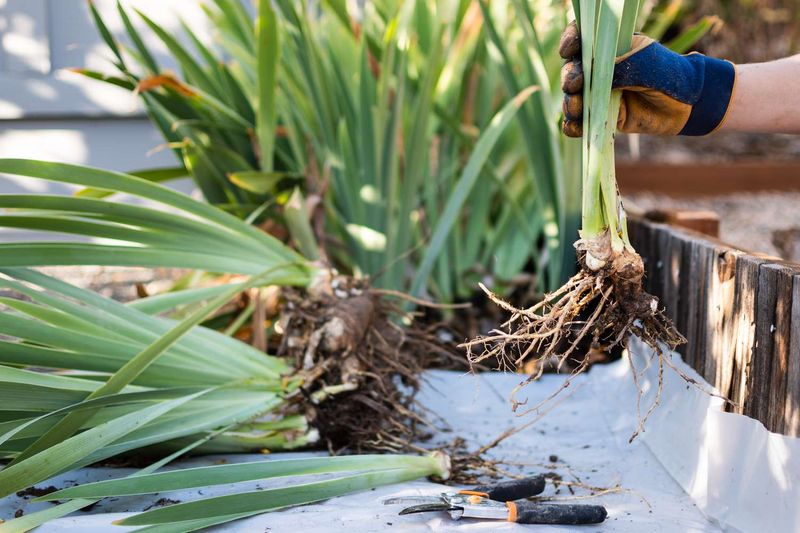
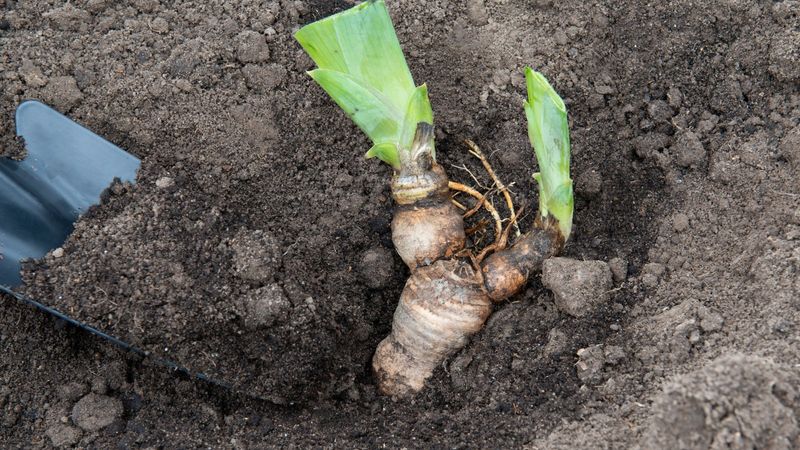
4. Excavate with Care
Start digging about 6 inches away from the knocked out boundary of the clump . shape your garden fork in a circle around the iris thump , gently pry upward to invalidate damage the rootstalk .
Rock the fork back and forth to tease the soil ’s grip . Patience pay up off here — rushing might snap those precious rhizomes . Once loose , wind the entire lump and shake off excess soil to reveal the hugger-mugger net .
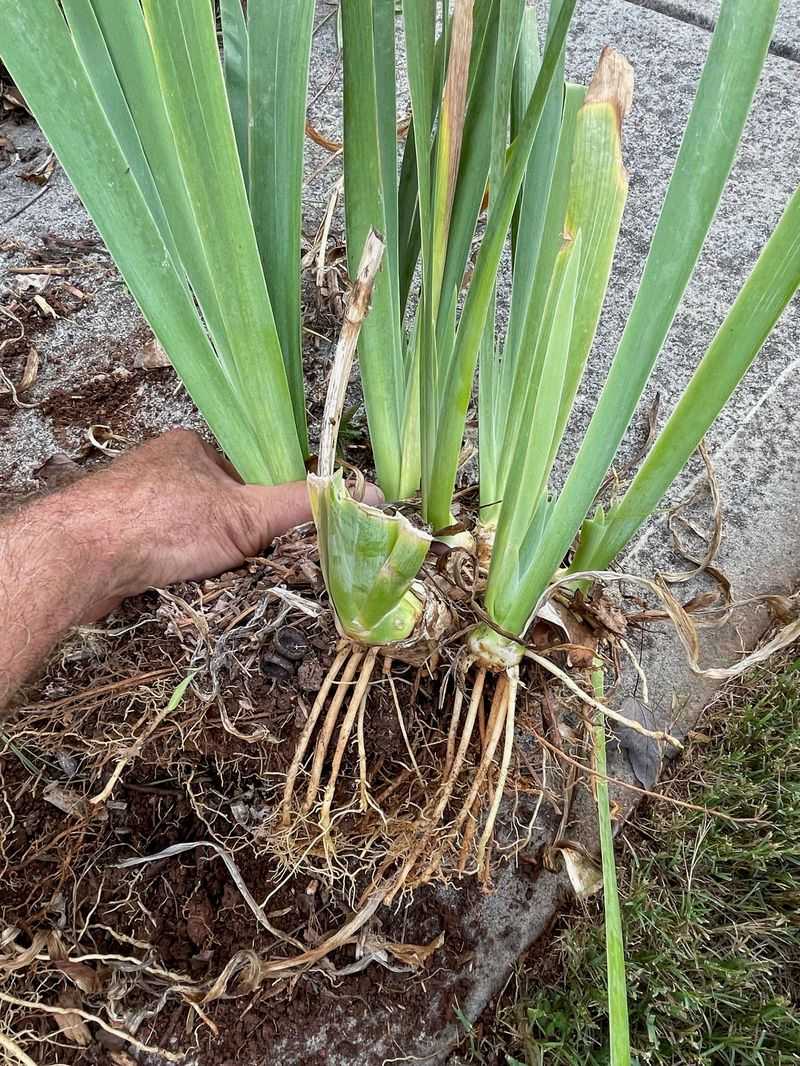
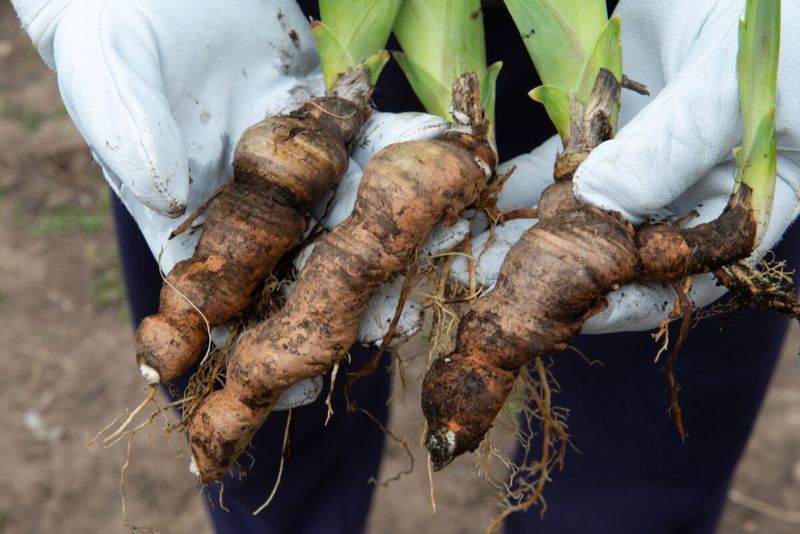
5. Rinse and Inspect
Garden hose in helping hand , gently spray away the remaining soil from your iris clump . This grunge shower reveals the unfeigned condition of your rhizomes and make spotting problem much easier .
Look for firm , embonpoint section with sizeable root word . Soft spots , holes , or mushy areas signal hassle — these need remotion . Those ointment - colored rhizomes with pencil - thick roots and green leaf fans are your garden gold !
6. Divide and Conquer
Armed with a incisive knife , separate the rhizome clump into individual sections . Each division should admit a rooter of leaves and a 3 - 4 inch plane section of rootstock with healthy roots attached .
Natural breakage point often appear where younger rhizomes satisfy older ones . Fresh cut heal better when made cleanly rather than torn . Remember to sanitize your knife between cuts to prevent spreading any concealed diseases .
7. Perform Health Inspection
Play garden detective and examine each segmentation closely . sound rhizome feel firm like carrots — not flaccid or spongy . Discard any sections showing signs of rot or insect damage without mercy !
belittled holes may show iris borers have invaded . front for the freshest sections with unshakable white shape and strong devotee . Those previous , woody center sections with few leaves ? throw away them in the compost — they’ve given their practiced years already .
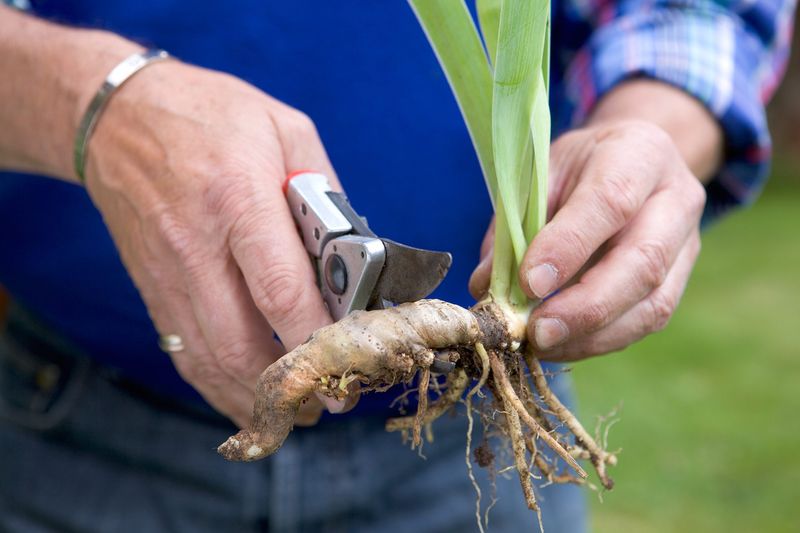
8. Prune the Roots
Grab those pruning shears again and trim the roots to about 3 - 4 inches long . This root haircut stimulates raw growth and make planting wanton . Do n’t concern — your sword lily wo n’t mind this trimming !
While you ’re at it , remove any Robert Brown , unchewable roots that feel all in or slushy . unfermented , firm root in creamy bloodless or light tan colors signal healthy divisions . This root pruning helps keep the partitioning from competing with themselves when replant .
9. Let Them Sunbathe
Give your saucily cut rootstalk a day to dry in a shaded , windy spot . This brief curing period allows cut open to form a protective callosity , cut down the risk of rot after planting .
put down them out on cardboard or paper , making sure they do n’t touch each other . deal dusting the cut ends with garden sulfur or cinnamon as a natural fungicide . Just 24 hours of this air handling take in a world of dispute to their survival charge per unit .
10. Prepare Their New Home
Before those rhizome return to the earth , refresh their planting bed . Dig the soil 10 - 12 inches rich , mixing in compost to meliorate drainage . iris hate wet foot more than anything !
make small mounds in the bottom where each rhizome will sit . These mini - hills ensure body of water drains off from the rootstock . For clay soils , summate supernumerary sand or moxie to prevent next rotting problems . Your irises will thank you with prolific blooms next season .
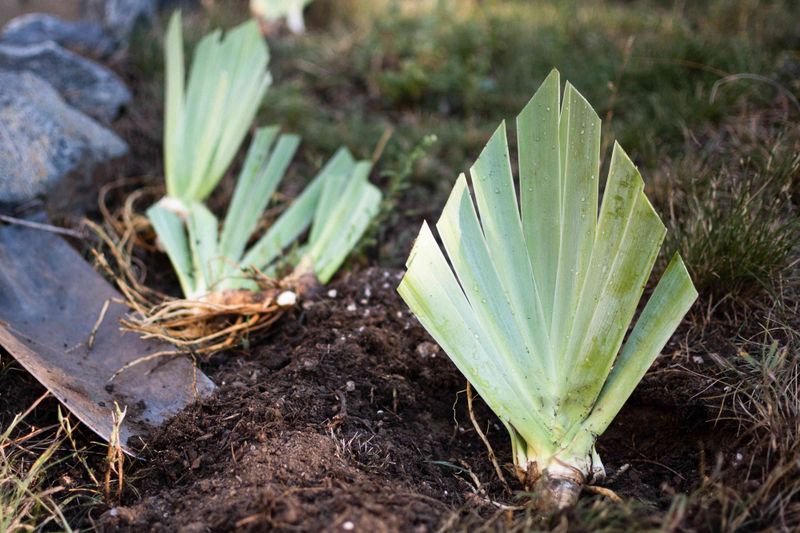
11. Plant with Precision
Position each rootstalk atop its dirt mound like royal house on a throne . The top should sit just at or more or less below the soil surface — never buried deep ! envisage the rhizome sunbathing while its roots reach downward .
Fan the etymon down the sides of the mound and gently firm soil around them . Keep the leafage sports fan facing outward , away from the center of your plan cluster . Space divisions 12 - 18 inches apart to give them room to spread their wings .
12. Water Wisely and Mulch
Give your fresh planted divisions a gentle shower bath — just enough to settle the grime without waterlogging . limit your watering instincts in the coming weeks ; overwatering leads to rot quicker than anything .
put on a light mulch of pine needles or straw around — but not touching — the rhizomes . This mulch mantle subdue weeds while allowing aviation circulation . water system only when the top inch of soil feels dry until new growth appear , signaling successful establishment .
© HGIC, Clemson – Clemson University
© Gardenista

© Gardeners’ World
© Midwest Living
© Rural Sprout
© The Spruce
© The Spruce
© Gardeners’ World

© Purdue University
© Epic Gardening
© Blooming Backyard
© Gardening Know How
