We may garner revenue from the Cartesian product available on this page and participate in affiliate programs . Learn More ›
Drywall is tough , but it ’s not indestructible . Over fourth dimension , gypsum - board walls can sustain horrible crevice or holes . luckily , drywall is well-heeled to mend easily , but there is an art to it . Here ’s how to piece a trap in drywall so it ’s insensible to landlords , homebuyers , or visitor .
DO use the right type ofjoint compound.
When recompense small scratches or dents smaller than ½ column inch across , fill them with a thin stratum of joint chemical compound ( also jazz as drywall mud ) . Apply using a 3- to 4 - inchputty knifemade for indemnify drywall — rather than , say , the kind of narrow public utility company tongue you ’d use for Sir Henry Joseph Wood putty — smoothing the filler till it ’s flush with the rampart . Cracks or yap great than ½ column inch require reinforce meshing prior to spackling . If you implement joint chemical compound directly to large gouges , the wrong will reappear as the house settles and the joint chemical compound prohibitionist and crumbles .
DON’T waste timepatching drywall.
Avail yourself of pre - made products designed to simplify mend tasks . patch up drywallusing kits with reward marrow panels for larger cakehole and ego - adhesive tape for smaller holes . A dry wall compound and priming combo , such as3 M Patch Plus Primer , lead a Earth’s surface that ’s quick to paint .
DO remember that neatness counts.
Use a box cutter or other sharp blade to dispatch random strands ofdrywall tapeor frayed edges of wallboard paper around holes or cracks before implement joint compound . Otherwise your ruined work will show bumps and other blemishes .
DON’T cut hidden electrical cords.
Be safe and do n’t cut into a wall to repair a hole until you affirm that electrical corduroys and plumbing system lines are n’t run through the space behind it . If the hollow is just a few in wide , shine a flashlight into it to see what ’s there . If you must enlarge the hollow , cautiously tailor horizontally with a drywall saw — but avoid going deep than an inch . It ’s dependable to assume that hot conducting wire will be present near an electrical outlet , but do n’t wager your life — or life rescue — that homebuilders or renovator followed all electrical and bathymetry computer code . Wires and pipes are often found where theydon’tbelong .
DO keep it light.
Less is generally more when it come in to joint compound . A thin coat is easier to sand , and you ’ll be less probable to take away too much while sanding and reveal the patch . Also , for joint compound to come out flush with the bulwark near the harm site , “ plumage ” the clay as you apply it . have the knife at a 70 - degree angle , pressing harder on the outer edges of the mud as you move out from the sum .
DON’T skimp on sanding afterpatching holes in drywall.
If you cut corners onsanding drywallthe mending site will be obtrusive , so take your time . Once the repaired area is dry , take to it with some fine - guts ( 100 or 120)sandpaper . After the first turn of sanding , add a second bed of mud , spreading it about 2 in beyond the boundaries of the first stratum . Once dry , re - sandpaper your hangout .
DO use protection.
The o.k. particulate of wallboard compound could spite your lungs if inhaled . So always wear a detritus mask when sand drywall compound . Disposable glovesare also a good idea to protect your hands from the dehydrating impression of gypsum detritus .
DO usedrywall patchesfor larger holes.
If you ’re fixing damage that ’s larger than a small nail trap , you ’ll need to use a mesh dry wall patch to complete the repair . Resist the impulse to attempt to make full the hole with spackling compound as it will collapse after it dry out . Most drywall repairkitscome with everything you need for wall repair , include the mesh , spackling compound , putty knife , and sandpaper . Begin by placing the patch over the hole , then spread joint compound over the patch and polish around the sharpness . Once dry , sand until fluid .
DON’T overlook popped nail heads.
As a abode settles , its frame can twist . This tress move can advertise the nails holding the wallboard to the wall studs outwards , creating a visible bulge known asnail pops . While you may tap that nail head back in with ahammer , it will eventually go its way back out again . For a more permanent fix , tap the nail in , then aim two drywallscrewsin about an inch above and an in below the nail head . The screws will go for the drywall to the wall stud , preventing it from shifting and pushing the nail back out . Once the screw are in blank space , employ drywallspackleto cover up the holes .
DO replacedrywall corner beadto repair damaged drywall corner joints.
In plus to nail pops , a settling mansion can also do the recession wallboard bead to crumple , crack , and crumble . If the wall recess was made with paper - facedcorner bead , simply cut out the damage area using a utility knife . Use tin snips to cut a novel piece of paper - faced bead to supplant the damage piece . Apply a new pelage of mud over the damaged corner using atrowel , then push the new piece of corner bead onto the area . clay the sides , grant to dry out , then sandpaper suave and refinish with paint .
DON’T underestimate the cost of professionaldrywall repair.
While there ’s nothing wrong with calling adrywall repair professional , it ’s important to understand how much more it will be than doing the task yourself . A professional will level at least $ 75 to repair small holes up to 4 inch in diam , according toFixr . Expect to pay between $ 200 and $ 550 to repair multiple holes and cracks in a individual way . posit wallboard is a DIY labor that can salvage you a considerable amount of money . In fact , a drywall darn kit that includes all the necessary fabric for furbish up a lowly hollow , like thisrepair outfit from 3 M , only be about $ 10 .
DO use furring strips when applying a largedrywall patch.
gear up a hole in drywall that is more than 6 inch spacious requires you to use furring striptease to provide fair to middling support to ensure the repair holds up . Begin by turn out a slice offurring stripthat ’s 4 inches longer than the trap . Drive a drywall screw halfway into the center of the strip . Holding the strip by the roll in the hay head , place it inside the hole . Position the furring cartoon strip so that the drywall overlap it on either side . While hold the furring strip strip in position , drive several screw through the drywall into the furring strip so that it ’s secured in place . Next , attach the raw small-arm of drywall to the furring strip landing strip using drywall screws .
DON’T forget to usedrywall tapeto prevent messy seams.
Many DIYers cut corners by failing to use drywall tape when muddingseams . This is a mistake . Drywall tape helps hold the joint compound in place , preventing it from sagging as it dries or crack and dilapidate out of the bed over clip . There are several styles of wallboard tape you’re able to utilize . While most pro use paper tape because they can use it quick and it proffer the smoothest finish , it can be difficult to work with . While it does n’t offer the same culture , ego - adhesive tape is much easier to use . If you ’re restore dry wall in privy , basements and other areas exposed to high humidity , utilize moisture - resistant tape measure .
DO locate wall studs before you begin.
If you ’re accept on a larger fixture that involves cut out a incision of wallboard or adding furring strip airstrip , it ’s a good idea tolocate the wall studsbefore you begin . Utilities , include your house ’s electric wiring and plumbing , run along the studs in the wall of the home . name the scantling placement before curve or applying fixing to a section of drywall to obviate come into contact with wire or pipes . If you ’re resort nail pops , describe the stud is easy . Simply utilize alevel , run along it up vertically along the nail pappa and draw a logical argument with a pencil to identify the stud ’s location . If there are no visible nail heads in the wall , use astud finder .
DON’T forget to inspect.
Think you ’re done ? Not so fast ! Run your paw over the repair to control that it feels legato . Then , with your synagogue against the paries , look for protuberance that might need more sanding .
Once you ’re satisfied with the face and sense of your patch job , prime and paint the surface area . No one will ever know your secret !
Everything You postulate for a Lush and Healthy Lawn

Photo: istockphoto.com
Keeping your sess green and your plant thriving does n’t just take a green thumb — it start with the right tools and supply .
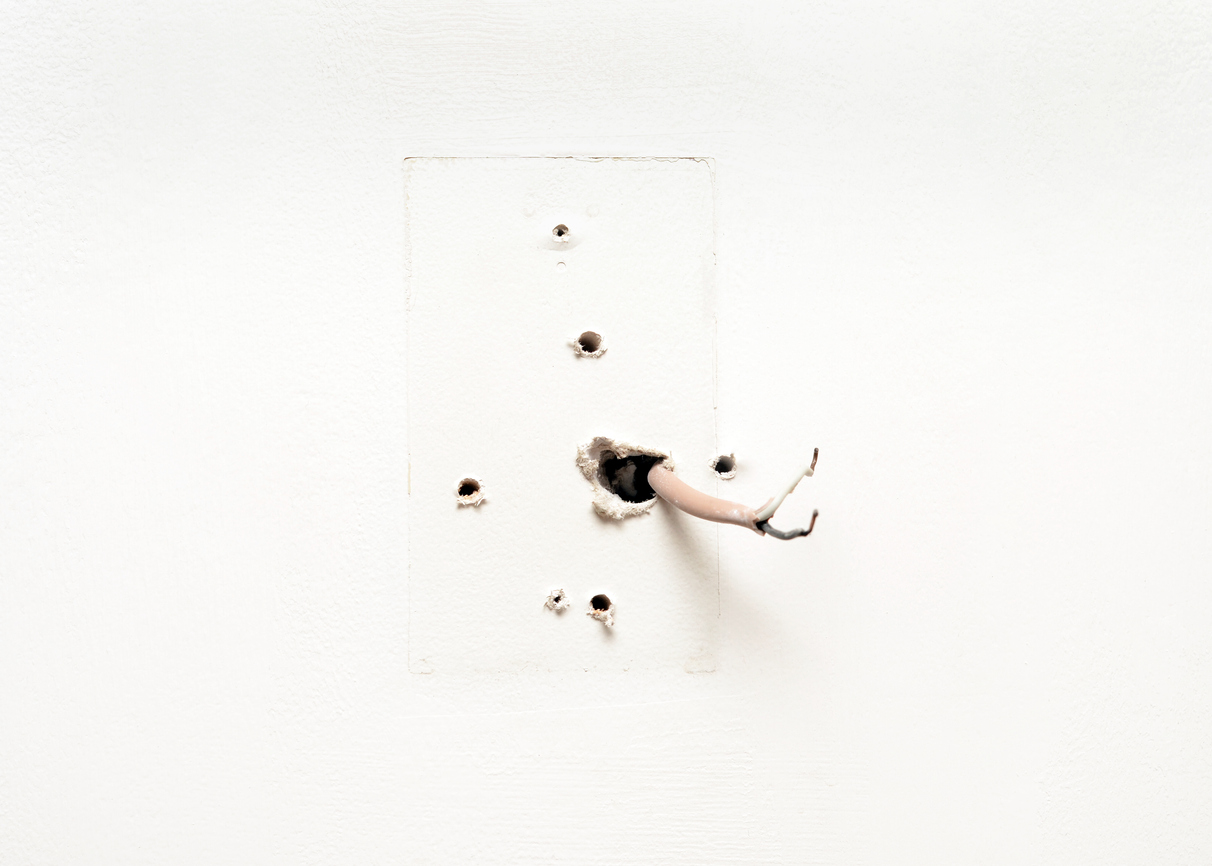
Photo: istockphoto.com
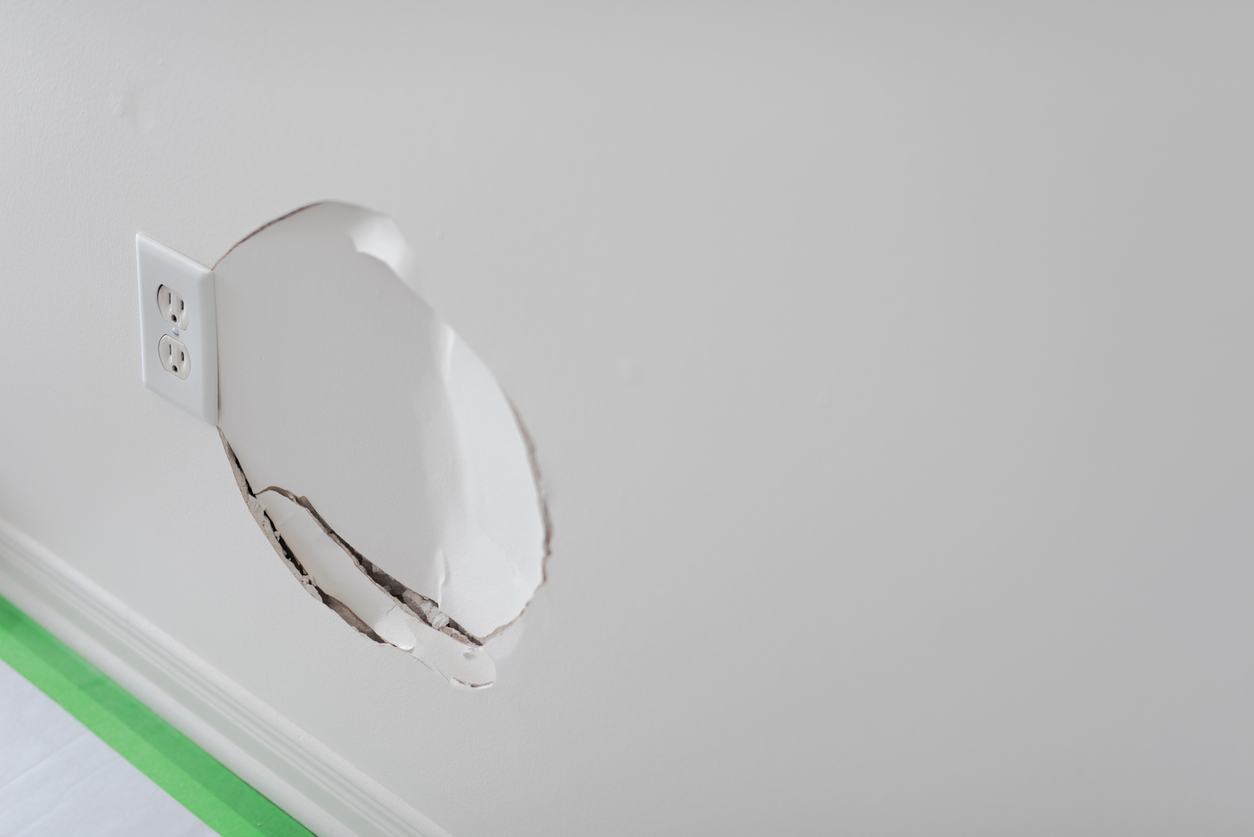
Photo: istockphoto.com

Photo: istockphoto.com
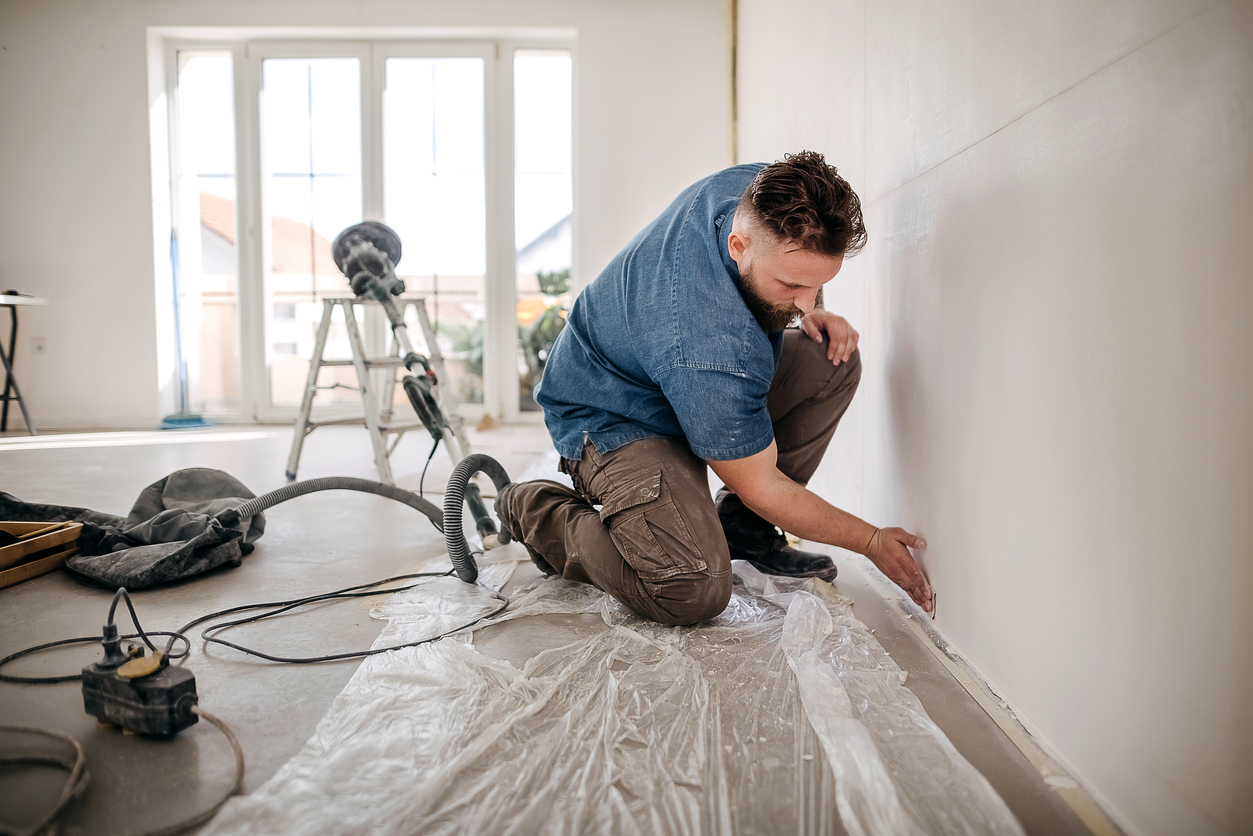
Photo: istockphoto.com

