There ’s something undeniably trance about rosiness — their delicate flower petal , intoxicating fragrance , and vibrant chromaticity . Yet , for many nurseryman , the idea of rise roses from buds seems like a near - impossible challenge .
But what if I told you that this seemingly intricate process could be broken down into simple steps ? Imagine pluck a tiny bud from an install rose bush and nurturing it into a full - blooming masterpiece of your own .
Sounds almost magic , good ? Whether you ’re a gardening tiro or a seasoned professional , learning how to propagate roses can be not just doable , but implausibly rewarding . lease ’s demystify the physical process and show you how this gardening graphics can be your next achiever story .
Why Grow Roses from Buds?
The question that always forgo this eccentric of projection is : Why go through the hassle ? Why not purchase a to the full grown come up plant from a glasshouse and skip the whole mental process ?
It ’s true that buying a rose plant gives you a header start , but there ’s a degree of satisfaction that amount with nurture something from almost nothing .
Growing rosebush from buds allows you to procreate your existing plants or introduce a rare smorgasbord into your garden without spending a dime bag . It ’s essentially free gardening — a slow investment that bear off in time .

Selecting the Right Rose Bud
Moreover , propagating roses is a bite like gardening chemistry : turn a small , seemingly insignificant piece of a works into a thriving bush that rewards you yr after year with breathtaking bloom .
You do n’t need to be a professional to do this , but you do need a bit of longanimity and some key know - how . Let ’s plunk into that .
Step 1: Selecting the Right Rose Bud
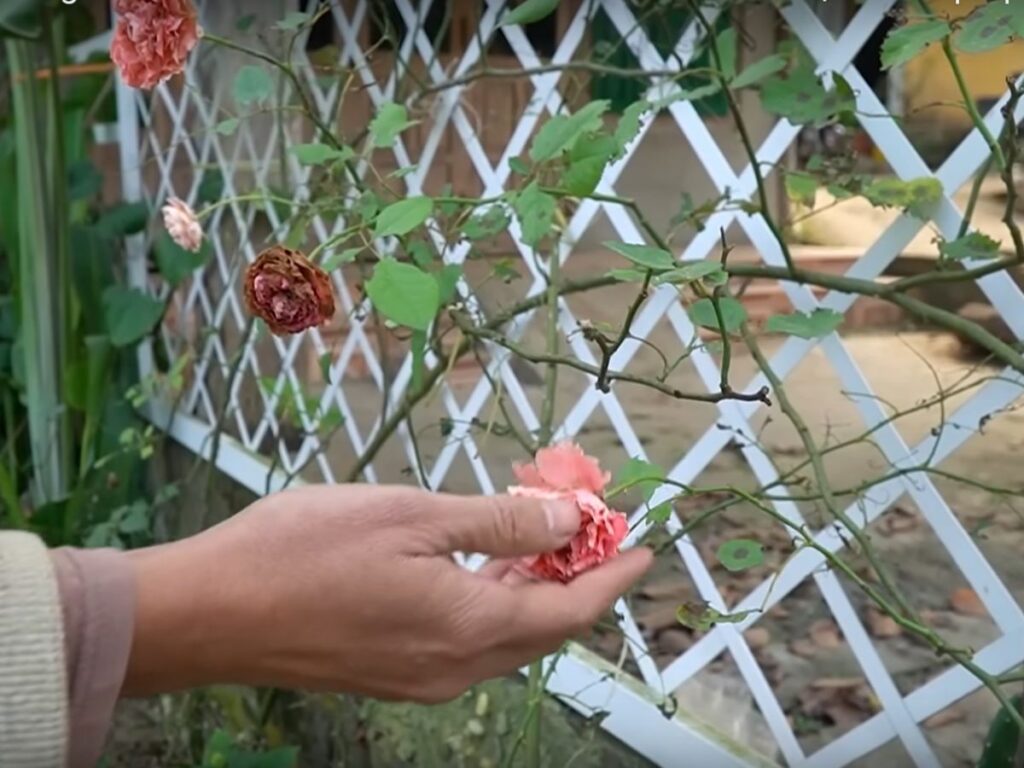
The first and most important part of the process is choosing the right-hand bud . You want to start by selecting a hefty , mature rose from your existing garden or a friend ’s garden .
The ideal time to take a slip is during the early summer months , when the rose has finished blossom but the Sir Henry Joseph Wood is still semi - piano . This phase is called “ deal , ” have in mind it ’s not too green and not too woody .
Here ’s the matter about roses : not every stem will play . You need to piece a stem that is uncoiled , healthy , and has several leaf thickening ( the bumps where the leaves sprout ) . A good rule of pollex is to select a stem that is about the thickness of a pencil .
Once you have your stem , cut about 6 - 8 inch of it with a pair of sharp , sterilize pruning shear . Be certain to snub correctly below a leafage node , as this is where new source will start to grow .
Keep the cut hydrate by immediately placing it in a jar of water or wrapping it in a damp newspaper towel .
Step 2: Preparing the Bud Cutting for Propagation
Now that you have your rose cutting off , the next step is to prepare it for rout . This part can sense a bit delicate , but once you ’ve done it a few time , it becomes second nature .
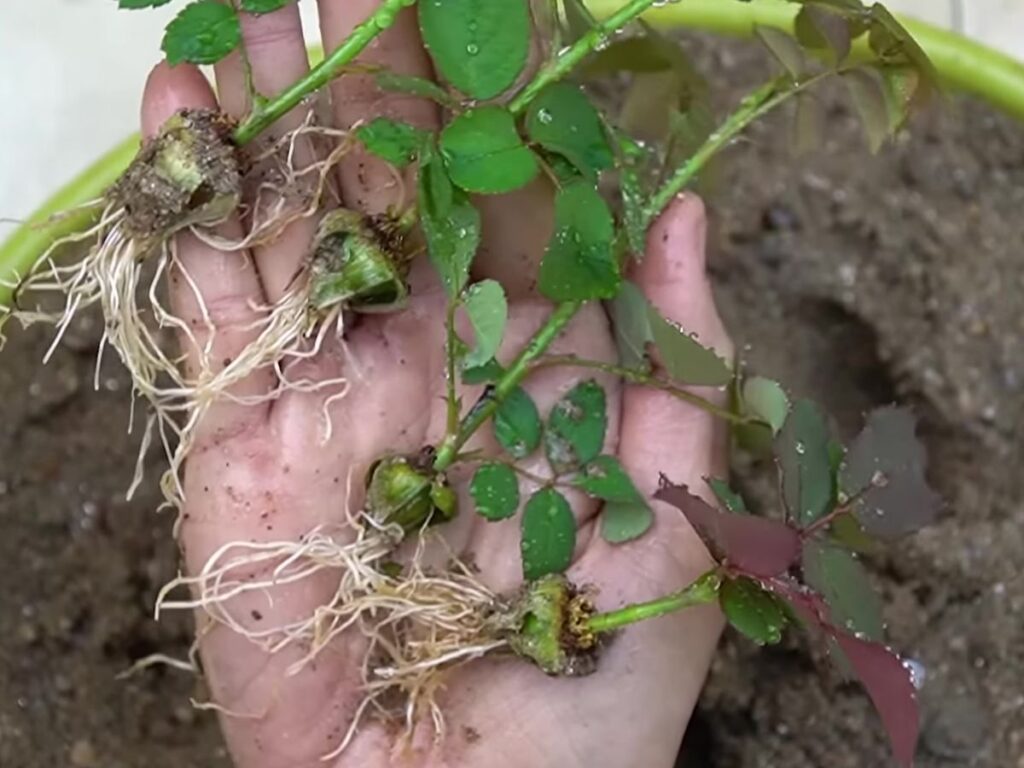
First , hit the leaves from the low half of the newspaper clipping . The reason for this is simple : you want to minimize urine going while the cutting develops stem . If there are too many leaf , the cutting will lose moisture faster than it can grow roots , pass to a go wrong attempt . Leave a couple of leave of absence at the top to help oneself with photosynthesis .
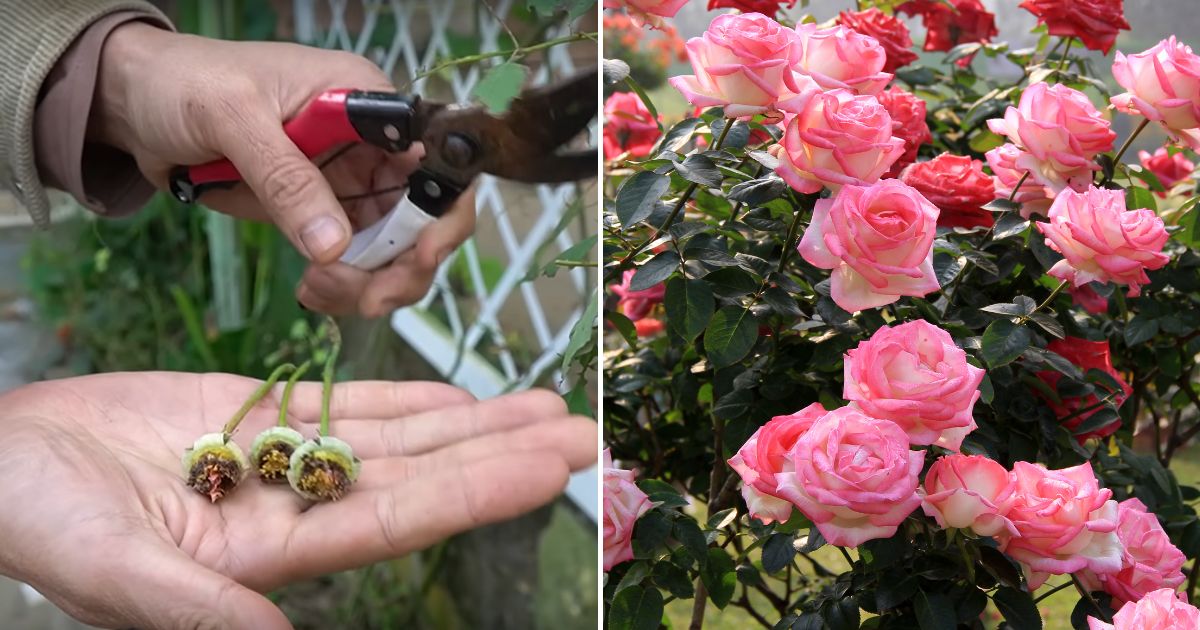
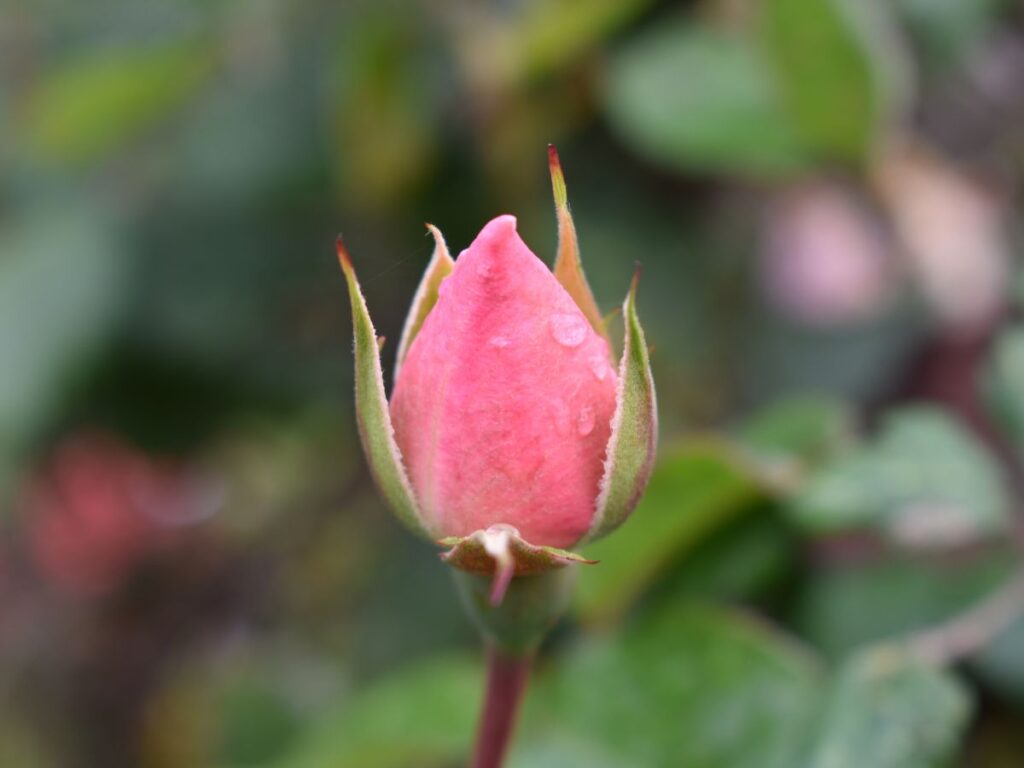
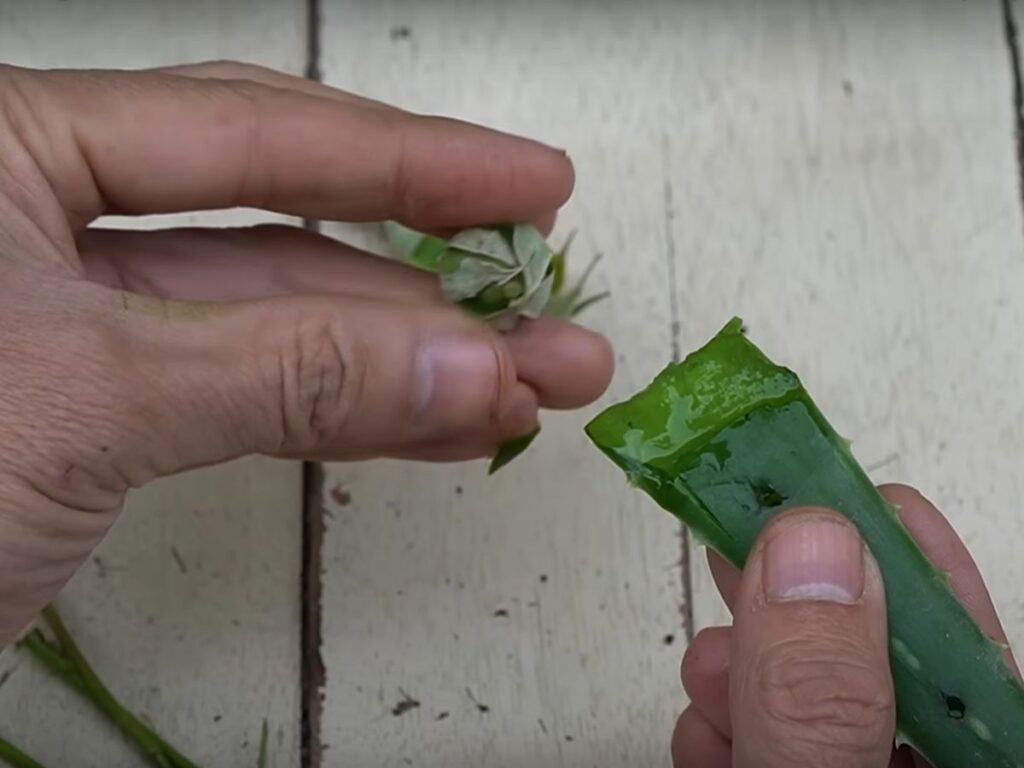
At this distributor point , you ’ll also want to absent any flowers or flower buds from the cutting . As tempting as it is to keep the flowers intact , they will only enfeeble the cut of muscularity that could be used to develop rootage .
Selecting the Right Rose Bud
Step 3: Rooting Hormone—To Use or Not?
Here ’s where things get interesting . Some gardeners swear by rout hormones , while others prefer a more natural approaching likealoe vera . Rooting hormone is a powder or gel that stimulates root growth in plant cuttings . It ’s like a boost of steroids for your flora babies .
To apply it , dunk the bottom of your cutting ( the part where you made the swing ) into the internal secretion , making sure to cover up the surface area around the leaf node . If you do n’t have rooting internal secretion on hand , do n’t care .
While it may speed up the process , rose are utterly able of rooting without it .
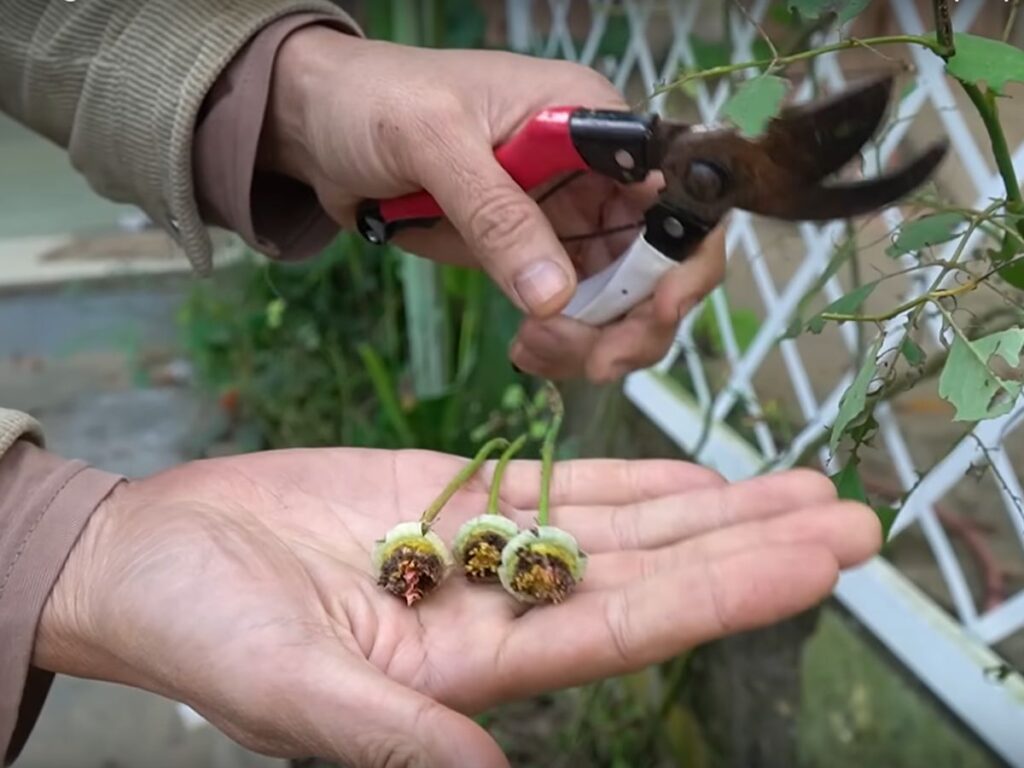
Buds after removing leaves and petals
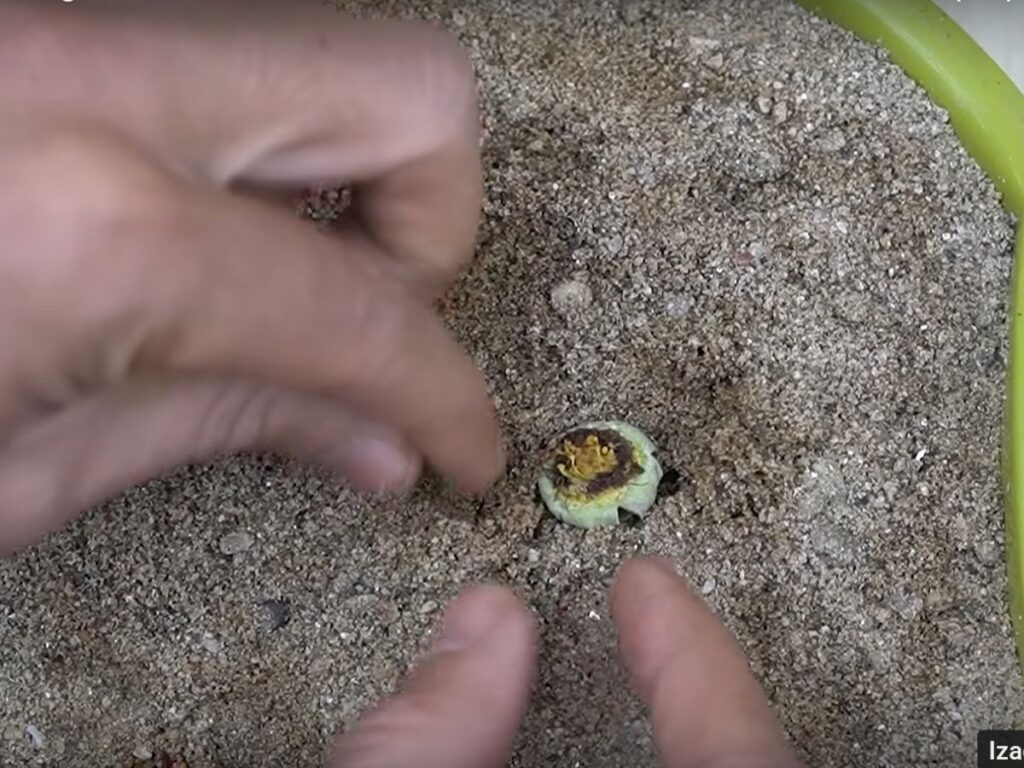
Step 4: Planting the Cutting
Now comes the exciting part — plant the press clipping . Choose a minor pot ( about 6 inches wide ) with drainage kettle of fish . occupy the pot with a well - draining soil mix , ideally one that includes equal parts perlite and peat moss .
This helps keep the cut from sitting in water , which can induce it to rot before it has a probability to root .
Make a hole in the soil with a pencil or stick and insert the cutting , making sure that the foliage lymph gland are buried . Press the grime gently around the cutting to hold it upright , but do n’t pack it too tightly .
Aloe Vera and Rose Bud Cuttings
After planting the cutting , water it softly but thoroughly . You do n’t want the soil to be muddy , but it should be equally moist .
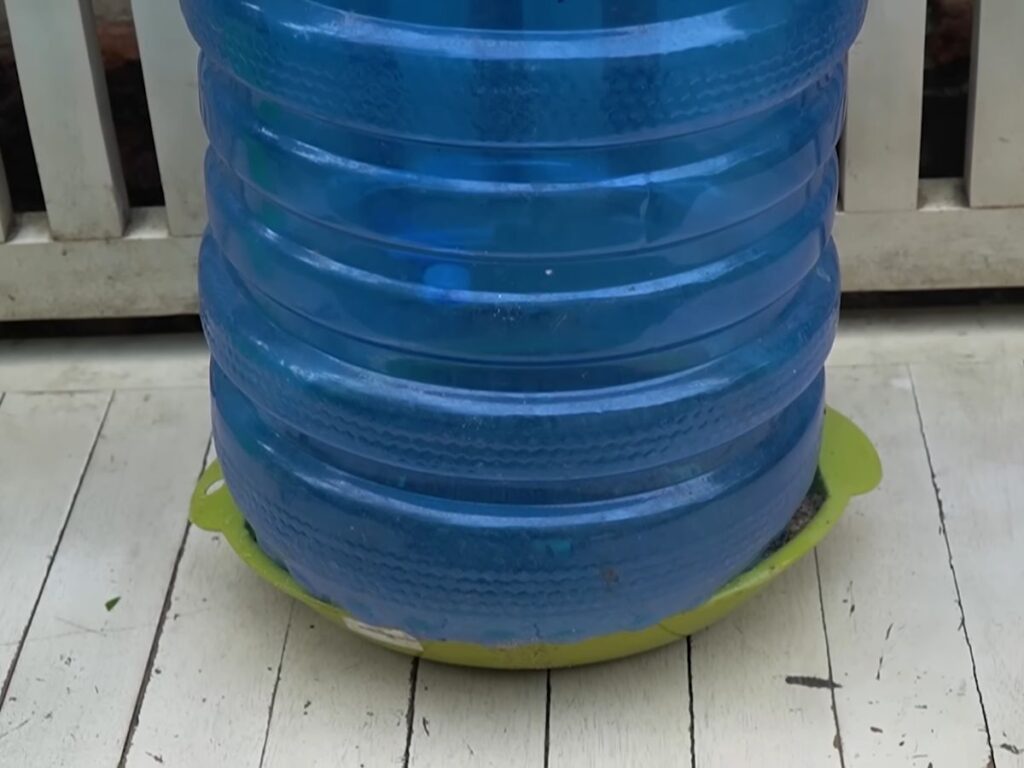
Step 5: Creating the Perfect Environment
Now , the finish is to create a mini greenhouse environs for your rosaceous cutting . This is crucial because rose cuttings ask eminent humidness to encourage beginning increase . One simple way to do this is by placing a shaping suitcase over the flock , produce a humid atmosphere .
Be sure the plastic does n’t affect the folio , as this could conduce to mold or fungal growth .
Another method is using a clear plastic container or trash shock to wrap up the cutting , making sure to leave some blank space for air to distribute . put the carving in a bright , ardent spot but out of direct sunshine , as too much heat can have the cut to dry out out .
Planting Rose Buds
Step 6: Patience and Monitoring
This is the severe part for most gardeners — waiting . It can take anywhere from a few weeks to a couple of months for rose cuttings to root . During this fourth dimension , keep the soil systematically moist , but avoid overwatering .
How will you know if it ’s working ? One sign that the cut has taken root is new growth appear on the stem . This is unremarkably a undecomposed indicant that roots are form beneath the soil .
Another way to test is by gently tugging on the cutting . If you feel electrical resistance , congratulations — you’ve successfully root a rose cutting .
Mini Greenhouse for Rose Cuttings
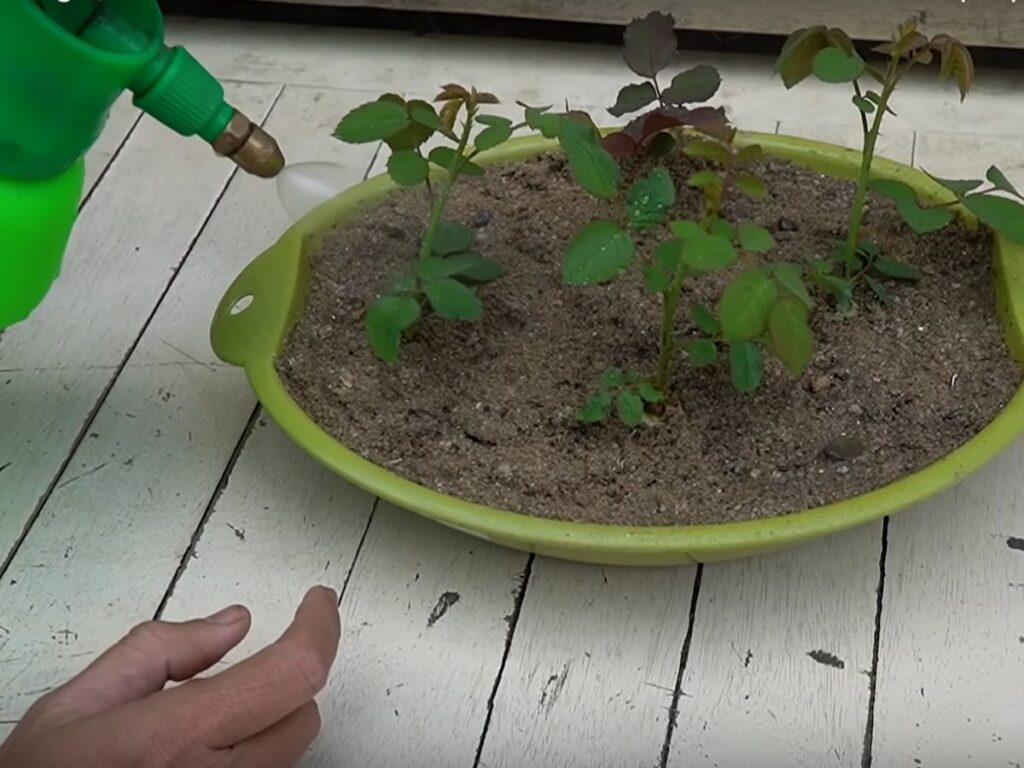
Step 7: Transplanting and Care
Once your cutting has evolve a healthy root system , it ’s time to transfer it into a larger pot or now into your garden . Wait until the roots are at least a couple of inches long before doing this , as they demand to be strong enough to handle the move .
Transplant the rose into well - enfeeble soil in a sunny patch . persist in to irrigate on a regular basis and supply the plant life with rose fertilizer to encourage strong growth .
Growing rose from bud is a rewarding process that transforms your relationship with your garden . You commence to see potential in every peak , sympathize that each heyday can become the start of something new .
Watering New Rose cuttings
Whether you ’re propagate a best-loved stand up bush or trying your hand at a rare variety , the good sense of accomplishment from growing your roses from scratch is unparalleled .
By following these simple steps , you’re able to live the delight of take in your rose cutting evolve into a thriving works , adding beauty and fragrance to your garden for long time to come .
Rose Cuttings Ready for Transplantation
