We may garner revenue from the products usable on this page and participate in affiliate programs . Learn More ›
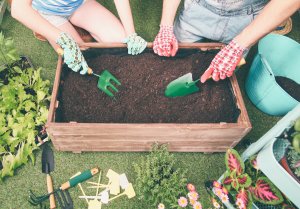
If you ’re itch to get your garden going , there ’s no need to look until the atmospheric condition out of doors is agreeable ( and really , your garden will thank you for your impatience ) . By growing plant from seeds that you start indoors , you ’ll save money and have access to a wider variety of vegetable , fruit , and flower than you could grease one’s palms at garden centers as seedlings .
Starting seeds indoors also helps extend the growing time of year for veggie like peppers andtomatoes , since hardened - off seedlings will be week ahead of seed inseminate direct in the ground . Although some plant , like cultivated carrot and beets , fare best when sow in forthwith in the ground , many others transpose well . What are you waiting for ? check more about starting seeds indoors and avoiding potential stumble in the outgrowth .
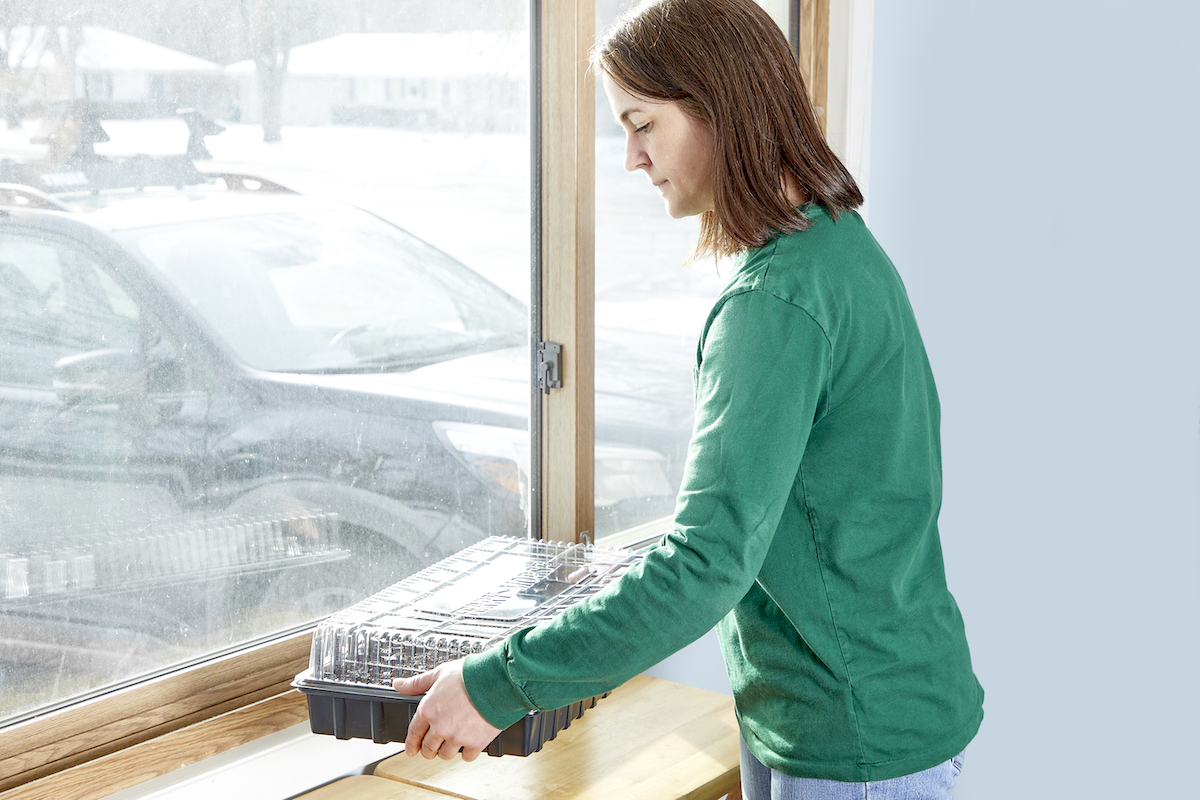
Photo: Tom Fenenga for Bob Vila
Tools & Materials
Bobvila.com may earn a delegation from purchase made through these links .
What toKnow Before You Sow
Some seeds require stratification.
Many seed can be sown as is , but some have extra prerequisite . If you ’re sowing only vegetable seeds and yearly flowers , you could likely skip this step . Some plants , however , ask stratifying , or chilling , to mimic the overwintering cycle a fallen source would undergo in nature . Among those that need stratification are dark - eyed Susan and some types of milkweed .
If yourseed packetcalls for stratifying , place the seeds on a dampened newspaper towel and fold the paper gently before slipping it into a zip - top moldable bag and placing it in your fridge . Depending on the seeds , they may need to stay in the fridge for 1 to 3 months ; the suggested shuddery clip should appear on the come packet .
Scarify your seeds, if called for on the packet.
Scarifying is the mental process of nicking the prohibited shell of a seed to encourage it to germinate . Some seed shells ( like those for nasturtiums and sweet-scented peas ) are so hard that the rate of germination is low-down unless they get a little help breaking out of their shells . A simple way to do this at family is to break off the border of the seed with sharp fingernail clippers — only enough to penetrate the hard racing shell casing and no more .
Start seeds at the right time.
A plant life ’s source packet lists the best sentence to set about the cum . Many veg seed should be go 4 to 6 weeks before the last expected Robert Frost day of the month in your area . Other seeds , including many recurrent bloom , should commence before , as much as 8 to 10 week or 10 to 12 weeks before the last rime day of the month . If you ’re starting perennial , make trusted the mature plant life will survive in your growing zone through wintertime .
Sow and Grow
Prep your mix for planting.
Pour sterile source - starting medium in a unobjectionable roll and summate just enough warm H2O to dampen it . utilization of a sterile intermixture , not garden soil , is important to avoid spreading diseases to the young seedling . source - starting mixture is designed to be lighter and airer so that seeded player and young theme can break away through the grime .
Fill up your tray.
buy a charge plate grow flat or tray designed for seed starting . A long , shallow container is designed specifically to oblige a growing plant and its root word . Seed - set about outfit might come with an insertable tray consist of multiple cells with drainage jam and a bottom tray to catch and hold H2O . receive a tray with item-by-item sections makes it easier to keep the roots of the seedlings separate after they start to grow , and the cells are tiny enough to contain one seedling each .
Moisten the seminal fluid mix well , so that it feel like a wrung - out poriferan . Distribute the moistened mixture between the individual cells in the tray and fill each one almost to the top . Another option is to set petite peat pot in a enceinte bottom tray or use peat starter pods .
Plot out the plants.
Make an indent in the top of the planting mix in each mobile phone , or make shallow rows if you ’re using a mat without item-by-item cells . The packet will say you how deeply the seeds should be plant , but the general rule is to plant a seed four time as recondite as its breadth . bombastic seeds , like cantaloupe vine and sunflower , involve to be found deeper than small , fine seed .
Drop in seeds.
Allot one source per cell or distribute them equally in the shallow rows . engraft each at the deepness list on the source packet . If the packet says they demand light to germinate , then do n’t pass over them ; these seeds may be sprinkle on top of the seed - start mix . If there are n’t teaching regarding light for the seed , enshroud them with the moistened mass medium to meet the advocate depth , patting the soil very lightly on top . Then , cover the seed tray with a check plastic top or with shaping wrapper to keep the metier from drying out .
Find an indoor spot with optimal temperatures.
Find a room - temperature or warmer spot for the seeded player tray , free-base on recommend temperature per the ejaculate label . Both the ambient air temperature and territory temperature can affect seed sprouting . Adding gentle bottom heat for the grease often raises the temperature 10 to 20 degrees . Use aheated growing pador put the tray on top of a refrigerator where it ’s slimly quick .
For seeds that require cool temperatures to germinate ( like carrot , pelf , or Swiss chard ) , find a coolheaded part of the house away from rut source until they sprout ( or start the seeds outdoors in spring as directed by the seed label ) .
Wait Until Sprouts Start
Check seeds daily.
Germination times depart by seed type , so check seeds daily for moisture and for the prospect to see a new sprout . Some cum ( such as lettuce and kale ) can germinate within a twosome of days , while others ( including perennial flowers ) can take two or more weeks .
Give sprouts the light they need.
Once the seed sprout , slay the plastic cover and move the seedlings near a gay window or place them undergrow lightsto encourage healthy ontogenesis . Do n’t place them in direct sunshine , where they can become too quick — a mesa near a sunny windowpane is sufficient . When using a grow light , lay it directly overhead if possible and keep the bulb about 2 to 6 inches above the airfoil of the sprouts ’ leaves .
Water carefully and consistently.
Water plant life as needed to keep the start intermixture moistness , but not sloppy . If the seminal fluid - starting mix is moist and the tray is covered , you might not have to add any more water to get the seed to spud ; if you do , a soft mist is the best selection . Once seedlings emerge , a few clues can help oneself you know when to irrigate : the tray feels lighter than normal , or the soil changes color or pull away from the side of the tray .
body of water sprouts cautiously , either from above with a gentle mist or rate of flow , or by pouring water into the tray beneath the slew so they can wick moisture up . Just be sure not to allow for standing water in the tray for long ; drain supernumerary water after the soil feels moist .
Provide air circulation.
When adjust a seed tray on top of the fridge or in a cupboard out of the fashion , recognize that the dirt might not get enough air circulation . want of moving air combine with wet soil causes fungi to boom . Damping offis a grime - borne fungal disease that often impress new seedlings , and can lead to death of the plants . One way to provide airflow is to place a little fan near the seed - growing region ; do n’t point the lover flat at tender seedlings .
Thin out seedlings.
If you ’ve duck your bets at seed - sowing time by site two or more semen in some or all cell , you will have to sacrifice a few starts . The small cells in most seed - starting trays are plan to hold a single industrial plant . Even if you sow in rows ( indoors or out ) , thinning starts observe the young plants from competing for resources and root space . As tough as it is to dispose of a successful sprout , it will pay off . Instead of pulling out the weaker of the offset , utilise a tiny duo of manicure scissors to lop it off at soil level ; this ward off agitate the other get-go .
Know when to pot up seed starts.
When the seedlings rise their first straight parting , graft them into private peat pots . This ensures they have elbow room to develop as they organize for transplanting outdoors . The first leaves that emerge are call seed leaf , or “ seed leaves”—the plant ’s honest leaves will develop next . As one or more sets of true leaves develop ( typically about 4 to 5 weeks after sowing ) , the seedling likely is strong enough to be transplant into a peat pot where it can stay until it ’s fourth dimension to embed it in the garden . Anygood potting soilwill do for sate the peat pots .
Get Ready to Garden
Prepare the garden for transplants.
Till and prepare your garden soil in preparation for the new plant life . bust up declamatory lump and murder twig and rock’n’roll . Most vegetables thrive in well - draining grime and full sunlight , but other industrial plant have different light requirement , so choose a spot that ’s suited for your specific plant .
Harden off plants to make the switch to outdoors.
After sprout have recovered from being pot up , and hopefully a calendar week or so before time to establish outdoors , place youthful pot - up plants outdoors in a protect area . This means out of the direct sun and wind at first . Gradually introduce them to outdoor conditions by bulge out with only an hour or two of photo the first trip outside and more meter and sunlight each subsequent day as they reach military posture .
Called “ harden , ” this gives the tender plant a probability to conform to the outdoor surroundings before you move them to their final growing spot . After harden , transplantthe young plants into the garden , leaving the peat pots in lieu if you care — they should biodegrade in the soil ( or remove and compost them ) . Just be certain to tear off the top half - column inch of each pot so it wo n’t wick moisture from the transplanting , and the bottom of the quite a little to ensure soft root can go through . After planting , water the novel transplants well to give them a dear start in the garden .
Final Thoughts
The advice above can avail newfangled gardeners ’ chance of achiever by see seed and young seedling get the ripe water , light , filth , airflow , and quad to originate . All you have to do is combine these tips with the wealthiness of information on each industrial plant ’s germ packet , so be sure to study those labels .
The other indemnity for success is experience , even a failure or two . Make notes on what does and does n’t so you may adjust for the next round of indoor ejaculate take up .
Our Best Advice for Beginner Gardeners

Photo: Tom Fenenga for Bob Vila
We ’ll aid you correct up your first garden — whether that ’s a few weed on your patio , a raised bed , or an in - ground plot out back — and select the right plants for your soil and area .
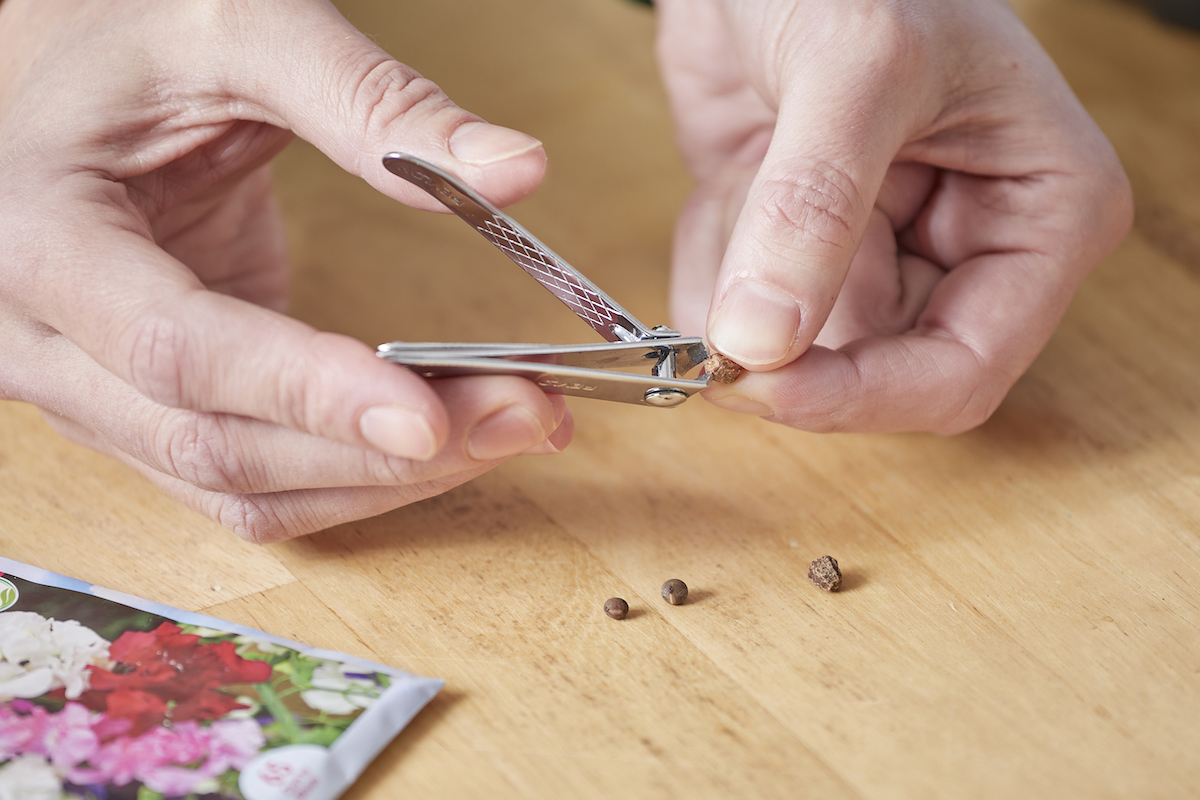
Photo: Tom Fenenga for Bob Vila
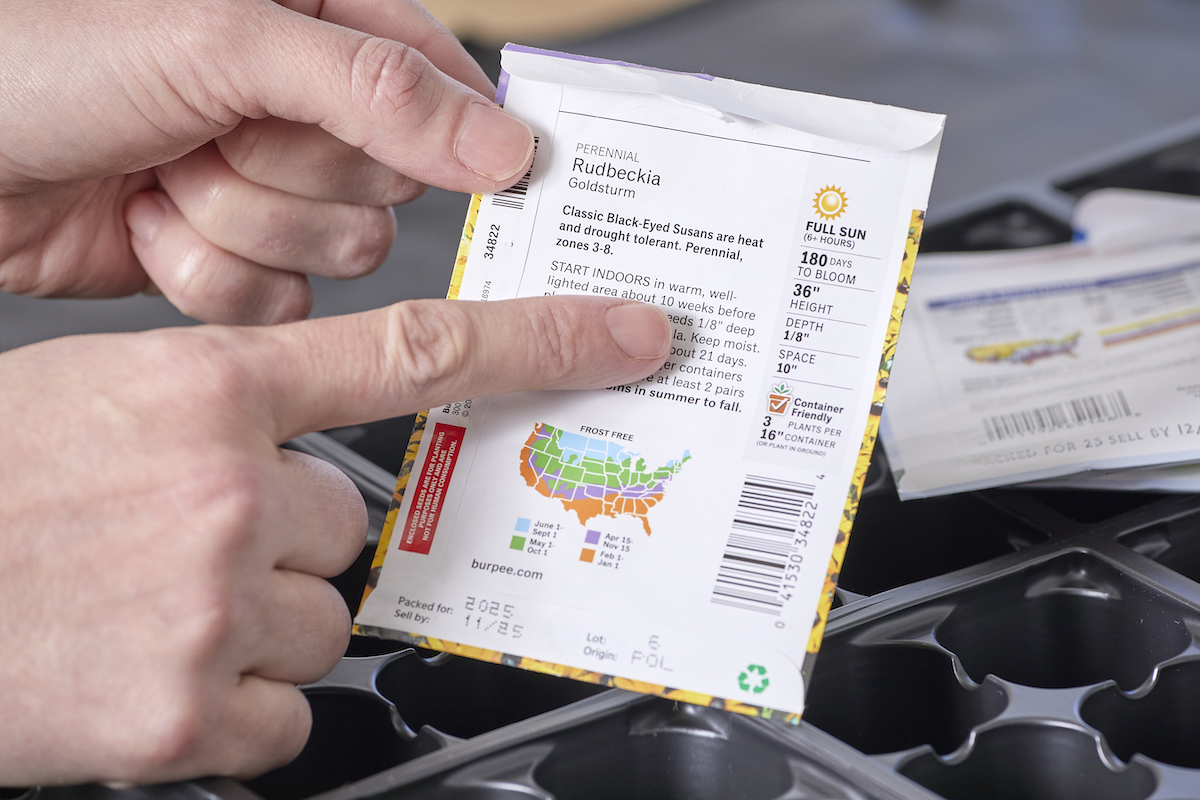
Photo: Tom Fenenga for Bob Vila
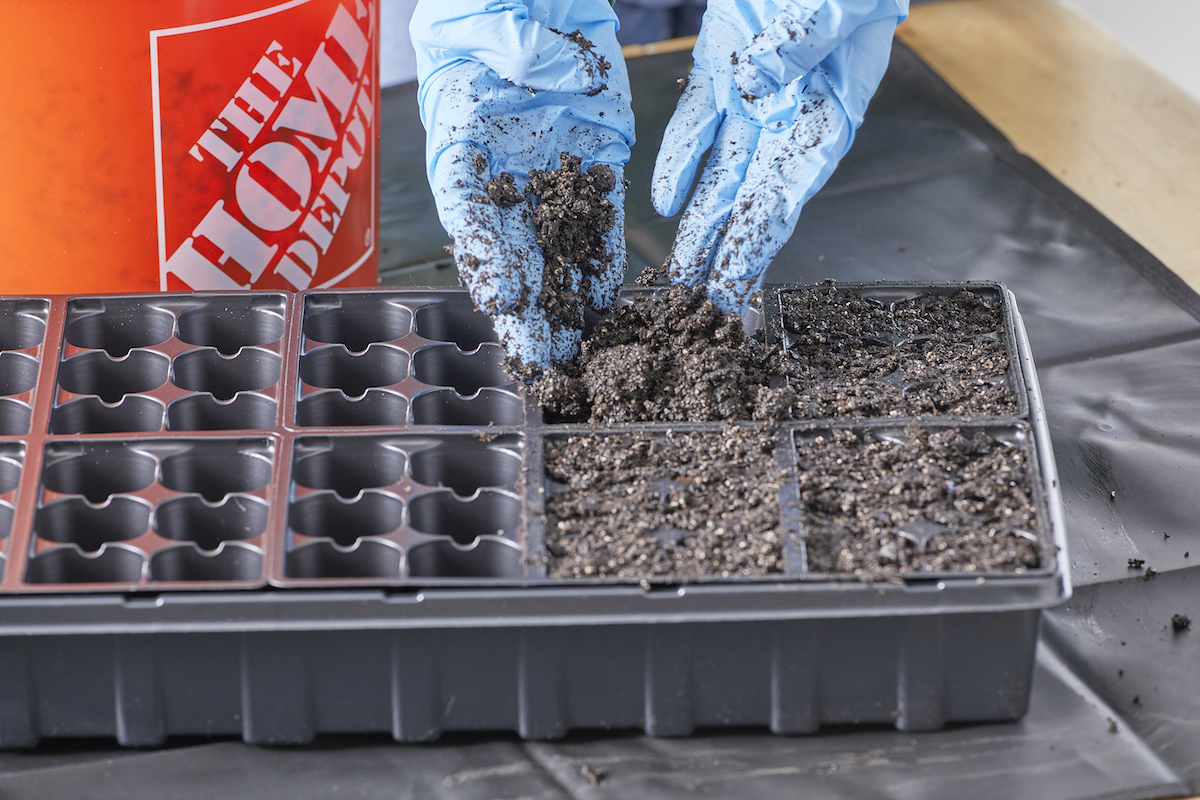
Photo: Tom Fenenga for Bob Vila
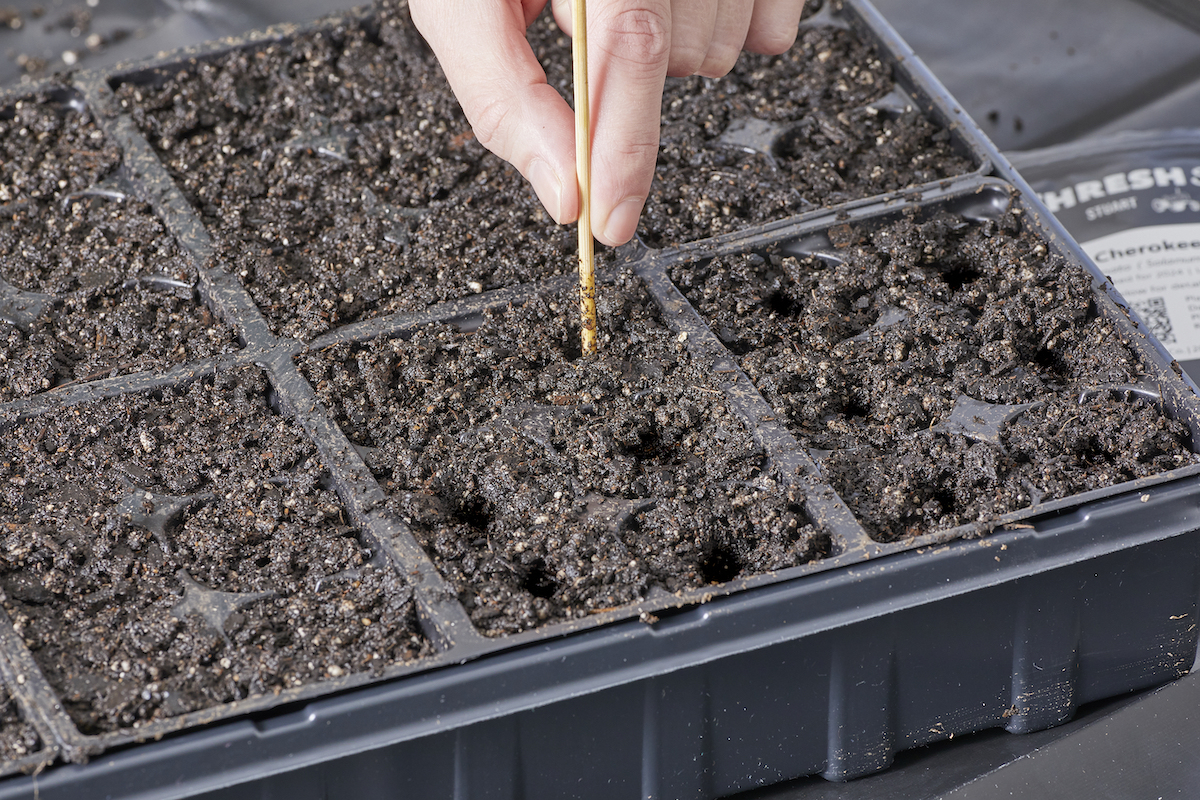
Photo: Tom Fenenga for Bob Vila
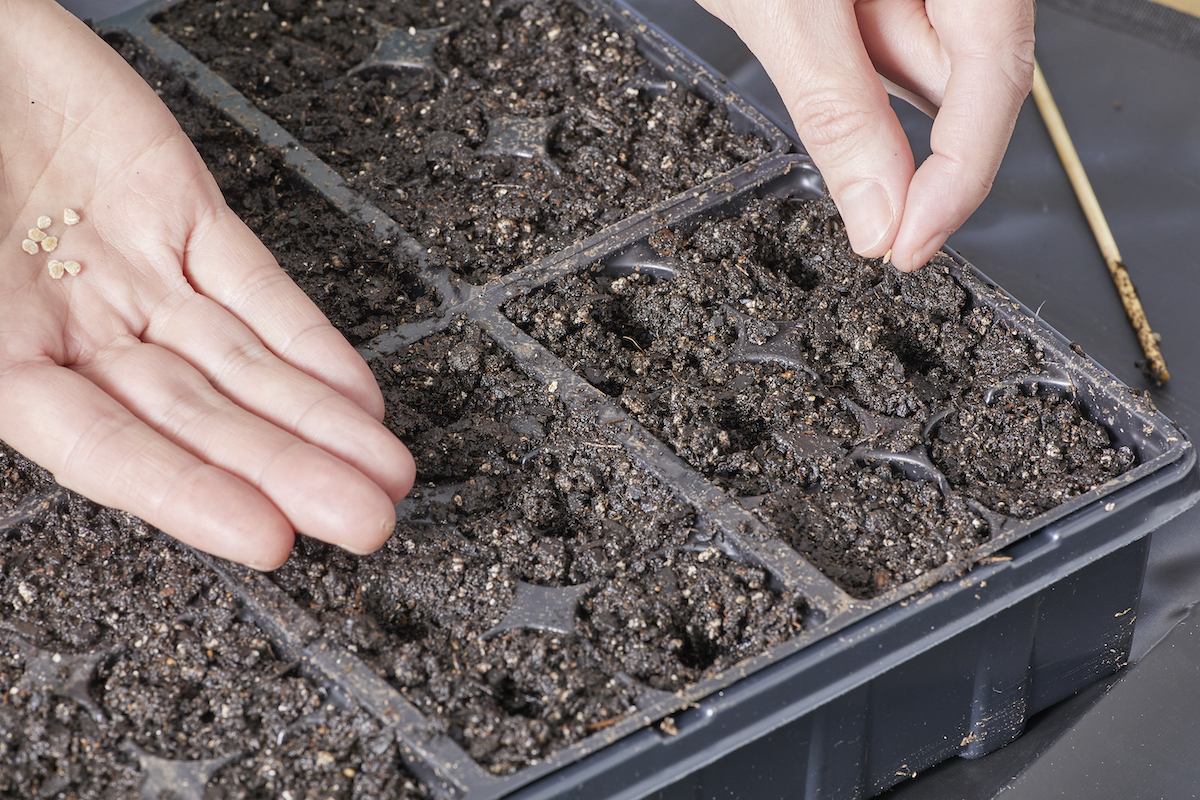
Photo: Tom Fenenga for Bob Vila
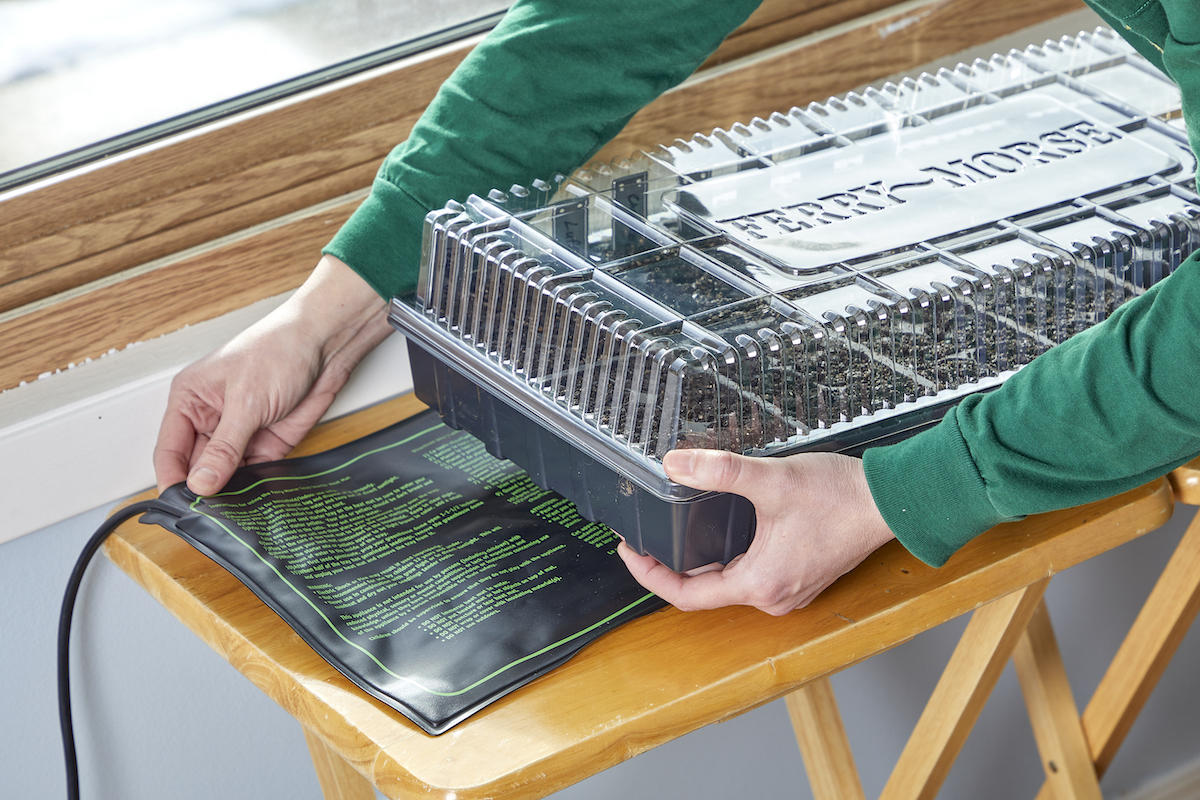
Photo: Tom Fenenga for Bob Vila
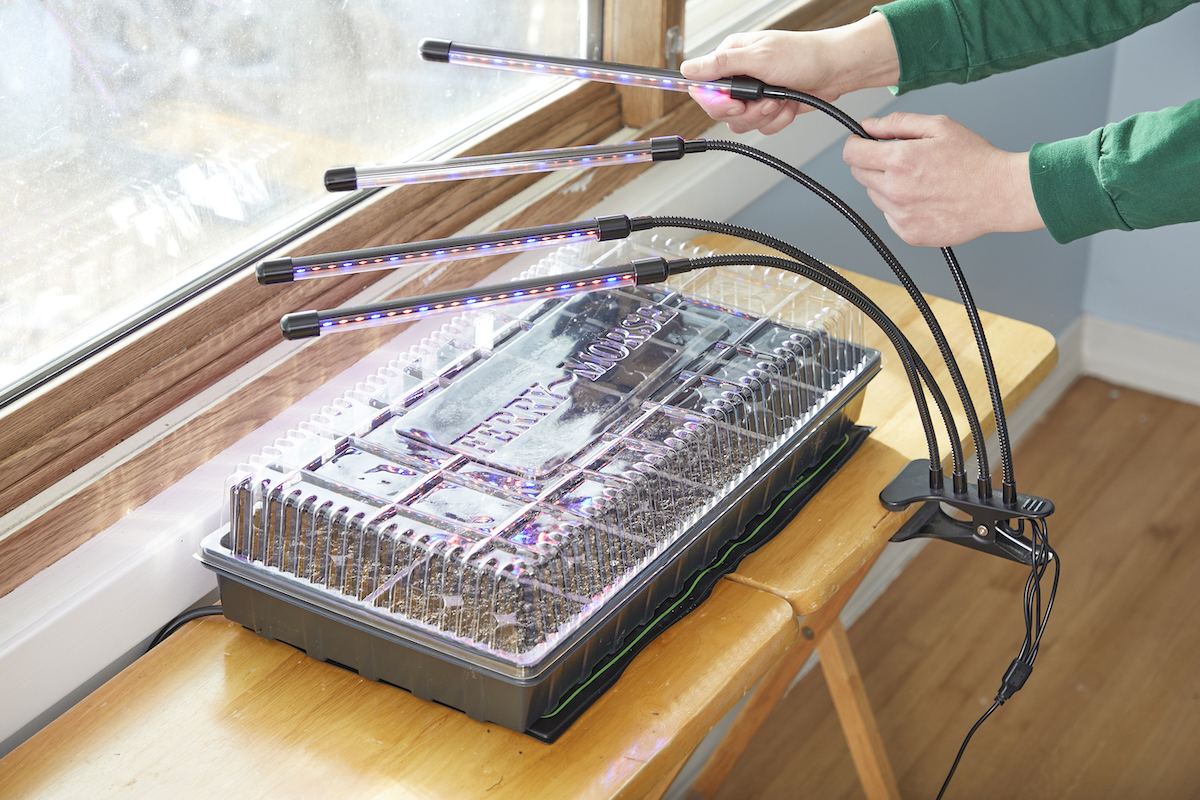
Photo: Tom Fenenga for Bob VIla

Photo: Tom Fenenga for Bob Vila
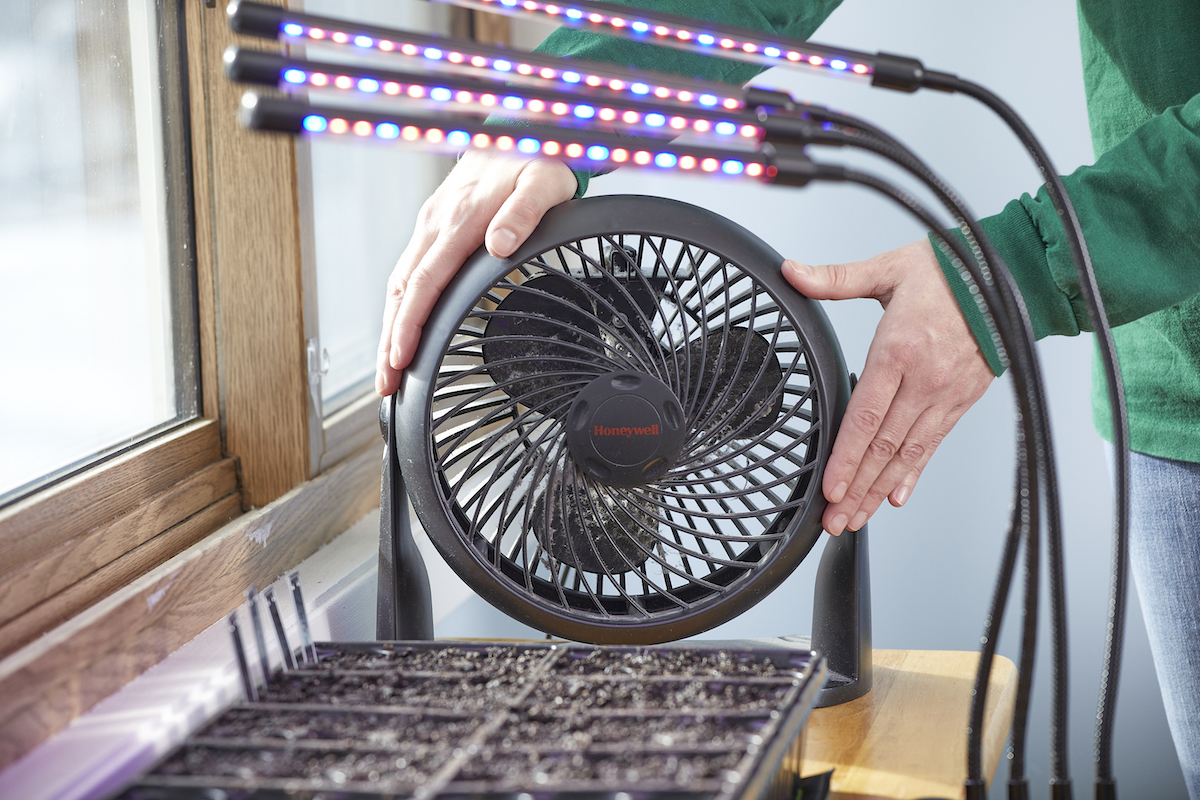
Photo: Tom Fenenga for Bob Vila