We may gain revenue from the products useable on this page and participate in affiliate programs . Learn More ›
More than a mere shine , polyurethane sealant protects and preserves the finish you ’ve choose for yourfurnitureorflooring . To put on polyurethane in such a room that it actually performs its intended use , precision is key . If you ’re go to veer corners , then you may as well hop-skip the sealer . It ’s an optional finish , after all .
Perhaps the first thing to cognise is that there are two types of polyurethane : rock oil - based and water - found . Both work equally well , but oil - based polyurethane imparts an gold luminescence that many hoi polloi find pleasing . The downside ? It takes longer to dry and smells quite strongly . piss - base polyurethan , meanwhile , goes on clear , dries faster , and has almost no odor . It commonly costs about twice as much as the other choice , though , and some say it ’s not as tough .
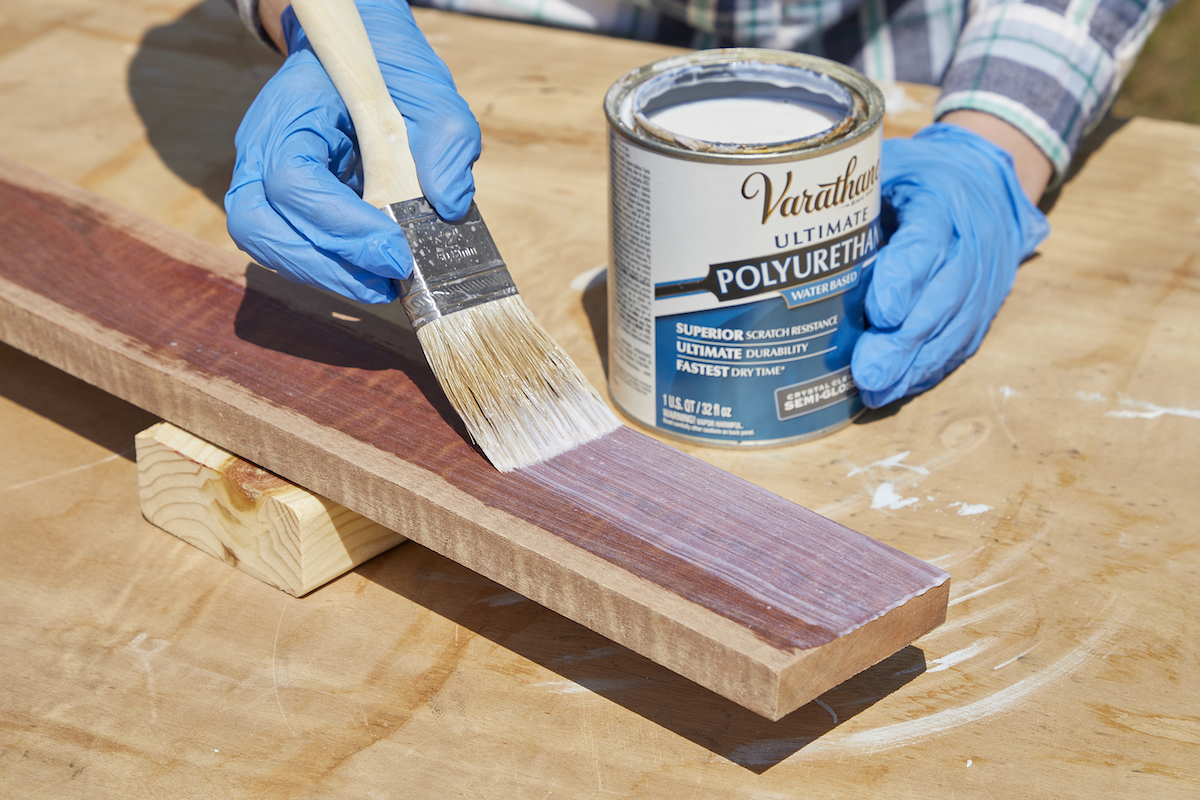
Photo: Tom Fenenga for Bob Vila
Tools & Materials
Bobvila.com may earn a commission from purchases made through these links .
Step 1: Sand the workpiece.
Polyurethane is run short to accentuate the workpiece ’s surface inconsistencies . Before applying the finishing , take infliction toproperly sandthe surface you are sealing . After , remove all dust and dust with tack cloth .
Step 2: Stir the polyurethane.
Stir , do n’t rock , the can of polyurethan . Shaking produce air bubble , which in turn get out bumps on the surface . While stirring , if you notice that the polyurethan has an too thick consistence , dilute it out with mineral spirits .
Step 3: Apply the polyurethane.
Using abristle encounter , apply the first coat of polyurethan in farseeing , broad strokes . Keep the app thin , so it goes on evenly and neither pools nor drips . surface the entire Earth’s surface . Once finished , wait for the polyurethane to dry out . take into account 24 hour for petroleum - base polyurethan and 4 to 6 hours for a water - establish Cartesian product .
Step 4: Lightly sand and shave the workpiece.
Having allowed sufficient teetotal time , psychometric test to see if first coat is dry . Do so by lightly sanding an inconspicuous orbit . If the polyurethan remains pissed , stop sanding and look another hour or so . Once you ’re certain the surface is dry , remove any junk or debris that may have stuck to the Earth’s surface during the drying process . If sand does n’t reduce it , you’re able to use a razor to remove imperfections that would n’t otherwise budge . When working with the razor , be careful not to drag the wood .
Step 5: Apply another coat of polyurethane.
Apply the 2d coat just as you did the first , with long , careful strokes . Spread the polyurethane equally over the open and let it dry completely .
Step 6: Polish the surface.
Once the second coat has dried , sand or shave off any imperfections as you did in step 4 . With many oil - based polyurethanes , two coat will be enough . If you ’re glad with how the line of work await , expect a few days , then finish up by polishing the surface with apolishing chemical compound . If it seems necessary to apply a third coat of sealant , simply follow the procedure you ’re conversant with by now . Note that you should never necessitate to apply more than three coats of fossil oil - found polyurethan . Sometimes body of water - based poly want more than a few ( up to a twelve ) coats . Thankfully , it dry out quickly enough for this not to become a weeks - recollective saga !
This Is the twelvemonth for a Kitchen Renovation
Whether you ’re sell or staying , everyone can get something out of a kitchen update . Learn why we study this renovation the Most Valuable Project of 2025 and how to detain on budget .
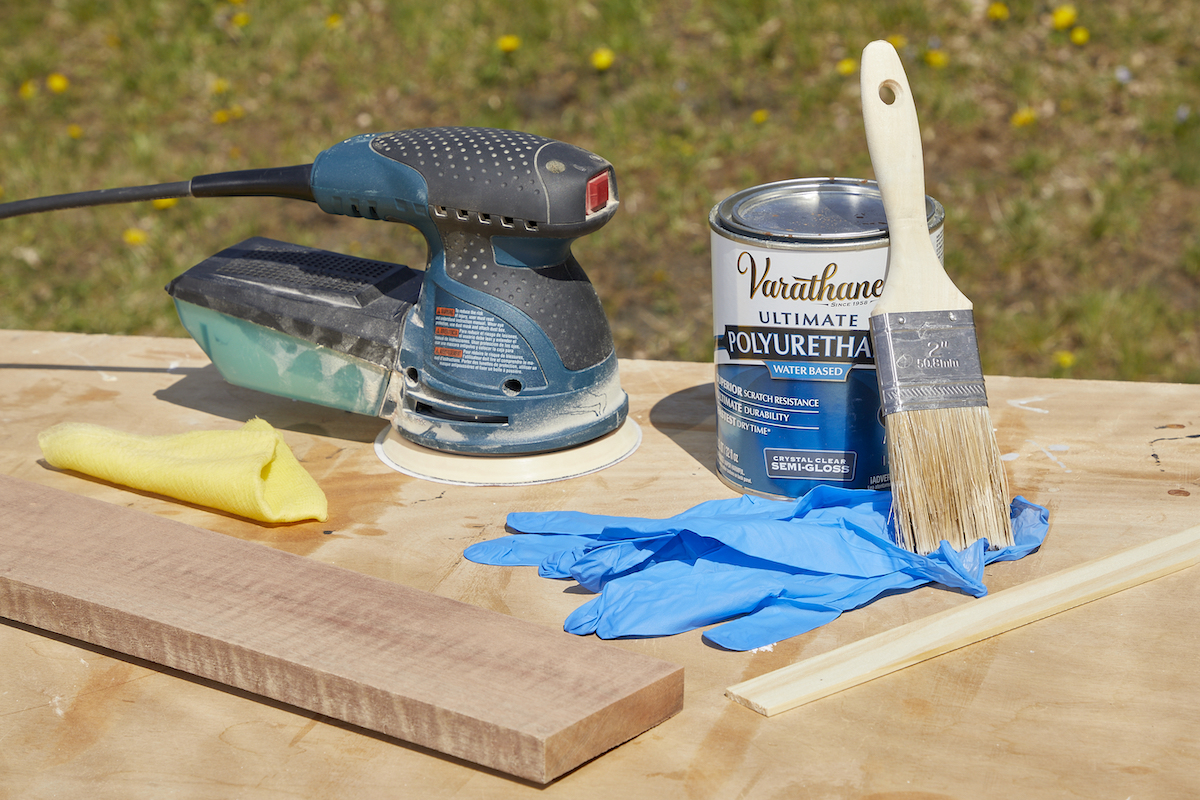
Photo: Tom Fenenga for Bob Vila
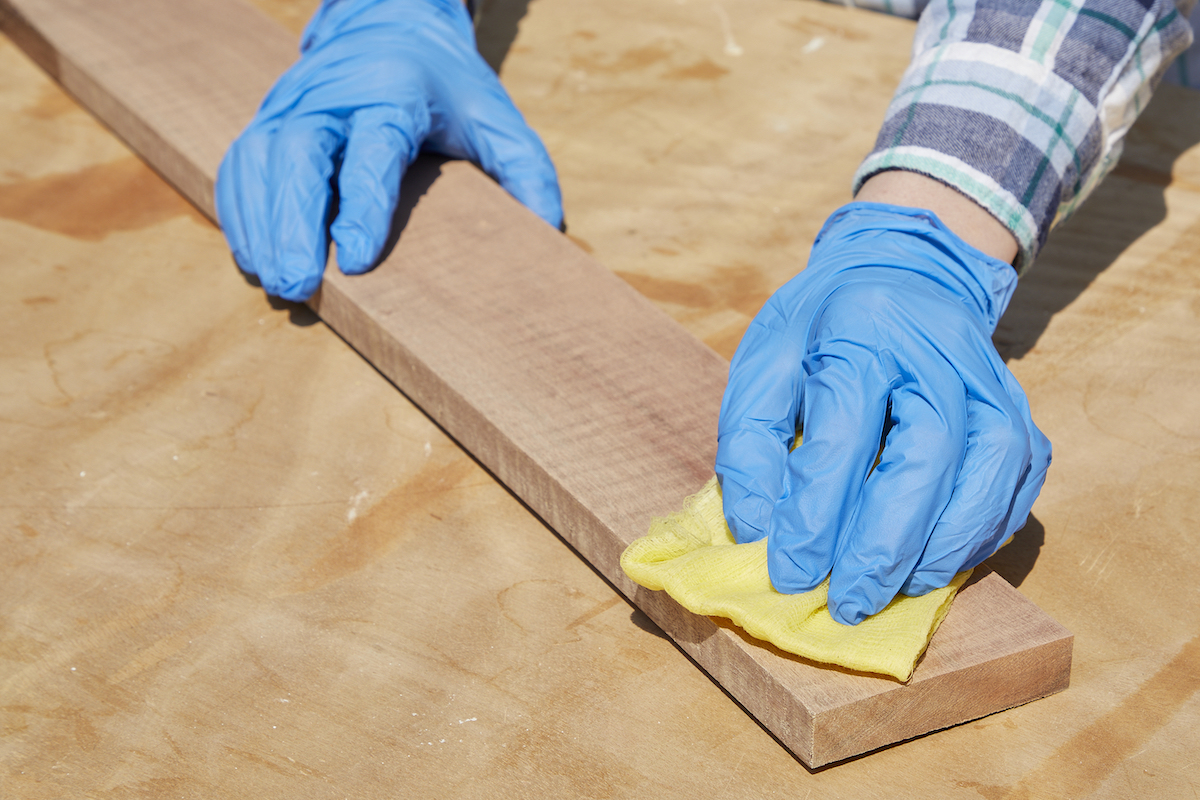
Photo: Tom Fenenga for Bob Vila
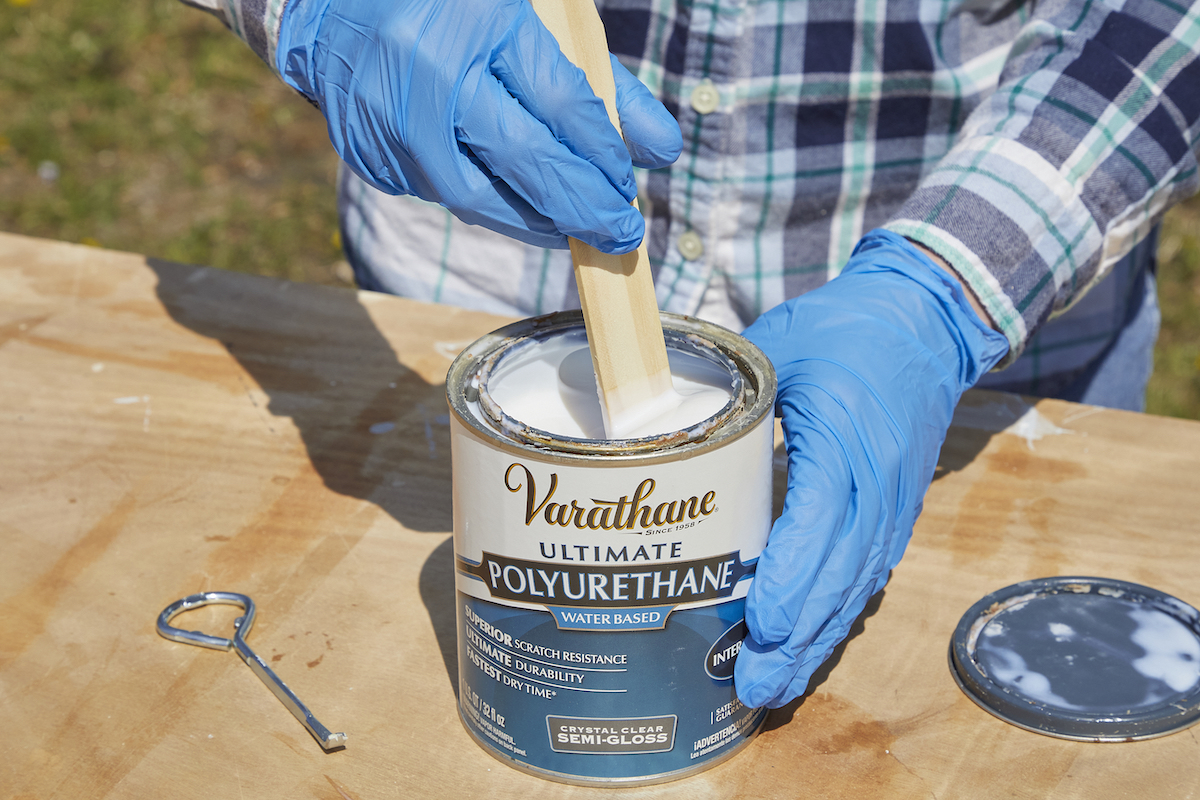
Photo: Tom Fenenga for Bob Vila
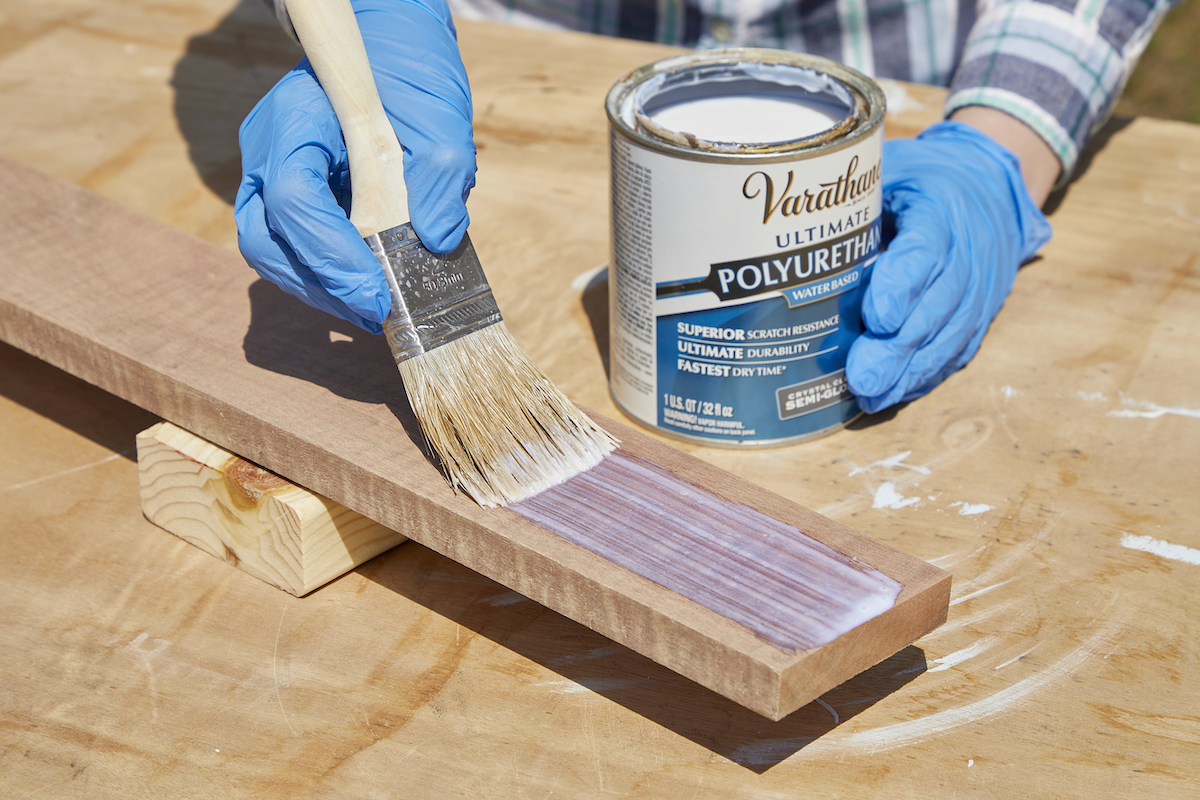
Photo: Tom Fenenga for Bob Vila

Photo: Tom Fenenga for Bob Vila

