We may garner receipts from the ware available on this Sir Frederick Handley Page and take part in affiliate programs . Learn More ›
Building a homemade birdhouse can be a blast . Unlike real houses that take complex framing , these humble avian abodes can be construct from one gameboard purchased at a local home center . Learning how to work up a birdhouse takes just a few arcminute , and the task can be completed in one good afternoon . Plus , youngster love getting involve !
But it is n’t just the kiddos who do good from DIY birdhouses . Inviting birds to your yard by ply them with safe homes is like hiring your own plague - mastery squad . Birdhouses draw in martins , jenny wren , bluebird , chickadee , tanagers , and other species that rust worm , beetles , grub , and even wasp . Birds of target ( namely owl and some hawks that make homes in birdhouses ) can thin out the figure of furry pests as well .

Photo: Tom Fenenga for Bob Vila
Project Overview
Working Time:3 hoursTotal Time:5 hoursSkill Level : BeginnerEstimated Cost : Under $ 50
Tools & Materials
Bobvila.com may earn a military commission from purchases made through these links .
Before You Begin
This project is shop - friendly , but some sept may get a reaction to cedar sawdust . For that grounds , it ’s best to put to work outdoors and wear a dust mask , baseball glove , and safety glasses when cut . Also , if you have little unity working with you , check that to keep them away from power tool and other dangerous items until you ’re able to supervise them . It takes a split second base for a nipper ( or adult ! ) to get hurt around tools .
Also , differentbirdhouse plansapply to different birds . large birds need wider entry holes and deeper birdhouse , while small shuttle favor small holes that allow them in but keep predators out . This guide will explicate how to work up a general birdhouse for smaller birds , but you may descale up once you know how to make a birdhouse .
Tool Tip
sustain by Craftsman
zip up drying time and stay cool while you work with the Craftsman 20V AC / DC fan . It features three different air speed and a 130 - degree tilting headspring , so you’re able to direct the right amount of gentle wind where you postulate it . In addition , the 12 - inch buff operates at 55 decibels , which is about the sound level of a normal conversation , making it a ready to hand helper for any interior DIY project .
Get the Craftsman 20V AC / DC buff at Lowe ’s for $ 79 .
Step 1: Choose your wood.
There are quite a few tree species that render corking birdhouse woodwind , but cedarwood may be the respectable : It ’s weather- and moulder - resistant , and it does n’t hold in potentially harmful chemicals like pressure - treat woods does . However , you could build a birdhouse out ofalmost any Sir Henry Joseph Wood , as long as you paint or stain it to preserve it .
Our passport ? One 1×8 cedarwood display board from your local home improvement store .
Step 2: Square the board.
Exterior - gradation wood is almost never square direct from the home advance fund . Place it on a mitre saw with the blade place at 90 degrees . cut back roughly 1 inch off the plank to square its end . Use this snub edge as the starting point for your cuts to ensure nice , straight joints .
Step 3: Cut the floor.
For our blueprint , the floor of the birdhouse measure 6 ½ inch by 5 inch . Use the measure magnetic tape and combination square to mark the board at 5 inches and rationalize it on the miter saw . The board will then evaluate 5 inches by just about 7 ¼ inches . Use the tapeline touchstone and combining solid to note the wider length at 6 ½ inches and cautiously cut the board on the miter saw . ( This may want flipping the dining table over , depending on the miter construe . ) You should now have a 5 - column inch by 6 ½-inch piece .
Step 4: Cut the sides.
expend the measure taping and combination square to mark off the board at 4 ¾ inches and sheer it on the miter saw . This will create a 4 ¾-inch by roughly 7 ¼-inch plug-in . Mark this board at 5 inches and cautiously cut down it on the mitre saw .
echo this process to create two 5 - column inch by 4 ¾-inch table .
Step 5: Cut the front and back.
Use the mensuration tape recording and combination straightforward to mark the board at 5 inches . Cut the board at the mark and repeat . This should bear two piece that value 5 in by approximately 7 ¼ inches .
Designate one of the 5 - inch - wide ends as the top on each board . come up the centre of the top bound ( 2 ½ inches ) , and mark off the board at this point . practice the 45 - degree angle on the combining square to draw a line from this center of attention point to each side . This will create the traditional five - sided house shape , with a peak in the heart . edit the board along those slanted lines , and then repeat on the other gameboard .
Step 6: Drill the entry hole and install the perch.
Select the house - shape table you ’d like to use for the front of the birdhouse . instal a kettle of fish saw in your drill / driver ( 1 to 1 ½ inches for pocket-size birds ) . Measure about 3 inches down from the peak . target the board on top of a piece of fight wood and drill through the front of the control board at this mark .
Use a screwdriver or the claws of a hammer to roughen the inside of the board ( the side of the panel that will face into the birdhouse ) . This will provide footholds for baby boo to climb out . you’re able to also add together wire interlock inside .
If you ’d like to add together a rod , valuate down roughly 1 in from the bottom of the hole and bore a ⅜-inch hollow . Cut a piece of dowel about 3 inch long , apply a number of gum on its end , and insert it into the maw . This will be the perch .

Photo: Tom Fenenga for Bob Vila
Note : Traditional design calls for a rod . However , many expert suggest not installing a rod , as this allows predatory birds a spot to land and access eggs and young . Folks who are implicated about predatory doll should hop the pole .
Step 7: Cut the roof pieces.
Again , using the tape measure and the combination square , mark the board at 4 ¾ inches and cut it at the mark . Then , touchstone and mark the board again , but this time at 5 ½ inches . This should yield one piece measuring 4 ¾ inches by 7 ¼ inches and one piece measuring 5 ½ inches by 7 ¼ inches .
Step 8: Assemble the front, back, and sides.
mental testing fit the fronts and side to guarantee they suit . Apply glue to the edges of the side gore and place them between the front and back board . Nail through the grimace of the front and back boards to attach the front , back , and sides .
Step 9: Attach the floor.
centre the floor on the bottom of the birdhouse . Drillpilot holesunderneath and bond the floor with 1 ¼-inch unstained blade gaoler . Do not paste the floor in place , as it needs to be removable for cleaning .
Step 10: Attach the roof panel.
Take the shorter ceiling panel and fit it on the birdhouse so that it ’s affluent with the back of the birdhouse and its peak ( front and back ) . Attach with mucilage and nail . Next , ordinate the longer roofing panel so it ’s flush with the back of the birdhouse and ordinate with the top boundary of the other roof panel ( they ’ll overlap ) , and attach it with glue and nails .
Step 11: Sand the birdhouse.
Chances are there will be some crude edges or splinters to remove before hanging up the birdhouse . utilise 120 - sand sandpaper and a sanding block to bump off harsh berth and ease any sharp edges .
Step 12: Paint or stain the birdhouse and add a hanger or strap.
Although it ’s not a necessary step , paint the birdhouse is half the fun . Use exterior - grad paint for the best consequence , and be sure to paint any exposed edge . Stain is also an option , but again , wait for an exterior - grade dirt for best upshot .
If you ’d like , you’re able to add together a hanger to the top of the birdhouse , or a shoulder strap that can be tie or snapped around a tree trunk . Otherwise , utilise unstained brand piece of ass to attach it to a sturdy Earth’s surface , or to a fence post or tree diagram . There are a lot ofstyles of birdhouses , and they can be installed in many different mode .
Step 13: Enjoy your new neighbors!
Now it ’s time to receive those high - flying neighbour to your yard . you may boost certain species to call the newfangled birdhouse their home by :
Experts suggest cleaning birdhouses out at least once a class . Most do - it - yourself birdhouses have obliterable panel ( ours has a removable floor ) . To clean , start the birdhouse , slay the nesting material , and make clean the interior of the birdhouse with a result of meek dish liquid ecstasy and water . Rinse well and allow it to dry before reinstalling .
Final Thoughts
Learning how to buildbirdhousescan be a fun hobby . Plus , there ’s the expiation of providing a safe place for our winged friends to roost and call down their youthful . The process is easy and does n’t require many pecker , so with this step - by - footstep guide , you ’ll be able-bodied to build as many birdhouse as you ’d like . you could alter the size of the birdhouse itself as well as the entry holes to pull in a greater variety of bird species to your backyard .
This Is the Year for a Kitchen Renovation
Whether you ’re selling or staying , everyone can get something out of a kitchen update . Learn why we moot this renovation the Most Valuable Project of 2025 and how to ride out on budget .
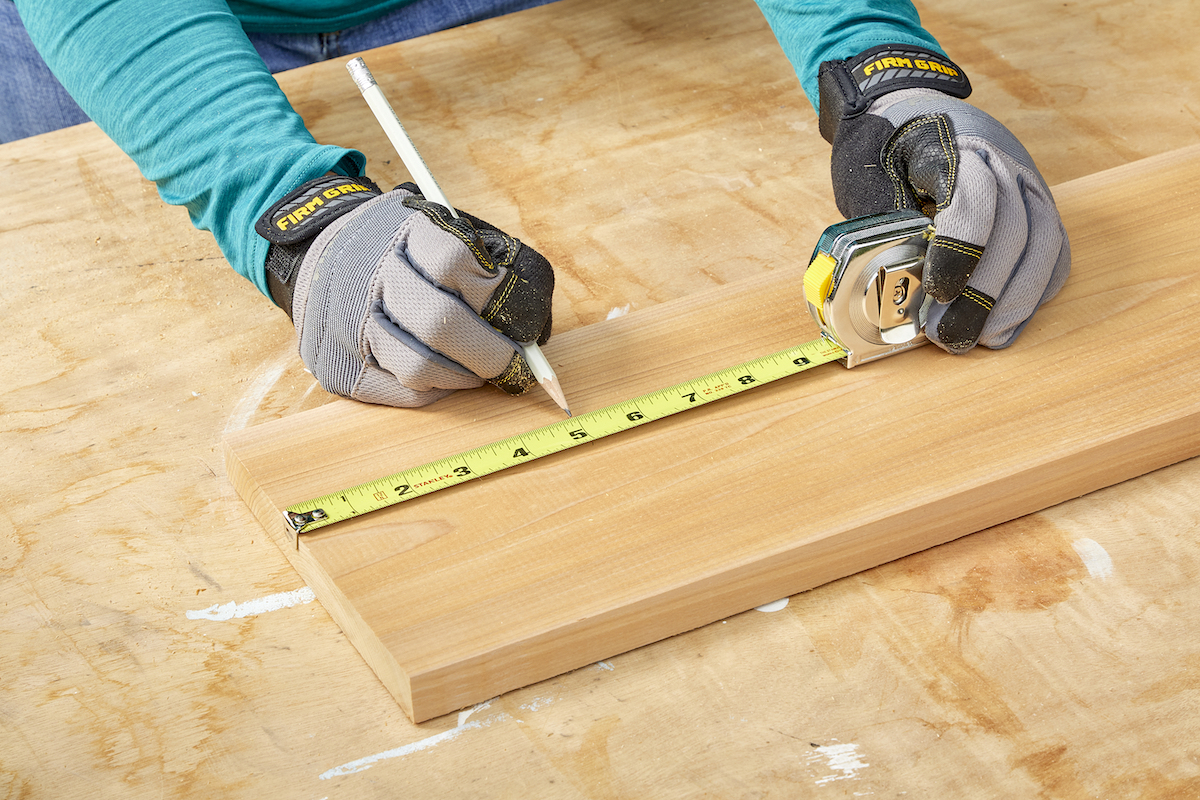
Photo: Tom Fenenga for Bob Vila

Photo: Tom Fenenga for Bob Vila
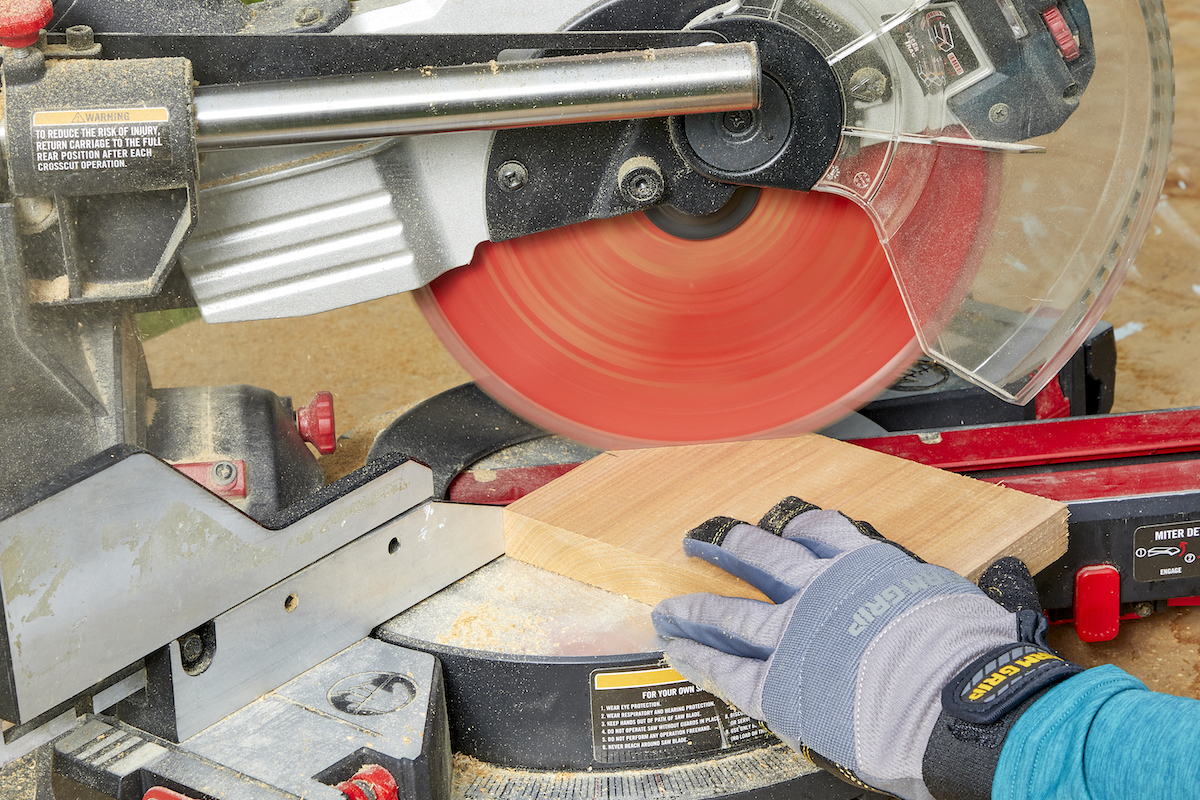
Photo: Tom Fenenga for Bob Vila
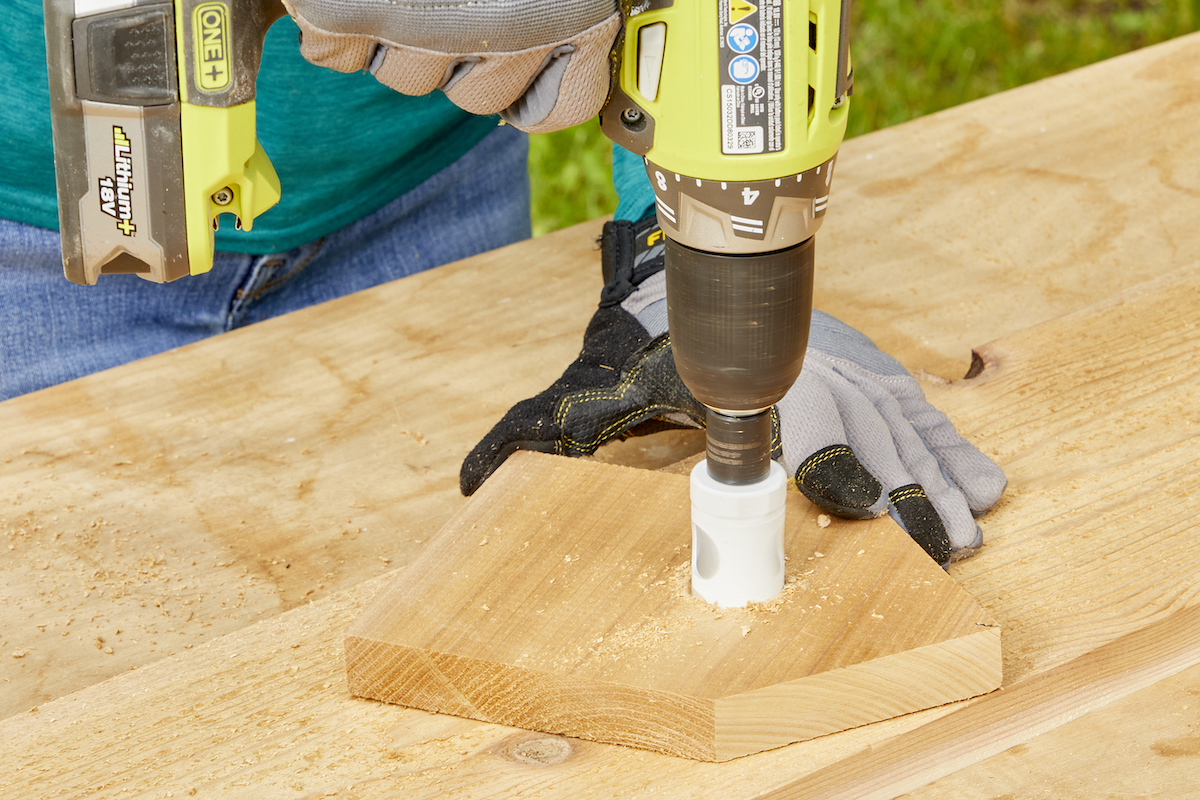
Photo: Tom Fenenga for Bob Vila
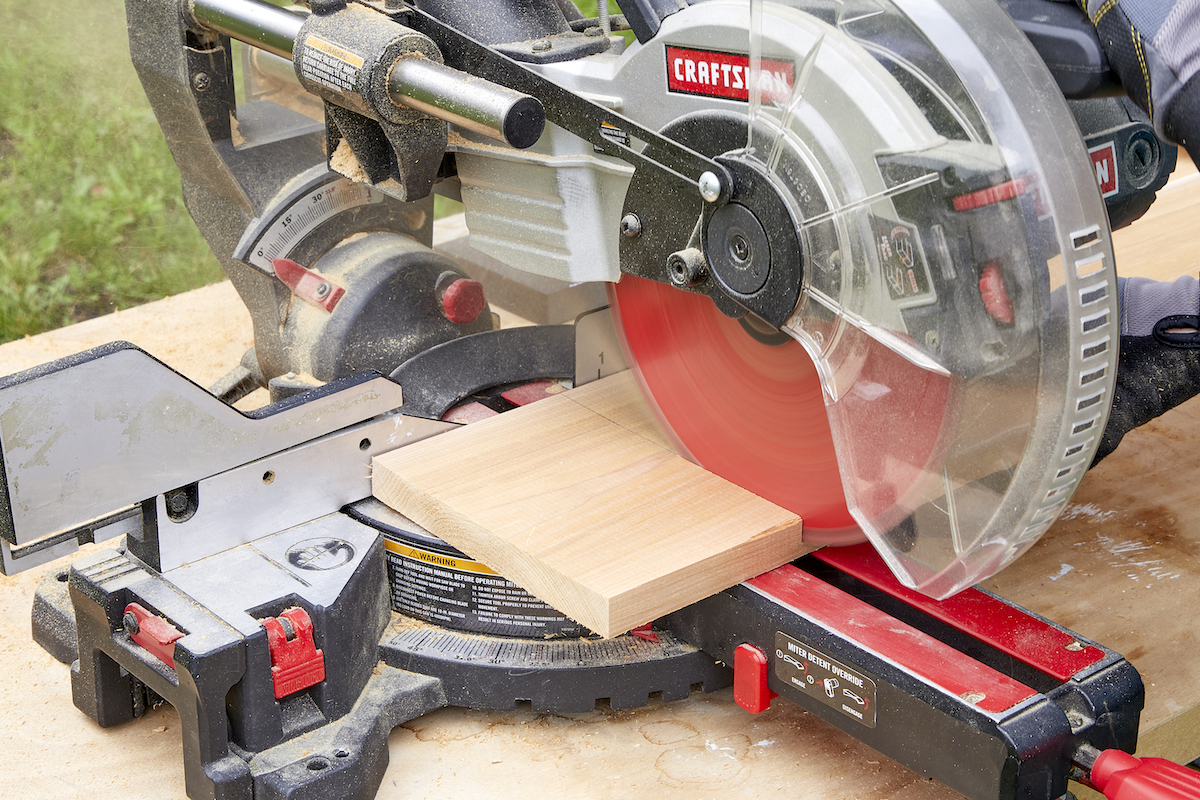
Photo: Tom Fenenga for Bob VIla
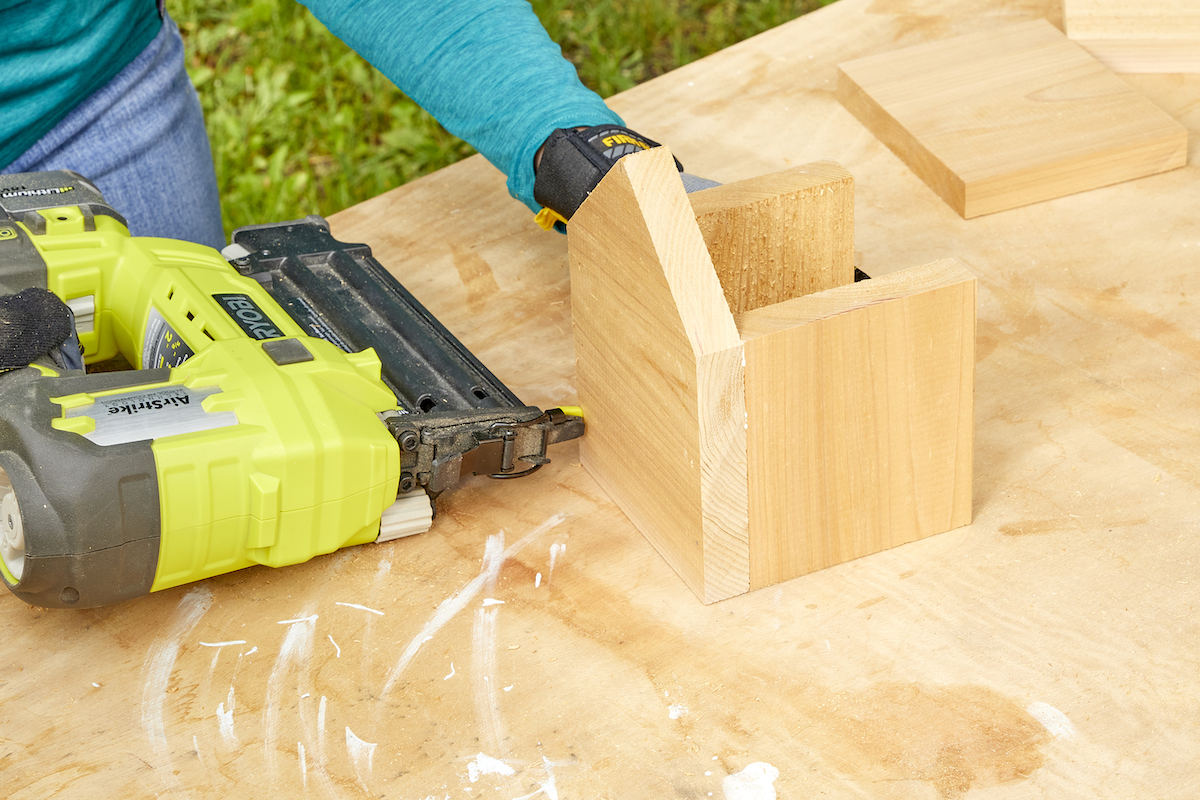
Photo: Tom Fenenga for Bob Vila
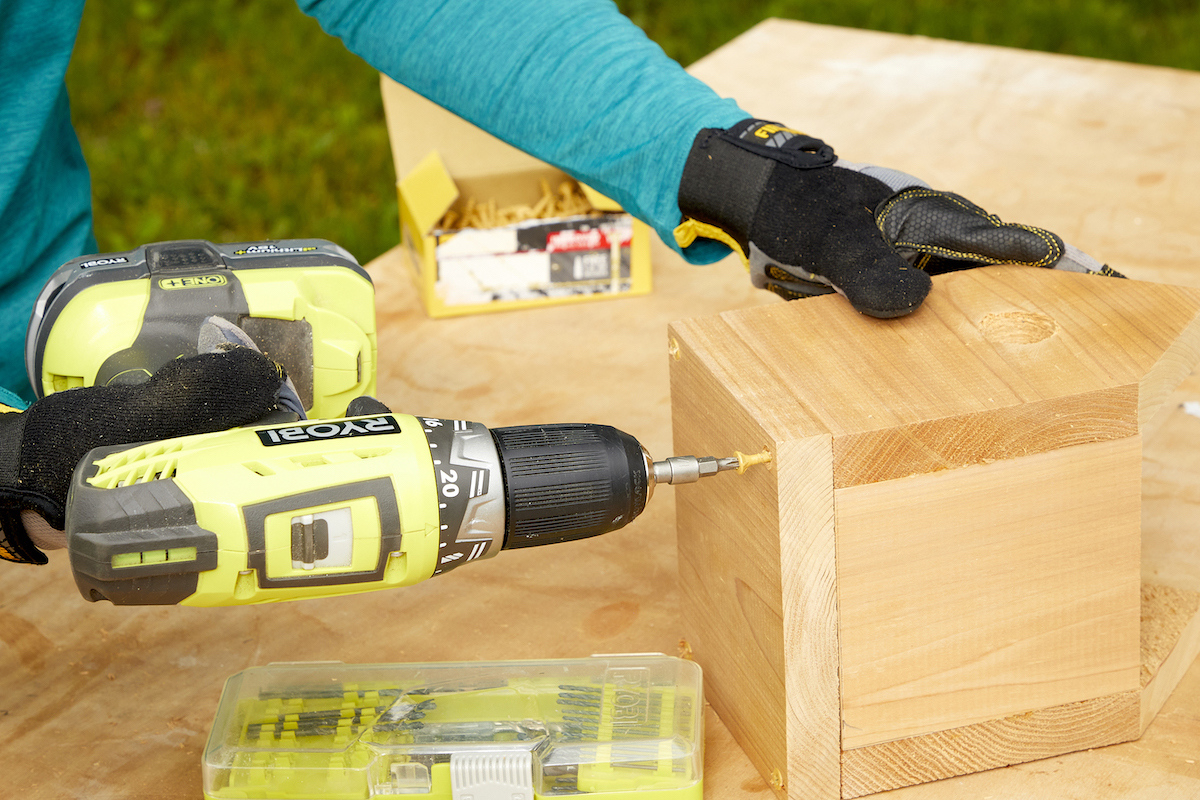
Photo: Tom Fenenga for Bob Vila

Photo: Tom Fenenga for Bob Vila
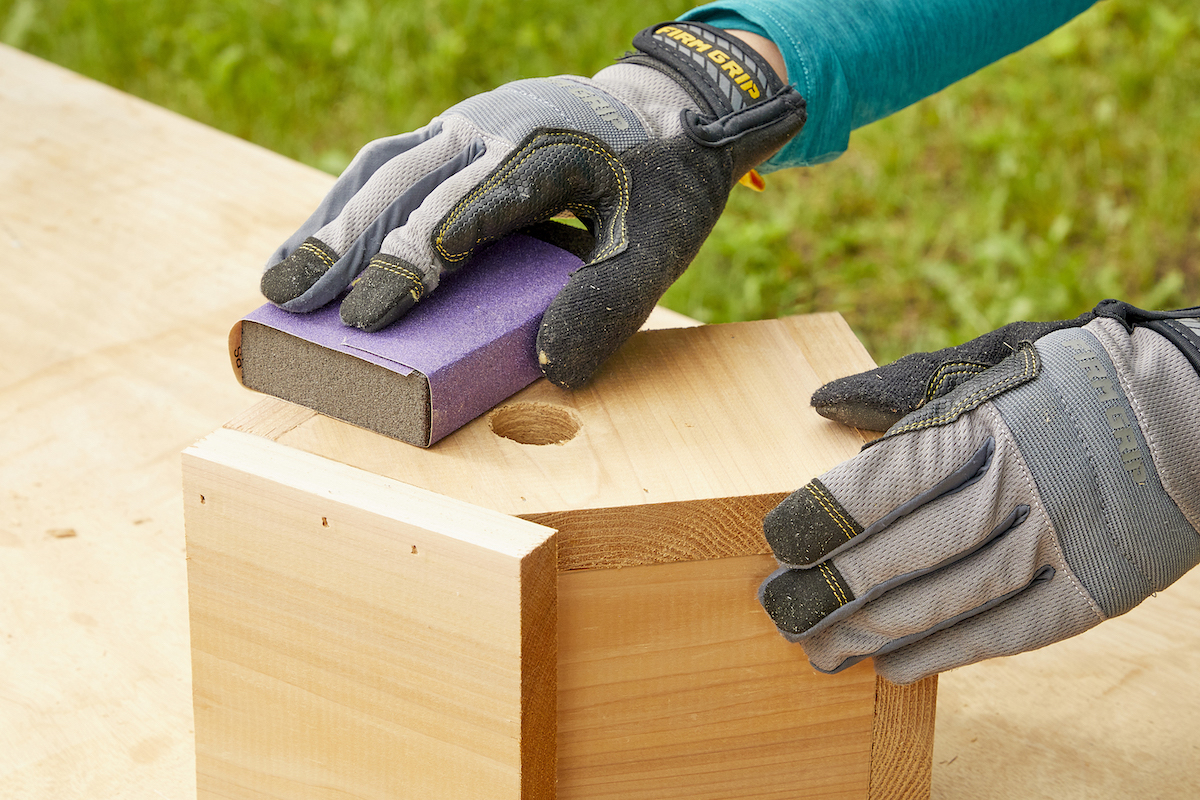
Photo: Tom Fenenga for Bob Vila
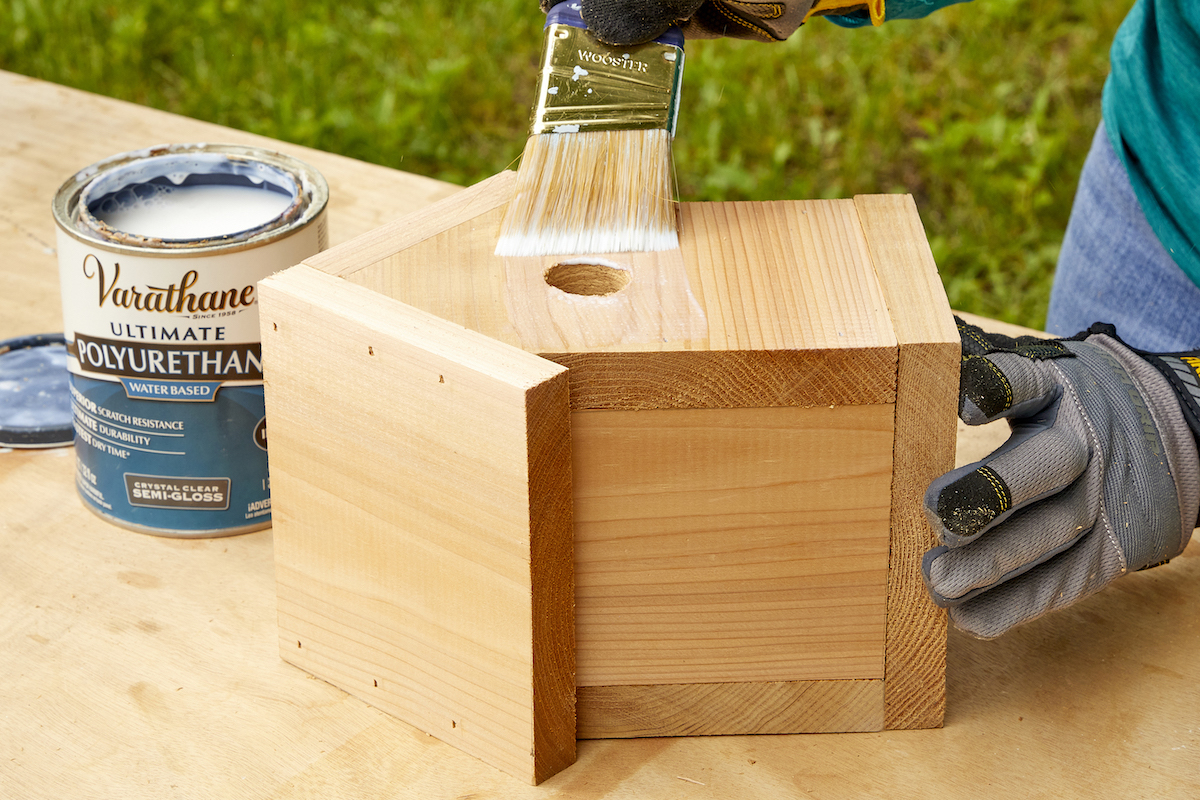

Photo: Tom Fenenga for Bob Vila

