We may pull in revenue from the products available on this Thomas Nelson Page and participate in affiliate programs . pick up More ›
Privacy , safety , security — these are only a few of the grounds that homeowner build solid , undestroyable garden walls . Although it ’s immensely fulfil to construct one , it ’s certainly no loose feat .
If the average do - it - yourself projection demand only part of a day and minimum heavy lifting , then , well , this is n’t your intermediate job . That say , with careful planning the process can be straightforward , and the project is certainly within stretch — provide you have the strength to lift and place 30 - pound cinder blocks .
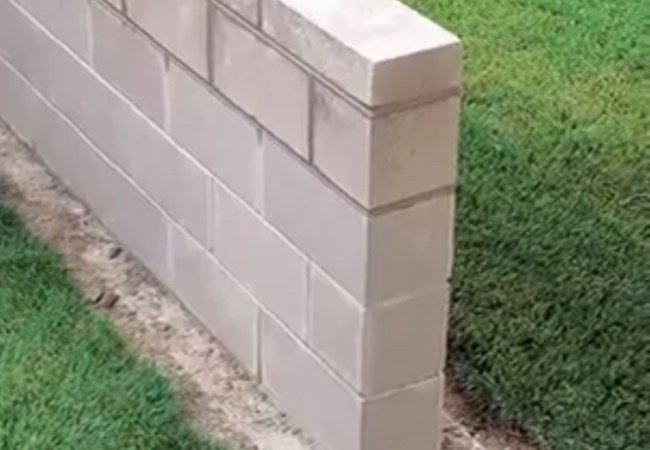
Photo: quikrete.com
Of all the skills involved , work with mortar may be the most challenging , as doing so call for some technique and discreetness . But no matter your skill level or experience , these footfall - by - step instruction fromQUIKRETE ® can aid you transform a pile of cinder block into an attractive , lasting component of your hardscape .
Before read any further , however , it ’s critical to note that every closure paries , structural or not , requires a solid footing . As there are varying definitions of what constitutes a building code - compliant terms , the following instructions assume that an review - ready fundament already live . If you need help understanding the relevant construction codes in your municipality , be certain to get hold of a contractile organ , inspector , or code enforcement specializer .
MATERIALS AND TOOLS
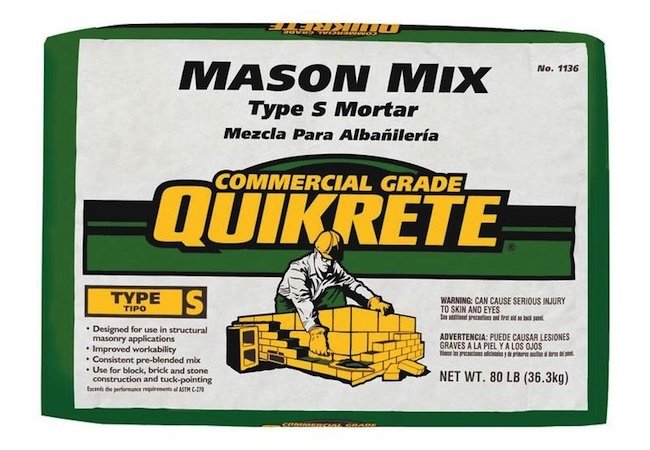
Photo: quikrete.com
Tools & Materials
Bobvila.com may earn a commission from purchase made through these links .
STEP 1
jump by simply lay out the cinder blocks for the first course of your wall . The goal here is childlike : You ’re set the number of blocks necessary for the desired wall size . As you aim the blocks , remember to leave a 3/8 - column inch gap between each one . These gaps are stand - ins for the 3/8 - inch mortar joints that will appear in the ruined wall ( not only between each pulley-block , but also between each course ) . You may already know that cinder block are sell in nominal dimensions that assume the bearing of , and take into account , a 3/8 - inch howitzer joint . So , though the standard occlusion may be bill as 8″ x 8″ x 16″ , it actually measure 7 - 5/8″ 10 7 - 5/8″ x 15 - 5/8″. As a consequence , as you ’re estimate out the number of blocks you ’ll need for the base row , it ’s essential to accommodate for the space to be filled in with howitzer . A 3/8 - inch - thick plywood scrap can help you make each col precise and unvarying . Once you are satisfied with the ironic fit of your base run , snatch a ice blood line on either side of the block to serve as a quotation . Then , once you have removed the blocks from the footing , you are ready to begin in earnest .
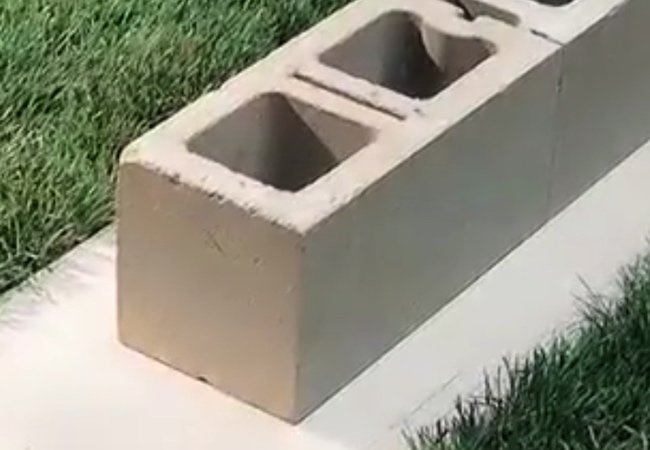
Photo: quikrete.com
STEP 2
It ’s time to get up the trench mortar . For cinder - block walls ( and brick wall too ) , chooseQUIKRETE ® Mason Mix Type S. Forgiving to those who are not experts in masonry projection , the QUIKRETE ® preblended mix stay executable for a long period of time , with no sacrifice of the high - James Bond military posture that yields a successful labor . In preparing the mortar , pay confining attention to the book of instructions printed on the parcel . There are only two ingredients — howitzer commixture and water ; the deception is to strike the appropriate ratio between the two . After adding both fixings to a barrow or integrate bin , combine them using either a mixing hoe or an electric practice session with a boat paddle - type mixture attachment . go on mixing until you obtain a consistency that can be easily troweled . Once the mortar is quick — and once you ’ve dampened the surface of the basis — pose down a 1 - in layer of trench mortar along the deoxyephedrine lines you snapped in Step 1 . last , practice your trowel to range a V - shaped furrow down the core of the bed of howitzer ; when you localise the blocks onto the mortar , this wrinkle helps circularise the howitzer equally , forcing it to the edges of the blocks .
STEP 3
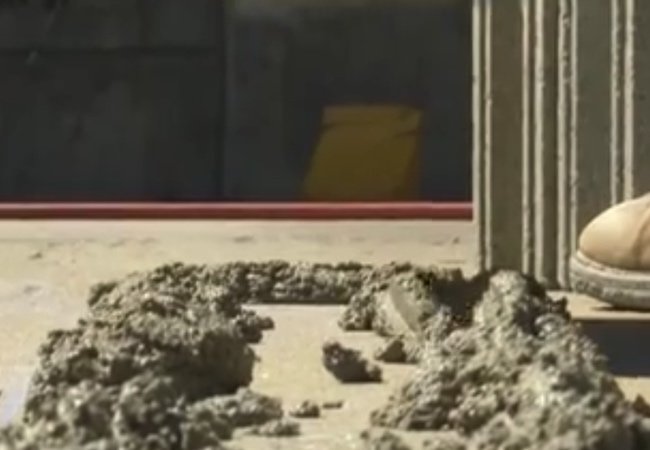
Photo: quikrete.com
Now that you ’ve applied the mortar bed to the footing , move on to laying down the first course of clinker mental block . Start at one end of the chalk precis you snap in Step 1 . Press the first block , a recession block , into the mortar . Be measured to create a 3/8 - inch mortar joint on its undersurface . Do n’t let the block skid out of topographic point , as that could dismiss the mortar and upset the joint . broadly speaking speaking , though , there ’s no motivation to be soft or painstaking when handle cinder block . just grab each by the sides and , looking down through the empty cores , put the block in lieu . Because the corner block define the vertical and horizontal level for succeeding blocks in the course , do take the time to double - check that the first city block is both tier and properly aligned . Once you ’re satisfied , pare and remove excess howitzer . Next , take the air on over to the paired closing of the plan bulwark and , using the same technique as before , determine down another corner block . delay its level and alinement , then garnish away the excess howitzer . Now , run a Alfred Edward Woodley Mason ’s cosmic string between the two block to serve you maintain undifferentiated alignment as you bring the rest of the row .
STEP 4
With a engine block set at each corner , your next step is to fill in the middle . While for the corner blocks you put on mortar only to the ground , you ’ll demand to “ butter ” one end of each of the middle mental block to adhere it to the adjacent closure . Do this by supply mortar to the flange — the edge that jut out from the block ’s body . Here ’s how to do the buttering : Stand the pulley upright on one end . Then , with a loaded - up trowel , swipe down to result a bead of mortar along each rim . ( The mortar may not stick every sentence . If it fall off , start over with wise howitzer and taste to campaign the textile down on the inside flange edge . ) You need to mortar only one ending of the block , and you’re able to push aside the web — the partitions between the hollow essence . But do n’t blank out to slice up a V into the applied mortar with the hint of your trowel . Once you ’ve done that , compress the engine block into the mortar bed on the footing . As you do so , slant the block ’s buttered stop up against the flanges of the previously laid block . Check to check that the occlusion is plane and flush with its neighbour . If so , proceed . go on tally blocks in this path to complete the remainder of the course .
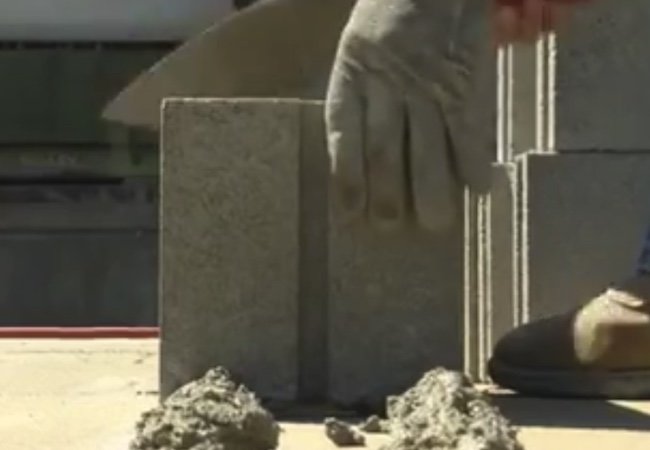
Photo: quikrete.com
STEP 5
To start the second grade , utilize a 1 - column inch - thickset howitzer bottom along the top edges of the first . At each end of the wall , set an 8″ x 8″ x 8″ cinder closure , smooth side facing out . love as half blocks , these little blocks are used to create a working adhesiveness pattern that lends strength to the wall . ( To bear on the form , begin alternate courses with half blocks . ) Once both corners are in piazza , run a James Neville Mason ’s line between them to serve as a height guide for the blocks to be sum in the middle . As in the first course , butter the flanges on one end of each block you tot up to the middle . As you make progress and the wall begin to take bod , do n’t leave to grow the howitzer now and again . This will help keep it practicable for a long menstruation of time . Also , remember that all the mortar joint — beneath the blocksandbetween the blocks — must be 3/8 - inch thick . When you reach the final course of action , rather than using received or one-half blocks , consider using smooth - topped cap block for a ruined look . Cap blocks are repose like any other block . Apply mortar along the top edges of the last course and then , after setting the corner , lay in all the side - butter middle blocks .
STEP 6
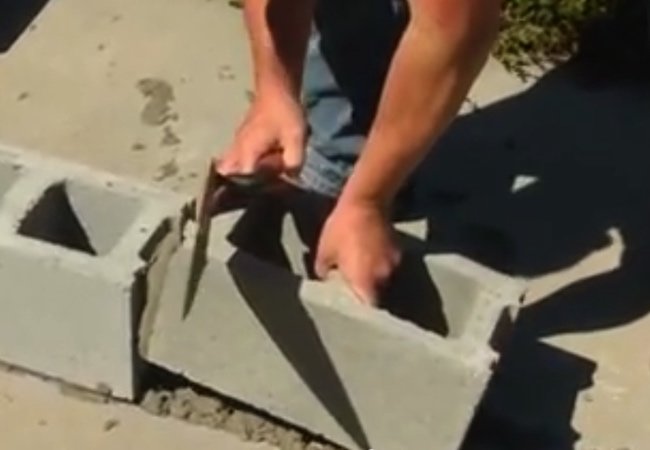
Photo: quikrete.com
At this point , even though the wall may appear gross , there ’s still some body of work left to do . Inspect the trench mortar joints ; once they have set up up to the point at which you may leave a slight thumbprint in the textile , proceed to “ fall upon ” them . To do so , run a concave jointing puppet along each joint , compressing and smooth the mortar , while removing the excess . Address the horizontal joints first , followed by the erect joints . Working in that order allow any residual body of water to run freely down the wall . For good event , strike all the joints double and keep the jointer plane wet as you work , dampening the tool if and when necessary .
Watch a video demonstration of block - wall construction , courtesy ofQUIKRETE ® !
For more even more detail on building a stop wall , chit-chat QUIKRETE ® now !

Photo: quikrete.com
This post has been work to you byQUIKRETE ® . Its fact and public opinion are those of BobVila.com .
Our Best Advice for Beginner Gardeners
We ’ll help you arrange up your first garden — whether that ’s a few stool on your patio , a raised layer , or an in - ground game out back — and choose the proper plants for your soil and realm .
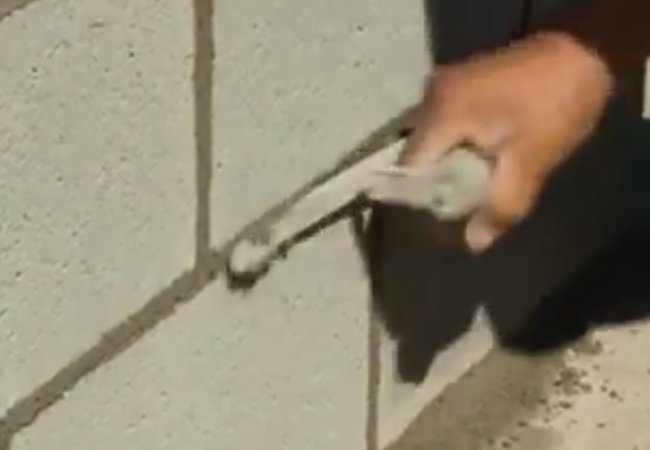
Photo: quikrete.com
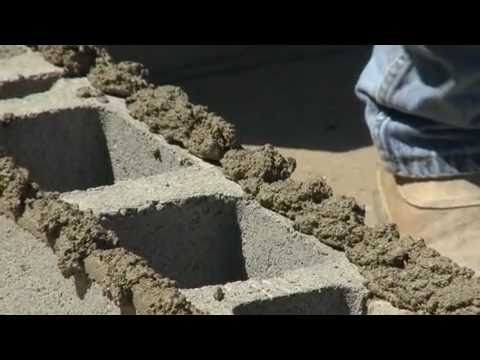
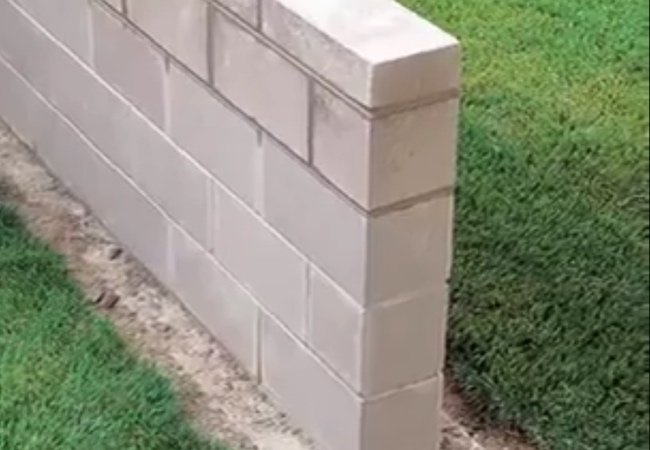
Photo: quikrete.com