We may earn revenue from the products uncommitted on this page and participate in affiliate program . Learn More ›
If you ca n’t live with the layout of your blank , a irregular wall may be just the resolution you ask . For X , renters have relied on temporary walls to “ make it figure out ” under less - than - idealistic fate , cutting off living room to create secret sleeping room .
Homeowners , too , can gain from temporary wall : Building one enables you to pass judgment whether a planned modification is deserving pursue . And because a temporary wall does not attach into theframing , removing it is well done , with a minimum of peck .
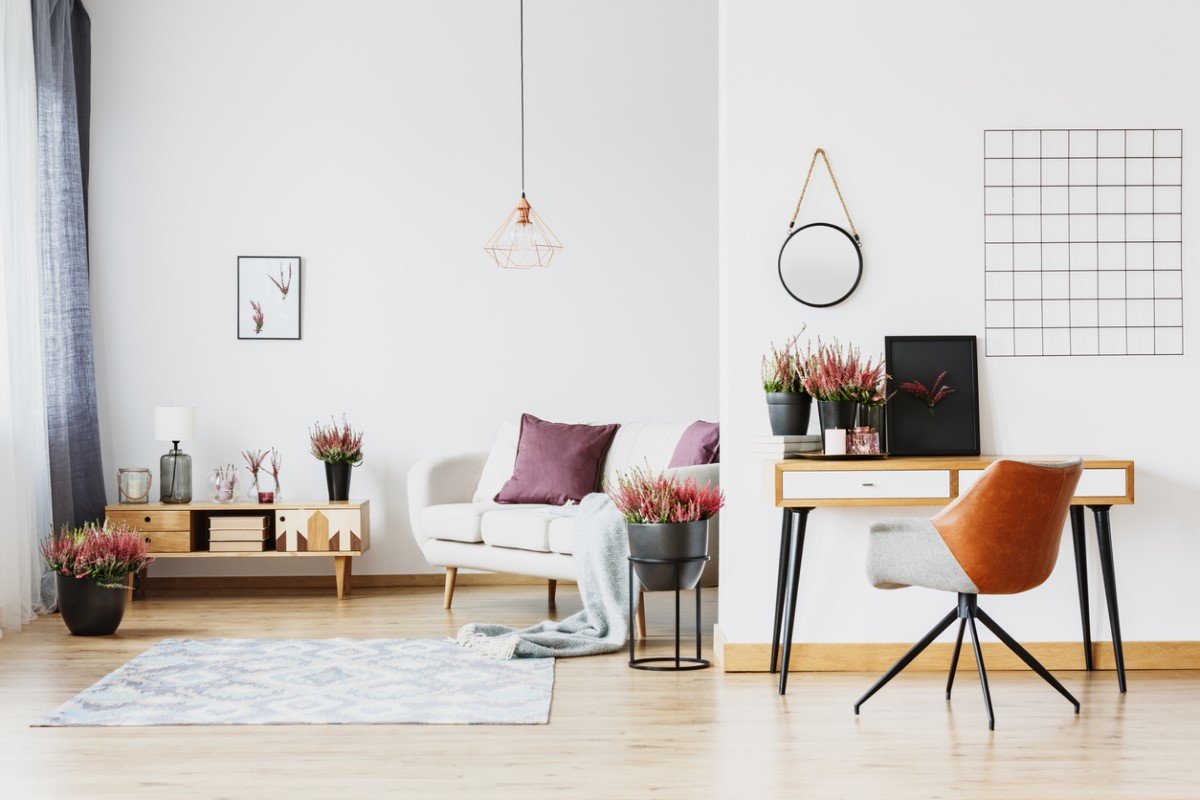
Photo: iStock
So why waitress to carve an authority out of an open trading floor design or install a base - to - cap divider to hide kitchen mess from view of the living room ? See how either look in your space by following these footmark for how to build a temporary rampart .
Note : Before you tackle to build a impermanent wall , be sure that you checklocal building code , paying penny-pinching attention to relevant condition . Contact your municipal edifice department for elucidation , if necessary . renter are propose to ask the building owner or management company for permission .
Tools & Materials
Bobvila.com may earn a commission from purchase made through these links .
How to Build a Temporary Wall
Step 1: Apply the sill seal to those surfaces that the temporary wall will touch.
Sill sealis foreign to many do - it - yourselfers , even those who ’ve successfully completed loads of projects . Here , the ¼-inch - thick froth performs two single-valued function . First , it protects the existing floor , wall , and ceiling from damage . secondly , and more significantly , the sill seal provides the pressure need to secure the irregular bulwark wherever you choose to set it .
Step 2: Cut a pair of 2x4s to the length you want the temporary wall to be.
These two piece of Ellen Price Wood are have a go at it as the “ plate . ” They will mold , severally , the top and bottom margins of the wall .
Step 3: Cut two more 2x4s to be 3 inches shy of ceiling height.
Next , measure the height from trading floor to cap . Because that height may variegate , it ’s overbold to measure twice : once for the left-hand bound of the impermanent wall , then again for the right bound . Subtract three inches from each measurement , then cut a 2×4 to agree to each duration . These are the end studs .
Tried-and-True Advice
“ The irregular walls I ’ve built are structural and are locate such that they support load while remove other framing ; think removing partition wall for open floor plan . However , similarities apply here . I like to cut framing penis fast so they do what I call ‘ friction fit ’ into blank space . They need a nudge to fit , but they sit tight enough — without crushing dry wall — that they persist put . For facing , I ’d dispense with drywall altogether and use luan plywood with 1×2 ‘ battens ’ to treat the crease . ”
— Mark Clement , Contributing Writer
Step 4: Fit vertical studs between top and bottom plates of the temporary wall.
Set the bottom plate over the sill seal you ’ve already applied to the story . Next , ask a benefactor to hold up the top crustal plate — with sill seal between the circuit card and ceiling — as you squeeze the end studs into spot . ( Remember that sill sealing wax also need to run along the be walls against which you are placing the erect member . ) If either macho-man needs persuading to tally snugly between the plates , tip it in with a hammer .
Are the he-man too tall ? Trim off some height with a sander or circular saw , then examine your chance again . With short scantling , employ one or more wooden shims to shut the spread .
Step 5: Nail or screw the outside studs to the plates.
Now that you ’ve establish the wall perimeter , tighten the end stud poker into the shell by means of eithernailsorscrews(the latter are well-fixed to move out ) . For added stability , particularly if you have kids or contrive to establish a room access , it ’s smart to nail or screw the top plate to the nearest ceiling joist .
Step 6: Install additional studs and attach drywall panels with screws.
add the remaining stud poker at intervals of 16 or 24 inches . At this point , if you ’d care to inhibit the transmission of sound through the irregular wall , tot batt fiberglass insulation in the stud pit . at last , put up the wallboard panels ; for ease of remotion later , screws are recommend .
Step 7: Finish the wall however you please.
Some may be absolutely satisfied with the rudimentary look of unfinished wallboard . Others may prefer to paint the surface or even toinstall baseboard . Much depends on the purpose of the temporary wall , but it ’s certainly possible to make it resemble your lasting rampart . But remember , the more you add on , the more you ’ll finally need to take off .
This Is the Year for a Kitchen Renovation
Whether you ’re selling or staying , everyone can get something out of a kitchen update . Learn why we consider this renovation the Most Valuable Project of 2025 and how to stay on budget .

Photo: iStock

Photo: iStock

