We may earn tax revenue from the products uncommitted on this page and participate in affiliate programme . get wind More ›
Prepping to paint your walls a new shade ? While you may sympathise how essential primer is when it comes to hiding the imperfections in the rampart , an oft - forgotten footprint of adequate importance is caulking the baseboard .
Caulk is essentially a do - it - yourselfer ’s good champion , the way it close piffling cracks in wood and drywall likewise created by uneven bulwark and misjudged cuts . In addition to filling gaps and have the cabinetmaking look flawless , this sealant serve well as an authoritative barrier to keep both critter and draught out of space where they should n’t be . Plus , caulking filling in dust - collecting crevice , make mopboard leisurely to clean .
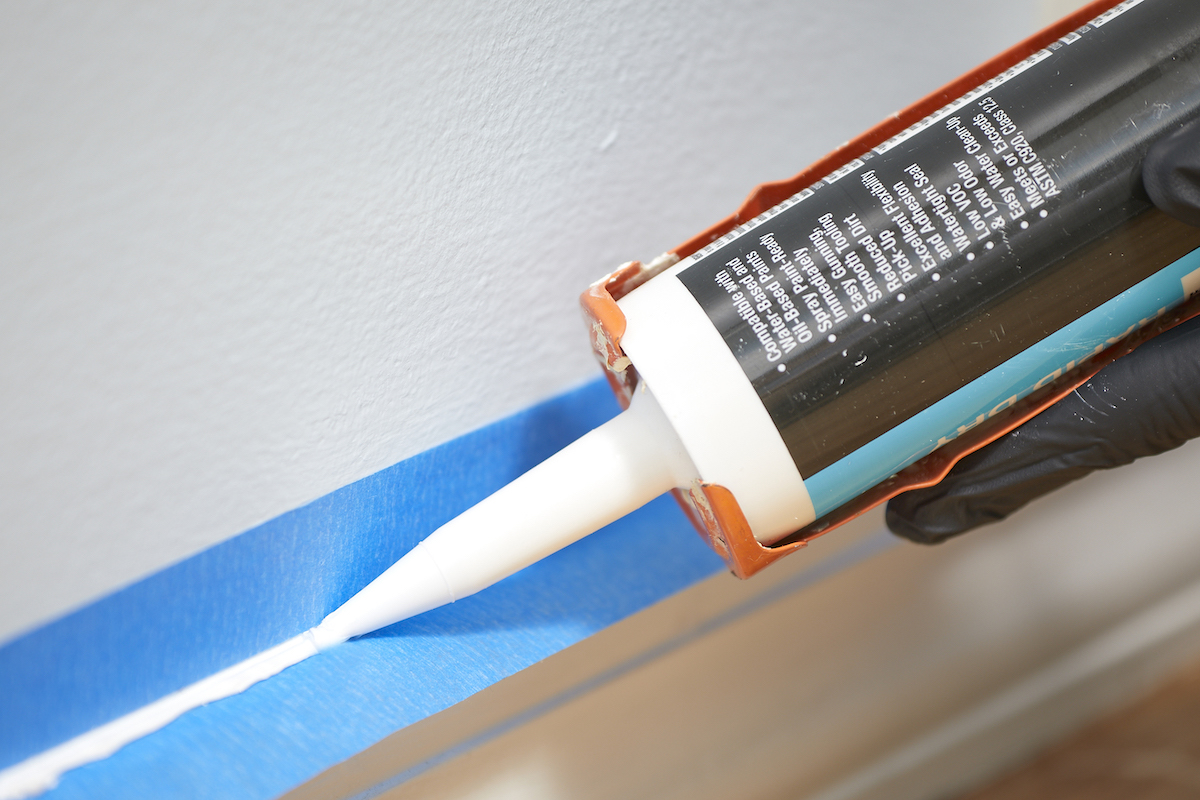
Photo: Tom Fenenga for Bob Vila
Once you get the knack of using a caulk gun , the summons for caulking baseboards could n’t be any simple . We ’ve soften it down into six sluttish step , from choosing the proper caulk at the household center to receive a dead smooth finish .
Tools & Materials
Bobvila.com may earn a commission from purchases made through these links .
Baseboard Caulking in 6 Steps
Step 1: Choose the right caulk.
There ’s a number of type of caulk usable , each sew to the type of job you ’re doing . While bathroom or kitchen — the “ splash zones ” of the home — may require a waterproofed caulking like silicone around the baseboard , most molding in the menage benefit from latex paint caulks ( sometimes referred to as “ acrylic fiber rubber-base paint ” or “ painter ’s caulking ” ) . Latex caulk dries cursorily , expands slenderly to fill cracks better , exists in a assortment of colors , and even comes in a paintable rule . It ’s safe to say that , as long youuse a caulking gunproperly and pursue these next step , you wo n’t recognize where your carpentry stops and the caulk start out .
Step 2: Prep the baseboards with painter’s tape.
If there ’s any existing caulking , remove as much of it as potential ; a putty tongue , 5 - in-1 tool , or wire brush can help dislodge the old stuff . Run a emptiness bond over the area to get the last of the debris , then complete by wipe it down with acetum , fluent caulk remover , or bleach and let the area all dry . Any crumbs of caulk or detritus could compromise the seal .
For serious results , take the time to apply painter mag tape to the area above and below the line you need to caulk to help guide a perfectly straight , clean bead .
Step 3: Load the caulk gun.
Most types of caulk either add up in a squeezable underground or , more commonly , a pickup that involve a caulk gun . If you buy the latter , reduce the nozzle of the tube at a 45 - level angle to the trust bead sizing ( normally 1/8- to 1/4 - inch from the baksheesh is good for skirting board , depend on how lowly or large the gap you ’re filling is ) using autility knife , then pierce the internal cachet . stick in the cartridge into the caulk artillery following the producer ’s instructions .
Step 4: Apply the caulk.
confine the caulk gunslinger at a 45 - degree slant anddo a few pattern runson a opus of composition first to get a tactile property for how much pressure to enforce . You ’ll find you have to gently and repeatedly squeeze the trigger for dispense the caulking . Move at a steady pace , so you do n’t cease up with drop of caulk that are too lean or too boneheaded . When you ’ve got the hang of it , move on to the mopboard and fill the infinite between the line of tape measure .
Step 5: Smooth the bead before it dries.
When you ’ve finished the arena you ’re process on , flatten the bumps in the caulk for a more professional appearing . you may use a gloved finger duck in a scrap of water or anice cubeto create an even , legato line .
Step 6: Remove the painter’s tape.
Peel off the magnetic tape aright away before the caulk prohibitionist ( so that it does n’t get bond behind the caulking or rive the new drop off with it ) . Then let the caulking altogether dry accord to the manufacturer ’s recommendations before painting it to match the skirting board , if necessary .
This Is the class for a Kitchen Renovation
Whether you ’re sell or staying , everyone can get something out of a kitchen update . Learn why we count this renovation the Most Valuable Project of 2025 and how to stay on budget .
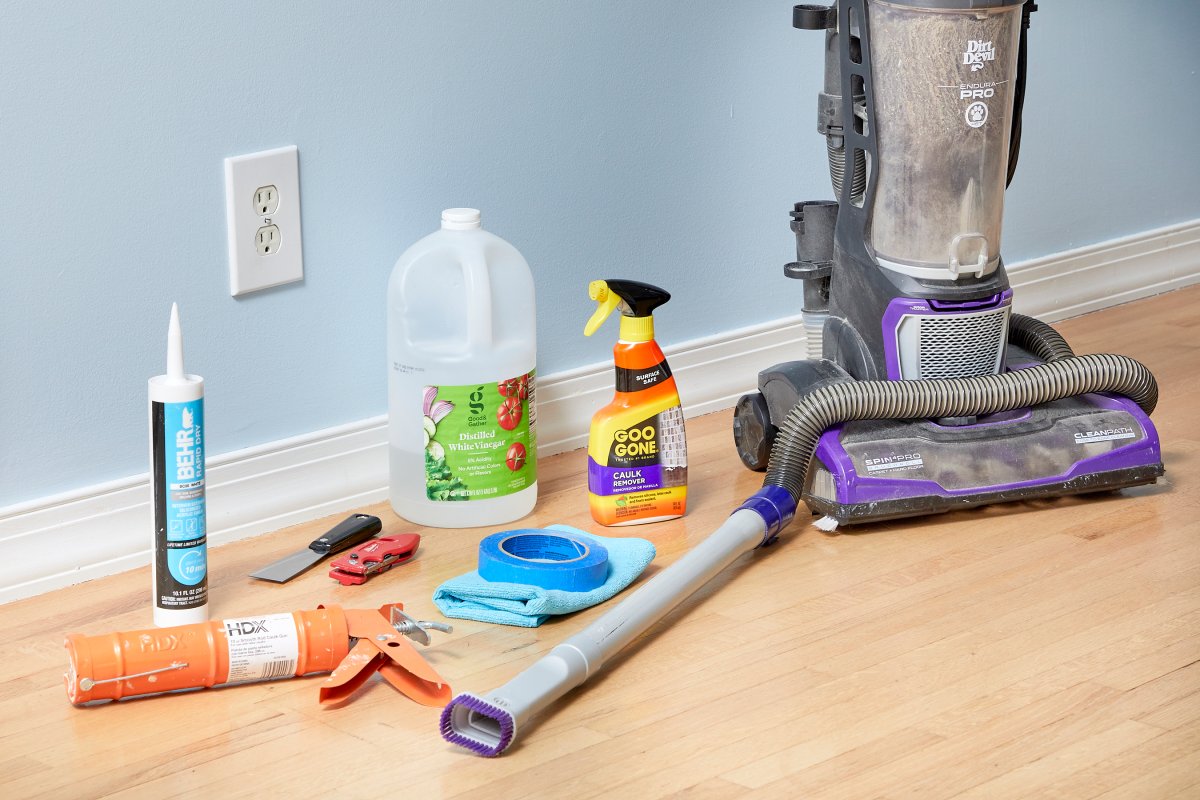
Photo: Tom Fenenga for Bob Vila
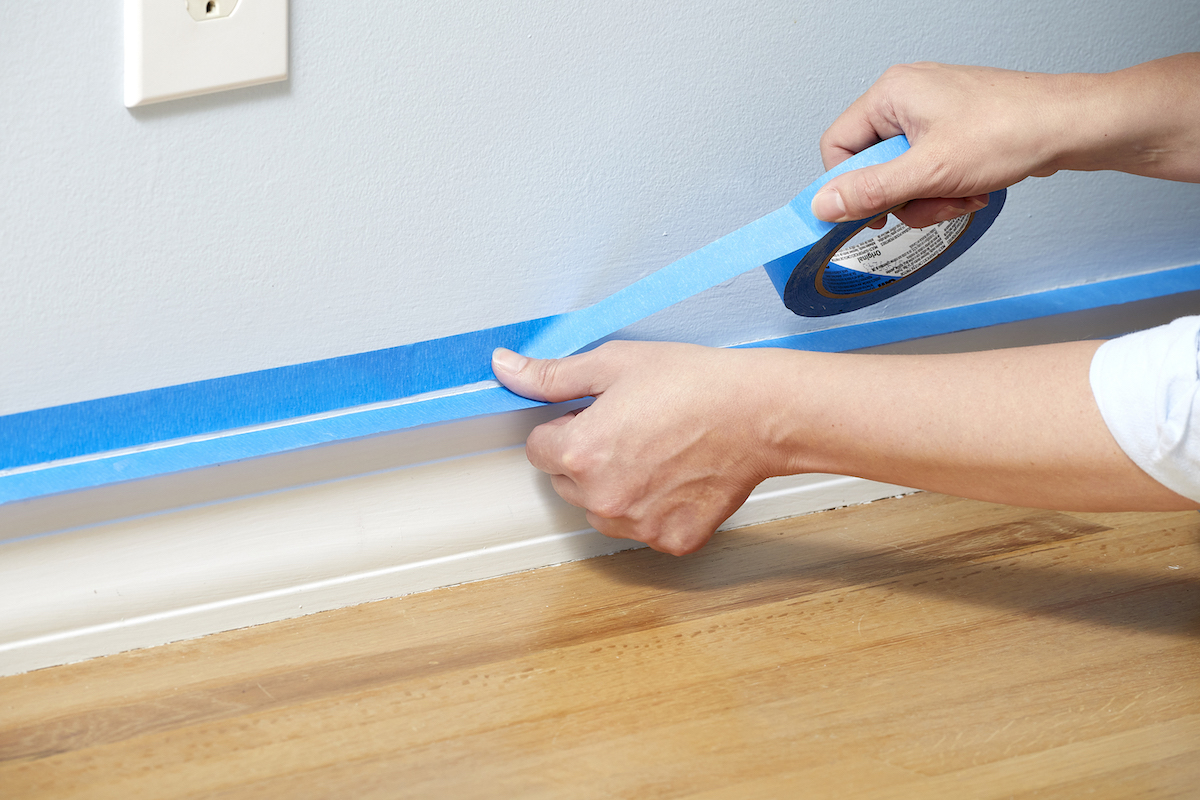
Photo: Tom Fenenga for Bob Vila
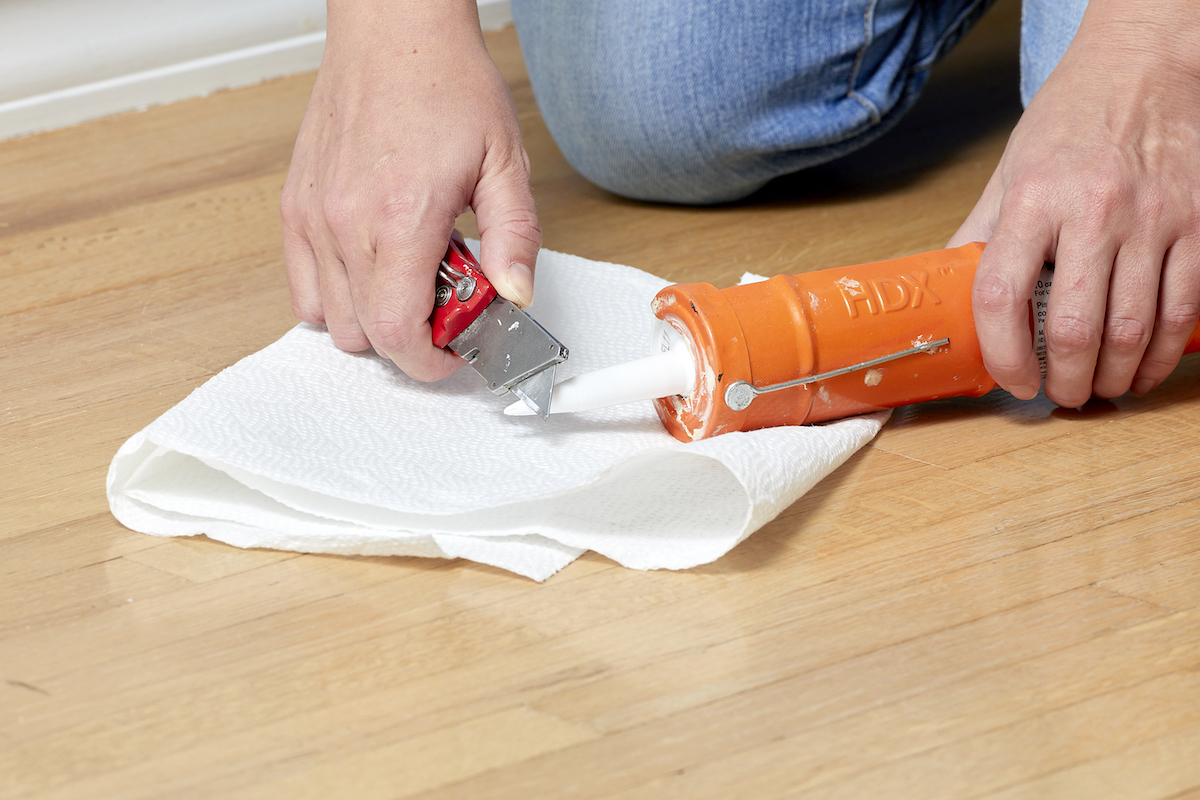
Photo: Tom Fenenga for Bob Vila
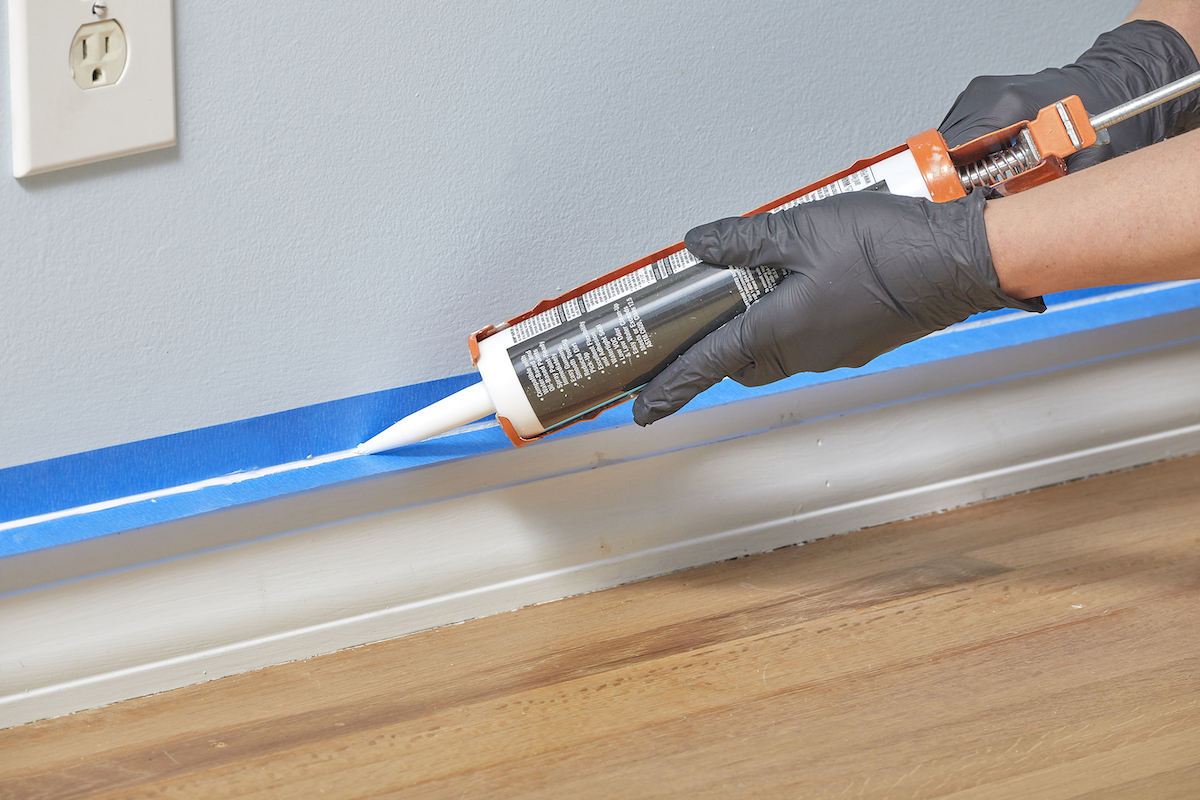
Photo: Tom Fenenga for Bob Vila
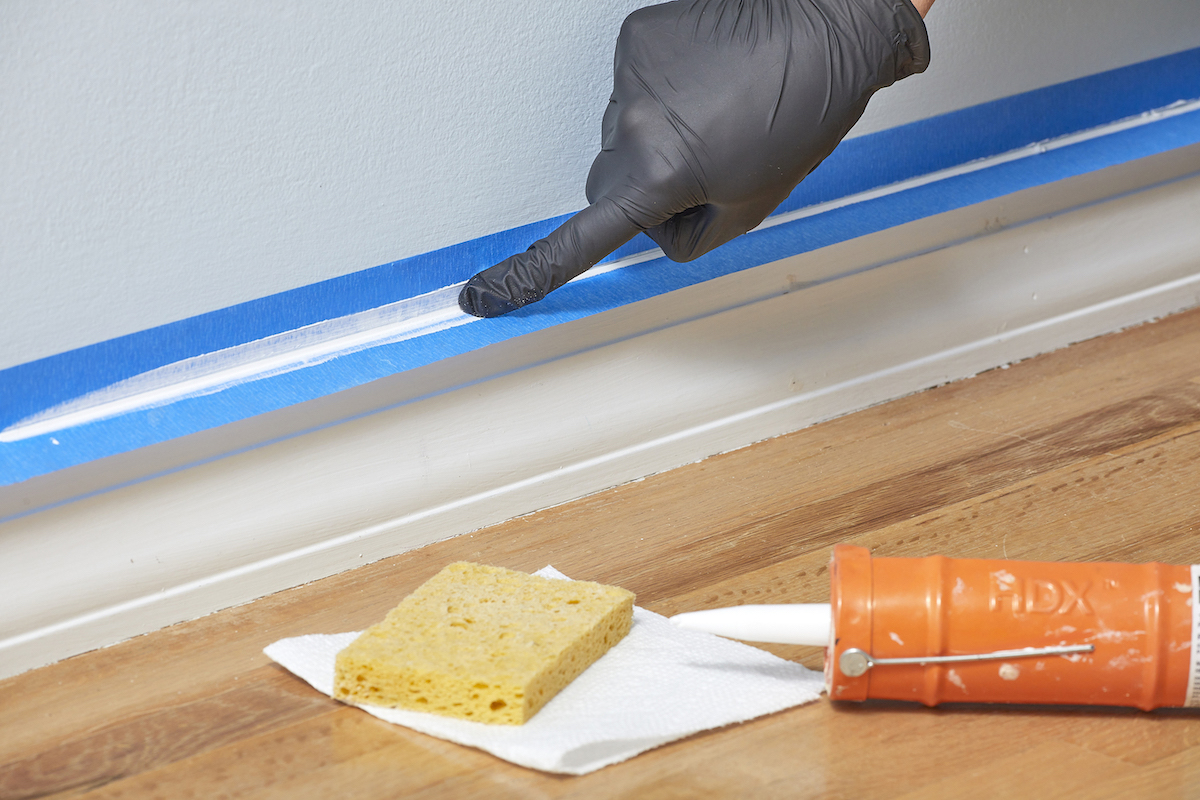
Photo: Tom Fenenga for Bob Vila

Photo: Tom Fenenga for Bob Vila

