We may earn revenue from the product uncommitted on this pageboy and enter in affiliate programs . find out More ›
Essential oil diffuserscan facilitate localise the right humour at base , depending on the scents you prefer . If you enjoy interpenetrate essential oils , then it ’s important to learn how to make clean a diffusor . right cleansing helps a diffusor stay work properly and make the most of your fragrant oils . Cleaning can also prevent mold growth in diffuser .
Keep learn to learn the best room to clean a diffuser after each employment , along with some diffuser care tips for deep cleaning and fear .
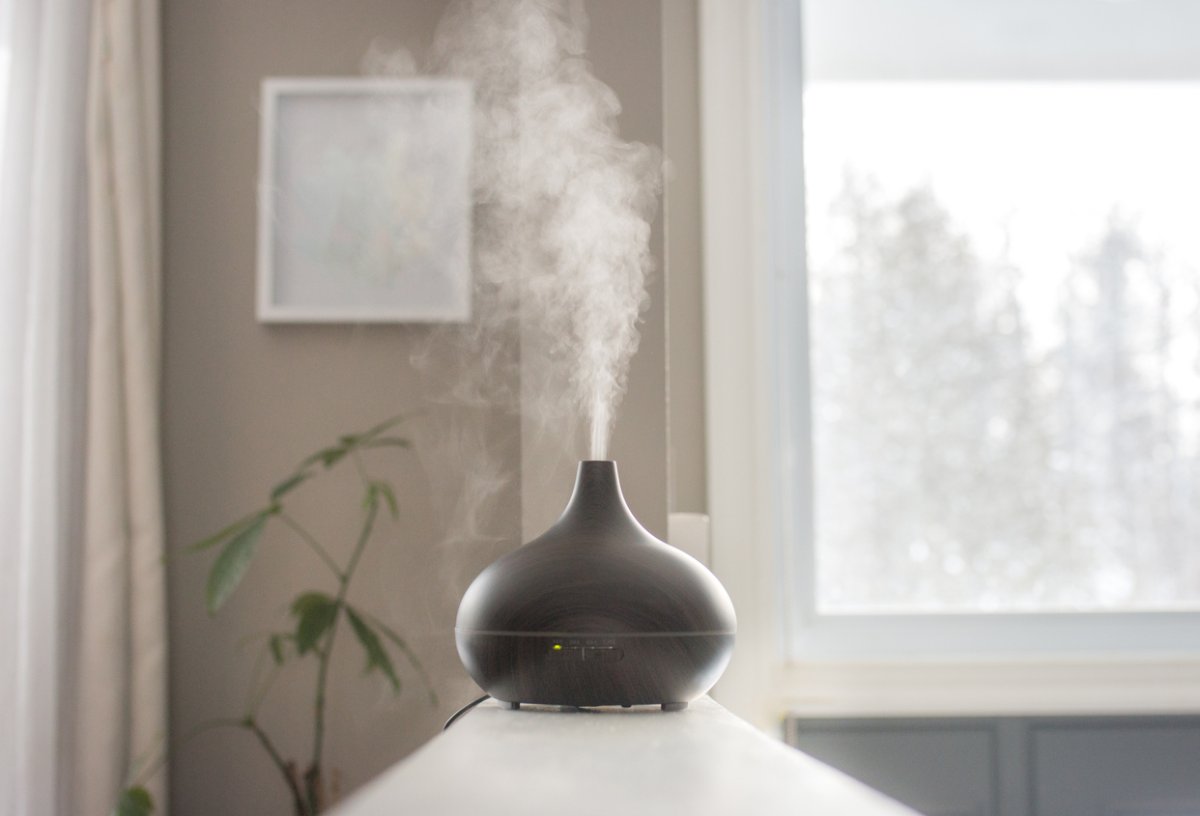
Photo: istockphoto.com
How to Clean a Diffuser After Each Use
clean an essential oil diffusor after every use eliminates the risk of oil rest gumming up the diffuser . Cleaning gets free of any standing water , where mold or mildew can grow . Another reason to clean house the diffuser between uses is to prevent smell from mixing the next fourth dimension you use it .
SUPPLIES
– Microfiber cloths – Dish soap – Cotton mop – Rubbing alcoholorwhite vinegar
STEP 1: Unplug the diffuser and empty the reservoir.
Before starting the cleaning process , unplug your diffuser from the wall . As with other electronic devices , diffusor should not be plugged in during cleaning . Afterward , pour out any water or petroleum left in the artificial lake .
STEP 2: Clean the reservoir using a microfiber cloth and dish soap.
With the reservoir empty , wipe it clean . add together a drop cloth of raw dish easy lay to a soft , damp material . Wipe down the entire reservoir , then rinse it under water to remove any soapy remainder . dry out the reservoir using a dry microfiber material .
STEP 3: Use a cotton swab and rubbing alcohol to clean the ultrasonic plate.
Oils can build up on the ultrasonic home base or chip as these parts work to break down all-important oils . remove this buildup can ensure that the plate continues to function properly . apply a cotton mop dipped in rubbing alcohol or white acetum to gently rub the home base or buffalo chip and clear any buildup .
STEP 4: Reassemble the diffuser.
Now that you have clean diffuser component , you may put everything back together . If desired , the diffuser is now quick for immediate function .
How to Deep Clean an Essential Oil Diffuser
Whether you have an easy - to - clean diffusor or a more complex example , the steps below can facilitate you give it a deep cleaning every calendar month . A monthly deep cleansing canprevent moldin diffuser reservoirs , concentrate the danger of corrosion , and help you to stave off other potential problem .
– Distilled white acetum – Water – Microfiber cloths – Cotton swab – Rubbing alcohol
get by unplugging the essential oil diffusor from the rampart . Then , empty the reservoir to hit any rest water or oil .

Photo: istockphoto.com
STEP 2: Add water and distilled white vinegar to the tank.
Next , pick the diffuser with acetum and water . Vinegar is an effective disinfectantthat kill germs , prevents mold and mould from building up in the tank , and descales the diffuser ’s control surface . Fill the diffuser tankful about halfway with water , then add up approximately 10 drop cloth of distilled whitened acetum .
While you might be tempted to use blanching agent , which is known for its disinfectant attribute , it should never go into a diffuser . Bleach is toxic , and diffusing it can release dangerous gasoline into the air .
STEP 3: Plug the diffuser back in and run it for 15 minutes.
Once the water and vinegar cleaning solution is in the tank of the dirty diffusor , plug away it back in . Let it run for about 15 minute so that the vinegar has a opportunity to form and disinfect the various components of the diffusor . If you prefer not to have your room olfactory property like vinegar , set it out of doors or by an heart-to-heart window . After 15 minutes has passed , unplug the diffusor from the paries again to keep cleaning it .
STEP 4: Empty and wipe down the reservoir.
rain buckets out the remaining water system and acetum cleanup solution from the reservoir . utilise a dampish microfiber textile to wipe the tank down and absent any lingering residues , then dry out it using a raw microfiber towel .
STEP 5: Use a cotton swab and rubbing alcohol to clean the ultrasonic plate.
The supersonic collection plate or splintering should be clean during the abstruse cleaning as well . Dip a cotton swab in scratch alcohol and habituate it to lightly clean the plate . This will help take away any fossil oil remainder .
STEP 6: Use a damp cloth to wipe down the outside of the diffuser.
Next , employ a damp microfiber fabric to wipe down the exterior of the diffusor and remove any dust or debris that may be present . No soap or other detergents are necessary for this footstep ; plain pee will suffice .
STEP 7: Reassemble the diffuser.
in conclusion , put the diffuser back together so that it is ready when you next wish well to use it .
Final Thoughts
keep open an all important oil diffuser clean prevents mold from growing , prevent different smell from mixing together , and helps ensure that the diffuser will continue to work decent . recollect , survey the gradation outline above to give your diffuser a quick cleansing after each usance and a deep clean approximately once a month . When you take maintenance of your diffuser , you’re able to savor your favoritehome fragranceswhenever you care .
This Is the Year for a Kitchen Renovation
Whether you ’re selling or staying , everyone can get something out of a kitchen update . memorise why we consider this renovation the Most Valuable Project of 2025 and how to stay on budget .

Photo: istockphoto.com

Photo: istockphoto.com
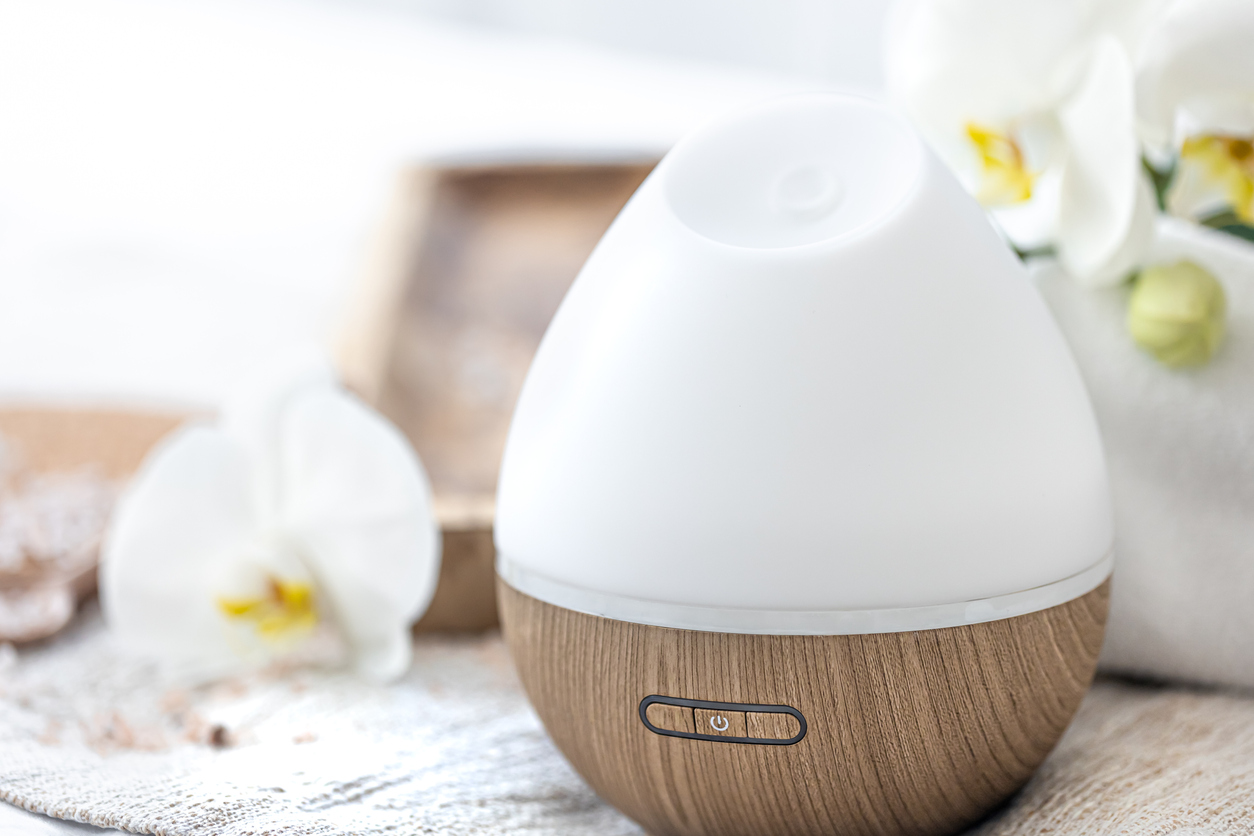
Photo: istockphoto.com

