We may earn receipts from the mathematical product uncommitted on this page and participate in affiliate programs . Learn More ›
add a fresh coat of blusher is one of the most low-cost and fulfil ways to freshen up the look of a elbow room . But while you might be itching to crack undefendable that can of paint and get started , stabilise your key copse deal . Before any paint or ground hits the rampart , it ’s important to check that that it ’s going onto a clean aerofoil .
Over time , wall cumulate cobweb , detritus , grease , and stain . By clean wall before picture , you ’ll make a good base for that sweet pelage , which helps ensure that you terminate up with great resultant role . We bug painting expert Brandon Walker of Arizona - basedASAP Restoration LLC , for counseling on how to clean walls before house painting .
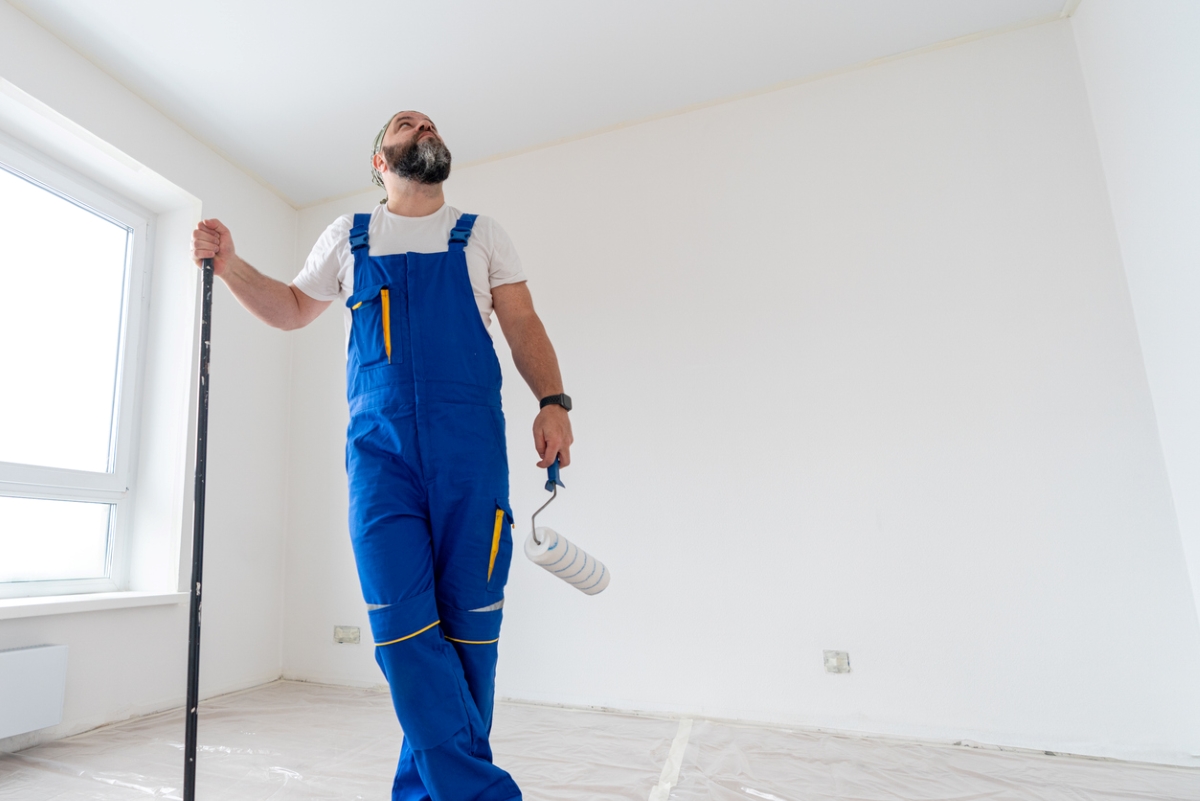
Photo: istockphoto.com
Tools & Materials
Bobvila.com may earn a delegation from purchases made through these link .
Project Overview
Working Time : 1 hourTotal Time : 3 hoursSkill Level : BeginnerEstimated Cost : $ 0 to $ 15
Before You Begin
Start by prepping the space for wall cleaning . Move furniture out from the wall and overlay point with drop material to protect them while you make clean and paint . You ’ll also need to remove any wall plate , picture hangers , and other obstacle that can get in the style of cleaning and painting .
STEP 1: Make repairs.
initiate by make any postulate fixture to the wall . read the surfaces for holes , cracks , and dents created by article of furniture and mental picture hangers . Remove loose blusher , using a putty knife . come up aside any disrobe pigment , then sand it unruffled .
Use dry wall chemical compound or spackle and a putty knife tofill any holes . Allow the spackle to dry out soundly , then sand each repair so it ’s quiet and level with the fence wall , using 120 - moxie sandpaper .
STEP 2: Sand the wall.
Beforeadding fresh paint , Walker advises lightly sanding the entire wall . “ This will aid the newprimer and paint adhereto the old surface much more tightly , ” he says . Walker suggests using a pole smoother — an low-priced sanding attachment you may screw onto a received threaded mop or heather handle — to make this part of ready wall for painting go faster .
STEP 3: Vacuum up dust.
Before you may proceed with cleaning , you should remove the dust you just created from sanding , along with any dust that has collect on the wall over the years . expend ahandheld vacuumwith an extension sceptre , a broom , or a ironical swob to remove any gossamer that have formed between the walls and the cap or rubble that ’s cumulate on and around the baseboards . Walker advises : “ If the office allow for it , apply a leafage cetacean or an zephyr compressor to slay all of the cobwebs , dust , and other debris from the wall open . ”
STEP 3: Mix your cleaner.
You do n’t need to head to the store to purchase a exceptional wall cleaner . Make a simple wall - houseclean solvent using cloth you already have at menage . In a bucket , mix a quart of ardent water with a teaspoon of dishwashing liquid and a dash or two ofvinegar . Do n’t get carried forth with the liquid ecstasy . The goal here is to clean the bulwark thinly , not to suds them up like you ’re washing your car . The warm water plus the dishwashing liquid and acetum will cut through grease and dirt that ’s clinging to the wall . Fill a second bucketful with fond water to serve as your rinsing .
STEP 4: Clean the wall.
Dip a sponge or cloth into the soapy water , rack out excess water system , and begin wiping down the bulwark . Move from top to bottom and from one corner of the room to the other . Avoid using too much pee , which could damage the dry wall or cause drip mold to lead into electrical outlets . You should only need a pocket-size amount of moisture to remove dirt from the walls .
The cleanup solution works in many situations , but Walker suggests using a degreaser such as Goo Gone or Simple Green for removing thicker layers of grease and grime . “ Typically , this operate best in kitchens and areas that experience a lot of hand dealings like the corner leading into hallways , ” he say .
STEP 5: Rinse the walls.
Aftercleaning the walls , it ’s crucial to absent any trace of soap , so it does n’t interact with the Modern coating of pigment and priming you ’ll be tally . Dip a light cloth into your rinsing bucketful , rack it out , then wipe down the wall . Rinse the cloth in the clean piss periodically as you go .
STEP 6: Let the walls dry.
practice a blank , dry cloth to serve dispatch any moisture left on the walls , then allow the walls to dry good before adding key . “ As long as they are dry to the skin senses , it is probably sufficient to commence prim out and picture , ” Walker suppose .
Final Thoughts
While you might be lure to cut cleansing or prepping walls for paint , Walker saysthat would be a mistake . Dirt on the walls can prevent paint and primer from adhering properly to the old paint . “ Typically , this presents in the shape of chipping , deprive , bubble , blisters , and flaking , ” he says .
Even if you do n’t have a problem with the paint sticking , Walker enjoin you ’ll likely still end up with debris snare in the paint that will be seeable after it dry out . “ It will be apparent and may even create textural difference in body , ” he says .
While it might seem like a hassle , spending alittle bit of extra timewashing walls before painting will pay off in a beautiful and durable reinvigorated coating of key .
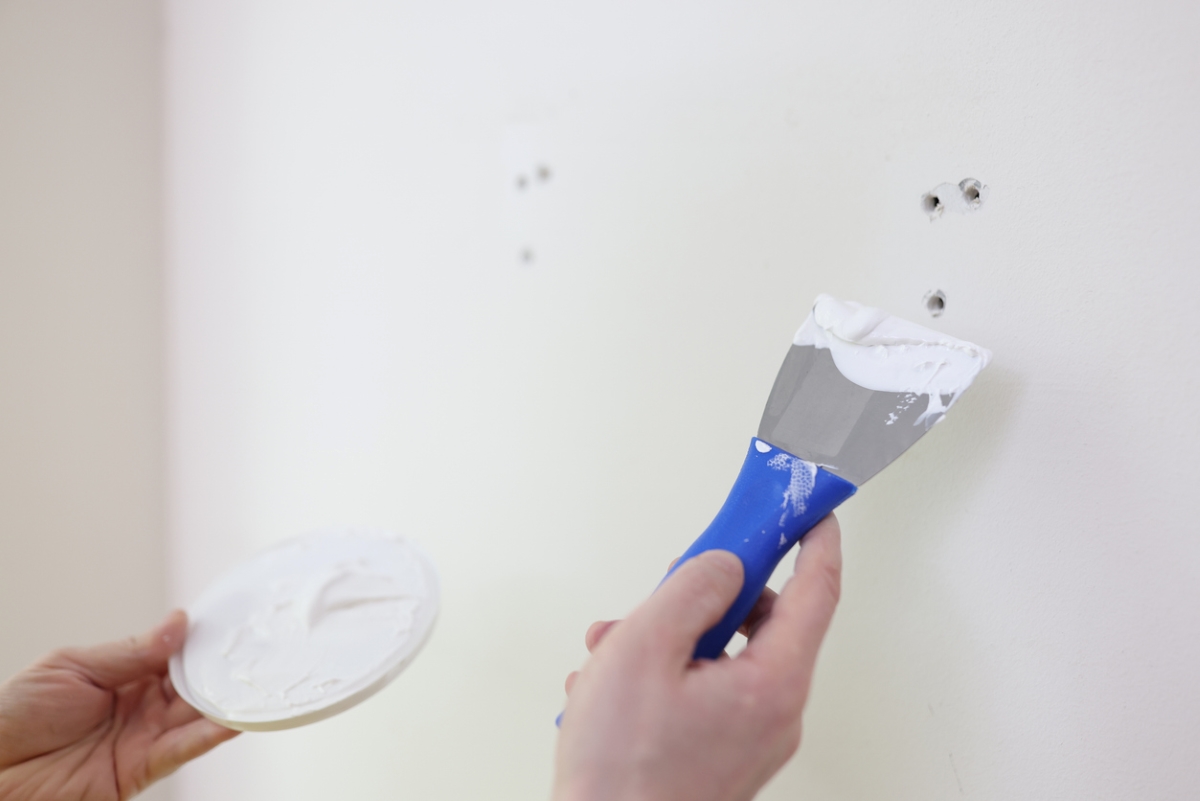
Photo: istockphoto.com
Everything You demand for a Lush and Healthy Lawn
prevent your gage green and your plants thriving does n’t just take a unripe thumb — it starts with the good tools and supplying .

Photo: istockphoto.com

Photo: istockphoto.com

