We may earn receipts from the product available on this Sir Frederick Handley Page and participate in affiliate programs . instruct More ›
Board - and - batten has traditionally been the stuff of barn and exterior cladding . Often pugnacious - sawn and ready for the weather , the cladding style is design to ( a ) last rough conditions and ( b ) be made from locally useable cloth . Originally a European style of sidetrack , once colonist set up sawmill in North America , the technique was employed in and on manyfolk - panache homes .
board ( 1×12 or like ) were cut and apply vertically to the building frame . To cover the gaps between display board and seal out the conditions , battens ( 1×2 or similar ) were boom on top of the break where the boards meet .
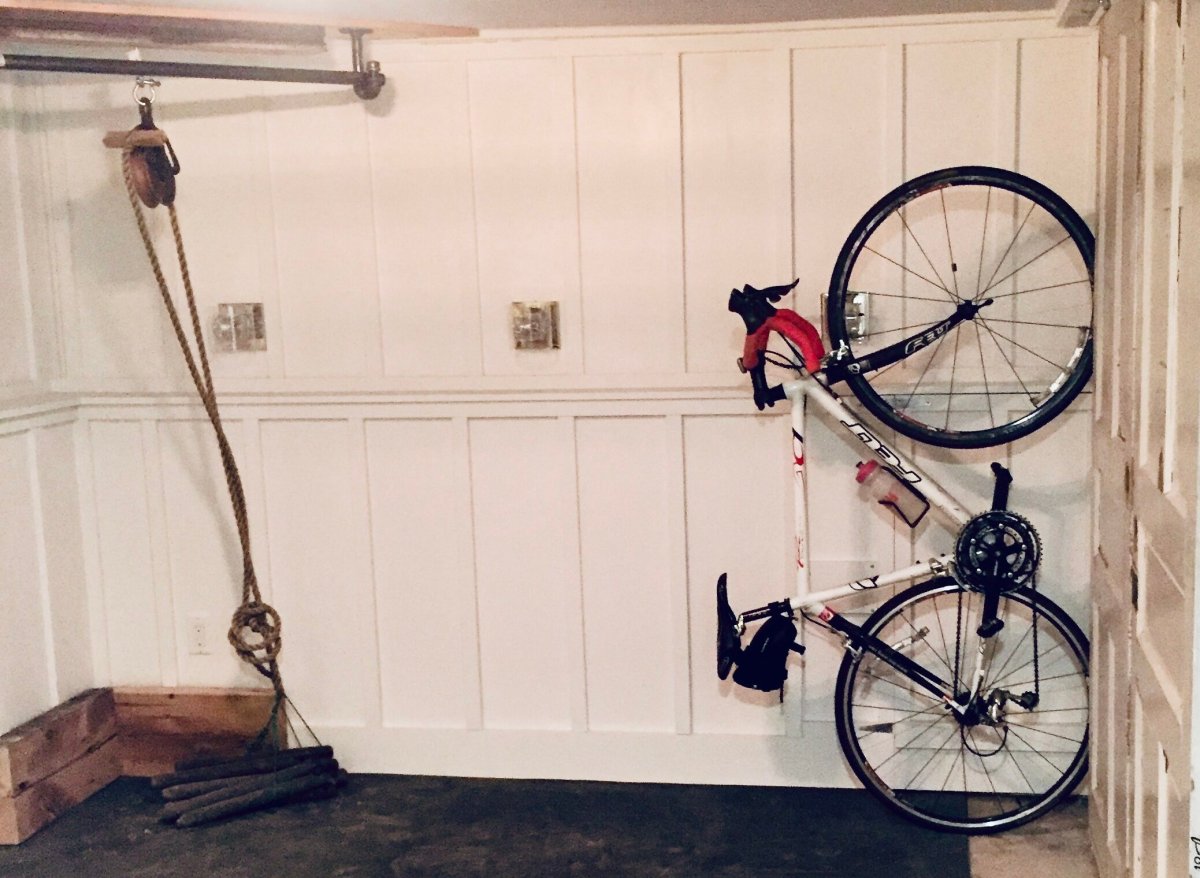
Photo: Theresa Clement Photo:Mark and Theresa Clement, MyFixitUpLife.com
While the look ofboard - and - batten sidingcame about from necessity , it ’s now a stylish tone . Instead of those rough - sawn board used for barns , practice fluid , manufacturing plant - prim out finger joint textile . The expression is urbane and easily used as wainscoting , in a cellar remodel , or on afeature wall .
A DIY board - and - batten wall smoothen as a focal point in a abode . However , it takes a little care and precaution to get it right . This guide for how to make a board - and - batting wall walks you through the basics and points out the item that can stymie a project .
Tools & Materials
Bobvila.com may earn a commission from purchases made through these links .
Project Overview
plain , the amount of prison term it takes depends on how much plug-in - and - batten you ’re installing . If you ’re doing a single characteristic wall , from start to finish , it ’ll likely take 2 full working days after the materials are on site and the peter are set up .
Working Time:16 hoursTotal prison term : 22 hoursSkill stage : IntermediateEstimated Cost:$900 to $ 2000 ( for those who need to grease one’s palms everything on the list )
BEFORE YOU BEGIN
Before start this project , it ’s important to note that the following stairs explain how to install panel - and - batten over exist drywall with stud framing or plyboard . In a room without either base , it ’s recommended to add the necessary blocking to make installation easier .
Another important broker ispicking the right woodwind instrument . The easiest options to work with are usually 1×12 and 1×2 finger roast prim up pine . Note that 1×12 is believably available at your local home marrow or online , but 1×2 may not be as easily available . However , it can be made by ripping a 1×12 on a board saw .
The next pre - project business organization worth turn over involves layout . The finish is to have each ending while on the remaining and right be the same width . This scout shows how to get that layout right-hand .

Photo: istockphoto.com
STEP 1: Pick a layout control point.
bill and tick the center of your lineament wall . Next , standard to each intersecting paries as if thecenterof the center board is on the layout scar on the wall . That will show you the approximate width of each end piece .
If it ’s too thin to your liking , imagine theedgeof the inwardness board is on the layout mark on the bulwark , which will deepen the size of it of the ending spell . If you still are n’t satisfied , make a mock - up by cutting sample distribution piece and laying them out on the trading floor to illustrate the look in real time .
STEP 2: Remove the existing base molding.
Board - and - battencannot be easy integrated with distinctive base moldings . take the exist base moulding on the feature bulwark . A supplying also want to be made to remove 1½ inches of root mould on the intersecting wall . An oscillating tool is helpful with this cutting .
STEP 3: Install the horizontal baseboard.
Locate and mark the wall studswith either a he-man discoverer or with the knock method acting to mind for the modification in sound along the bulwark . A hollow phone intend there ’s no scantling behind . Nail holes from the old base border will also aid show where the studs are located . tighten a 1×6 piece to the paries where you mark the studs .
STEP 4: Strike a plumb line.
Plumb ( straight up and down ) is cardinal here . Strike a plumb line for the first board using a 4- or 6 - groundwork grade . Bear in mind , the boards should be gapped about ¼ of an column inch for expansion and contraction as temperature and humidity change . Wood movement across the grain ( the display board ’s width ) more than along it ( the distance ) , so you ’ll need to install each control board ⅛ of an inch to the side of the plumb job .
STEP 5: Start with the center board, and then work left and right.
On the miter saw , write out each board to length . A length that ’s within ¼ in of the measurement is fine , as it will be covered by and by by a horizontal batten . practice construction adhesive to the back of each board and nail them to the wall studs or plywood . Ensure there is at least a ¼-inch gap between boards and mould toward the intersectant corners . On the table saw , rive each destruction control board and then put in .
STEP 6: Install the top batten.
mensuration and establish the batten that breed the board finish at the ceiling . Often , 1×2 is not uncommitted at big box stores , so it may need to be ripped on the board encounter . If this is the case , add the saw - skip side toward the ceiling and the prim up side down .
For saw - cut vertical batting , vortex mark from the saw steel will be seeable after you paint it . Run a electric sander over them to shine them out before installing .
STEP 7: Install the battens.
beat and install battens over the gaps in the boards . This is a precise cut . Do n’t assume they ’re all the same size ; measure the length needed for each one . ensure they are plumb and moderately close to center over the gap in the boards .
STEP 8: Prep the wall for painting.
fill up the nail holes with spackle . For seamless results , it ’s deserving satisfy the nail holes , sanding them , then fill them again . Water - based filler shrink as they dry out . Caulk the jointsas needed , including the transitions at intersecting wall and along the ceiling , for a seamless look .
STEP 9: Paint the board-and-batten feature wall.
Apply paint in your color selection . While lily-white is traditional , a matte ignominious feature paries is on course . However , a colour finishing reflects spark and is easier to clean .
A caliber 3½-inch paint light touch is peachy for cutting in along the ceiling and trading floor , and it applies enough blusher to the “ landing field ” ( everything that ’s not a border ) expeditiously . It also enable you to get rouge into the right angles between the board and battens , which are place a roller can not go . Two coat of paint is usually 10 time good than one coat .
Final Thoughts
A circuit card - and - batten characteristic wall can be an easy DIY ski lift with right planning and the correct creature . As with all trim work , attention to detail is very important . exact a piddling excess sentence and aid will pay off off in the finished undertaking .
This Is the yr for a Kitchen Renovation
Whether you ’re sell or staying , everyone can get something out of a kitchen update . Learn why we think this restoration the Most Valuable Project of 2025 and how to remain on budget .
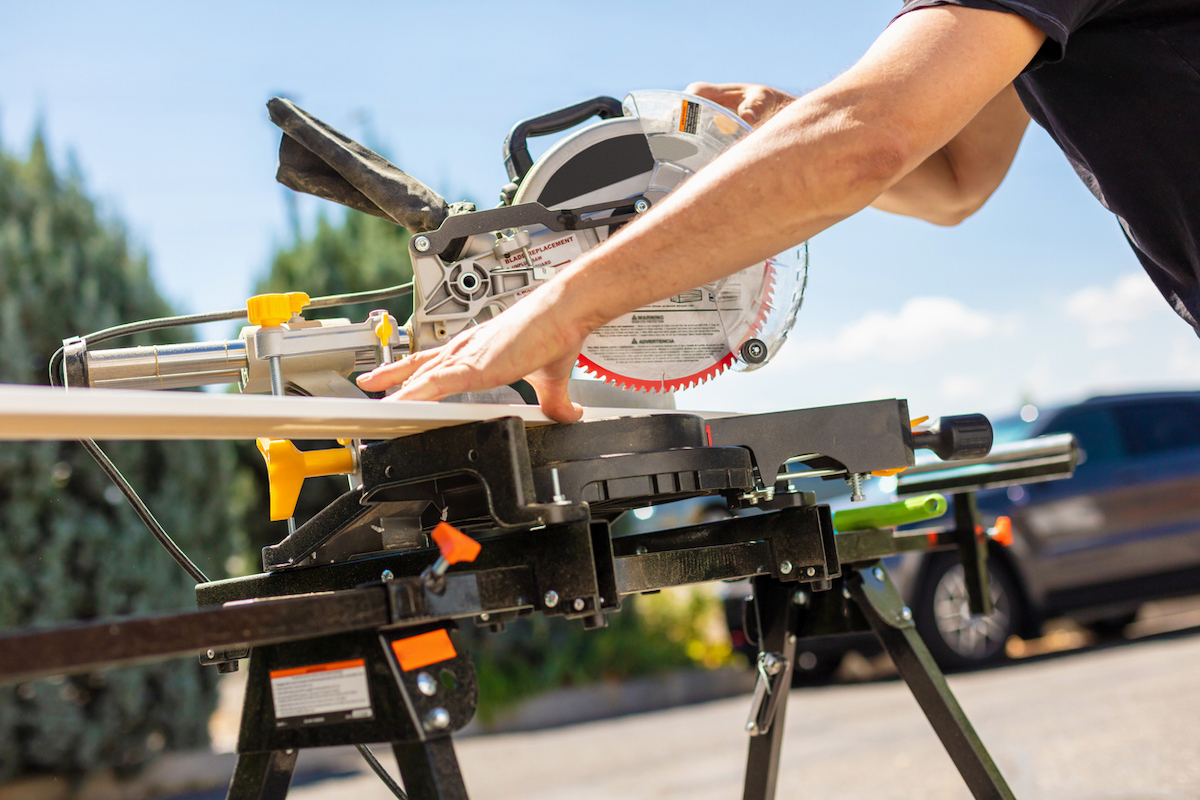
Photo: istockphoto.com
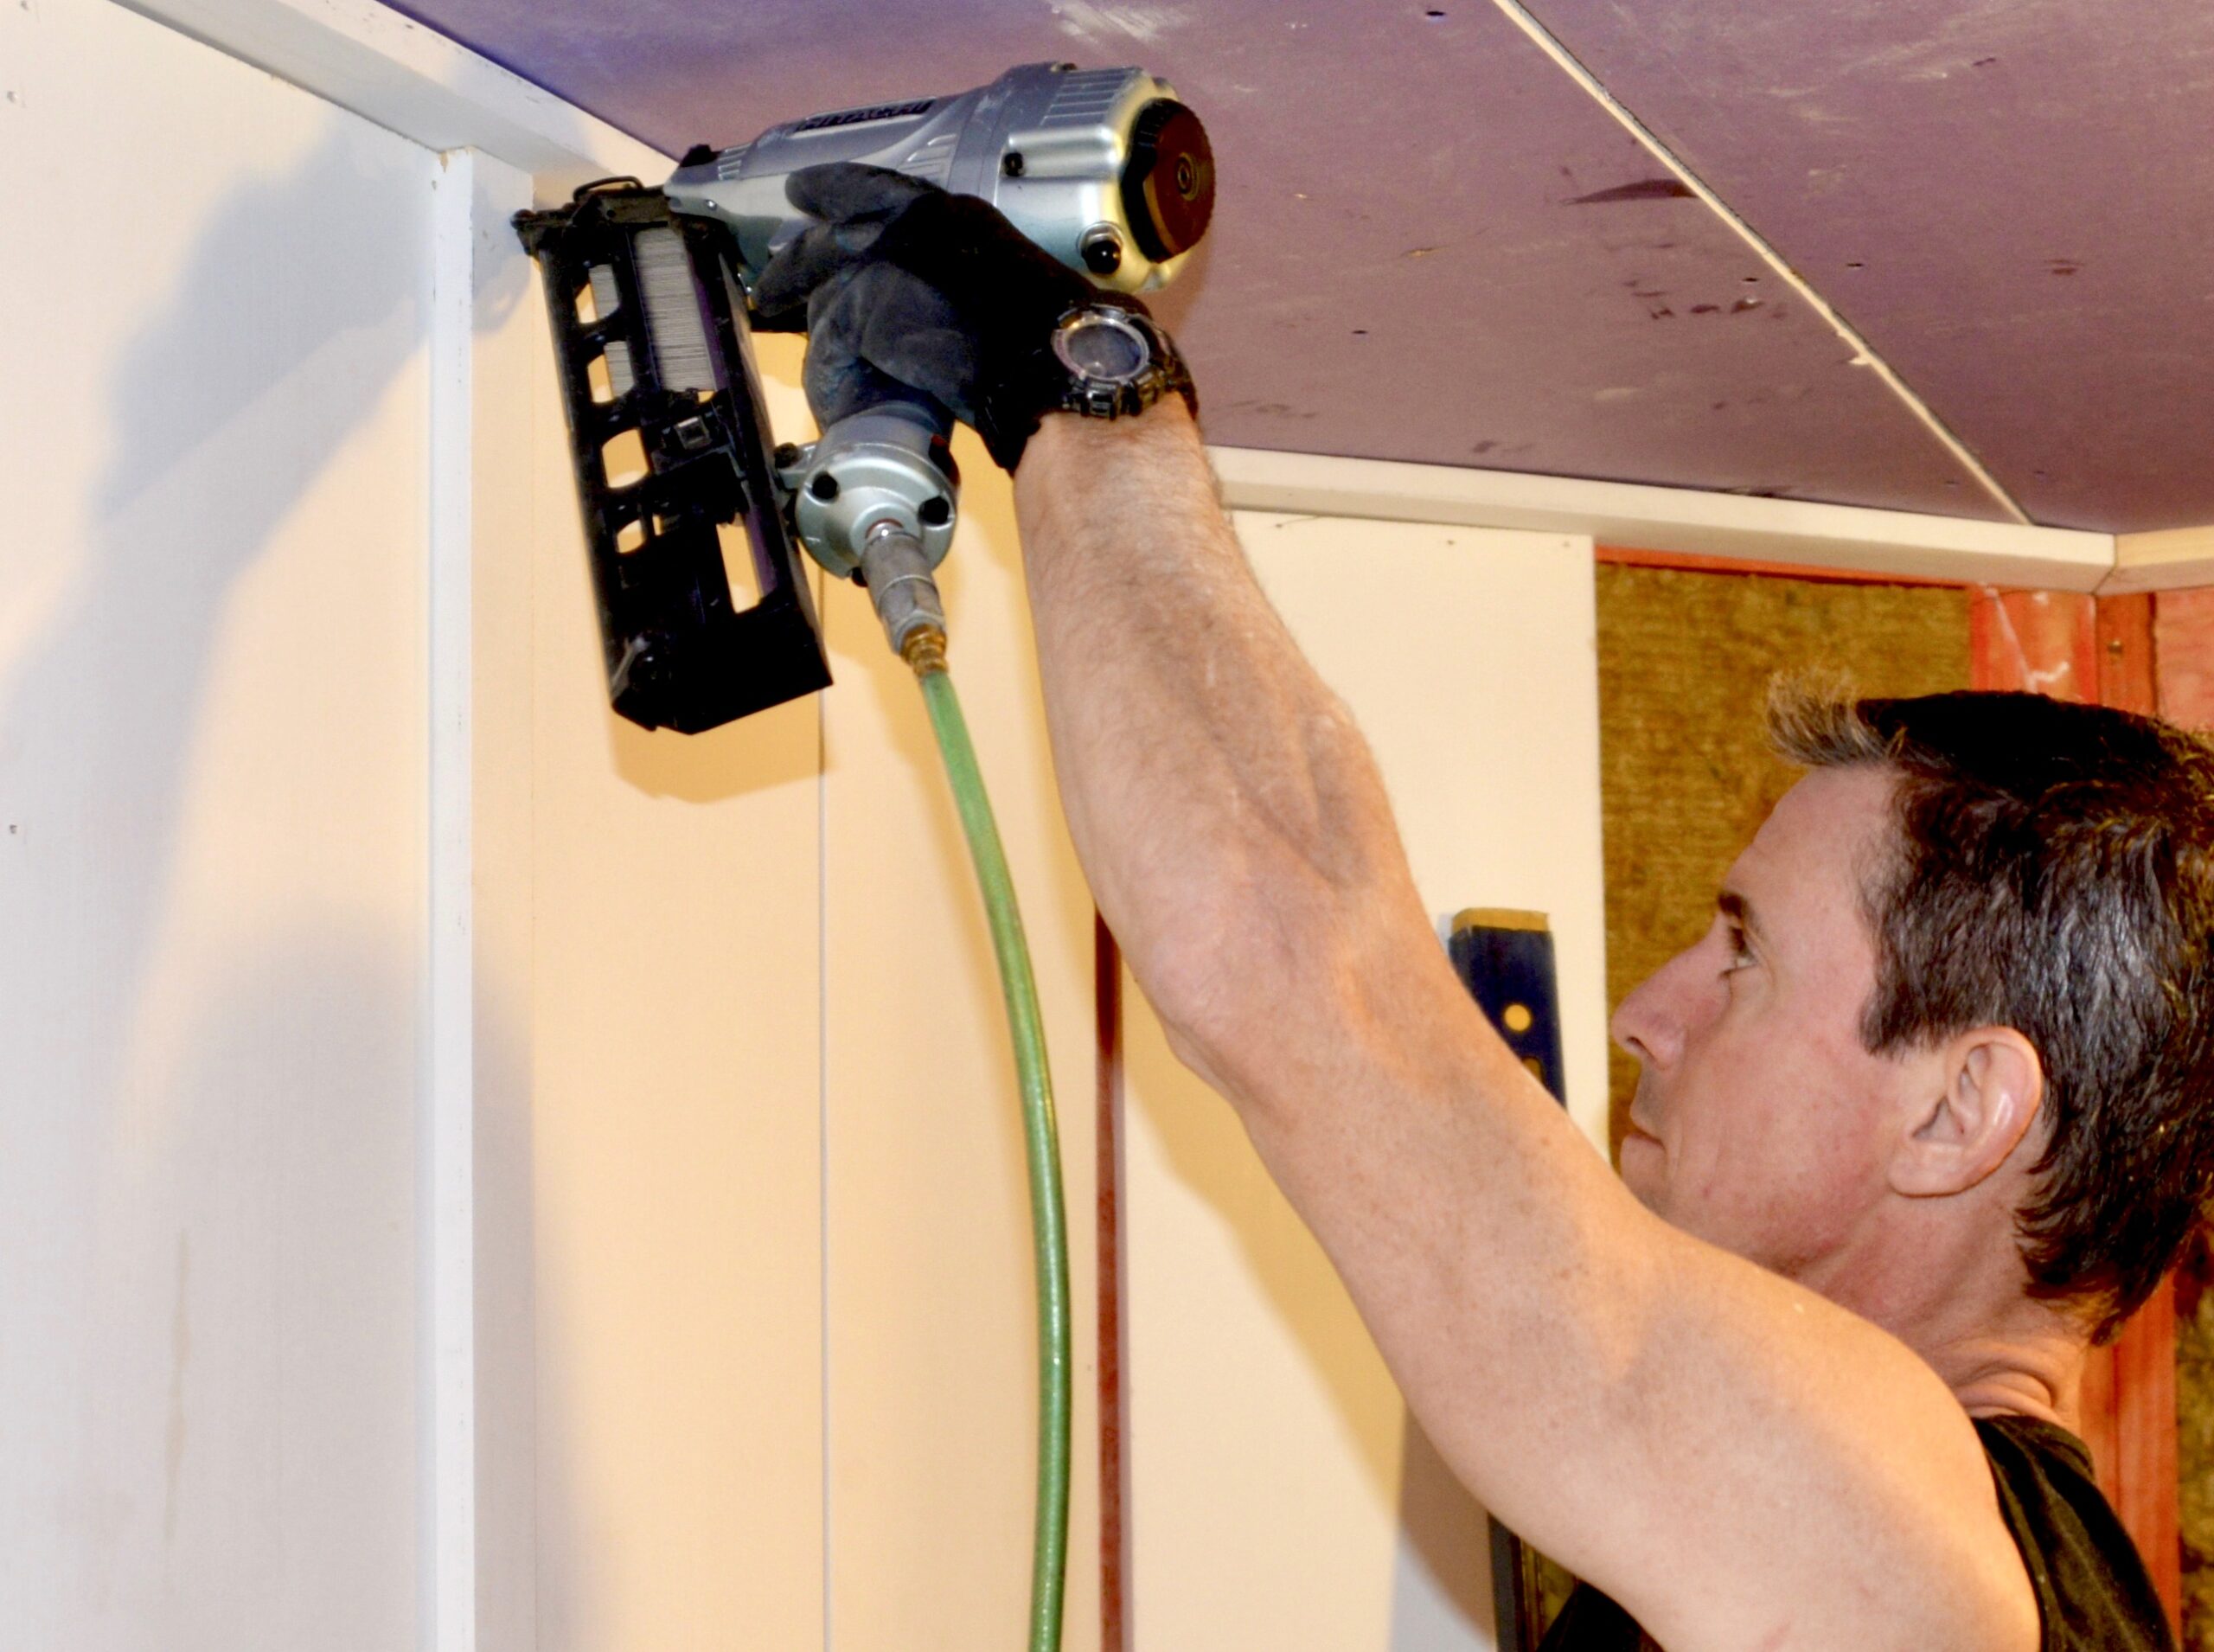
Photo:Mark and Theresa Clement, MyFixitUpLife.com

