We may earn revenue from the products available on this Thomas Nelson Page and enter in affiliate political platform . memorise More ›
A roof is one of the essential components that protects a nursing home from harsh elements such as strong winds , ice , and heavy snow . If you notice that your cap line of merchandise sag , curve ball , or pickpocket and is n’t arrow straight , it is likely that your ceiling needs mending . Several factors that have a sagging cap include age , piss damage , supererogatory weight , design flaw , low - quality or wrongly sized materials , and even faulty installation .
While some sagging may not impersonate an immediate threat of collapse , a swag roof can be a serious issue that require prompt remediation . Only experienced roofer should take on this projection due to the story of trouble .
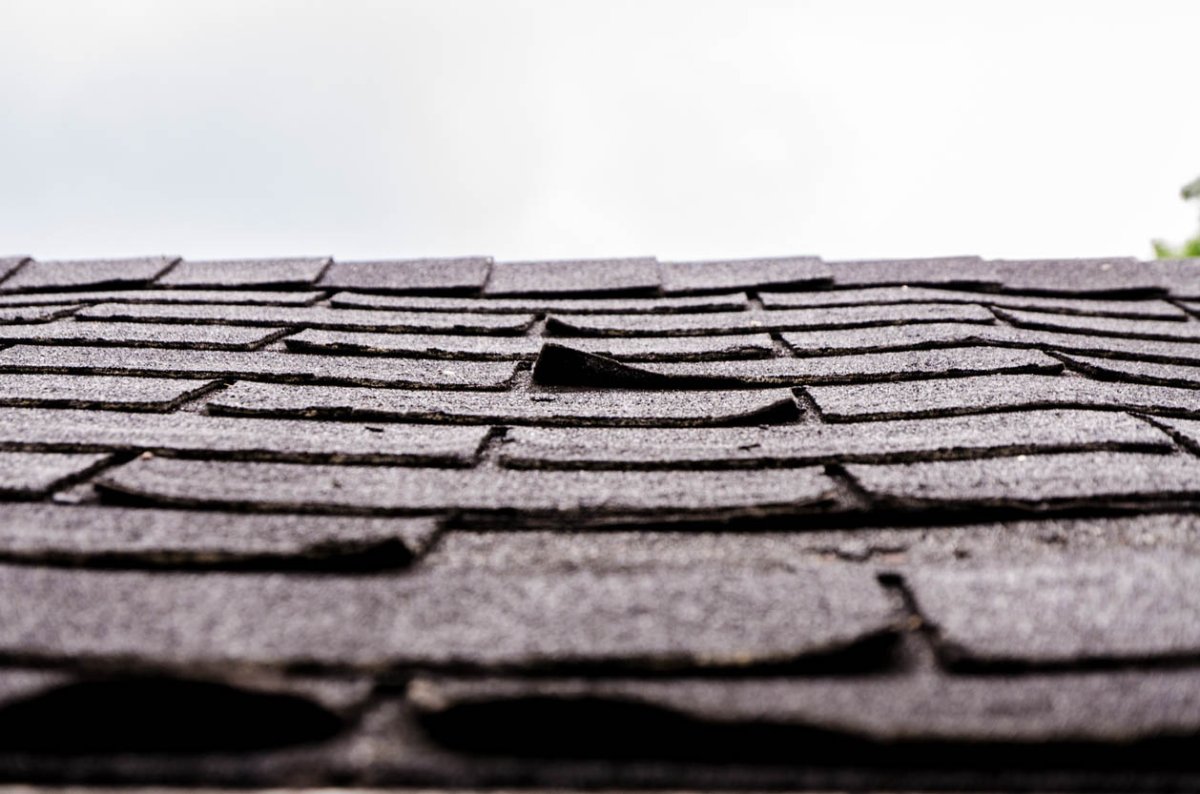
Photo: istockphoto.com
clock time required:1 to 2 weeksDifficulty : ExpertEstimated cost:$750 to $ 2,000
Tools & Materials
Bobvila.com may earn a commission from leverage made through these links .
Before You Begin…
fix a droop cap is an extensive project , so you ’ll want to check that that you are experienced in roofing to invalidate substantial issues or risk a incorrect task . First , an inspection is needed to figure out why your roof is sagging and what just is get it to swag . This vital step can help you assess the damage and design fabric costs .
If your cap is sag down , it may be because of broken trusses or rafters that need fixing . The extent of the damage will determine the cost of the mend . If the morphologic beams have been damaged , prices can rise importantly ; however , if only a small circumstances of the ceiling require repairing , the price could be lower .
Tips for How to Fix Sagging Roof
Safety Considerations
STEP 1: Inspect the roof and identify any damage.
First , you ’ll want to inspect the roof for sag . It ’s a good musical theme to look at the cap from the street . Next , check the cap from inside the home base by grabbing a flashlight and head up to the dome . This position can give you an mind of the extent of the harm . devote attending to your roof truss construction , which is the frame that supports the roof . Look for price that includes pass , rotting , and breaking . In most case , a saggy roof is due to the corbel or raftman needing repair .
STEP 2: Drill holes in a steel “L” channel.
Generally , one of the most challenging aspect of repairing a rafter or truss is putting it back into its original placement after it was damaged . The good way to attain this is to get a blade “ L ” groove with a minimum measurement of 1½ in by 1½ inch and no less than 2 invertebrate foot long . Start by drilling four ⅜-inch maw in the base of the steel “ L ” TV channel and four holes in the side . The holes should be equally space .
STEP 3: Remove any chips or splinters in the wood.
The next step is to clear out any Mrs. Henry Wood fragments that may have dampen off on the truss or rafter . impoverished pieces of wood and debris can interfere with the coalition of the rafter or truss , so removing chips and splinters in the wood is a crucial dance step in the mental process .
Tip : The ideal tools for removing broken composition of Sir Henry Joseph Wood would be a chisel or reciprocating saw desirable for rough cutting or wipeout work .
STEP 4: Mount the “L” channel onto a rafter and fasten the end.
place the damage part of the corbel or balk and mount the “ L ” channel with the ⅜-inch by 2 - in slowdown dash . Next place the carriage bolt and washers ( which are typically ⅜ inch by 2½ column inch ) in the trap on the side of the brand “ L ” line .
STEP 5: Measure the gap between the rafter and the “L” channel.
Now it ’s metre to measure out the interruption between the “ L ” channel and the raftman or truss . It is suggested to pick out a lag bolt that is ⅜ inch by 1½ inch to 2 inches longer than the crack found between the “ L ” channel and the truss or raftman ’s bottom .
Tip : It is propose to apply a meantime deadbolt that is 2½ inches to 3 inches if you have a 1 - in gap . However , if your opening is slightly large at around 2 inches , select a lag thunderbolt that measures 3½ in to 4 inches long .
STEP 6: Add two bolts at the bottom of the “L” channel and tighten them until the rafter is secured.
Next , add two retardation bolt at the bottom of the “ L ” channel and begin to tighten up them until they are loaded with the steel . consider tighten the deadbolt that is farthest away from the detachment until the other bolt head is ¼ inch from the steel . Then you could begin to tighten the front deadbolt until it ’s ¼ inch out from the steel and bear on this cognitive operation until the rafter or truss fits closely to the brand .
STEP 7: Add additional bolts if needed, and tighten everything.
If extra bolts are needed , two more hole can be drill in telephone line with the holes on the side of the “ L ” channel . Then you may insert the carriage bolt of lightning and guarantee that the nut and washer are close against the steel and thoroughly tightened until everything is securely in place .
Tip : Once the rafter or truss is secured in topographic point , it is an excellent musical theme to add extra support , such as extra 2x4s , to keep the cap in tip - top shape .
STEP 8: Contact a roofing professional.
If you have any doubts about your abilities to fix a sagging roof on your own , or if you ’re having trouble DIY - ing this task , you may desire to lease a roofing professional . Unless you have tremendous experience repairingsagging roof , it would likely be very backbreaking to fill out the project in a acceptable and safe way . An expert can effectively cease the task while helping you ward off long - term expenses and headaches . experient roofer know precisely the type of materials and tools that are need to finish the process correctly .
When considering whether to fix a sagging ceiling with a do - it - yourself method acting , there are many aspect to take into account . It ’s essential to take that first whole tone to see why your roof is sag , dipping , or accede due to weight , rot , or normal article of clothing and tear . If you decide it ’s not a project you’re able to well take on , a professional roofer can ensure the correct steps are taken with expertness and quality fabric in mind . Once the roof has been fixed , it ’s a secure theme to haveroutine inspectionson your cap every year .
Everything You Need for a Lush and Healthy Lawn
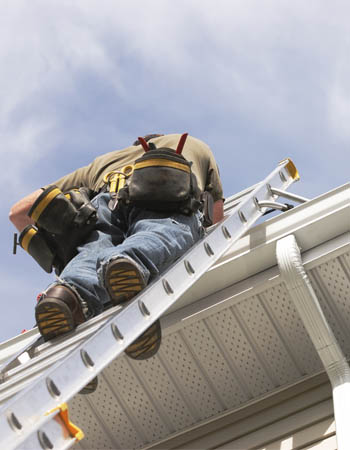
Photo: istockphoto.com
keep your smoke greenish and your plants thriving does n’t just take a green quarter round — it starts with the right tools and supplies .
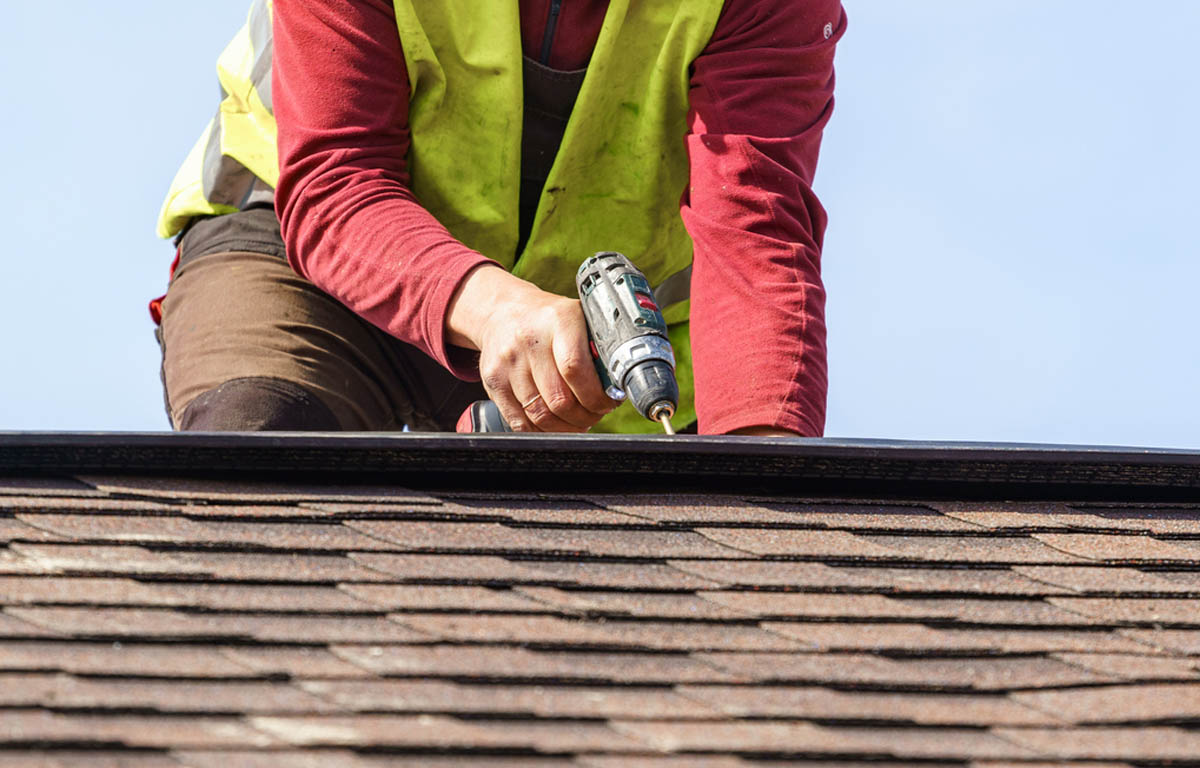
Photo: istockphoto.com

Photo: istockphoto.com

Photo: istockphoto.com

