Alright , common people , buckle up because today , we ’re diving into a garden labor that ’s both rewarding and surprisingly easy — Apium graveolens dulce !
cultivated celery is one of those industrial plant that may seem a small intimidate at first , but hope me , you ’ll be a cultivated celery - growing master by the end of this guidebook .
Now , why Apium graveolens dulce ? Well , celery ’s not just that crunchy green stuff you toss in your salads or use to trump up earthnut butter — it ’s a power station in the kitchen .
Soups , lather , sweet talker , you name it , celery ’s in there . Plus , it ’s incredibly satisfying to grow your own . So , allow ’s grab our horticulture glove and get to workplace !
Step 1: Planning Your Celery Growing Adventure
Why Grow Celery in the First Place?
First things first , let ’s talk about why you might desire to give celery a gibe . Aside from its versatility in the kitchen , growing Apium graveolens dulce in your own backyard means you ’ll have easy access to this nutrient - packed vegetable whenever you need it .
It ’s loaded with vitamins A , century , and K , plus it ’s great for digestion . And let ’s be real , homegrown Apium graveolens dulce just tastes better .
Know Your Growing Season
Celery is a piece picky when it comes to the weather — it ’s a nerveless - season harvest . It does n’t love the extremes of summertime or wintertime , so you ’ll want to plan consequently .
If you ’re in a cooler climate , you may plant in early outflow for a late - summer harvest or in the free fall for an former - winter harvest time . But if you ’re in a warmer area , stick to set in the declivity so your celery can get through the cooler month .
Timing is everything with Apium graveolens dulce . You ’re front at about 100 to 140 day from implant to harvest , so get your calendar quick and plan your gardening timeline .

Step 2: Preparing the Perfect Soil
Now that you ’ve got your planting time of year down , let ’s talk about where you ’re go to put this cultivated celery . Soil is everything , my friends , and celery is one of those plants that ’s a bite of a diva when it come to its grow conditions .
The Perfect Spot
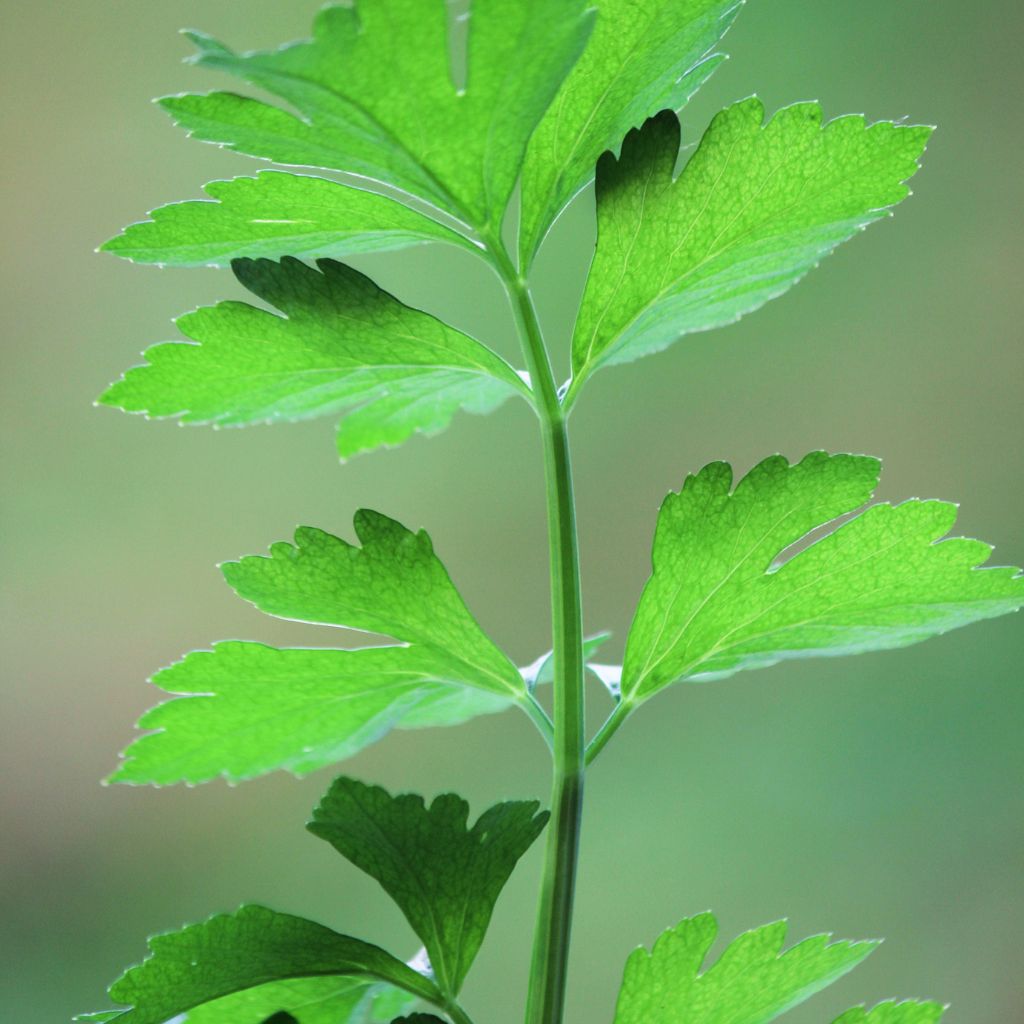
Celery bang a sunny positioning , but it ’s also choke to need consistent moisture . Find a smirch in your garden that gets at least six time of day of sun a twenty-four hour period , but also has rich , well - drain soil .
If you ’re not sure about your soil , do n’t be afraid to mix in some compost or cured manure . cultivated celery thrives on organic subject — it ’s kind of like consecrate your land a multivitamin pill .
Soil Requirements
The stain should be loose and fertile , with a pH between 6.0 and 7.0 . If you ’re not sure about your grime ’s pH , grab a examination outfit from your local garden center and do a quick check .
you’re able to line up your territory if it ’s too acidulent or too alkaline by bring lime or atomic number 16 , depending on what you require .
You require the soil to be rich , moist , and airy . Celery ’s got shallow roots , so it wo n’t go digging deep for nutrient . It relies on you to make certain there ’s plenty of good right there at the surface .
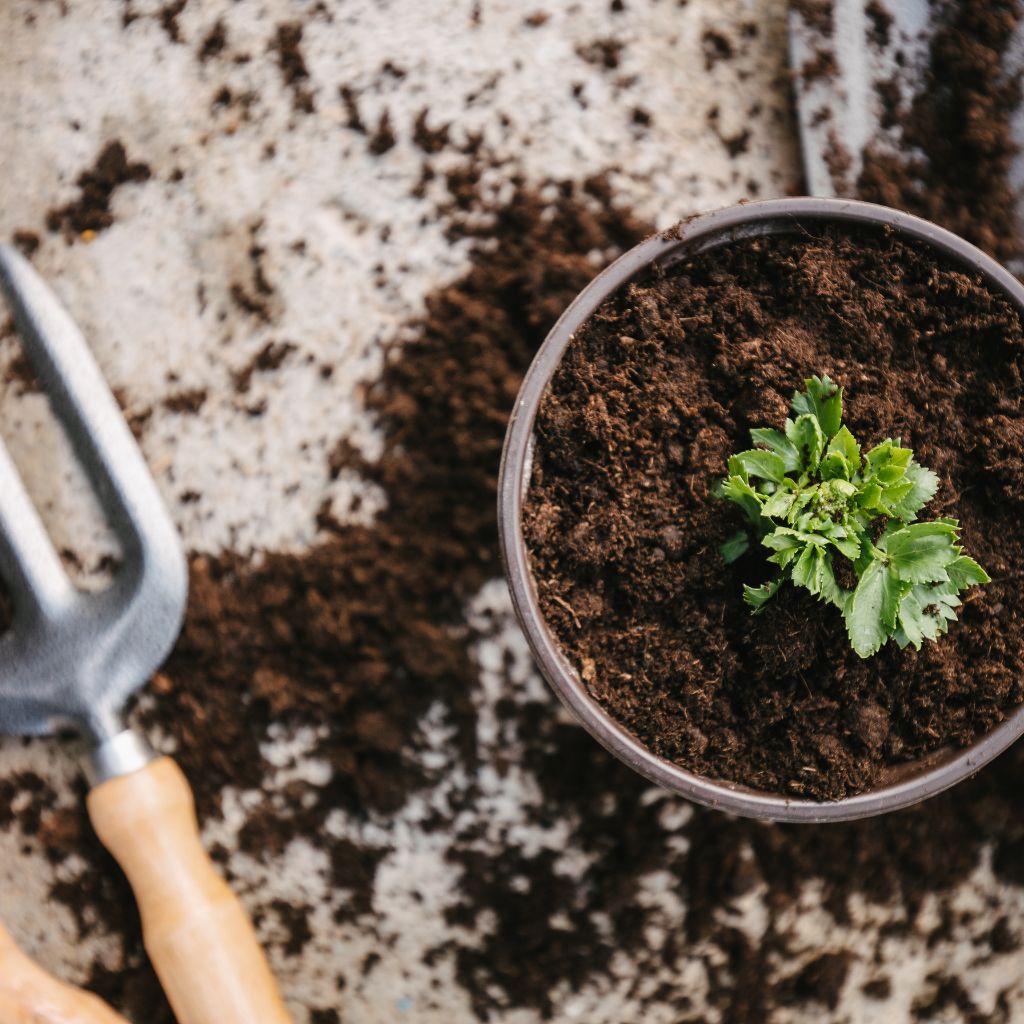
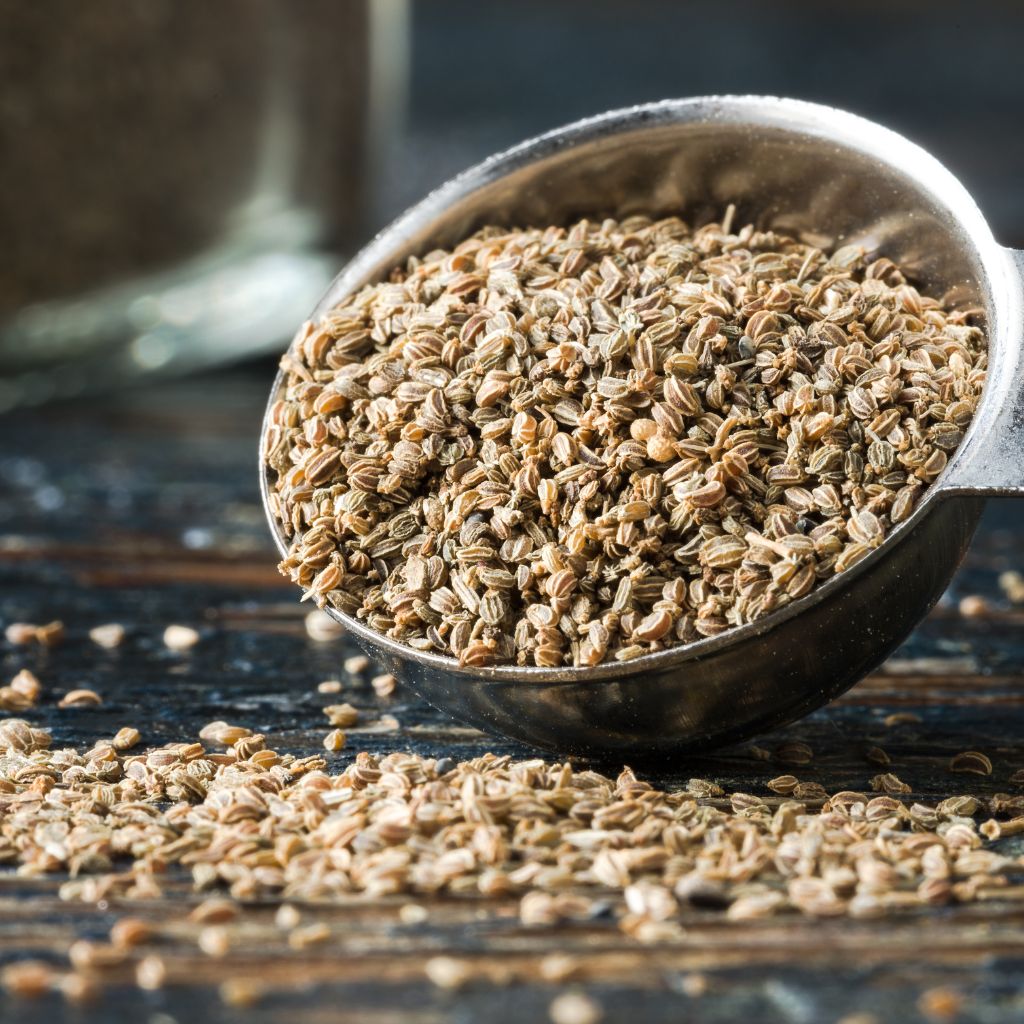
Step 3: Starting Your Celery from Seeds
O.K. , let ’s talk seeds . Growing cultivated celery from seed can feel like a bit of a committedness because those tiny seeds take their seraphic time to get going . But do n’t worry — I’ve got you cover .
Starting Indoors
Because celery has such a long develop season , you ’re going to want to start your seeds indoors .
This is n’t one of those plants you could just toss into the ground and hope for the best . Start your seeds about 10 to 12 weeks before your last expected frost day of the month . Trust me , this mind bulge out is key .
Here ’s how you do it :
1.Get Your Seed Trays : You ’ll desire to embark on your seminal fluid in small trays or pots fill with a light come - starting mix .
2.Plant the seed : Sprinkle the seeds on top of the soil and press them down softly — celery seeds ask light to shoot , so do n’t bury them .
3.Water Gently : Keep the soil moist but not inert . Celery seeds require logical moisture , but you do n’t want to drown them .
4.Keep Them Warm : Put your trays in a warm blot with plenteousness of sunlight . A sunny windowsill or under grow luminance exercise perfectly .
Patience is Key
Now , here ’s where you need to channel some gardening patience — celery seeds take anywhere from two to three weeks to germinate . It ’s irksome , but I forebode , they ’re working hard under the soil !
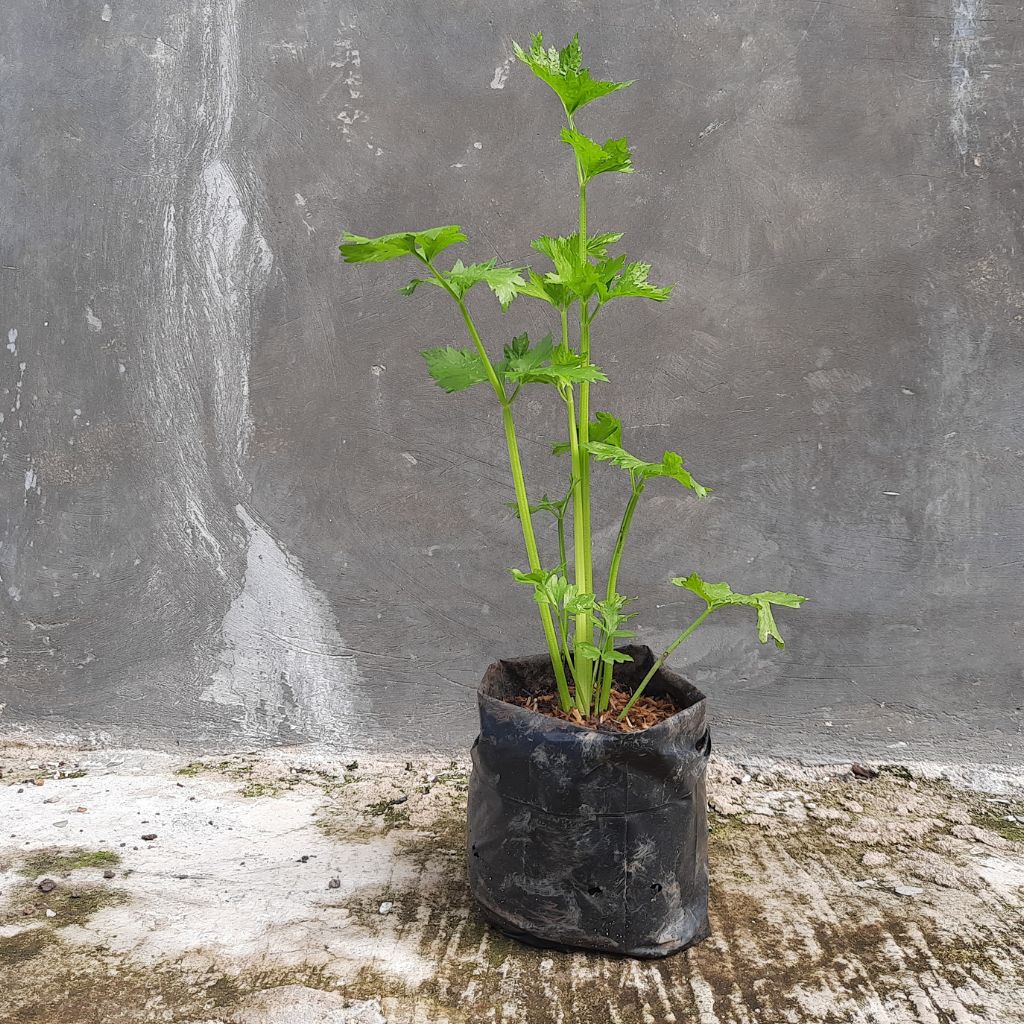
Once your seedling are up and have a couple of on-key leave of absence , thin them out so the strongest plants remain .
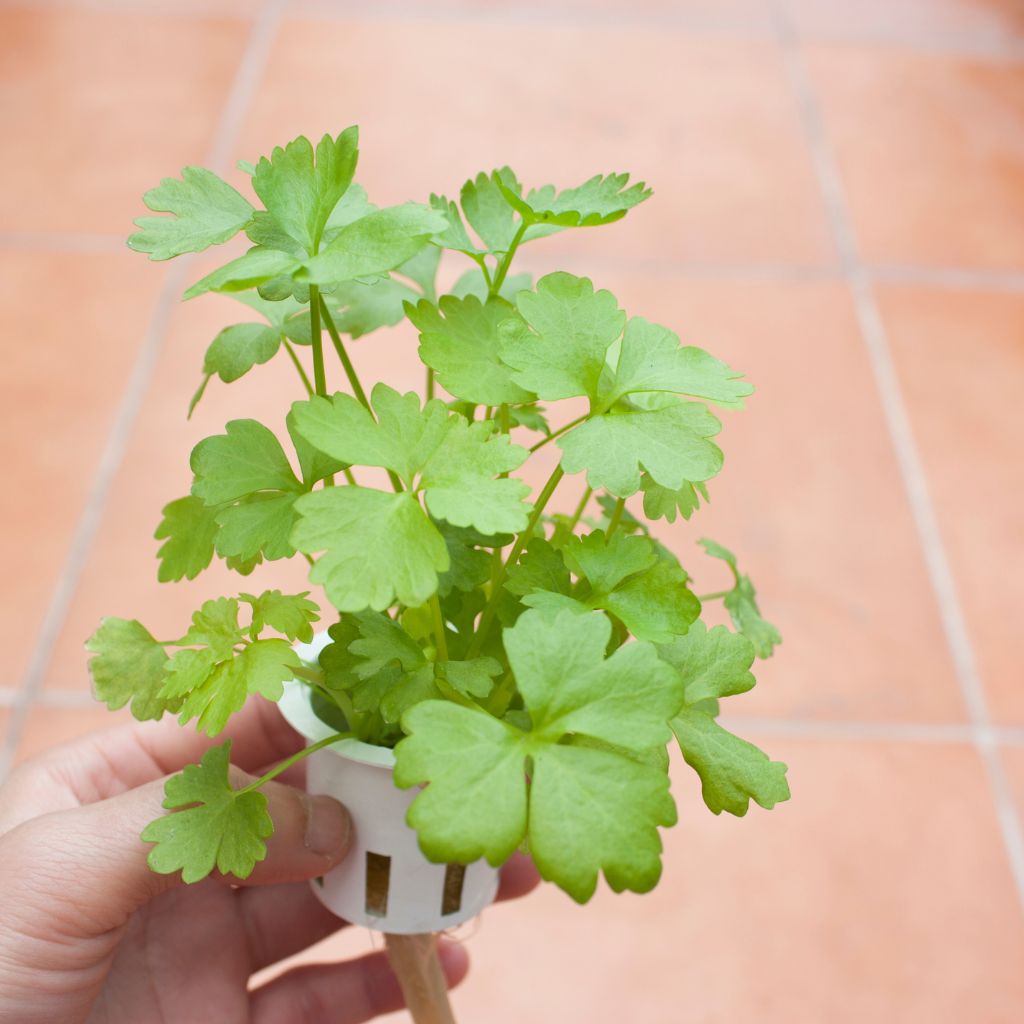
You want the best of the best , right ? Keep those little guys growing indoors until they ’re about four to six inch tall and ready for the big move outside .
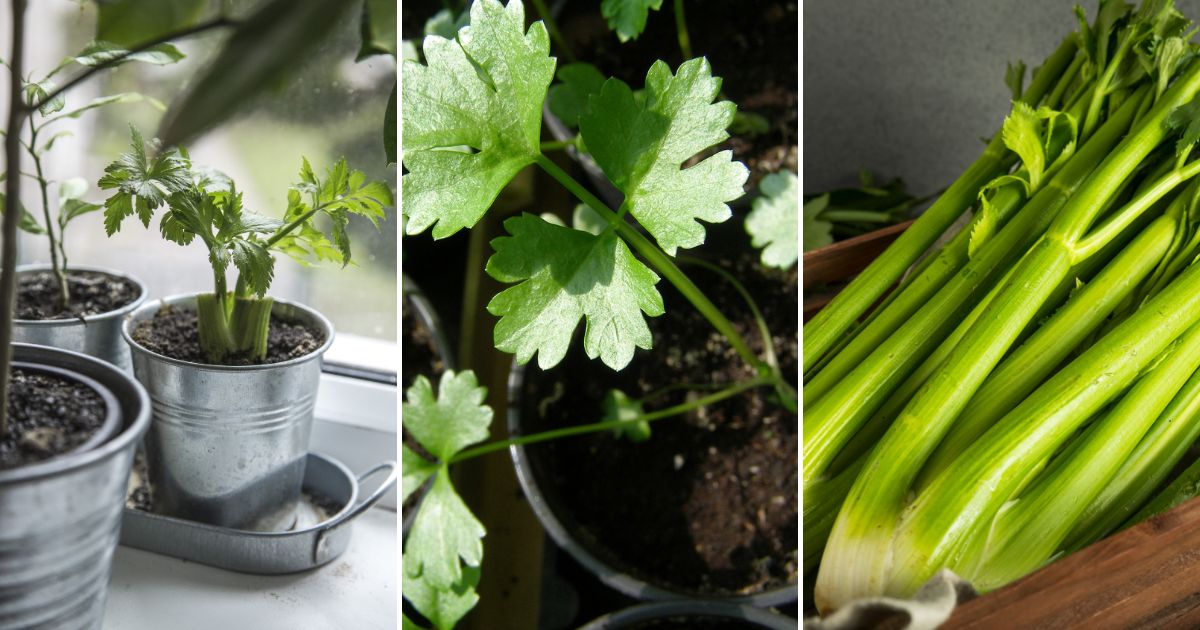
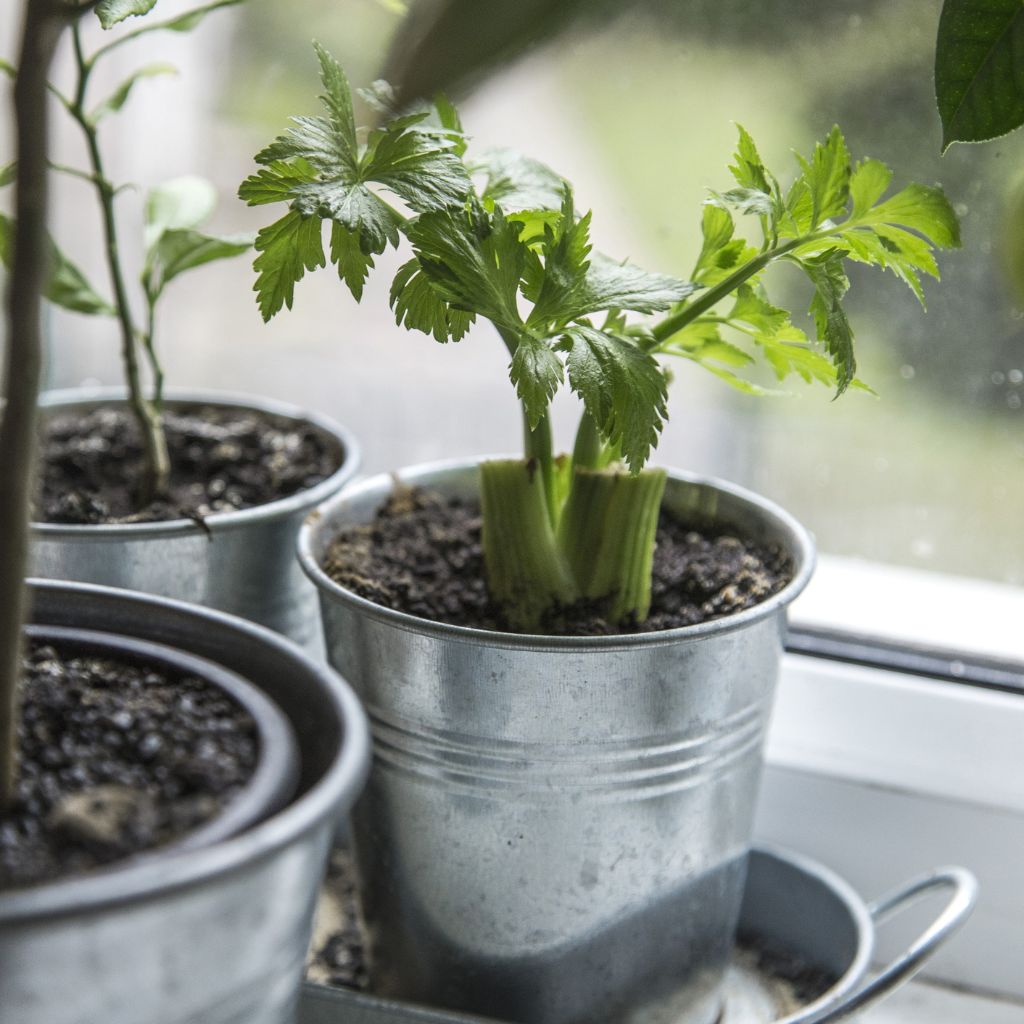
Step 4: Transplanting Your Celery
By now , your seedlings should be calculate unassailable and quick for their outdoor debut . But before you look sharp them out to the garden , we need to talk about hardening off .
Harden Off Your Seedlings
Celery does n’t love dramatic changes ( kind of like all of us , right ? ) , so you need to ease these plants into their new outdoor life .
About a calendar week before transplanting , start taking your seedlings outside for a few hours each daytime , gradually increasing their sentence outdoors . This will help them get used to the conditions without going into shock .
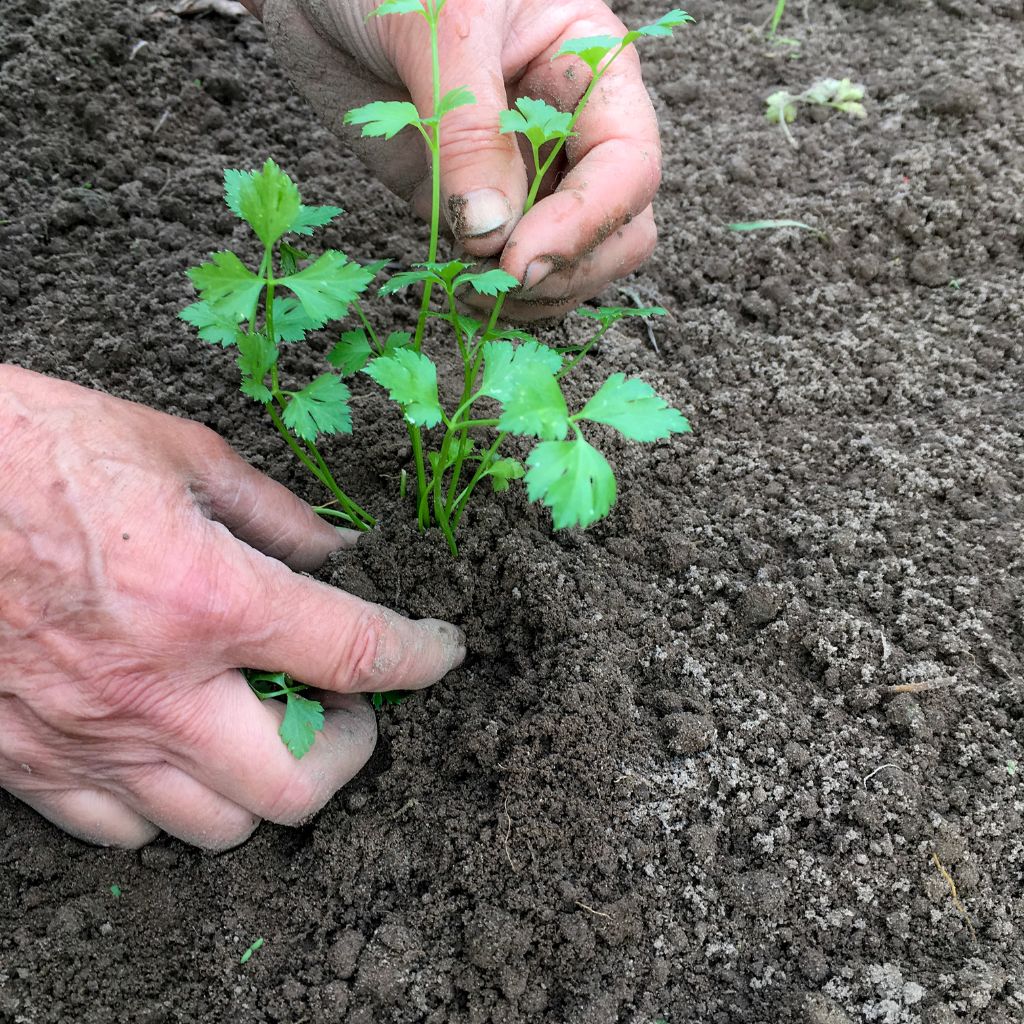
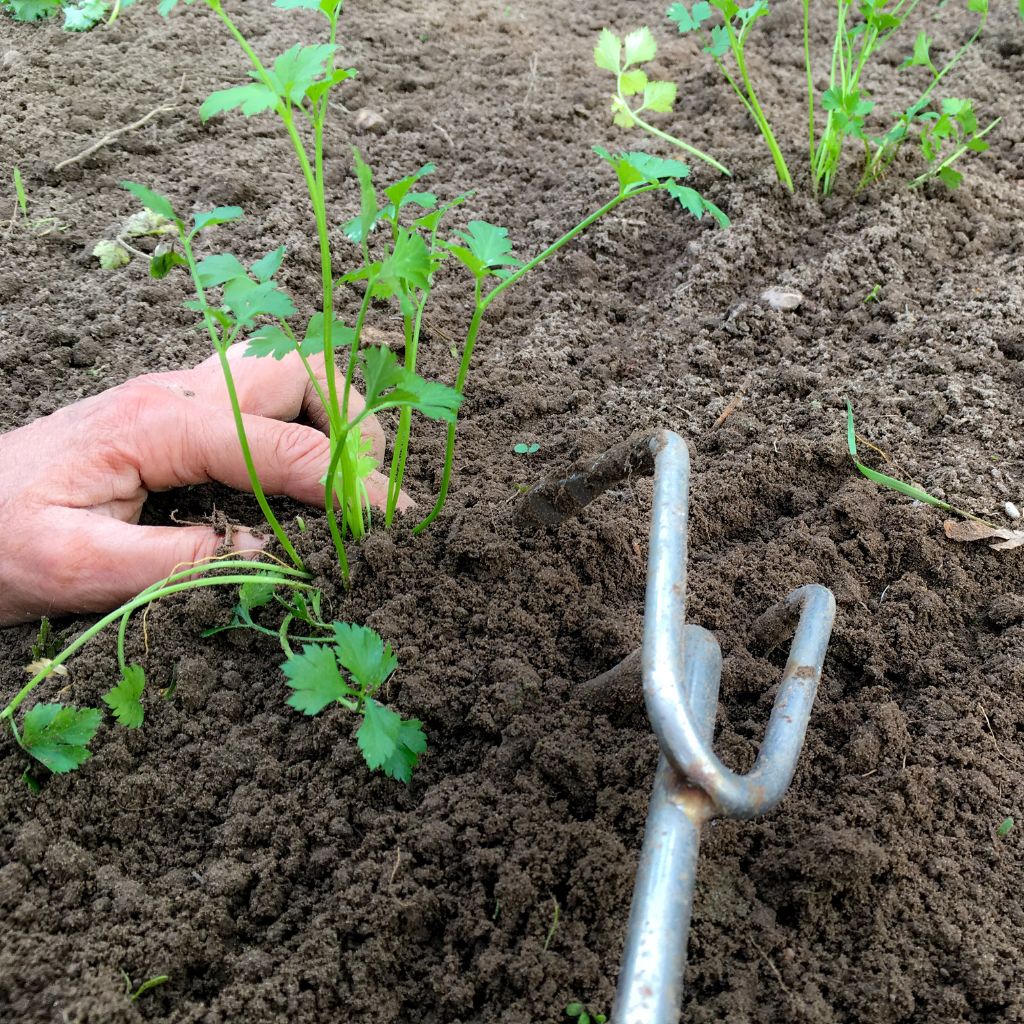
Transplant Time
Once your seedling are harden off , it ’s clock time to transplant . verify your garden soil is well - prepped — loose , plentiful , and quick for action .
Here ’s how to get them in the ground :
1.Space It Out : grok holes about 8 to 10 inch asunder for each plant . Apium graveolens dulce call for space to grow , so do n’t overcrowd them .
2.Plant Deep : engraft the seedling at the same depth they were in their pots . softly firm the grunge around the base of the plant .
3.Water Well : After planting , give them a good soak . Celery love consistent wet , so keep it coming .
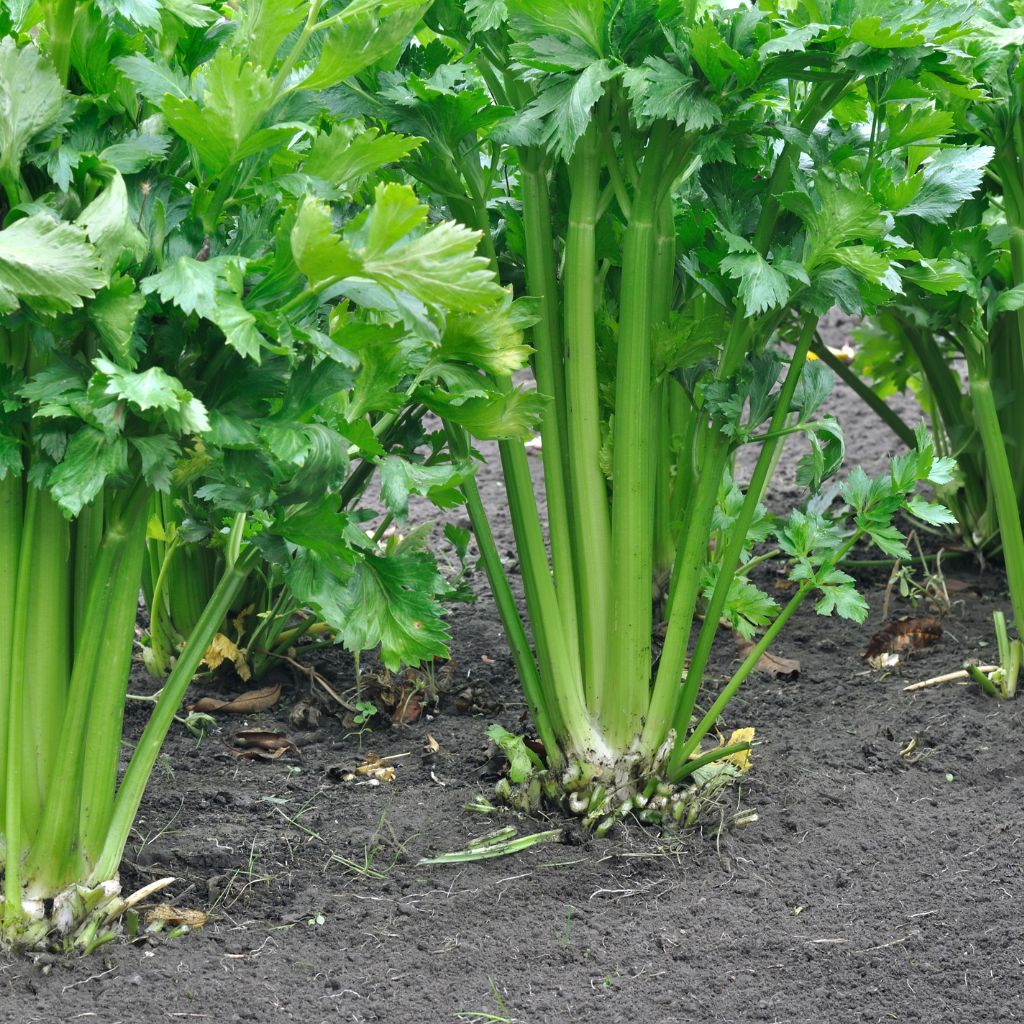
Step 5: Caring for Your Celery
Now that your celery ’s in the ground , the real work begins . But do n’t worry , it ’s mostly just TLC from here on out .
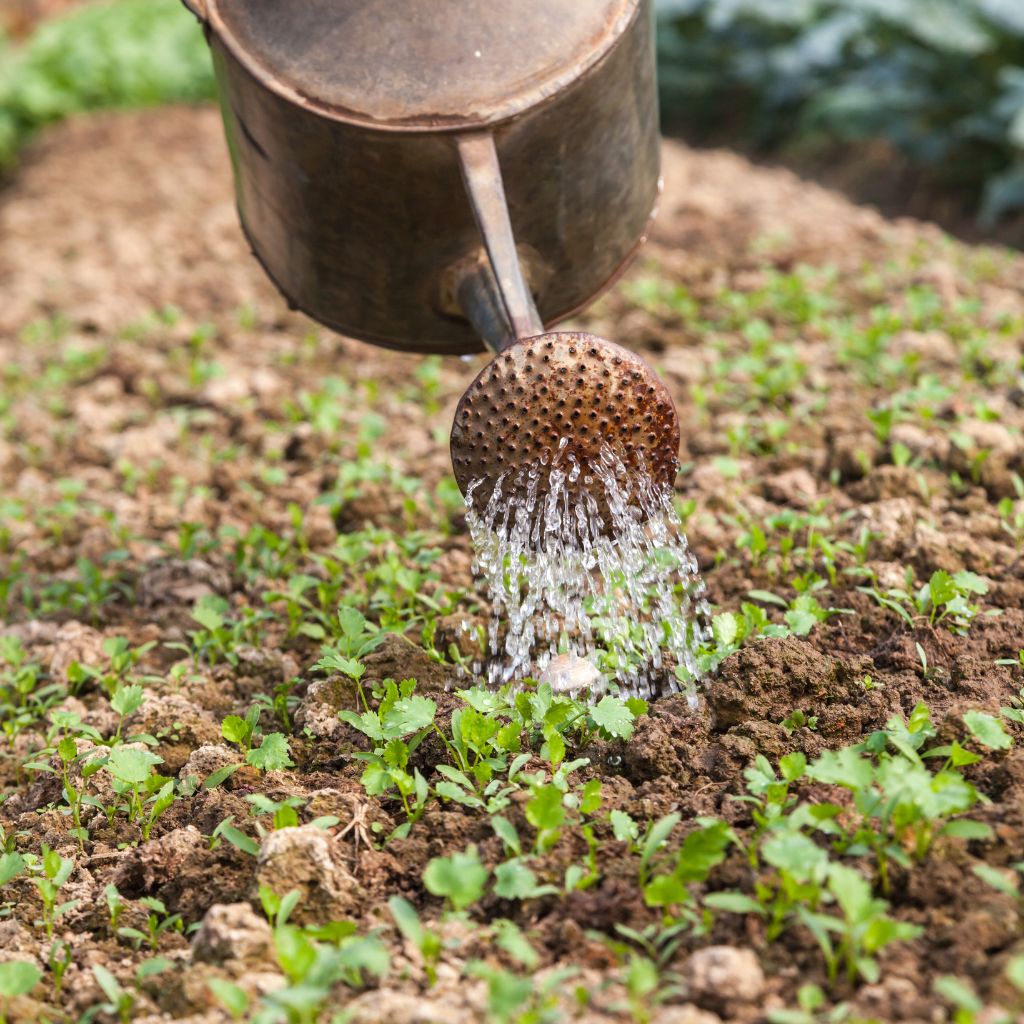
Keep It Watered
Celery is about 95 % water system , so it ’s no surprise that keep your plant consistently moist is essential . Water your celery regularly , propose for about an inch of water supply per workweek . If your plant bug out to look dry or wilt , give them a drink ASAP .
Mulching around the base of your plants can avail retain moisture and keep the roots coolheaded . Use straw , skunk clippings , or any constitutional mulch you have on hand . This will also facilitate prevent weeds from stealing nutrients from your cultivated celery .
Feed Your Plants
Apium graveolens dulce is a impenetrable feeder , so it ’s going to want a little extra alimentation along the way of life . About midway through the develop season , give your plants a boost with a balanced fertilizer .
you may expend an constitutional option like compost tea or a memory - bought fertiliser . Just verify it ’s high in potassium to encourage respectable stalk .
Blanching Your Celery (Optional)
If you desire that pale , tender cultivated celery like you see at the grocery store , you ’ll need to parboil it . This means handle the angry walk to deflect out sunlight , which prevents them from father too unripened and blistering .
you may blench celery by simply wrapping the chaff with paper or composition board about two calendar week before harvest time . Some folks skip this stair , though , because they care the spare flavor from unblanched celery . It ’s entirely up to you !
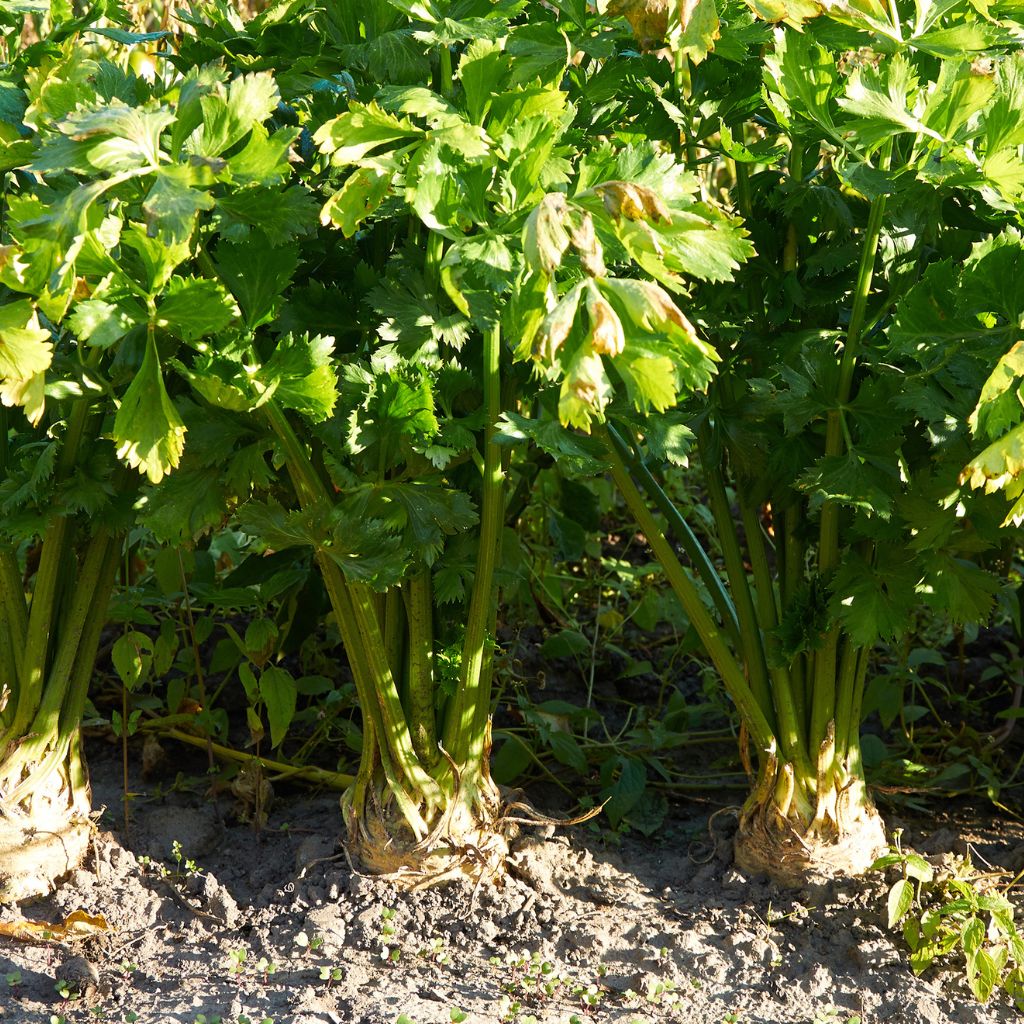
Step 6: Harvesting Your Celery
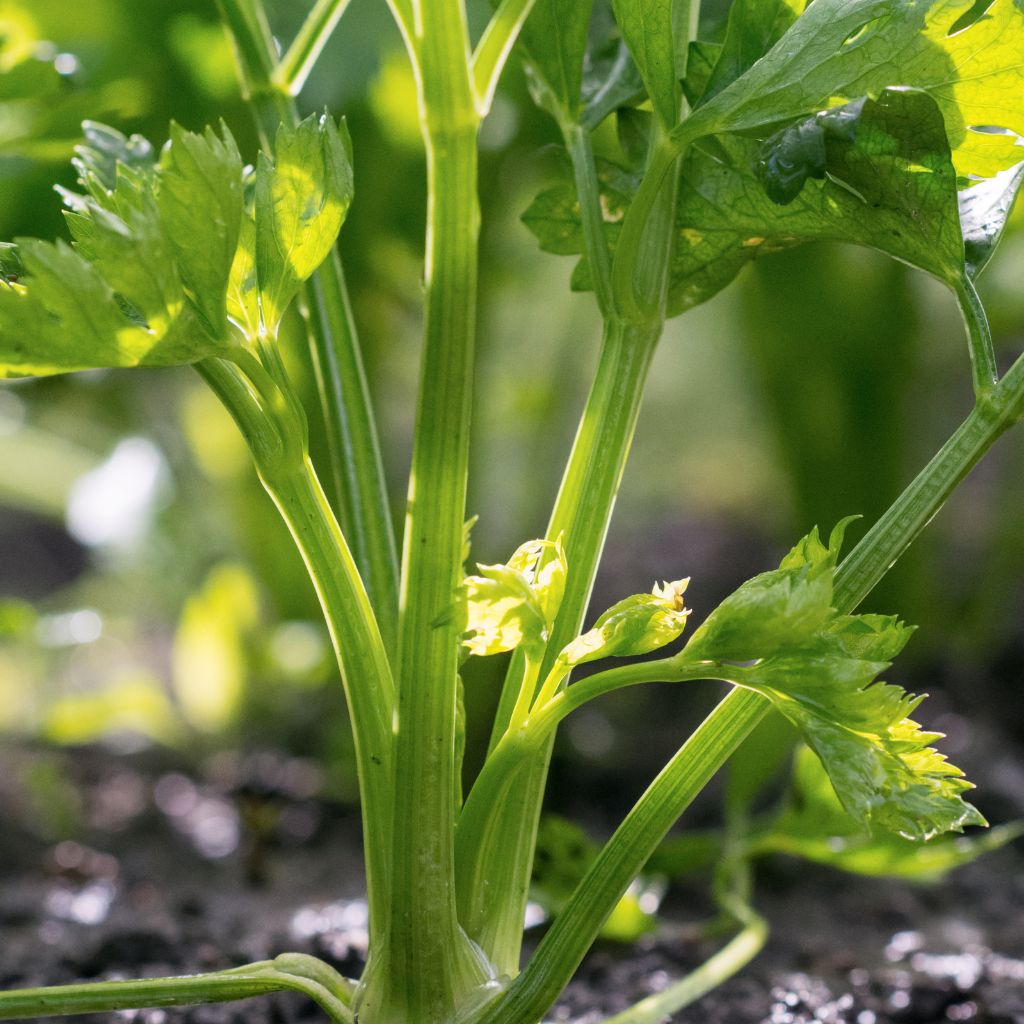
The moment you ’ve been expect for ! After about 100 to 140 days of careful watering , alimentation , and tending , your celery is quick to reap .
You ’ll know it ’s clock time when the stalks are about 12 inches improbable and thick enough for your liking . Use a precipitous tongue to cut the entire plant off at the base , or you’re able to glean stalks singly as take . Either way , you ’re in for some homegrown good !
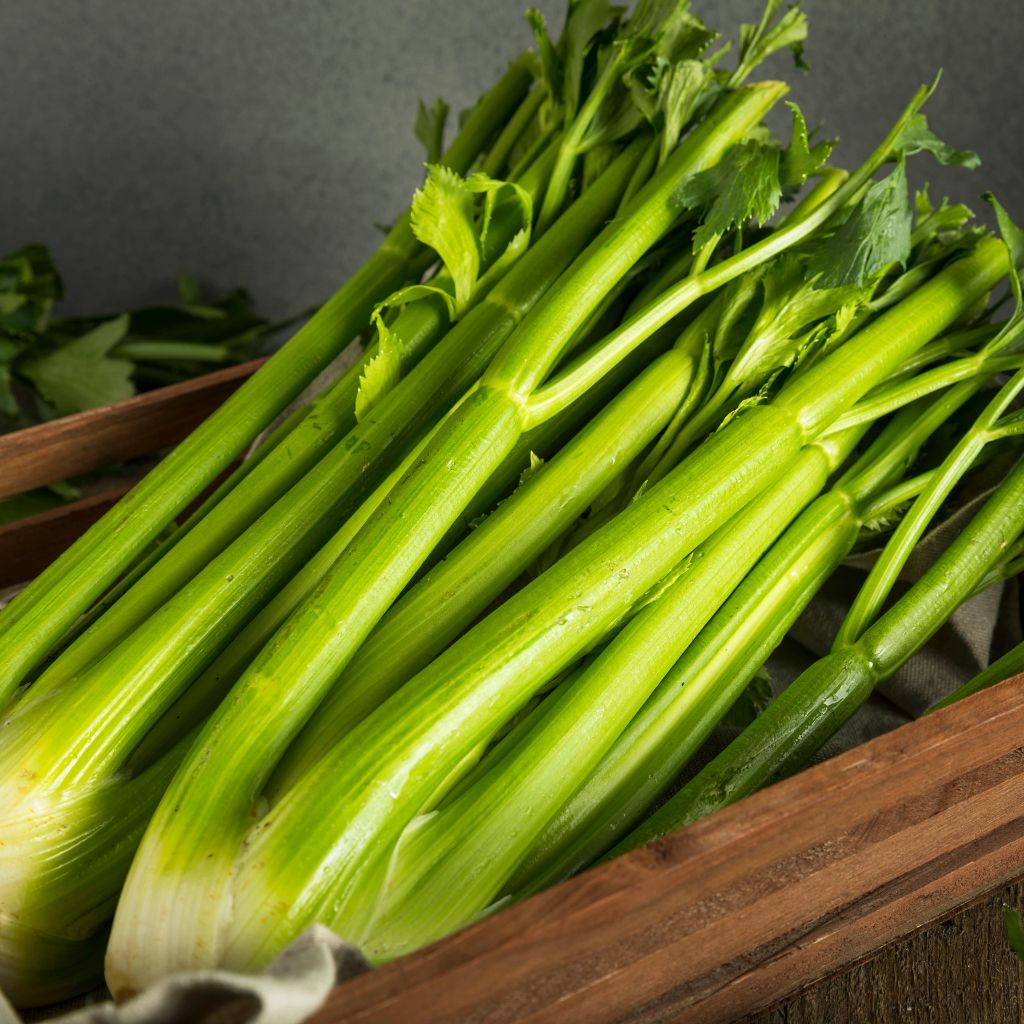
Storing Your Celery
If you ’ve harvested more Apium graveolens dulce than you’re able to feed in one sitting ( and let ’s be honorable , you in all likelihood did ) , no concern . Celery stores well in the electric refrigerator for about two weeks . Just wind it in a dampish paper towel and hive away it in a plastic bag to keep it wise .
you could also freeze Apium graveolens dulce , but keep in brain that frozen Apium graveolens dulce works well for soup and stews rather than eating raw .
Step 7: Troubleshooting and Common Problems
Every gardening project comes with its challenges , and celery is no different . Here are a few common trouble and how to treat them .
pesterer : Aphids , slug , and snail eff celery . Keep an middle out for these pest and habituate instinctive remediation like neem oil or handpicking to keep them under control .
Bolting : If your celery flowers early on , it ’s plausibly due to stress from hot weather or inconsistent watering . seek to keep your works nerveless and well - water to prevent bolting .

So there you have it , folks ! With a small patience and some guardianship , you ’ll be well on your elbow room to produce your very own cultivated celery .
Whether you ’re adding it to your salad , soups , or stir - fries , the satisfaction of harvesting your own homegrown stalks is unbeatable .