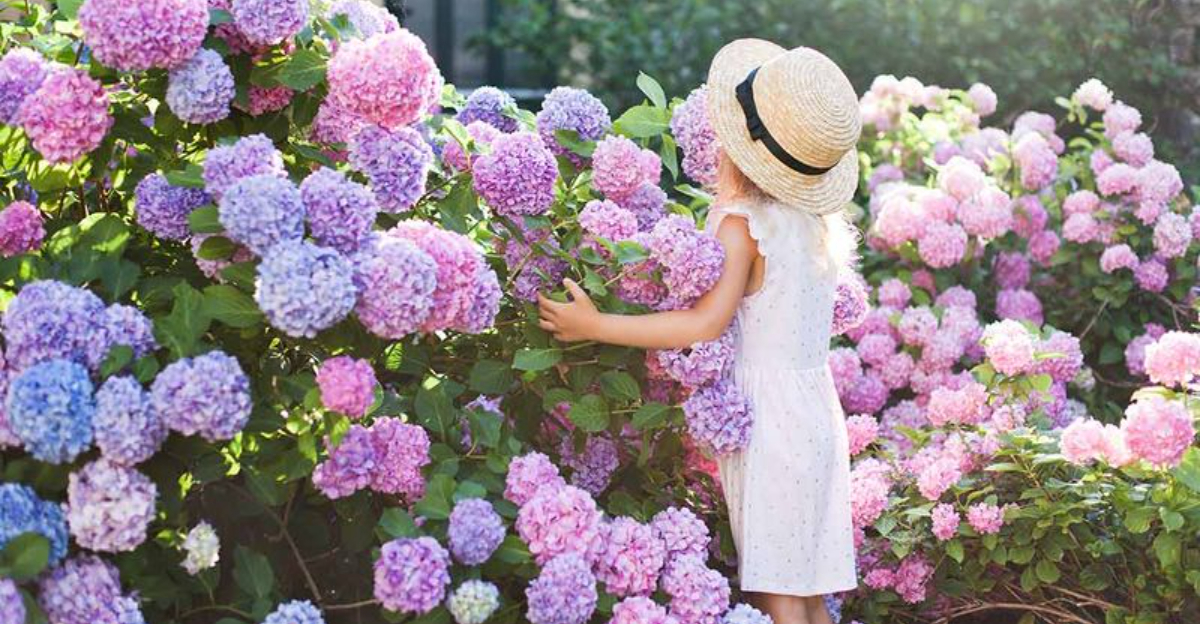
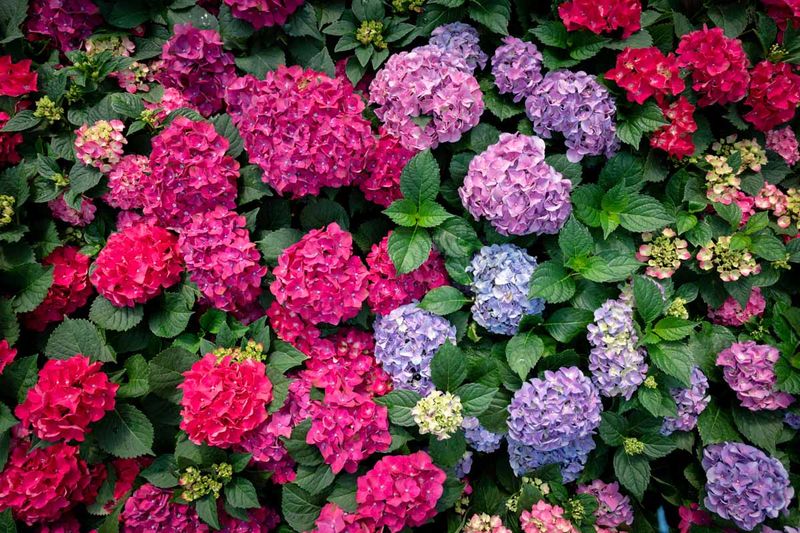
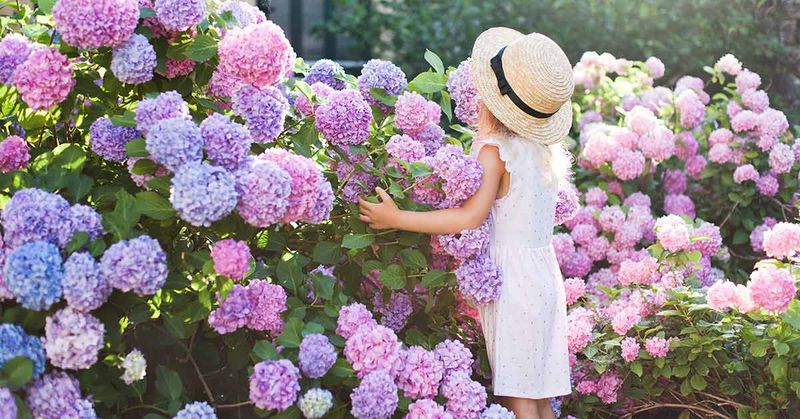
Hydrangeas , known for their plush blooms and vibrant color , can bring any garden to spirit . Propagating hydrangeas from cuttings is a rewarding method , set aside gardeners to reproduce their favorite varieties . This usher breach down the unconscious process into 13 accomplishable dance step , ensuring even founder can attain winner .
1. Choose the Right Time
Timing is everything when it follow to propagating hydrangeas . Late spring to early summertime offers the perfect balance for taking cuttings ; raw growth is still flexible but mature enough to root efficaciously . This flow secure your cutting are neither too new nor too former , maximizing success . follow the flora ’s development cycle is key . During this time , hydrangea exhibit vigorous growth , making them ideal candidates for multiplication . By choosing the right instant , you set the stagecoach for successful rooting , ensuring your new plants thrive and flourish .
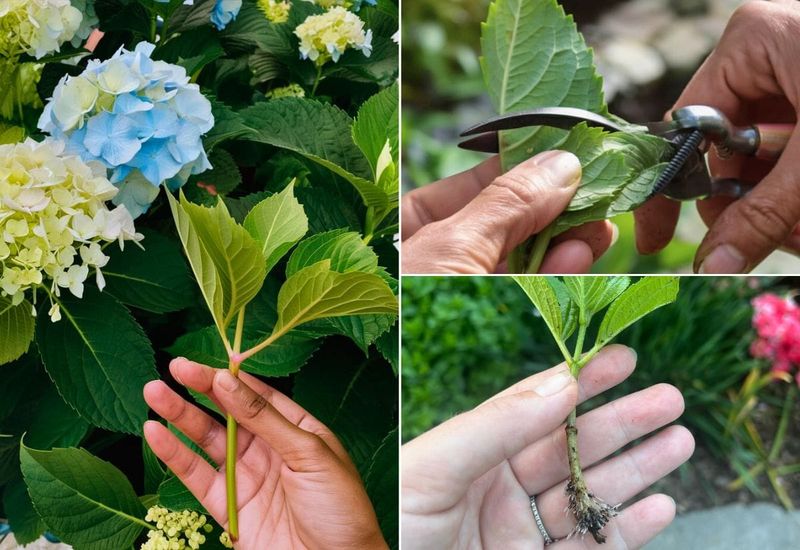
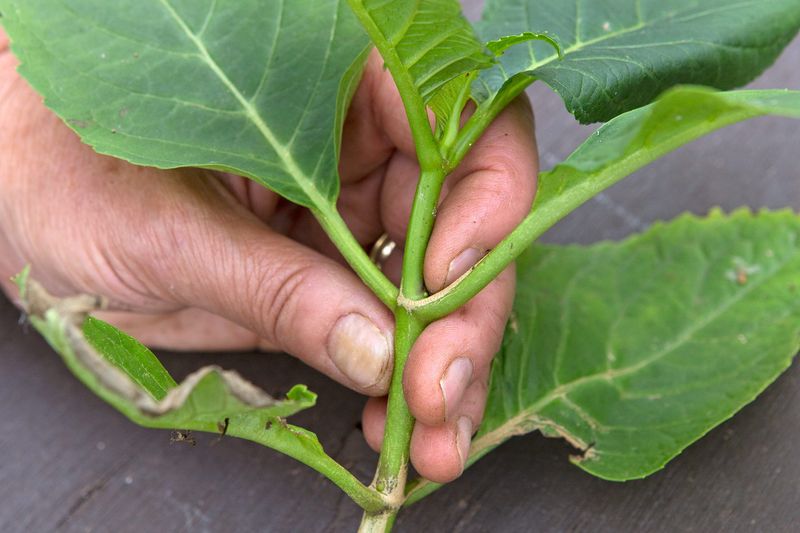
2. Select Healthy Stems
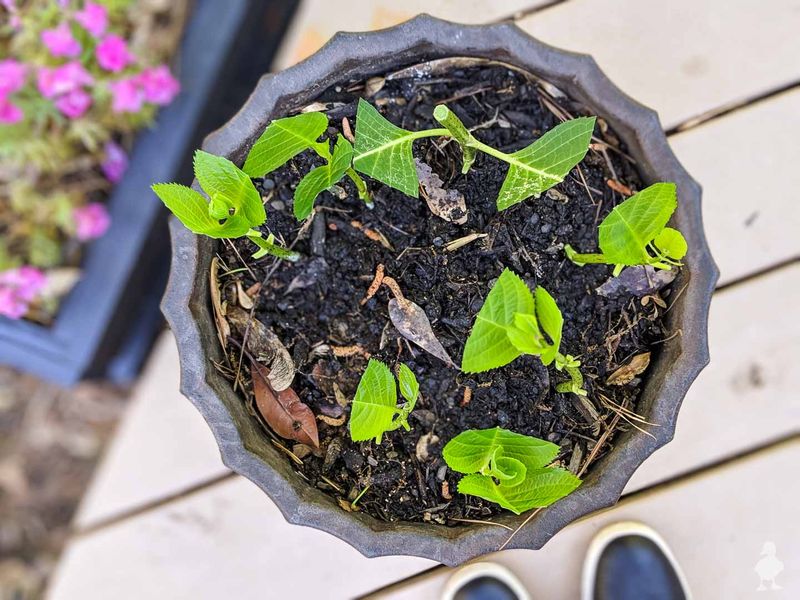
Selecting the right stems is vital for propagation success . wait for non - flowering shoot about 10–15 centimetre long with at least three pairs of leaf nodes . These node are where roots will emerge , so their health is paramount . Avoid stems with pest or diseases as they can obstruct outgrowth . opt for sporting , robust prow ensures your cutting have the expert protrude possible . think of , a healthy beginning leads to a thriving industrial plant . By focusing on quality , you lie the foundation for a flourishing hydrangea garden .
3. Make a Clean Cut
preciseness is crucial when cut your hydrangea stems . Use sharp , desex lopper to make a clear cut just below a leaf node at a 45 ° angle . This cut maximizes water consumption and promotes efficient rooting . A light baseball swing also minimizes damage , reduce the peril of disease . Ensuring your tools are sterilized prevents the transfer of pathogens , safeguard your new plants . By making this precise excision , you pave the way for level-headed etymon development and successful propagation .
4. Strip Lower Leaves
Preparing the newspaper clipping for rooting involves take the bottom leaves . Strip off the lower pair , leave two to three pairs at the top . This action focuses energy on base exploitation , rather than corroborate redundant foliation . transfer side shoots and bud further directs the plant ’s energy where it ’s take most . This planning microscope stage is crucial for impregnable beginning outgrowth . By carefully trim your cutting , you optimize it for multiplication , ensuring it has the good hazard to prove roots and maturate robustly .
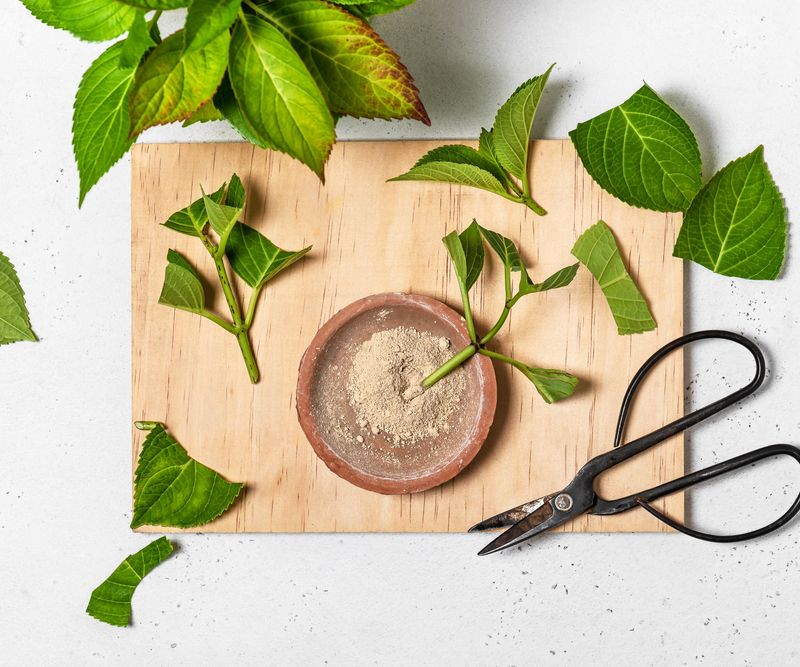
5. Optional—Apply Rooting Hormone
Enhance your clipping ’s rooting potential with take root hormone . Though optional , dip the cut conclusion into a endocrine powder or liquidity can speed up root development and amend success rate . This stone’s throw provides an supererogatory cost increase , peculiarly good for beginners or ambitious produce conditions . The hormone encourages faster root formation , advance plant animation . By utilizing root hormone , you give your cuttings an advantage , increase the likelihood of flourishing plant .
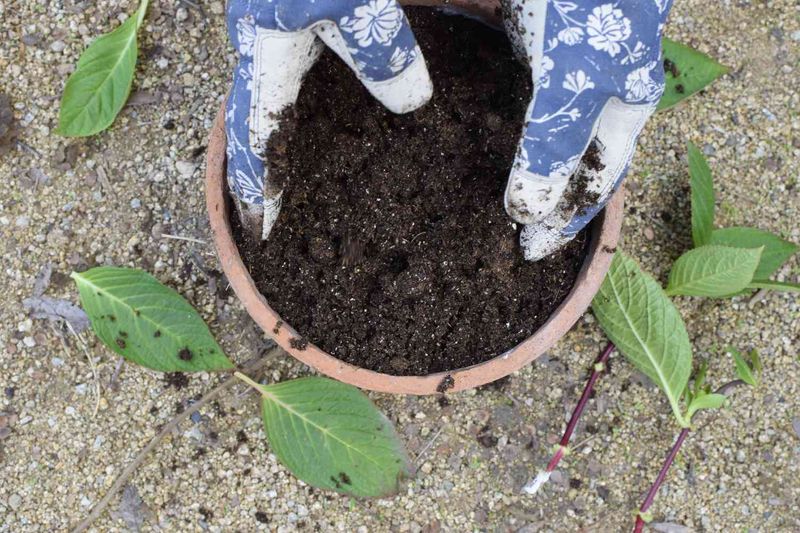
6. Prepare Your Potting Mix
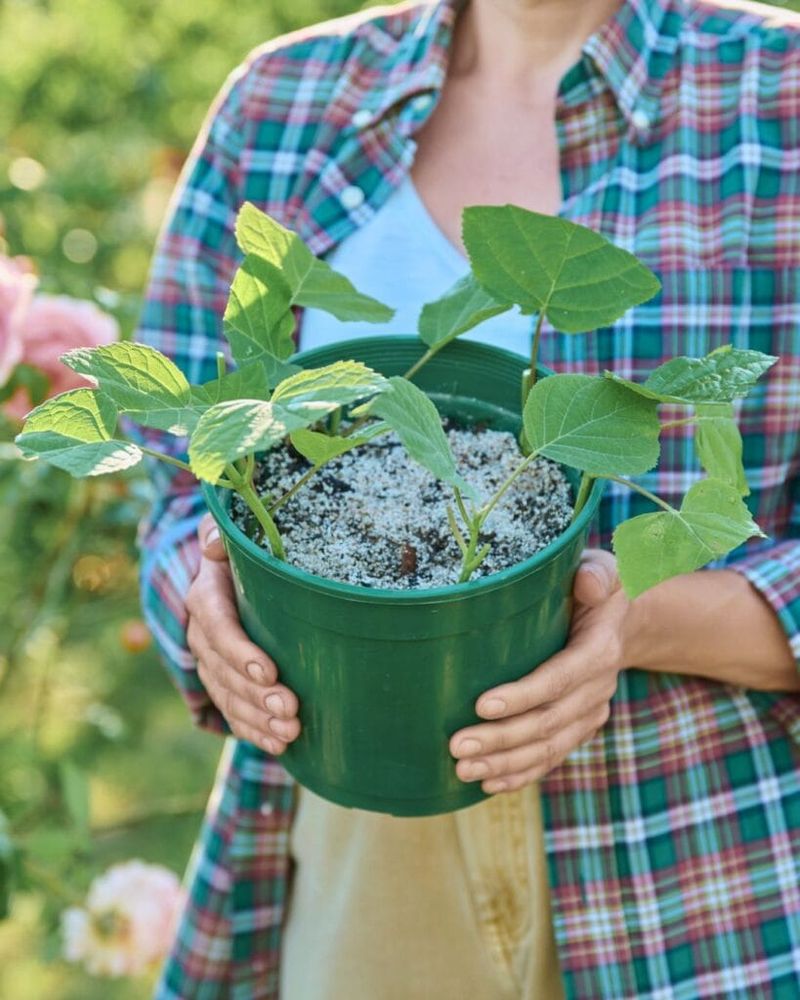
Creating the correct environment is central to disseminate succeeder . fill up small pots or a tray with a well - draining pot medium , such as equal parts peat moss and perlite . This mix ensures adequate drainage and aeration . Good drainage preclude waterlogging , which can head to moulder , while aeration boost respectable ascendent increment . Ensuring your medium is well - prepared solidifying the stage for successful propagation . By craft the ideal potting mix , you bring home the bacon your cut with the foundation they need to thrive .
7. Insert the Cuttings
Properly inserting your cutting is an substantive step in generation . apply a pencil to create a cakehole in the fain potting mix . Insert the newspaper clipping so at least one lymph node is buried , then mildly firm the dirt around it . This measured positioning ensures stableness and promotes stem outgrowth . Avoid damage the cutting during insertion by handling with care . By firmly placing your thinning , you consist the groundwork for racy works development and successful rooting .
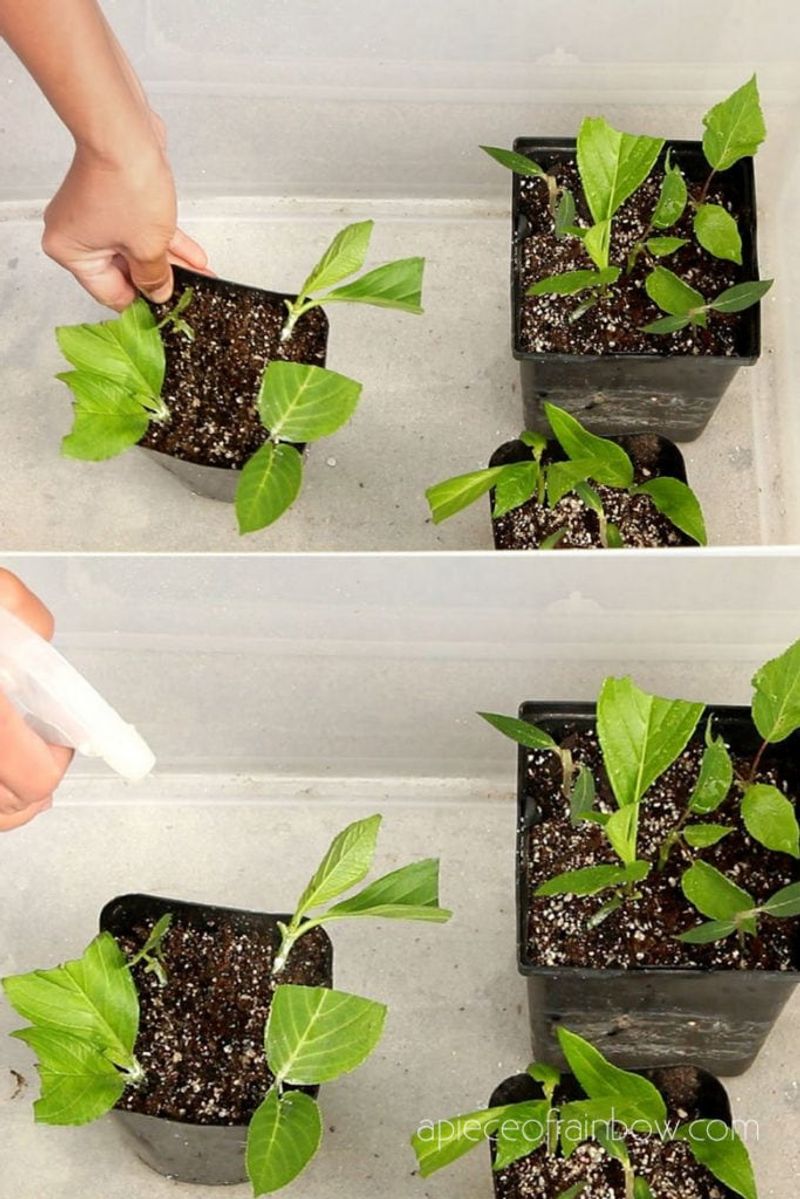
8. Maintain Humidity
Humidity is a central ingredient in successful propagation . Cover your pot or tray with a readable moldable bag or bonce , ensuring it does n’t touch the leave . This make a humid microenvironment contributory to rooting . Maintaining eminent humidness prevent the cutting from dry out out , promoting fitter maturation . This step is particularly crucial during the early stages . By preserving wet , you support the press clipping ’ modulation from stem to stock-still works .
9. Provide Bright, Indirect Light
lightness play a important role in the rooting process . Place your cuttings in a daub with plenty of filtered brightness level , avoiding lineal sunshine that can sear tender stems . Bright , indirect lighting encourages healthy growth while protecting the cut from the harshness of direct Dominicus . This counterbalance is important for successful propagation . By fix your cutting in the right visible light , you further a supportive surroundings for their development .
10. Keep Medium Evenly Moist
Consistent wet is vital for root development . cloud the cuttings or pee from below to keep the potting mixture damp but not boggy . This approach prevents rot while encourage root growth . monitor moisture levels see your cuttings persist hydrated without drowning . This residue is key to a successful propagation process . By maintain even moisture , you rear your cuttings , dress the stagecoach for healthy roots and vibrant plants .
11. Watch for Roots
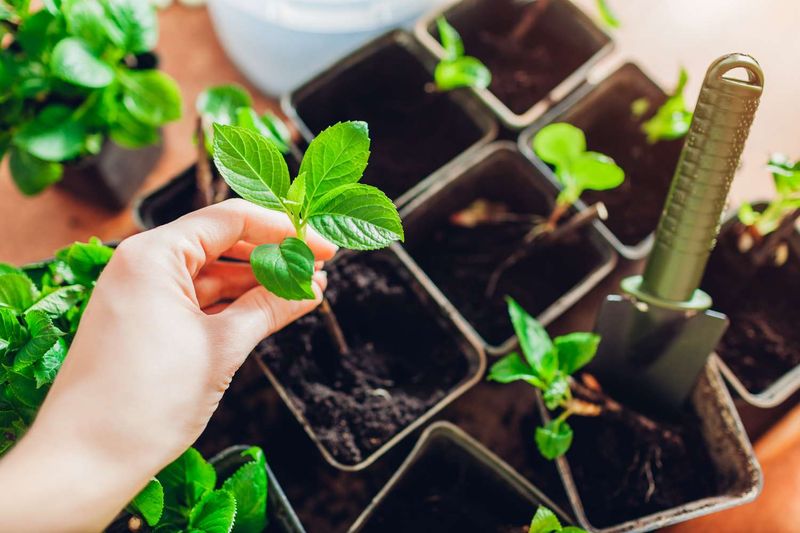
Patience pays off when wait for roots . After 2–4 weeks , gently tug on the cuttings ; resistor indicates origin formation . look until roots are 2–3 cm long before potting on . This elementary check helps gauge progression , ensuring your endeavour lead to successful propagation . Careful reflexion here can guide your next steps . By monitoring source evolution , you confirm readiness for the next stage , ensuring your novel plants continue to thrive .
12. Acclimate & Transplant
transition your cuttings is a gentle outgrowth . Gradually move out the humidity cover over several Clarence Shepard Day Jr. , allowing the plant to acclimate . Then , transplant root cuttings into case-by-case container with rich , well - draining soil . This acclimation period helps plants line up to their new surround , belittle jar . ascertain proper soil status supports continued growth . By carefully managing this transition , you set your works up for winner in their new home .
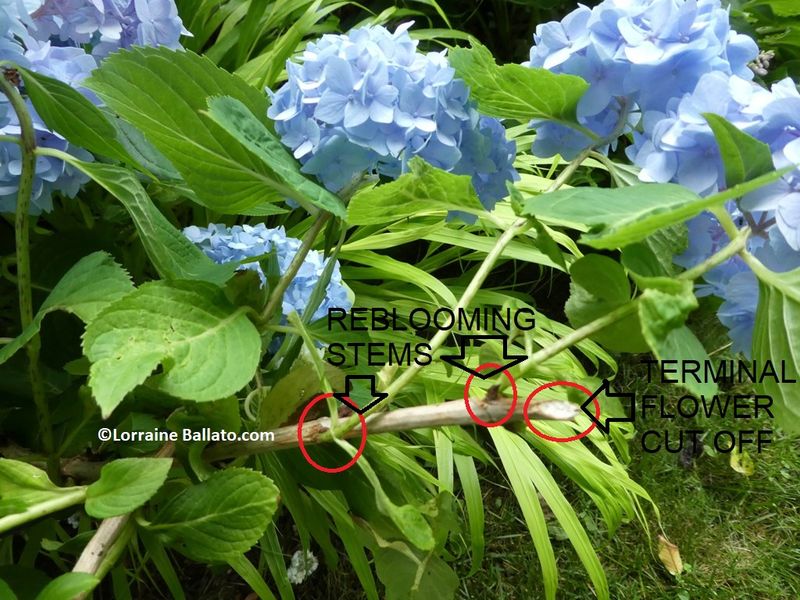
13. Aftercare
Caring for your new plants is crucial for their development . Keep young hydrangea in fond shade , watering on a regular basis to maintain dirt wet . Once established , feed with a balanced , dilute fertiliser . This ongoing charge ensures your plants have the nutrients and condition they require to prosper . Consistent attention during this phase supports robust increment . Providing thoughtful aftercare , you nurture your hydrangeas into inviolable , flourish plants that will raise your garden .
© Gardener’s Path
© Homesteading etc.
© Lorraine Ballato
© Gardeners’ World
© Gardening Know How
© The Spruce

© Blooming Backyard
© A Piece Of Rainbow
© Ugly Duckling House
© Homesteading etc.

© Rural Sprout
© Martha Stewart
© GardenTech
