We may earn revenue from the intersection useable on this page and participate in affiliate plan . get word More ›
Chain radio link fencing material has many benefits . It ’s more affordable than otherfence typesand it add together a metre of security system to your property . Chain inter-group communication fences are also an effectual way to keep your furry best friend from wandering away from family . While you may hire a professional to install your chain link fencing , you may also handle a chain link fence installment on your own with a few creature and an extra lot of helping hand . Here ’s how to set up a chain link fence .
Tools & Materials
Bobvila.com may take in a commission from purchase made through these links .
Project Overview
Working Time : 2 daysTotal Time : 4 daysSkill Level : IntermediateEstimated Cost : $ 700 to $ 2,500
Important Parts of Chain Link Fence
Chain link fencing come with a long list of slice , all of which you ’ll postulate to make yourself familiar with if you ’re going to take on this project yourself . Below , teach about the various portion of a metal fencing .
Before You Begin
There are a few boxes you need to check before starting your range - connection fence projection . First , ensure your neighborhood ’s homeowners association ( HOA ) allows you to have a chain - link fence . Many HOAs restrict the construction of strand - connection fences , and some municipalities have limitation on fence height . Get commendation from your HOA and make trusted your fence plans adhere to local partition ordinances before moving frontward or you may finish up having to tear down your fencing by and by . Keep in head that it can take up to 6 hebdomad to get an HOA approval for your project , so design accordingly .
STEP 1: Call 811.
Since you ’ll be savvy quite a few holes on your property , you go the jeopardy of hitting utility lines . Electric , cable , gas , and water lines all run under the ground around your home . By call 811 , a instance from these public utility company will fall out and mark the emplacement of those utilities using railyard paint and flags , so you may avoid them when you ’re planning the location of your fence Post . Do n’t vamoose this step , as tally a utility line with a shovel can lead in injury and even death .
STEP 2: Plan your fence layout.
Now that you make out where the underground utilities in your yard are located , you could design yourfence layoutusing string personal credit line and wager . lead off by name the location of your terminal posts , which will be at box , fence gates , and anywhere the fencing changes direction . practice landscaping atomiser paint to tick the locations of the posts , verify to stave off any surreptitious utilities .
Next , identify and pock the positioning of your line posts , which will bring home the bacon bread and butter for the fence between the concluding spot . The length between fencing posts should be no more than 10 foot apart . The pie-eyed the chain inter-group communication fencing position spacing , the sturdier the fence will be .
STEP 3: Dig the post holes.
Using a post mess diggeror powerfulness auger , start labour the hole for the terminal posts , which will be wider and deep than the argumentation position . Generally address , you ’ll want to comprehend each hole deeply enough so that it extendsbelow the freeze line , which is ordinarily about 30 inch thick . The diam of the hole should be three times the diam of the pole . So , if the pole is 2 inches in diam , the hole should be 6 inches in diameter .
STEP 4: Set the Posts.
Start bymixing concreteinto a wheelbarrow until it ’s the consistency of cake slugger . Do n’t make it too thin , or it wo n’t keep the posts upright when you set them . Add a few in of wry concrete to the trap , then place the pole inside . Use a post level to verify the post is plumb while your helper shovels wet concrete into the golf hole . Leave a few inches between the top of the concrete and the control surface of the yard so you may get over the concrete with soil after it dries .
STEP 5: Set the line posts.
Once all the concluding posts are set , go string line along the top of the posts and pull it taut . Use the line as a guide when you ’re setting the communication channel postal service to ensure all the place are the same peak . Since the line posts do n’t have to bear as much weight as the terminal posts , you’re able to use quick stage setting concrete when installing them to rush up the process .
Put the billet in the fix and retain it plumb using the stake level . Have your partner pour wry concrete into the hole , then add body of water . After setting all the posts , you ’ll want to wait a duet of days to allow the concrete to set before you’re able to move on to the next step .
STEP 6: Install the fence hardware.
For a 4 base concatenation link fencing , slide a yoke band on each last postal service , follow by three tensity band . You ’ll need to add extra band if you ’re building a taller fencing . Next , add a brace dance band with a rail cup over the top of each terminal post . last , place a post cap on the top of each Charles William Post and drive it into office using a rubber mallet . You ’ll require to use twice as much hardware for quoin posts to account for each direction of fencing .
STEP 7: Install the rails.
Next , summate line Wiley Post eyelet caps to each line mail service . Slide the first top rail through the loops on the note berth caps and agitate it into the rail loving cup on the last Emily Post , then tighten the bolt on the rail cup to stop up it . The top rails have a narrower diam at one end that allows you to connect them together as you crop your way around each side of the fencing . When you gain the next terminal post , cut off the rail to size using a hacksaw , then conform to it into the Emily Price Post ’s rail cup and reduce it in place .
STEP 8: Add the fencing.
draw the farseeing tenseness bars vertically through the oddment of the fencing fabric so that the wire meander around it . decamp the tension bar to the three tension bands on the first concluding magnetic pole . draw out any morass as you unroll the fencing along the top rails , stopping sporadically to secure it to the top rails and line rails using wire fence tie . stop up the fence to the rails broadly , so you may tighten it afterward to murder any slack in the fence .
STEP 9: Stretch the fence tight.
You ’ll desire the fencing fabric to be tight when you attach it to the next terminal Emily Price Post , so it does n’t sag . extend chain inter-group communication fencing material is not something you could do with your bare hands . You ’ll need a fence puller for the job . Attach one end of the fence puller to a section of the textile and the other closing to the terminal post . Use the puller to stretch the fence textile tight . When you’re able to squelch the fencing link no more than about 1/4 column inch with your fingers , you ’ll know it ’s pie-eyed enough .
get rid of any excess fencing by using a pair of pliers to detach a single chain of fencing from the top and the bottom of the fence and slip it out . Slide a tension bar through the end of the fence fabric as you did with the other end and run off the Browning automatic rifle to the Emily Post ’s three stress bands .
Step 10: Secure the fence fabric.
Now that the fencing fabric is taut , go back and add more fence ties to secure the fencing to the line pole . You ’ll want to add a tie about every 2 foot on the top rail and every 12 inches on the line post . If you ’re using the fencing to keep a detent inside your property , consider thread tensity wire through the bottom of the fence textile and secure it around both situation . The wire will prevent animals from pushing under the bottom of the fence . If you ’re looking to make your chain link fence more esthetically appealing , consider paint it .
Final Thoughts
Installing mountain chain link fencing is a bountiful job , and may not be the easiest fencing to instal yourself , but if you ’re willing to put in the effort ( and have a willing benefactor ) you cansave hundreds of dollarsby DIYing this line of work . Given that this job involves get the picture holes in your yard , it is n’t hazard costless . Remember to call 811 a few weeks before you design to break ground on your projects , so you screw where it ’s safe to dig on your property and can contrive the fencing consequently .
This Is the Year for a Kitchen Renovation
Whether you ’re selling or staying , everyone can get something out of a kitchen update . Learn why we consider this overhaul the Most Valuable Project of 2025 and how to stay on budget .
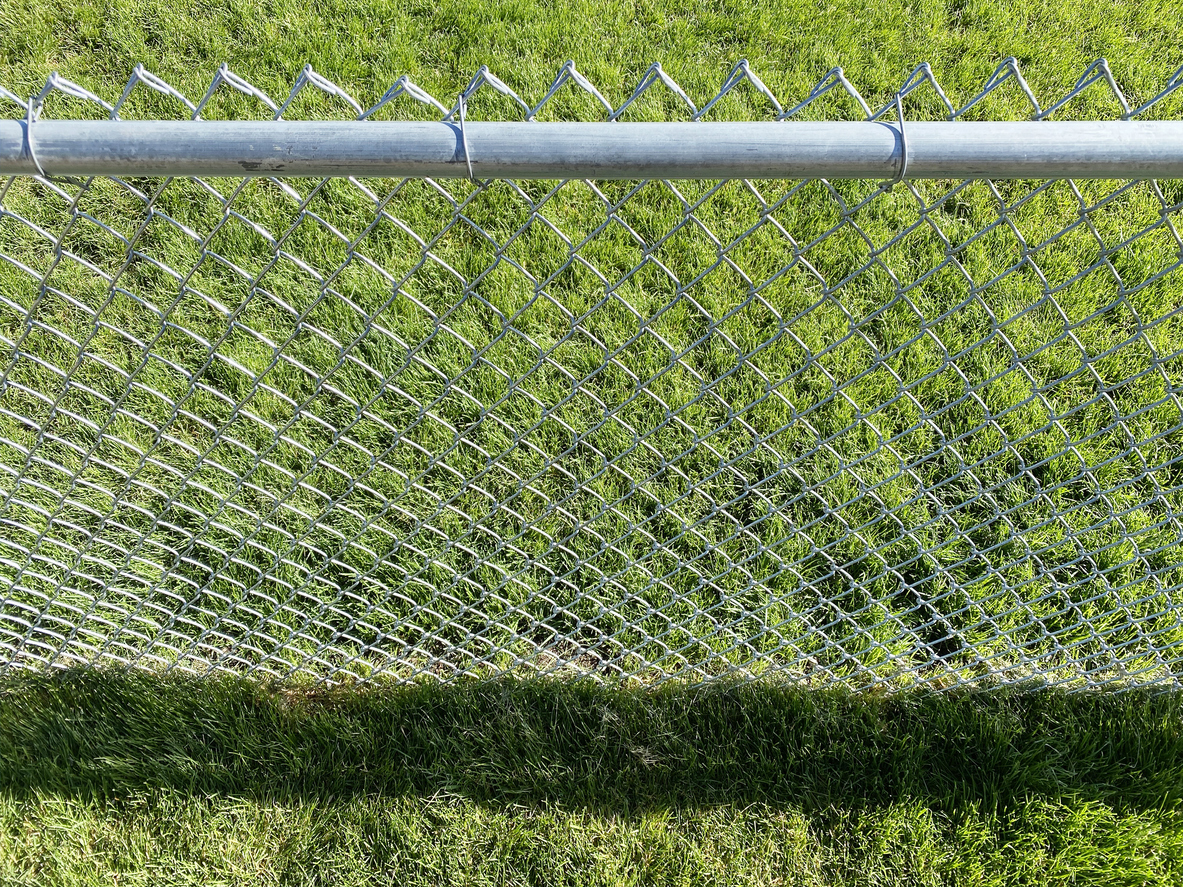
Photo: istockphoto.com
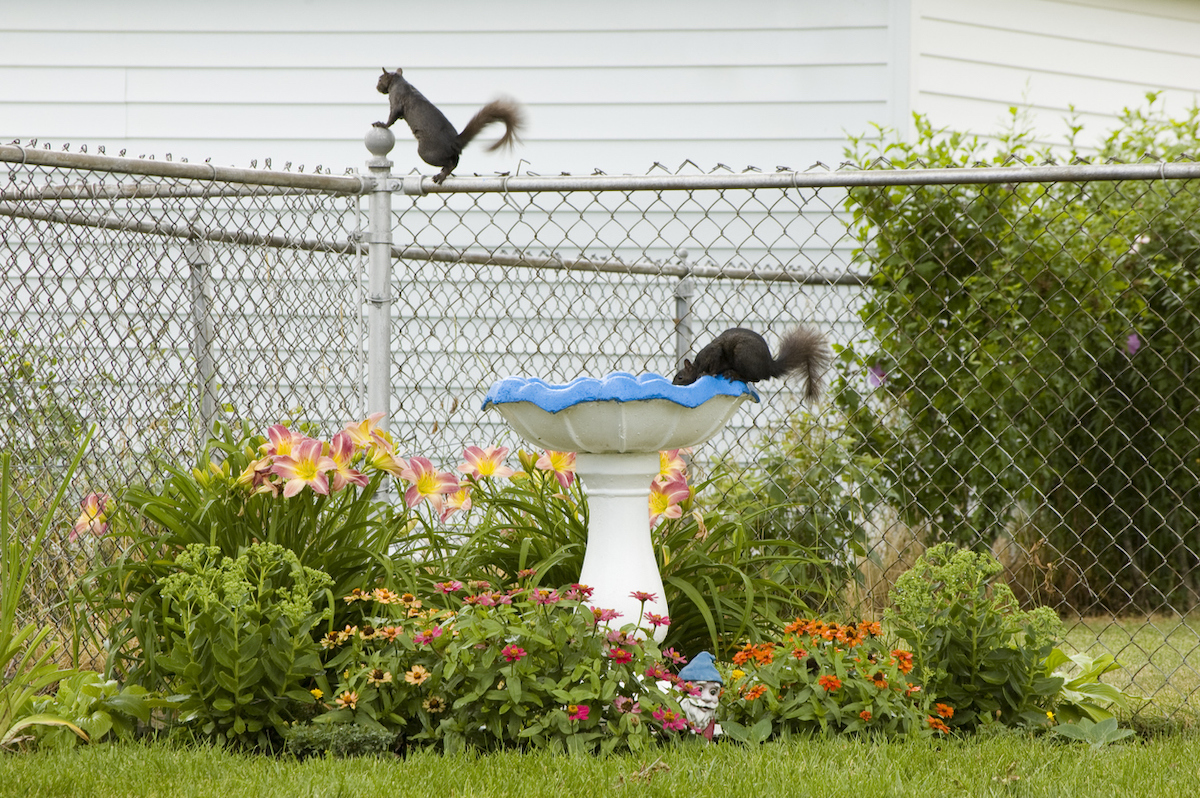
Photo: istockphoto.com
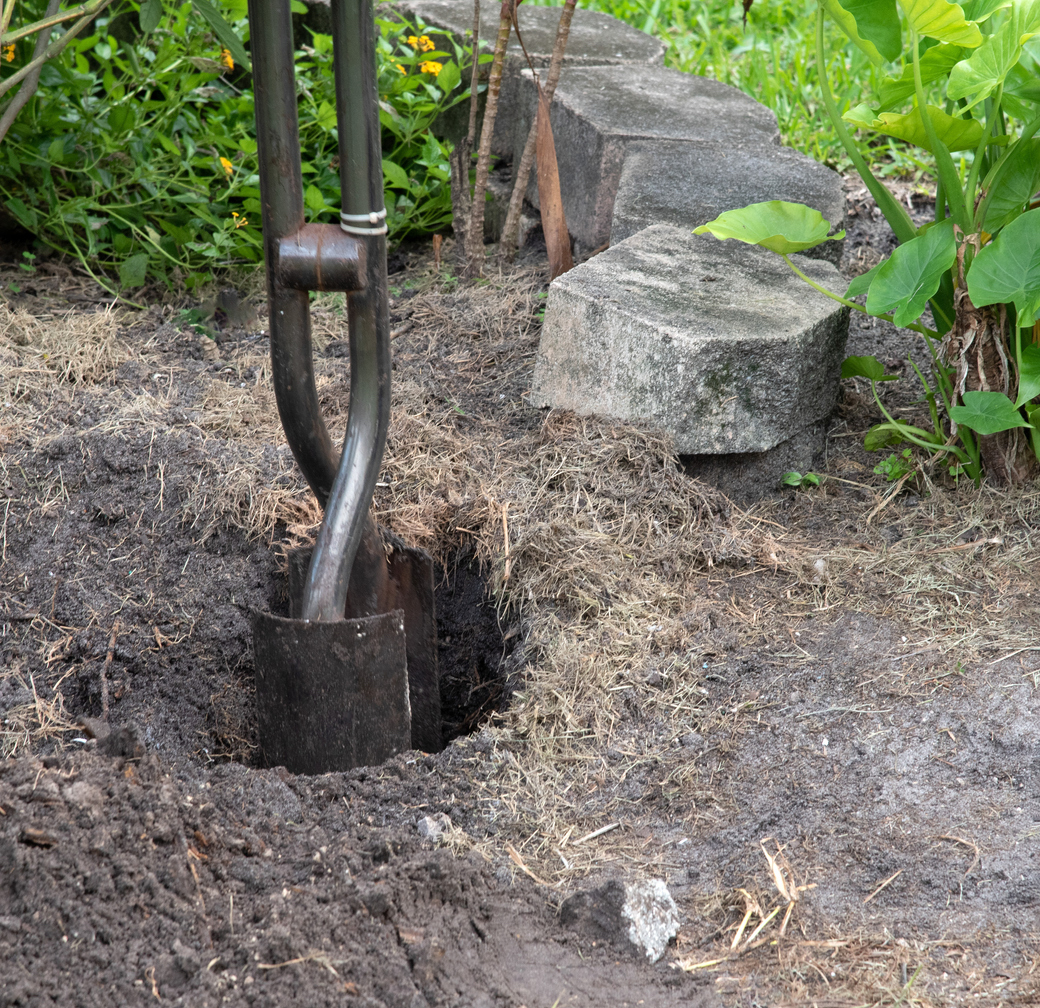
Photo: istockphoto.com
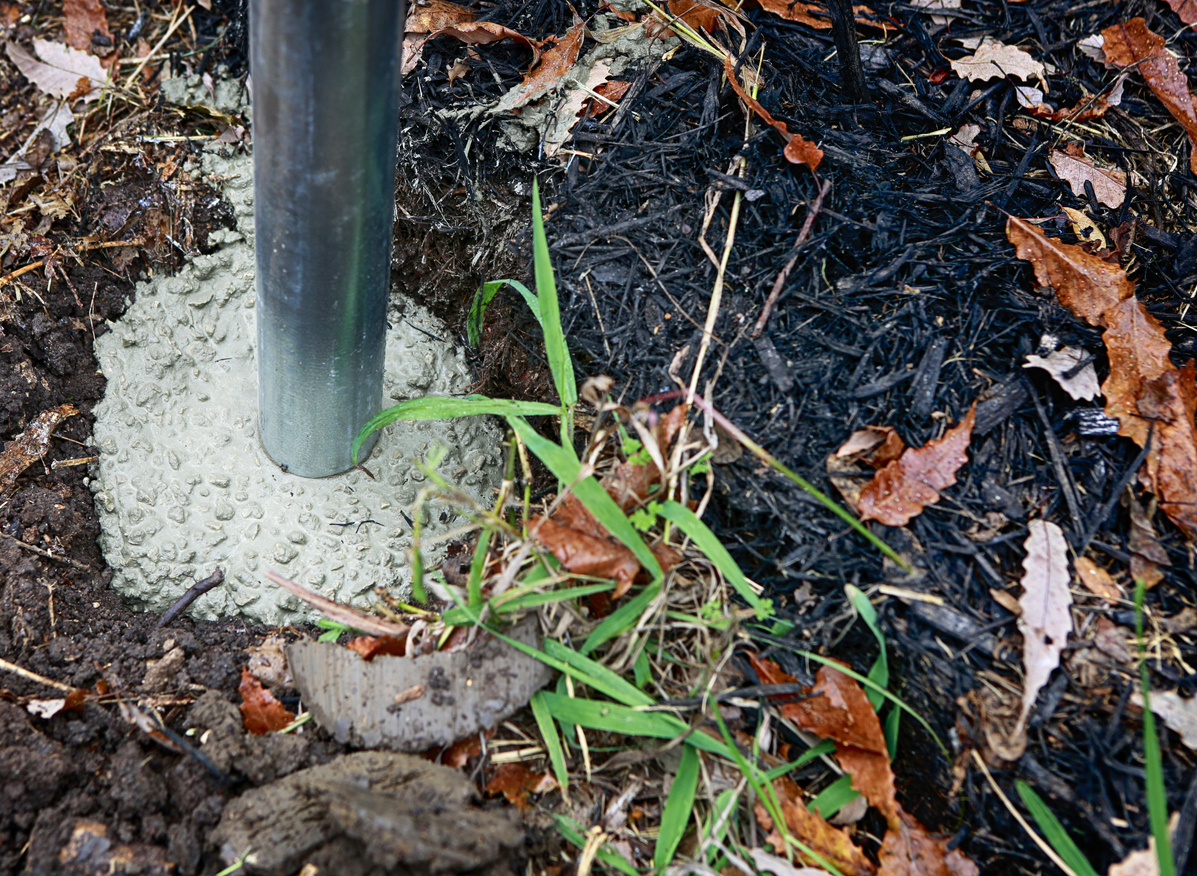
Photo: istockphoto.com
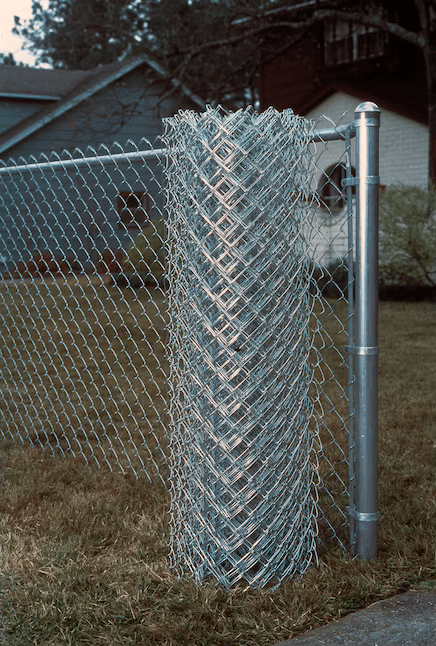
Photo: lowes.com

