We may earn revenue from the product uncommitted on this page and enter in affiliate programs . Learn More ›
Installing a dish washer may seem daunting , but with the right instructions and a piffling care , it can be a rewarding DIY . And with the money you ’ll save by not hiring a professional , you may be capable to afford to splurge ona high - tone dishwasherthat will serve your menage well for eld .
A word of sapience : To keep things simple , aim to replace your current dishwasher with a model of the same or similar size and corrupt the installment software system that ’s offered with the dishwashing machine . If your new gismo fits snugly into the distance left by the older one , these instructions can avail you figure out through how to install a dish washer — a occupation that can be finished within hours .
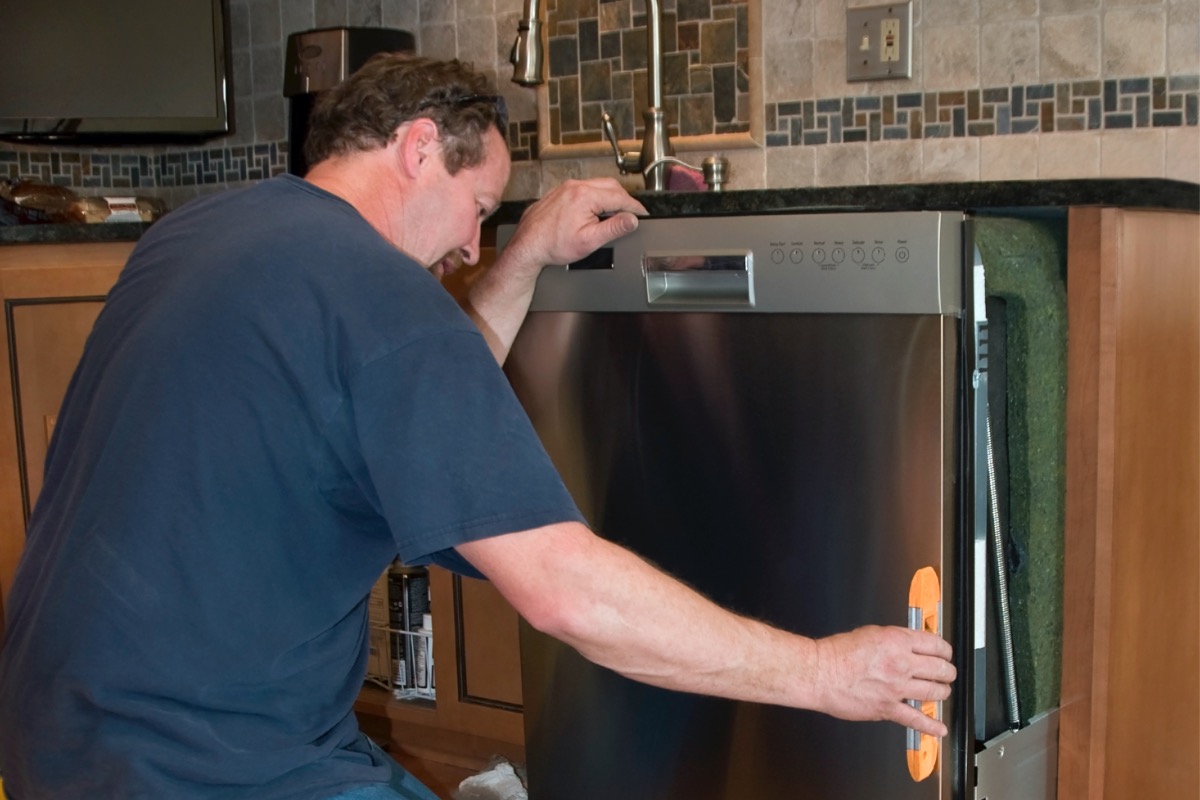
Photo: iStock
Tools & Materials
Bobvila.com may earn a commission from purchase made through these links .
DIY Dishwasher Installation in 11 Steps
If you have never had a dishwasher in your kitchen , or if the one you ’ve purchased is significantly magnanimous than your exist model , sophisticatedkitchen cabinetry may be necessary to adapt the new appliance . That ’s beyond the scope of this clause , but thesekitchen remodeling tipscan help you design for a major change .
Step 1: Turn off the power and water, and remove the old dishwasher.
If your currentdishwasheris still in place , the obvious first footmark is to cautiously transfer it . Before doing anything else , call on off the water supplyto the dish washer and trim back the power to the social unit . To do this , you ’ll want to shut off the tycoon at the electric panel by toggle the electric switch associated with the circuit on which the dishwasher runs .
doubled - check that the power is off by trying to rick on the automobile . If the dishwasher does n’t respond , it ’s safe to move on . Next , interrupt the three connection that allow the dishwashing machine to do its unclean study : the drain line , the water provision , and the electrical supply .
Step2: Prepare the electrical and plumbing connections.
With the sure-enough dish washer out of the way , you may now prep the connection for the new unit . Existing electrical wiring may be reused as can an existing copper water supply line . If the water supply line is n’t copper color , however , it ’s a good estimation to replace it . ( If the provision pedigree is fuzz , skip ahead to Step 3 . )
take the old plumbing line , and begin snaking 1/2 - inch flexiblecopper tubingfrom the front of the dishwashing machine locker to the hot - water valve under the sump . Once you ’re finished , use a tubing cutter to disregard the line away from the remainder of the tube coil .
Step 3: Connect the new tubing to the hot water valve.
Under the sink , manoeuver the tubing as close as you could to the hot - water valve . To make the connection , it may be necessary to use a tubing - twist spring , a smallplumber ’s toolthat enables you to shape the tube as needed . Secure the connexion with a compression bollock ( also called a compression meet ) , which can be fasten by hired hand before it bring a net tightening with a twist .
Step 4: Shape the tubing and electrical cable along the dishwasher’s channel.
see on the bottom of the dish washer to locate the distribution channel along which the weewee provision and electrical cable are meant to lead . value their localization with respect to the side of the dishwasher , then transfer those mensuration to the floor of the locker .
Now use the metro - flex spring to shape the copper tube so that it travels along the side of the console and then along the supply rail line you ’ve marked on the flooring of the cabinet . Do the same for the electrical overseas telegram .
Step 5: Install the new drain hose.
A newfangled dishwasher comes with its own drainage hose . Assuming you ’ve removed the drain hosiery for the old dishwashing machine , go ahead and pass the unexampled one from the dishwashing machine cabinet through the existing yap and to the arena under the sink . As you do so , be careful not to let the hosiery crick . In a later step , you will connect the hose to the dishwasher and the cesspit drainpipe .
Step 6: Prepare the water inlet with the copper supply line.
Enlist another person to assist you still the dish washer onto its back . From there , you’re able to more well remove the panel cover at the base of the unit and get at the piss intake , through which unobjectionable water will feed into the whole . Wrap Teflon tape recording around the threads of the recess and employ anadjustable wrenchto seize either a 3/8 - in or 1/2 - inch brass elbow , depending on your contrivance .
Now , using the tube - bend spring , turn the conciliatory copper supply line so that it meets the brass elbow you ’ve add . Where the two sports meeting , the copper must run for at least two inches without any bends . Secure the connecter between the tubing and the elbow by station a compression fitting over the neat run of copper . Tighten the compression freak with your men before give it an extra turn with an adjustable pull .
Step 7: Push the wires through the junction box.
Turn your attention to the electrical line ( which may be left over from the old dishwashing machine hookup ) . slew a cableclampover the exposed wire , right where the wires vanish into the plastic or metal sheathe around the conducting wire bundle . Then situate the junction boxwood and take out its covert denture .
relax the ballock on the overseas telegram clamp and push the wires ( along with the wind ending of the clamp ) through the junction box ’s golf hole . Then , use a screwdriver to tighten the nut again on the part of the clamp that remain outside the boxful .
Step 8: Connect the wiring inside the junction box.
Inside the junction box , employ wire nuts ( and conducting wire strippers , if needed ) to join the identicallycolored wires , white to blanched and black to melanise . If the wires coming from your home are sheathed in charge plate ( such as Romex ) , then be sure to connect — by means of another wire ballock — the gullible wire ( the ground ) to the dishwashing machine ’s green ( or bare pig ) wire .
Otherwise , wind the dish washer ’s primer coat wire around a mounting prison guard on the articulation box , then fasten the screw so that the terra firma does n’t budge . ultimately , fold all the wires into the junction box seat before screwing the cover plateful back onto the receptacle .
Step 9: Connect the drain hose to the dishwasher.
Back in Step 5 , the drain hose was course from the dishwasher cabinet to the sink drain . Now it ’s time to make the necessary association . First , slip a hosepipe clamp over the “ sink side ” of the hose , then check the hose over the inlet on the sink drain .
With plumber ’s pipe strapping , assure the hose against the top of the cesspit console ( or high-pitched on its rearward side ) , so the hose arcs before it reaches the inlet . That U - shape is very important , because it forbid sink backflow from entering the dishwasher . Meanwhile , inside the dishwashing machine cabinet , connect the other side of the hosiery to the dishwasher ’s waste pipe . This latter connecter should be very fast and easy to make .
Tried-and-True Advice
“ The first time I installed a new dish washer , I did n’t secure the drain hose properly . What a mistake ! I ended up having sewer water from the sink garbage disposal run back into the dishwasher , creating a pile in my sword - newfangled dishwasher . The drain hose ask to be high-pitched than the water line in the sinkhole , otherwise sewer water can backflow through the drain line and into the dishwasher . Loop it as eminent as you’re able to , and lash it in place to avoid this disaster . ”
— Tony Carrick , Contributing Writer
Step 10: Check for level and adjust the dishwasher’s position.
With the dishwasher in place , adjust its feet until the mounting brackets meet the bottom of the counter . Check with alevelto make indisputable that the gizmo is n’t slant to either side ; adjust as necessary . Now use thedrill / driverto aim screws through the mounting angle bracket , unwaveringly securing the dish washer in berth . Replace the approach panel cover version at the theme of the building block , which you removed in Step 6 .
Step 11: Test the dishwasher.
Turn on the water supply and deliver top executive to the circuit to which the dishwasher is link . Do n’t release on the dishwashing machine yet . Over the next few hours , keep a close heart out for leaks . If there are n’t any , load up your raw dishwasher and take a test wash .
Final Thoughts
Replacing a dishwasher with a young one that ’s the same sizing as the current dish washer is easy than set up a different - sized dishwasher , or an appliance in a new position . By play along these unproblematic steps and using quality tools , an old dishwasher can be replaced in just a few hours . Just be certain to turn off the power and water supplying to the old dishwasher before set about this projection .
This Is the yr for a Kitchen Renovation
Whether you ’re sell or staying , everyone can get something out of a kitchen update . Learn why we deliberate this redevelopment the Most Valuable Project of 2025 and how to stay on budget .
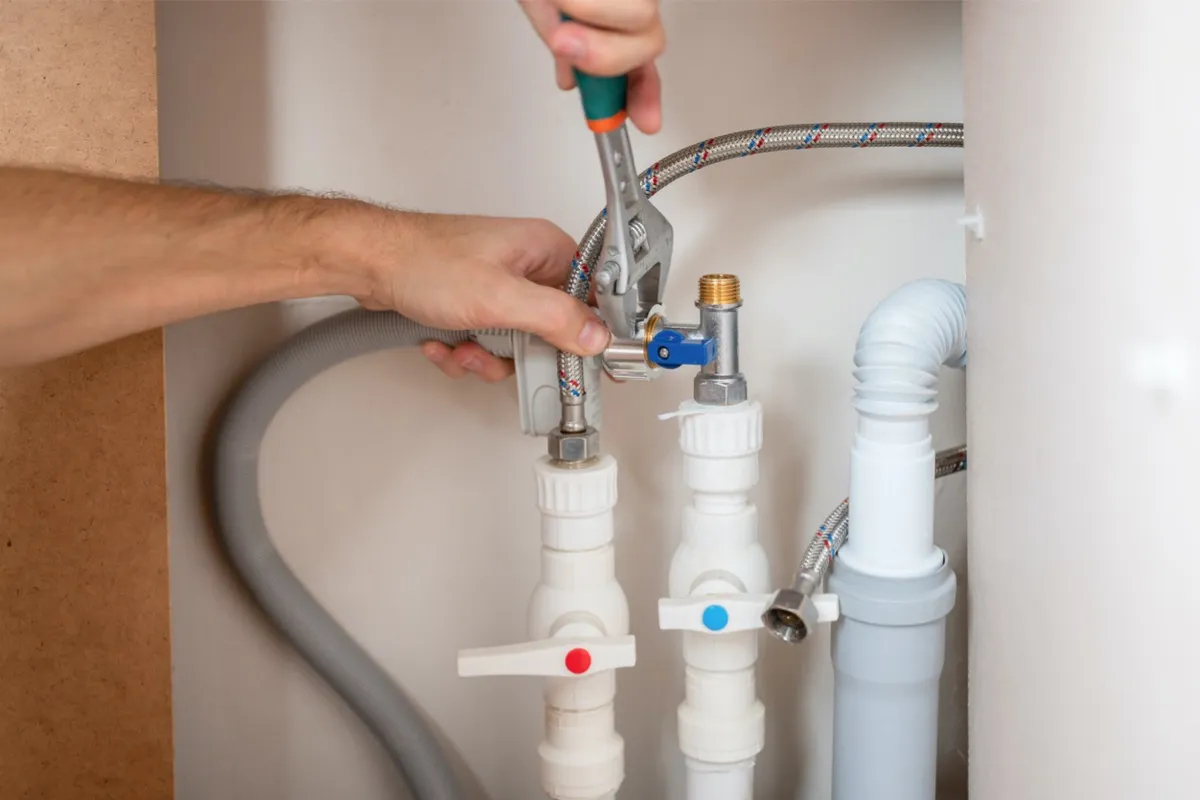
Photo: iStock
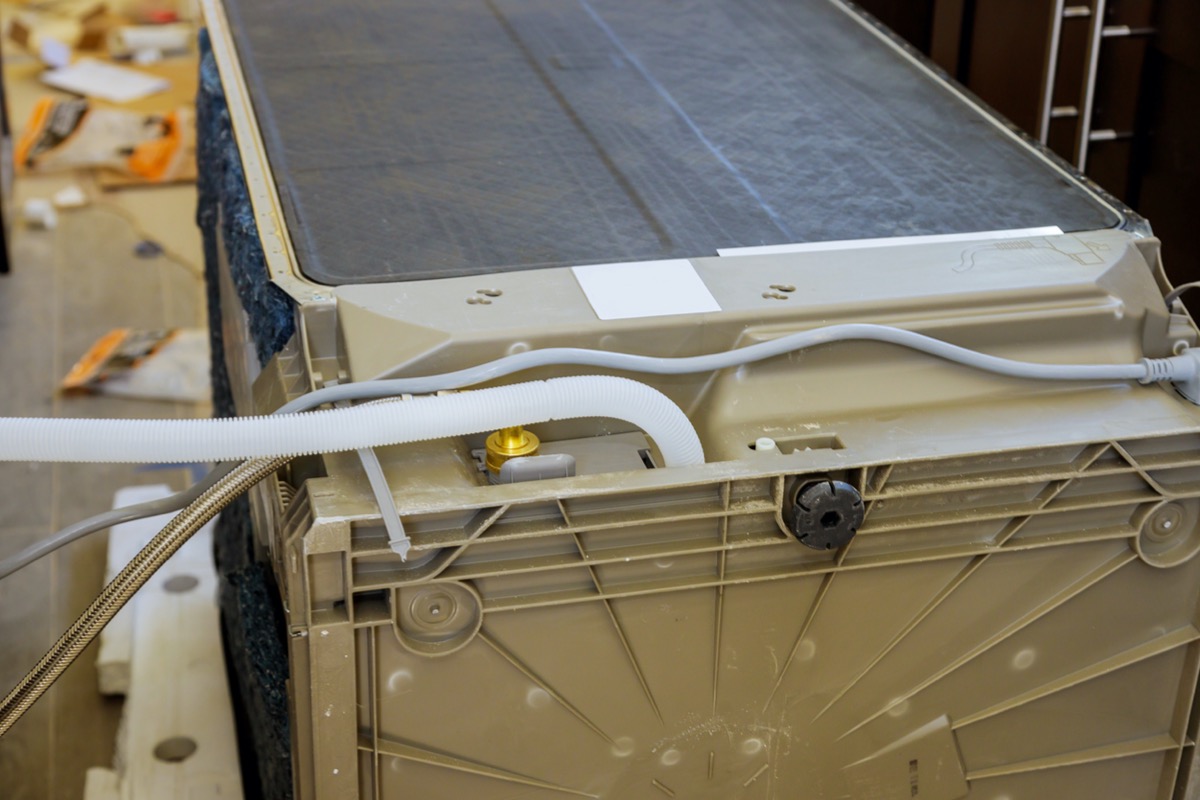
Photo: iStock
Photo: iStock

Photo: iStock

