We may earn revenue from the products uncommitted on this varlet and participate in affiliate programs . Learn More ›
Developed in 19th - C England , the first mechanised clothes dryer were perforate barrels that rotated over flame . Today ’s appliances are not so very dissimilar , at least in principle , with heated air shove off through a roller . But where does the aviation go once it has steal wet from your socks , shirt , and hand towel ? If you ’ve ever walked or driven past a modern - day launderette , then you already live : For a drier to operate safely and effectively , it must vent to the outside .
In late tenner , it ’s been common practice for homeowners to employ pliant vinyl or metal tubing in dryer vent initiation . The ridged design of these ducts , however , tends to pose a fire endangerment : In short , they entrap lint .
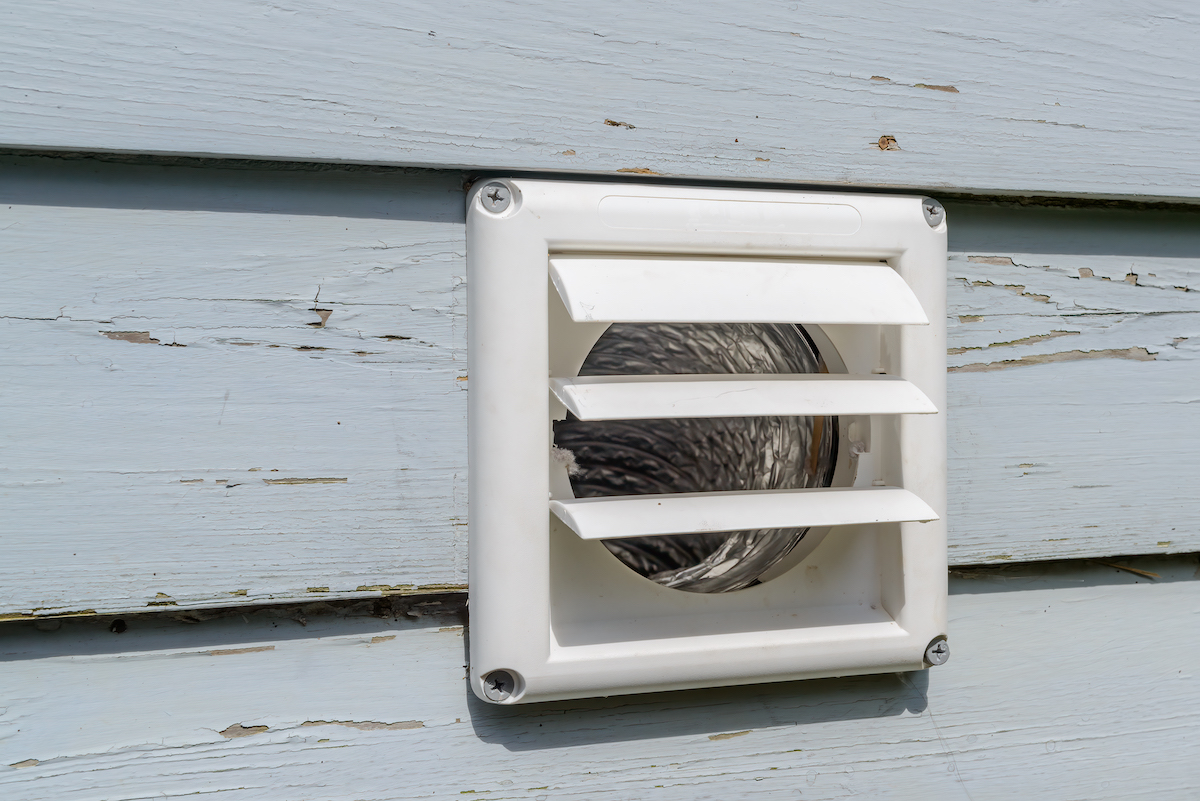
Photo: WAMorgan / Depositphotos
For that understanding , expert now instead advocate the use of rigid or semirigid hosepipe ; either can be find easily and purchased inexpensively in the diam appropriate for your appliance ( for most dryer , the correct duct size is four inch ) .
Installing a Dryer Vent in 5 Steps
Step 1: Determine the path of the ventilation duct.
Dryer vent induction begins with a decision : By what itinerary will the duct travel from your contrivance to your dwelling house ’s outside ? The shorter , the better .
A straight path is the shortest possible route , but not always practical . If , say , your dryer sits in the cellar , then the hose require to make at least one bit . To complicate affair , the entire length of the run should not transcend 25 foot — and that ’s for a unbowed shot . From that upper limit , deduct five feet for 90 - degree bends , and two and a half feet for 45 - academic degree ones .
Tried-and-True Advice
“ If your home has vinyl turnout , then you ’ll need to contract a hole through it to add the drier venthole . This can be a challenge as a gob saw ’s teeth can easy tear the siding . Here ’s a trick to make a professional looking hole . countersink the drill to reverse . By spinning counterclockwise , the teeth wo n’t sting as aggressively into the vinyl , leave you to make a clean , smooth gash . Once you ’re through the vinyl railroad siding , interchange the practice direction to forward to cut through the rest period of the wall . ”
— Tony Carrick , Contributing author
Step 2: Open up a small, 4-1/4-inch hole in the exterior wall.
Now comes the most thought-provoking part of dryer venthole induction : put a trap in the exterior wall .
In most cases , the possible action must be four and a fourth part inches wide ( for confirmation , look up the instructions provided by the producer ) . I suggestdrilling a fender holefirst , then function outdoors to double - look into its view .
If there ’s no impediment and you ’re boring through Mrs. Henry Wood , fit out your practice with ahole - saw attachment .

To get across stucco or concrete , it ’s easier to use amasonry bitto practise multiple holes around the circumference of the desired opening before manually chiseling out its interior .
Step 3: Secure the dryer vent cap on the home’s exterior.
instal the dryer vent capital against the side of your mansion , making indisputable that its attached pipe fit through the wall opening you have made . Secure the cap with the provide screws , and thencaulkaround the edges for protection against the chemical element . Go back inside and tie the drier duct to the vent detonating gadget pipe ( a 90 - degree articulatio cubiti may be needed ) , fasten the connection with a hosepipe clamp .
Step 4: Cut and join duct sections to connect the vent opening to the dryer’s exhaust outlet.
Having moved the drier into the want spot in your laundry room , measure the space from the back of the auto to the vent opening , accounting for all the necessary go in the ductwork . With a brace oftin snips , proceed to burn the tubing to the length of the measured distance . If you are joining more than one length of tube , reinforce all joint with enhancer tape . When you ’re at long last attaching the tubing to your dryer , remember to secure the connection by means of a hose clinch , as you did in Step 3 .
Step 5: Test your installation.
Switch on the dryer , then go outside to inspect the outlet jacket crown : It should be emitting affectionate strain . If it ’s not , head back indoors to refresh your ductwork . The most potential account is that one of the connections has total sunk .
call back that in order for your dryer to keep operating at maximum efficiency , you mustperiodically clean inside the dryer volcano . Lint has a stubborn way of lingering , even when there are no ridges in which it can get lodged .
This Is the Year for a Kitchen Renovation

Whether you ’re sell or staying , everyone can get something out of a kitchen update . Learn why we view this renovation the Most Valuable Project of 2025 and how to continue on budget .
