We may earn revenue from the products useable on this page and participate in affiliate programs . read More ›
Add storage to your bathroom — and in the unconscious process , give the space a jolt of fresh dash — by install a medicine cabinet . Even if you ’re new to nursing home improvement , put in a medicine cabinet is a satisfying and practical do - it - yourself project . However , hanging medicine cabinets has complexities that are best addressed through a measured , deliberate approach shot .
In this guide , we walk you through two ways to install a medicine cabinet in your can : The first way of life is surface - mount amedicine cabinetto the wall , which does n’t need that you veer into the drywall . We ’ll also explain how to install a recessed medicine cabinet , or one that baby-sit almost flush with your bathroom wall .
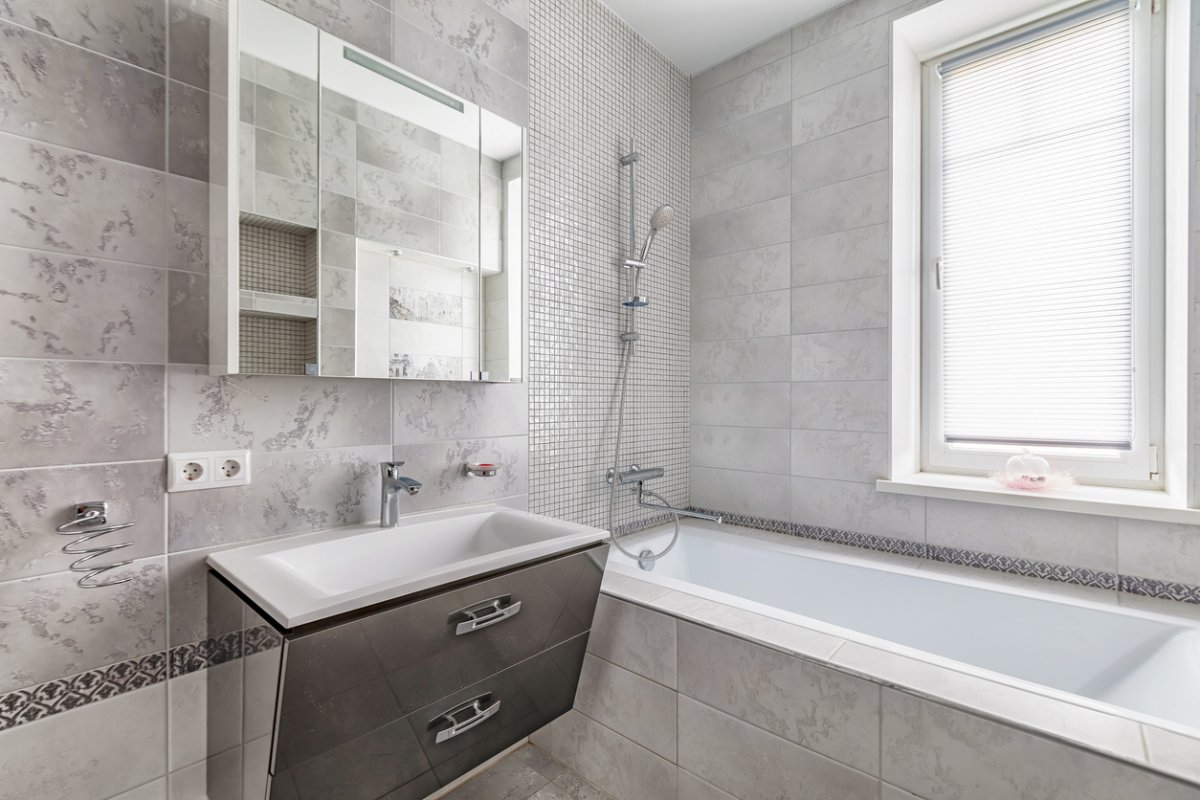
Photo: istockphoto.com
Before You Begin
For some family line , install a medicine cabinet is quondam hat . For those who are new to the macrocosm of DIY , however , it might seem a petty intimidate . The survey are some of the most significant considerations to keep in judgement before start this project .
Inset vs. Surface-Mounted Cabinets
medication cabinets come in a range ofstyles and designs , but before you make any decisions about how big a locker you desire or what color it will be , you should first decide whether you desire one that is inset or surface - go up . ( Some music cabinets can actually be mounted either way — inside the wall or on top of it — but in the end you still need to decide how you ’ll hop on the one you choose . )
What’s Inside Your Walls?
There are any telephone number of things you do n’t require to soften behind the drywall in your privy : plumbery supply pipeline , vents , drainage , and electrical wiring may all persist from floor to floor directly behind the sink . Before establish a medicinal drug locker — particularly a recessed medicinal drug cabinet — DIYers need to have it away what ’s inside the wall . Here are a few mode to forecast out what ’s back there :
The best - case scenario for those who need to put in an inset medicine cabinet is the drywall in your lavatory is on non - load - bearing stud , without any utilities behind them . If your installation involves masonry or plaster walls , take it from us : Wrestling with these stuff often proves to be more feat than it ’s deserving . Removing bricks from a Freemasonry bulwark involve installing steel , and cataplasm with metal lathe can be a incubus to work with .
How to Install a Surface-Mounted Medicine Cabinet
Of the two ways to install a medicine cabinet , installing a surface - hop on cabinet is almost always the easier option . Still , you want to verify to do the job aright to ensure the aspirin , coughing sirup , and fuzz spray do n’t come topple down in the eye of the dark . These teaching on how to bestride a medicine console to drywall will avail you mark some securebathroom warehousing .
SUPPLIES
STEP 1: Scan your wall and prepare to drill.
While many stud finder sour by detecting changes in stuff denseness , others can in reality discover the type of material behind the paries . Less expensive stud finder employ magnets to detect the fasteners attaching the dry wall to the stud . For that reasonableness , they will typically act for locating studs , pipes , and electrical racing circuit .
To locate the stud , tardily scan the studhorse finder across the rampart while holding the scan button down . On the bulwark , stigmatize where the equipment start to honk ( the edge of the stud ) and where it give up sound ( the other edge ) . If you are replacing an previous medication cabinet , check the existing fixing locating , as they very well may be in studs . mostly speaking , these marks will be 16 inches apart , quantify from their centers . Any alert that occur between these two set of patsy are likely to be water supply lines , waste pipe , or wires . It could also be horizontal blocking .
observe : Many builder will instal a piece of 2×6 baseball bat running on - edge and horizontally from stud to stud behind the sink . This is fuck as block , and its specific use in this instance is as a morphologic member for hanging a medicament locker . This makes installing or supersede a medicine cabinet a breeze . You ’ll want to read between the studhorse , from about 60 and 72 column inch off the priming , to see if there is blocking behind the wall .
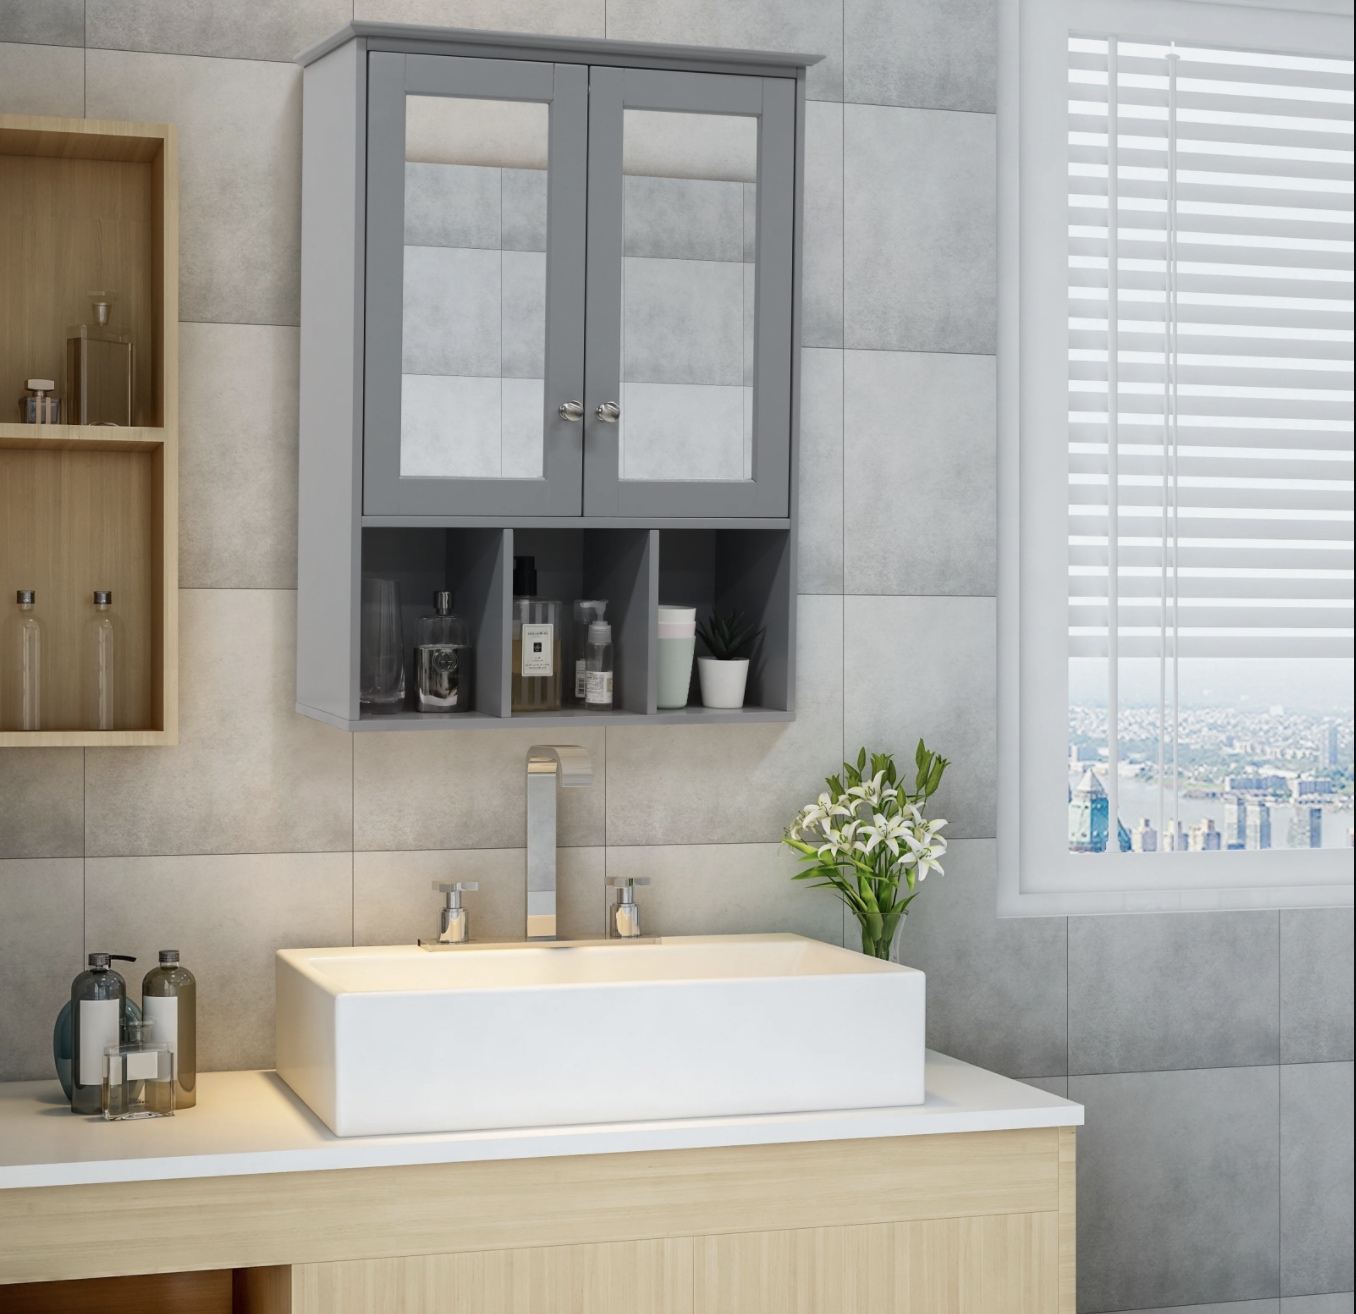
Photo: Wayfair.com
STEP 2: Position the medicine cabinet on the wall.
medication cabinets and those who apply them come in a mixed bag of sizes . If the brass of the locker is mirror , pay finical attention to its height ; the mirror should be at eye stage . Keep in mind that “ eye - level ” is proportional , look on the stature of the plate ’s occupant . A good introductory rule is to mount the locker so the centre of themirroris roughly 64 inches from the ground . This will provide enough mirror blank space for most syndicate member and guests .
Next , position the medicine locker flush to the paries , approximately where you would wish to instal it . If there is blocking behind the paries , it ’s a good musical theme to hang the cabinet from fixing beat back into the blocking . Also , confirm that nothing sterilise or moveable ( door , drawers , short fixtures , and the like ) will be obstructed if you hang the cabinet in this spot .
STEP 3: Level the cabinet and mark the top and bottom edges with a pencil.
Having find the good spot for set up the medicine console , enlist a help to hold it in topographic point . Meanwhile , get through for theleveland place it on top of the cabinet ( usurp there ’s a shelf — if not , simply hold it against the top bound ) . Make any necessary adjustments until the cabinet is utterly even , then pull out lines where the top and bottom edge of the frame meet the wall .
STEP 4: Mark the mounting holes on the wall through the back cabinet panel.
With your helper still deem the storage locker , afford its threshold ( or doors ) and locate the kettle of fish in the inside . On the rampart , pencil an go - mark to correlate with each one of the installation hole out that you place . Then , take the cabinet away from the wall and set it aside at a safe distance — you do n’t desire to damage the locker as you ’re drilling into the paries .
STEP 5: Drill into the wall with the right-sized bit.
If the marks from the previous step telephone line up on the stud or blocking , then the cabinet will be easier to install . If not , you ’ll want to install hollowwall anchorsto foreclose the storage locker from pull out out of the wall .
fit thedrill / driverwith the correct bit and then bore holes in the wall wherever tenner commemorate the spot . Tread carefully here ; if the drilled holes are too large , the locker is probably going to wobble .
Note : In some cases , the cabinet may not come with any ironware at all . If that ’s the case , opt forwasher caput cabinet screws , which are also known as pocket cakehole screws .
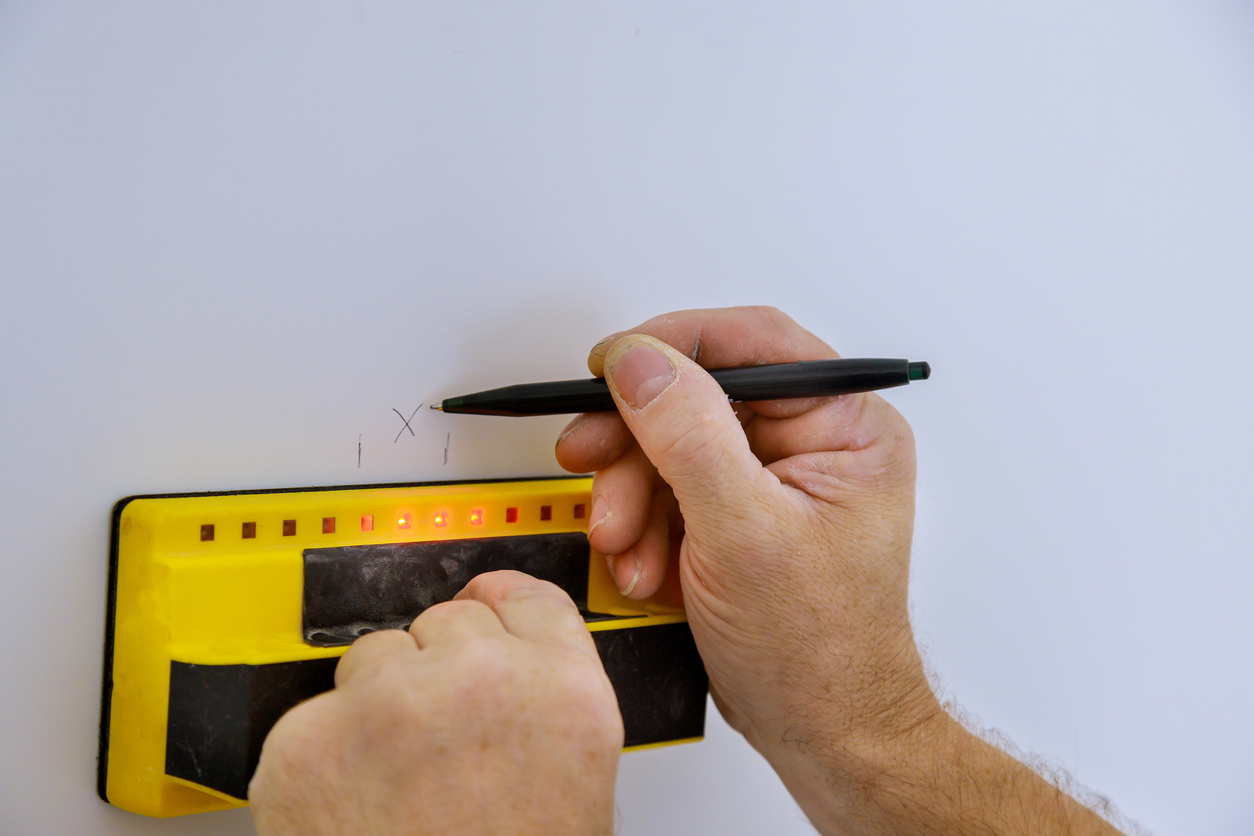
Photo: istockphoto.com
STEP 6: Screw the cabinet into the wall.
Position the console back on the bulwark , couple its top and bottom edges to the pencil lines you drew in Step 3 . While your helper holds the cabinet , screw thefastenersthrough each of the holes on the back of the storage locker and into the studs or lynchpin .
Do n’t attach them tightly until you are quenched that the cabinet is precisely where you want it .
How to Install a Recessed Medicine Cabinet
Installing a sunken medicine cabinet is quite a routine more work , but it ’s still a project a competent DIYer can handle . The following teaching will delineate all of the critical point in instal an inset medicine locker .
STEP 1: Examine the wall carefully.
For deep-set medicinal drug locker DIY instalment , it ’s especially authoritative to know what ’s obliterate behind the drywall . utilise the stud finder to get a bumpy idea of where the studs behind the paries are located , and mark their edges with a pencil .
ensure to turn the power to the room off at theelectrical panelbefore legal proceeding . Then , draw a 5×5 - column inch square in the area between the studs where the storage locker will go , and cautiously cut it out with thedrywall saw . It ’s not necessary to cut fast or sharply yet , so DIYers should take their time until the lame is removed altogether .
Note : Be sure that the wall is not a load - carry wall . If it is , continue reading this guide until the end to adjudicate whether or not reframing a shipment - bearing rampart is worth the effort .
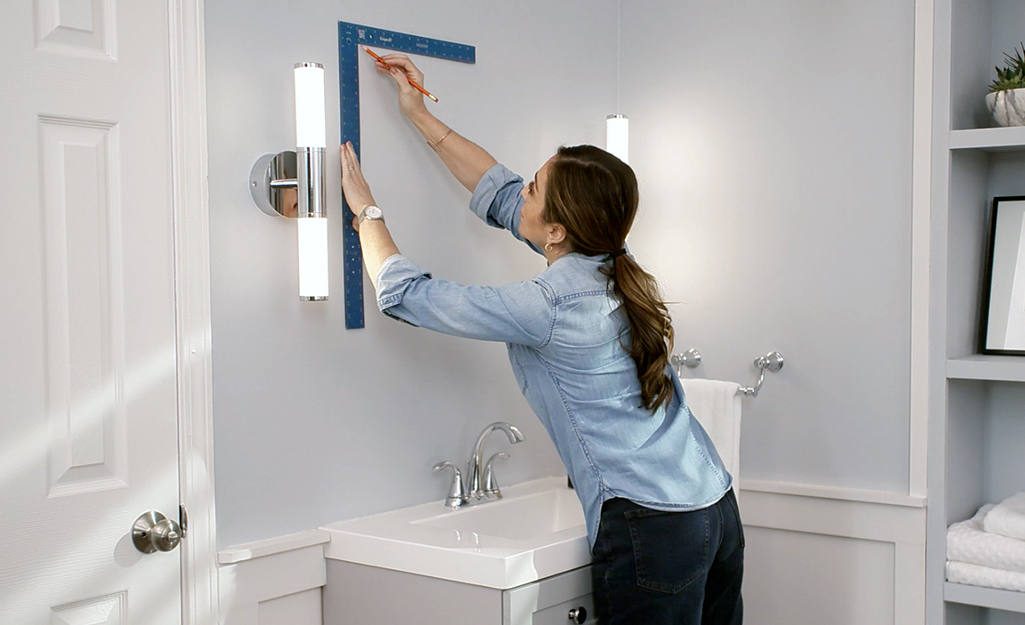
Photo: Homedepot.com
STEP 2: Check your wall for utility lines that might get in the way of aninset medicine cabinet.
Use theflashlightto look inside the wall . calculate for wires , supply lines , and pipes . If those items are present , replace the square , clay , tape , guts , and set up a Earth’s surface - climb cabinet . If they ’re not , or there is enough room to make around them ( have in mind they ’re toward the back of the wall stud bay ) , move to the next footmark .
STEP 3: Approximate your cabinet placement.
Once you ’ve determined that the space behind the drywall is suitable , set the medicine console against the rampart and get a rough idea of its placement . The console usually hang directly above the nitty-gritty of thebathroom sink , which means there will believably be some in - wall framing oeuvre to do . But , it ’s more important to do this occupation aright and have the cabinet face right than to cut corners and have an askew cabinet .
Mark the wall in the center of where the medicament locker will go . This is usually direct over the sinkhole , some 64 in from the earth .
STEP 4: Measure yourinset medicine cabinet, and transfer its outline to your wall.
Inset music cabinets typically have overhang flanges and doors , so it ’s important to measure the factual console box itself . Carefully place the cabinet front down and valuate the back of the console for height and width . It ’s often a good idea to add ¼ inch to this measure to let for a bit of wriggle room as you set the console inside the wall .
Using the nub mark for reference , use atape metre , pencil , andlevelto transfer these measurements to the paries . For example , if the cabinet is 14 inch encompassing ( adding the ¼ inch for wiggle elbow room ) , measure out to the left 7⅛ inches and pull a mark , followed by mensurate out to the correct 7⅛ in and distinguish a bull’s eye .
Use the bubble level to take out plumb line on the wall at these marks . Repeat the process for the top and bottom line , disunite the height of the locker ( plus ¼ column inch ) by two , marking the wall , and drawing horizontal surface lines .
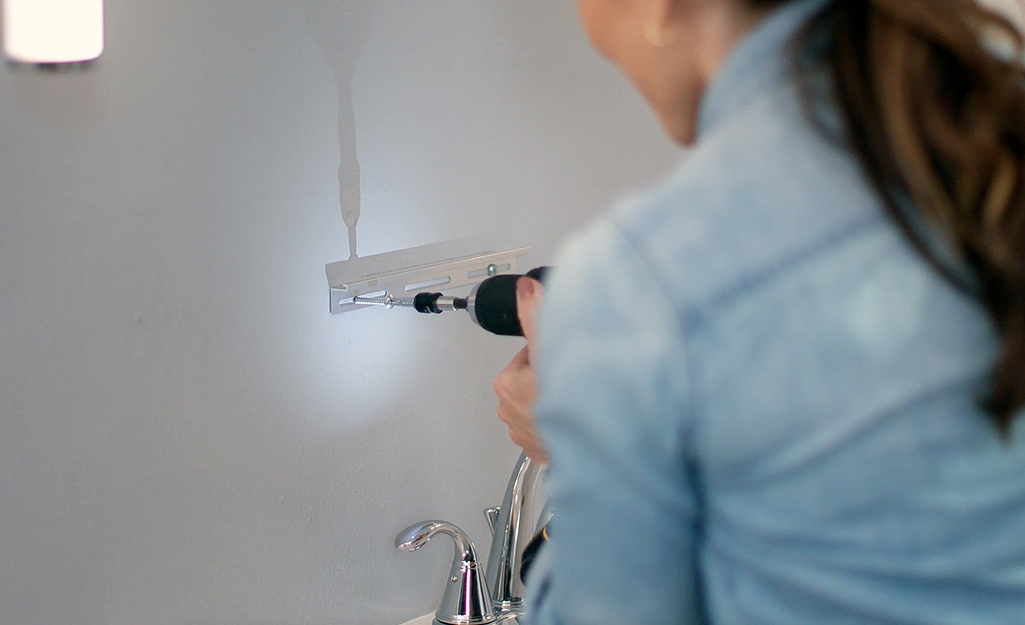
Photo: Homedepot.com
Test fit the cabinet to secure it fits within the scheme while being plumb and level .
STEP 5: Check again that you’ve cut power to your bathroom.
If there are wire behind the wall , doubled - check that you ’ve slue the power to the bathroom . This will prevent the fortune of an errant vane stroke from slicing through the lighting circuit and shocking you .
Even if the wires are out of the way but in the same stud bay , it ’s better to be safe than disconsolate . Find the appropriatebreakerin the electric panel and flip it to the off position . Be sure to steer back and check the wire with a non - contactvoltage testerto guarantee the line is indeed dead .
STEP 6: Cut along the outline you’ve drawn with a drywall saw.
seduce the surface of the drywall with the public utility company tongue along the lineation drawn in Step 3 . Using the dry wall byword , cautiously thin out along the outline to remove the section of drywall where the cabinet will go .
There is a hazard that there ’s a stud somewhere within that outline . For the cabinet to be inset and centered above the sink , that scantling will have to come out and be reframed . If that ’s the case , simply use areciprocating sawto bring down the rivet where it meets the upper and lower edges of the cutout .
STEP 7: Install blocking to support therecessed medicine cabinet.
Before you go any further , test fit the console to ensure that it outfit the way you require it to . If thedrywallneeds trimming , carefully remove the surplus with a utility knife until the cabinet fits nicely .
Next , cut two piece of 2×4 lumber so they ’re close to 2 inch longer than the overall height of the console . These boards will serve as blocking . Place them behind the drywall on either side of the hatchway , holding them vertically . Drive wallboard screws through the dry wall and into these new blocks behind the wall . Use three or four screws per side to ensure the cabinet has steady reenforcement .
Note : The blocking rivet do not need to be on - sharpness like the other studs in the bulwark . They may be on the flat , which cause them easier to go for against the back of the drywall .
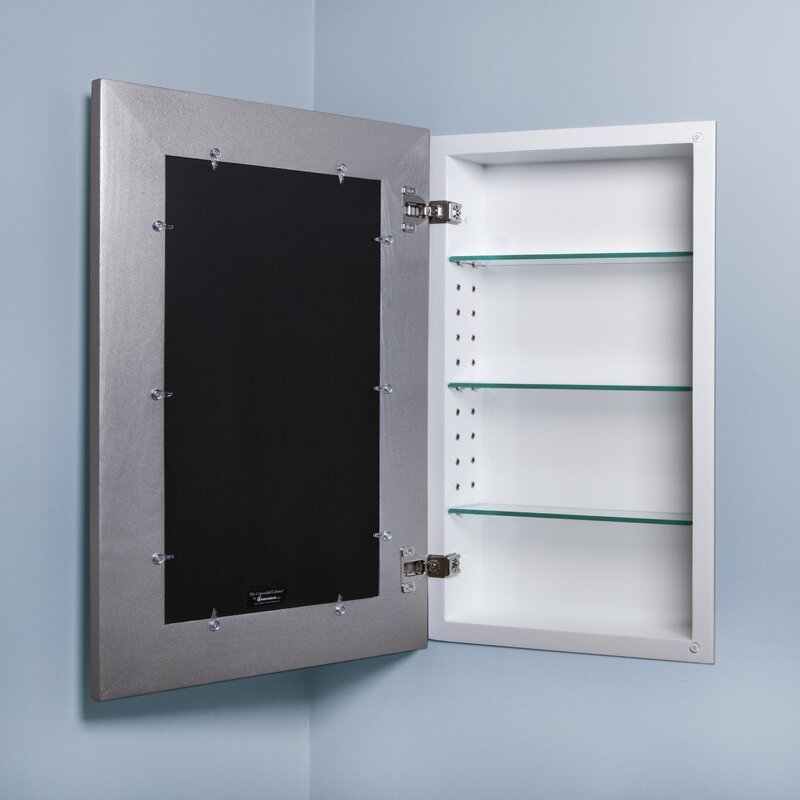
Photo: Wayfair.com
STEP 8: Hang yourinset medicine cabinetin the framed wall opening.
Insert the medicine cabinet in the golf hole with the Modern blocking on either side . Working from inside the cabinet , drivescrewsthrough the side of the medicine cabinet and into the wood blocking .
Drive a nooky at each nook , but do n’t tighten the nooky until tick the cabinet for hearty and level . Tweak the cabinet and slowly tighten the screw so it is sitting absolutely flush against the wall , plumb bob , and story .
STEP 9: Put the finishing touches on your cabinet.
polish off the facility . Make certain that the doorway can rest in both capable and closed positions to ensure no one will accidentally roll in the hay their head against an open doorway . If necessary , adjust the hinges so the room access sit flush with the console itself . rub out any pencil marks as well .
If there are any expose dry wall edges or wisecrack around the cabinet , fill them with drywall compound orspackleand provide them to dry out . Once ironic , sand the compound smooth before prim up and painting the wall .
Pro Tips for Mounting a Medicine Cabinet
Final Thoughts
Whether it ’s a surface - mounted medicine cabinet or an inset medicine storage locker , correct installation is cardinal . The cabinet need to be secure and safe , and it should operate properly without the door swinging outward or the cabinet wobbling ) . By observe the bakshis in this guide , find out how to install a medicine storage locker safely and securely is well within the capabilities of most DIYers .
FAQs AboutInstalling a Medicine Cabinet
Though this tidy sum of entropy on install a medicinal drug cabinet , but there could still be some lingering questions . The following section aims to assist , as it consists of some of the most frequently asked questions about instal medicine console projects .
Q. How much space should there be between a vanity and medicine cabinet?
The space between thevanityand medicinal drug cabinet is somewhat arbitrary as medication cabinets add up in a range of sizes . The important affair is that the center of the medicine cabinet is roughly 64 inches from the ground .
Q. Can you hang a medicine cabinet without studs?
you may , but you ’ll ask to use empty bulwark linchpin . These part of hardware insert through the bulwark and ply financial support and strength that wind on a dry wall screw alone can not match . If you require assistant find studs without a stud finder , thisarticleincludes several way to do so .
Q. Should you hang arecessed wall cabinet between studsor on them?
deep-set wall cabinet must land between studs to be inset . If there is a scantling in the fashion of the cabinet , it may be necessary to tailor that stud to make way for the cabinet .
Q. Can you mount a medicine cabinet on drywall?
Yes , but instal it on dry wall ( instead of immediately to the studs ) requires special hollow wall ground tackle . These anchors expand in the kettle of fish and provide more surface orbit , allowing the hardware to bear more weight than drywall screw yarn alone can palm .
Q. How do you install a recessed medicine cabinet in a load-bearing wall?
install a sunken medicine console in a payload - suffer wall is tricky :
The bulwark should now be redact with enough accession for a recessed cabinet .
Everything You involve for a Lush and Healthy Lawn
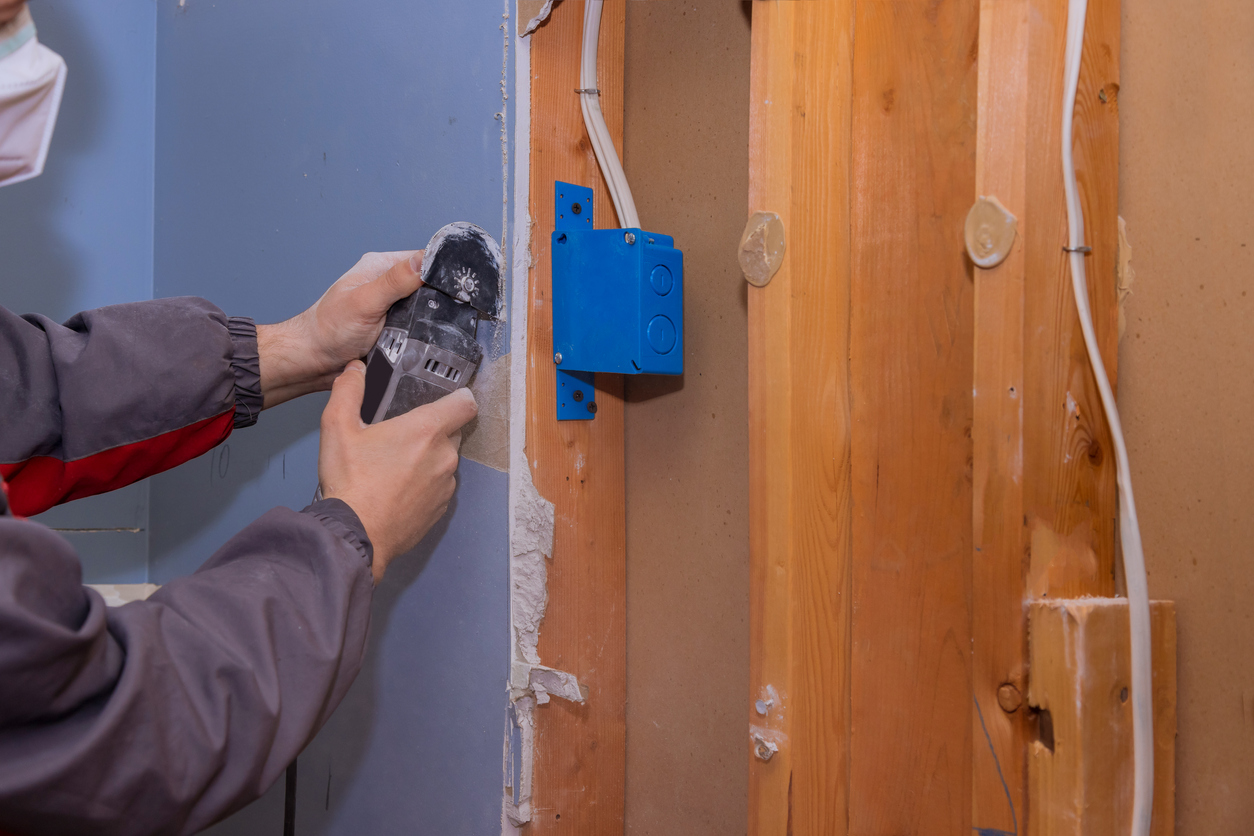
Photo: istockphoto.com
Keeping your gage green and your plants thriving does n’t just take a dark-green ovolo — it start with the ripe creature and supplying .

Photo: istockphoto.com
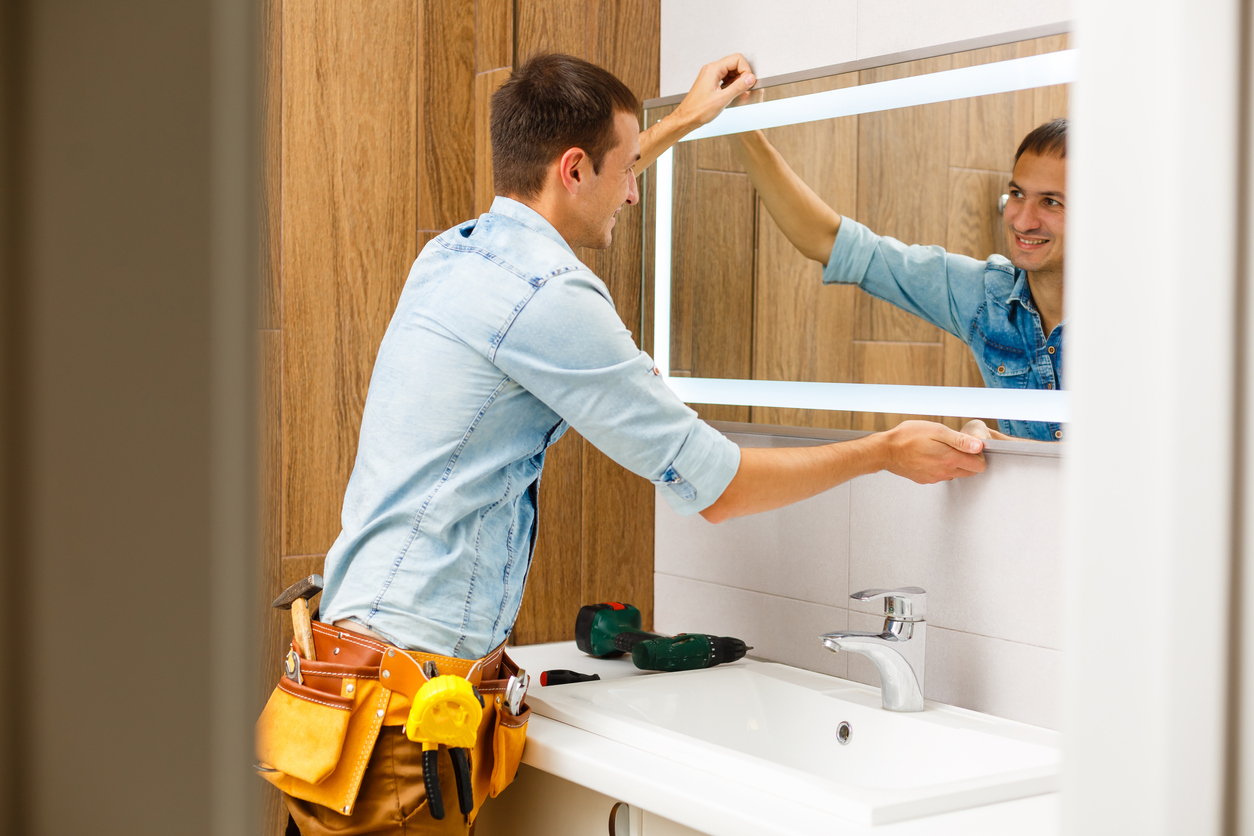
Photo: istockphoto.com

Photo: istockphoto.com

