We may earn revenue from the products available on this page and enter in affiliate programme . ascertain More ›
Whether integrated underneath the cabinet or suspend over a kitchen island , the grasp hood is the unsung hero in the kitchen , rarely appreciated for the all-important role it performs in eliminating the airborne lubricating oil , smells , smoke , and heat produced during meal prep . If you ’re get ready to kick upstairs old gizmo like dishwasher and refrigerators as part of a kitchen renovation , do n’t block the reach thug — it deserves considerateness , too .
You may have a general idea of what you ’d care in a newrange hood , but you may still be overwhelmed by the all-embracing assortment of prices and models usable today . Selecting and set up a image hood involves more than just picking out an appliance that complements your be reach . To find a model that fit yourkitchen spaceand cook style , keep the following particulars in judgement . Then , follow the step - by - step direction for how to install a reach exhaust hood .
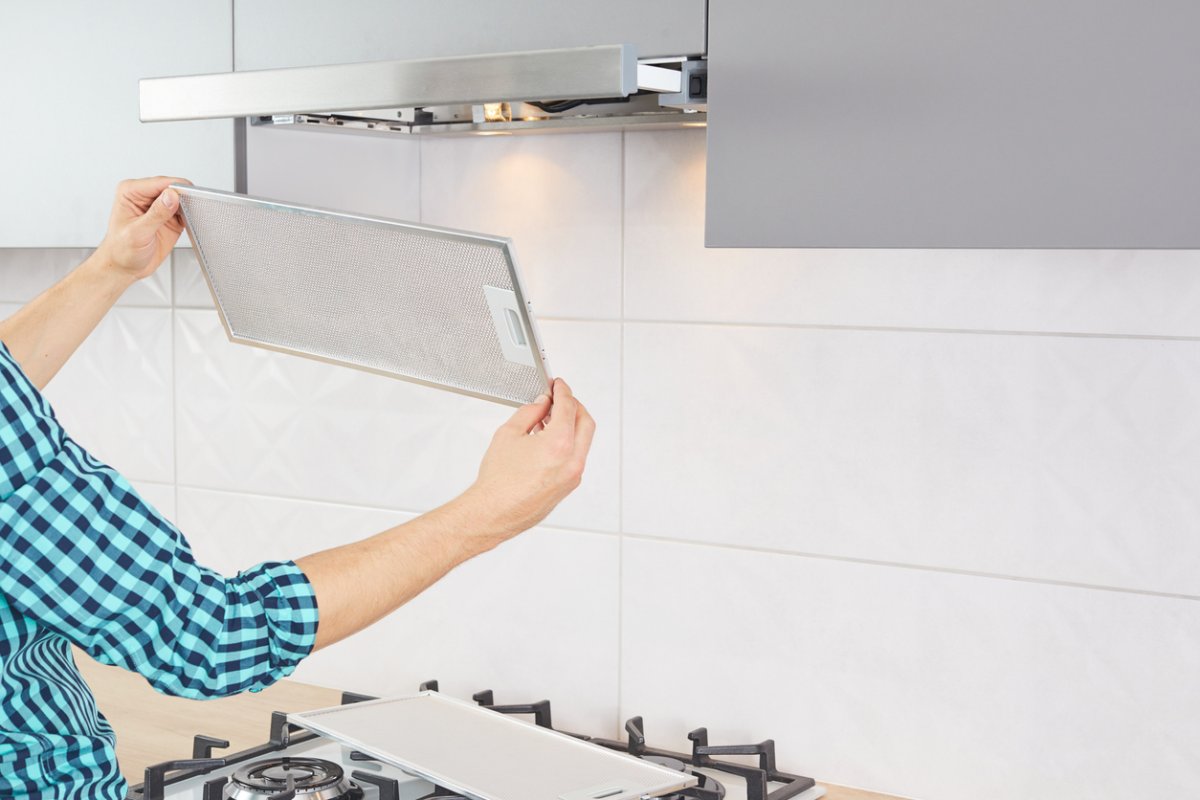
Photo: istockphoto.com
Project Overview
Working Time:1 60 minutes if there ’s no ductwork to install . Up to 4 60 minutes , admit ductwork installation . Total Time:1 to 4 hoursSkill Level : IntermediateEstimated Cost:$100 - 400 + , depending on the thug selected
Before You Begin
If you ’re a ready to hand DIYer , it ’s comparatively simple to switch out an existingrange hoodwith a newer model . Moving a orbit hood ’s location duringa kitchen renovationor set up one for the first time , however , will need some accommodation . Here are a few other considerations to keep in mind before get down to work on your kitchen hood initiation .
Ductless vs. Ducted Range Hoods
Range hood use fans to get out up grease and smoke , along with nutrient odors and extra heat , but not all hoodlum perform the task equally well . The difference between average and good models for the most part depends on the type of ventilation available : ductless or ducted .
The democratic and space - efficientmicrowave - hood combinationsalso number in ductless and ducted varieties . The misunderstanding that some homeowners make when stag for one of these units , however , is that they focalise more on the microwave oven ’s bells and whistles than the unit’sventilationcapabilities . Do your research , and verify you ’re selecting a microwave oven - hood that ’s sufficiently effective and efficient for your motivation .
Fan Motor Placement
Some reach hood fathom like airplane getting ready to take off , while others are virtually understood . The interference difference has a lot to do with the locating of the fan motor . interpret the packaging cautiously , or research online before purchasing , to determine where the unit ’s electric fan is located .
Those who want a quieter stovetop - cooking experience should look for a range punk that comes with a outback blower . You ’ll still call on on the fan the same way , via a switch on the cowl , but the fan is far off from the range — often either halfway in a duct or on the top of the cap — thereby buffering the noise . If your kitchen is open to the life or dining area , or if guests always seem to congregate in your kitchen , the desire to cook and converse without hold to squall over a fan may beworth the extra toll .
Range Hood Sizes
electrical andgas rangescome in a wide variety of size , so it should n’t be surprising that there is n’t a set received range hood size . These integralkitchen appliancesare designed to pull in the estrus , cooking odor , and airborne grease from the range below . To well deal this project , range hood should be the same width as the image .
With this in mind , you’re able to ascertain range hoods in an equally wide assortment , commonly wander from 24 inches in width to 60 in . Wider wall - mounted and suspend island models are also available for impost kitchen designs .
Configuration
Formicrowave - hood combination , the bottom of the storage locker above the compass should be at least 30 column inch above the cooking open to impart way for the installment . Fortunately , many contractors install thiscabinet configurationin new homes for just that understanding . The 30 - inch distance is also the favorite upper - locker height for under locker range hood installation without a microwave oven , although case-by-case models may have different requirements ; once you ’ve picked a whole , read and conform to the manufacturer ’s recommended peak specifications .
Power Supply
If you ’ve chosen a combined microwave oven - reach hood model , there must be anelectrical outletin the cabinet above the building block to power the fan motor and microwave . While it ’s not required by build code , many new - base contractor instal that outlet on a separate 15- or 20 - amp circuit that has enough juice to run amicrowave .
If you ’re installing a young bonnet and there ’s no sales outlet nearby , you ’ll need to hire an electrician to install an wall plug near the hood ’s pop the question location before you may proceed . Not all simple range hoods require a designated outlet , but microwave - hood combination should definitely have their own electrical circuit .
Venting Configuration
Both single thug and microwave - hoodlum combination unit add up with templates that mark where to pre - drill or cut holes for screws , a power supply , and vent . The template will also show you where to attach the square bracket that supports a hood jazz band on an exterior rampart . If you are installing an international - venting stove hood but you ’re not put on it on an exterior bulwark , the theoretical account you select should have the option of up discharge . if you go that road , you ’ll have to start the ducting through the ceiling . install ductwork for a range lens hood might be the most challenging part of this DIY . Consider outsource this part of the job to a professional .
How to Install a Range Hood
experience DIYers who do n’t want to pay an appliance professional can get a line how to install a compass cap by adopt these elaborated steps .
Tools & Materials
Bobvila.com may earn a commission from leverage made through these links .
STEP 1: Take down the old hood, if there is one.
If you have an existing range hood , the first stair in the cognitive operation is to remove it . Turn off the top executive to the range hood , then unscrew the wire nuts and disconnect the wires . Have a second person support the weight of the compass exhaust hood while you use a screwdriver to relax the mount screws .
Carefully lift the previous range hood off of the screws and set it aside . Take the sure-enough stove lens hood outside , to a shed , or to the service department so that it ’s out of the way while you lick .
STEP 2: Remove the knockouts and mark the vent holes.
The Modern range hood will typically have metal knockouts for the electrical cables and the epithelial duct . Remove these knockouts with ahammerand screwdriver , then carry the hood in place against the chosen wall to mark the location for vent hole .
Some range hoods come with a paper template that can be used to mark the vent holes without needing to carry the range cap in billet . If your reach hood does n’t follow with a template , deal ingest a second person hold the range of a function cowling while you differentiate the vent holes to improve project truth .
STEP 3: Cut vent holes and drill locator holes through an exterior wall.
Use areciprocating sawor a exercise equipped with ahole sawbit to curve a hole for the electrical cable and for the vent . Note where the venthole will exit the home and take a few minute of arc to exhaustively audit the interior and exterior path for the ductwork to ensure that there are n’t any obstacle , like studs , pipework , or conducting wire . If you play any of these issues , you may necessitate to relocate pipes or wires to make room for the channel .
Use a longdrill bitto drill locater holes through the exterior wall of the home . The aim of these holes is to outline the margin of the release muddle , making it easier to cut an exact , soaked - meet hole for the vent to pass through to the outside . Drill multiple locater holes at each corner of the volcano hole . Keep in psyche thatductless range hoodsdo not require ductwork or ventilation systems , so you only need to cut a hole for the electric cable if you are installing a ductless role model .
STEP 4: Use the locator holes to cut a vent hole in the exterior wall.
maneuver alfresco to find the locater holes in the exterior wall of the place . If the abode has siding , then merely use a pencil to connect the dots between the locator hole and succeed the outline to cut off the vent hole with a reciprocating power saw .
If the home has abrick exterior , then the mental process is a bit more complicated . Use a pencil or mark to outline the vent fix , double - checking to ensure the outlet can fit . bore a hole through the masonry about once every column inch along the vent-hole pickle outline . Use a malleus and a cold chisel to knap away the brick and mortar between the kettle of fish to create a clean opening for the outlet .
STEP 5: Connect the duct.
Slide the bulwark cap for the duct into the blowhole maw and scrutinise the ductwork to determine if it is long enough to progress to the range hood . If the ductwork falls short , you will postulate to pick up a duct extension phone .
To assure that mice , ants , and other pests do n’t get in through the vent trap , you will require to apply caulk to the outside of the hole to varnish any openings . Use screws to fasten the wall cap for the canal into posture and inspect the exterior installation to verify that there are n’t any gap that you missed with the caulking .
STEP 6: Mount the range hood.
With the ductwork installed , you’re able to mount the reach hood to the ceiling or wall . Have a second person bear the range hood in spot while you use a recitation to secure the reach hood with the mounting bracket and mounting screws .
If you are mount up the range cowling to the wall with hop on brackets , then the screws should be fully tightened , but if you are mounting the range hood to subsist cabinetwork , the nooky should only be go down halfway in to tolerate the range hood to mistake over the nookie and rest on top of them .
For tiled walls , debate using a nail set and a mallet to make small guide holes in the tiles . This will deoxidise the chance of cracking a tile when you drill into it .
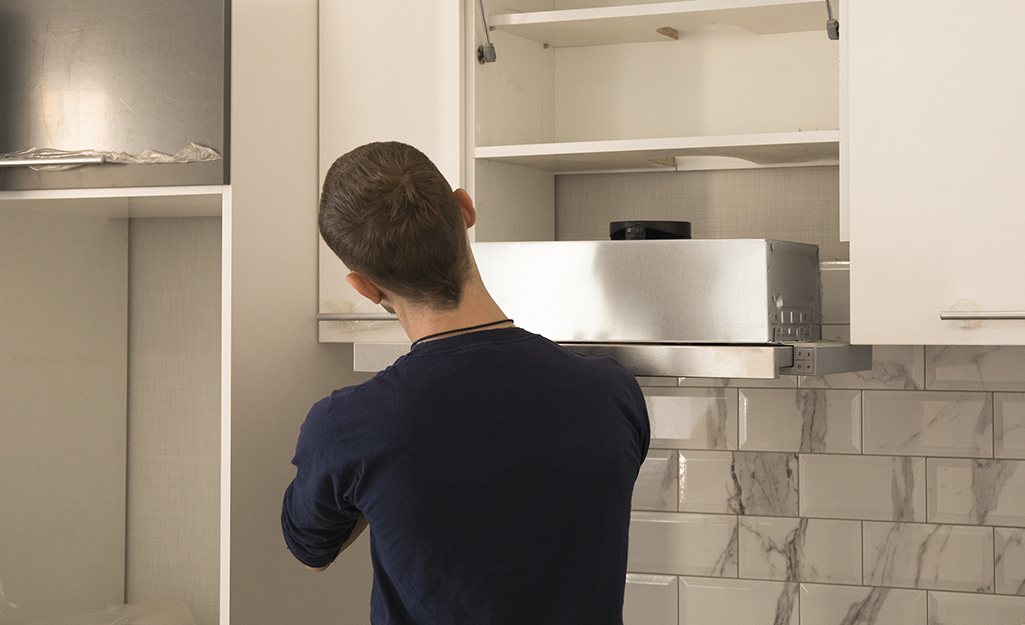
Photo:Homedepot.com
STEP 7: Run wires to the range hood.
If you remove an erstwhile kitchen stove hood , then the power should already be turn over off , but if it is n’t , then point to the circuit breaker box and flip the switch for the range bonnet to secure that the power is off to the electrical lines .
The wires for an existing range exhaust hood can be used to deploy the Modern range hood by but connecting them agree to the manufacturer ’s directions . For new range hood installations , run away a cable from a nearby receptacle or junction boxful to the range cowling . Use a wire stripper to peel the sheathing from the conducting wire and connect the wires to the mountain chain hood .
With telegram connector , join the white wire to the blanched fixture lead , the black wire to the black fixedness lead , and the greenish grounding conducting wire to the greenish Pb . While this is the most common configuration , verify to affirm the correct wiring contour for your specific chain of mountains bonnet by fit the manufacturer ’s directions .
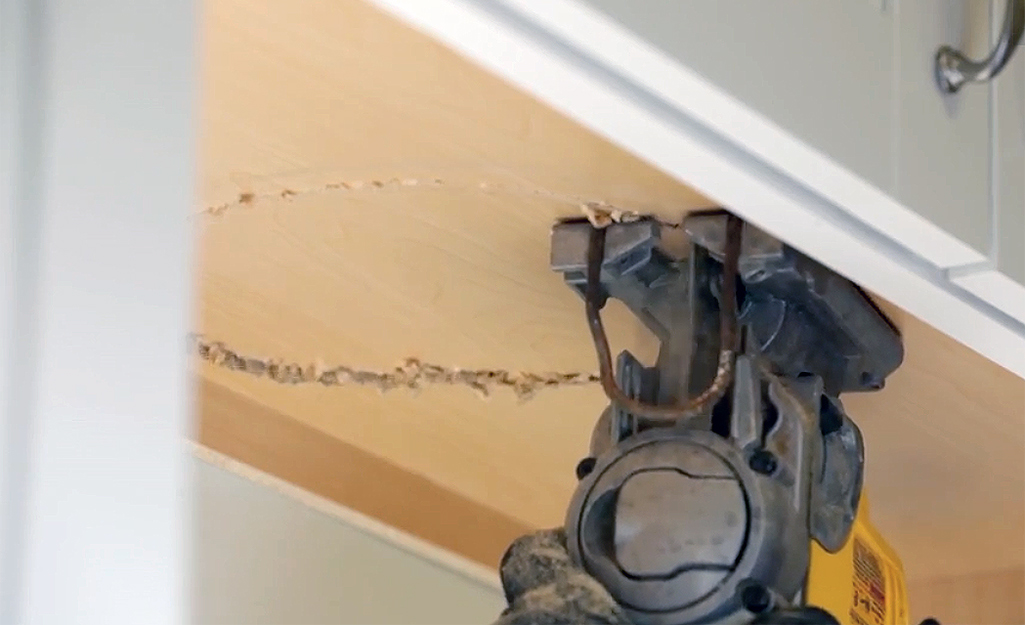
Photo: istockphoto.com
STEP 8: Turn on the power and test the range hood.
verify the wire go well inside the paries without couch any tune on the electric connection , then replace the electric cover on the reach cap . Attach the filter and grease guard to the image goon , then turn on the power at the surf gore . screen the light source first , then test the buff , and check the channel outside to ensure the strain is being properly vent to the open air .
Range Hood Installation Cost
When you are prove to settle whether to instal the range hood yourself or to lease a professional installer to make out the work , one of the most of import broker is monetary value . The mediocre cost to install a kitchen stove hoodlum , consort toHomeAdvisor , is between $ 400 to $ 1,500 , with an average of about $ 750 .
This includes the cost of the cooking stove cowl , which typically falls between $ 200 to $ 1,000 , depending on the good example , and the hourly rate for the installer . Most professional installers have an hourly rate of about $ 50 to $ 100 , so if you take on the installation yourself , you will be capable to save about $ 50 to $ 100 per hour .
However , the cost for a professional installation may be worth it . Keep in intellect that cultivate , experienced professionals will probably be able to complete the work within a poor timeline and with a higher timber finish than the average DIYer . specially if you are working with a ducted range hood arrangement , which requires the installer to route ductwork and cut through Freemasonry for right ventilation .
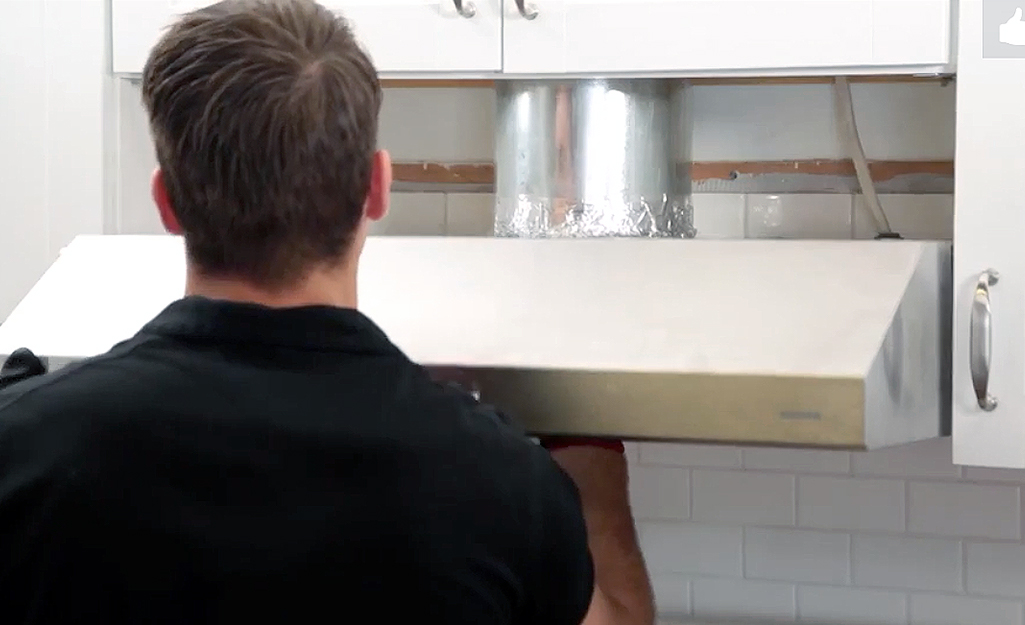
Photo:Homedepot.com
Maintaining Your Range Hood
Once you ’ve installed your range hood , keep your investment fully functioning for its expected lifespan by yield it regular attention and using degreasing dry cleaners . Because range hood lover draw up grease and steam , prevent a sticky buildup from spring by spray the underside of the hood with kitchen cleaner and wiping it down as frequently as you would any other aerofoil in your cookery place .
If you cook a lot , it ’s a just idea to wash the exhaust fan filter at least once a month . Otherwise , its hole may become so clogged with grease that it will no longer work effectively . Simply slide or bulge out out the stainless blade filter , identify it in the cesspit , and scrub it using hot water , baking washing soda , and a degreasing dish antenna soap . Some filter ( contain the manufacturer ’s book of instructions ) can be put directly into the dishwasher for even easier cleaning .
Final Thoughts
Deciding to install a image hood in your home is a swell selection that can avail keep the kitchen melody clean , while also filtering grease from the aura before it can settle on your parry , cupboards , or table . Experienced DIYers can install ductless chain hoods on their own to save on the hourly cost of a professional installer . However , this is n’t a good idea if you need to install a unexampled ducted kitchen range hood system .
Keep in mind that learn how to install a range hood does n’t needs entail that you have the experience and technical training to in good order install a serial publication of interconnected vents to the exterior of the habitation without damaging the Freemasonry or make potential ingress for unwanted pesterer . look at the contingent and steps of this project cautiously before deciding to take it on or hire a pro to finish the job .
FAQs
array hood induction can be a complicated project for a DIYer to handle if they do n’t have experience working with these appliances , so it ’s important to get wind as much as potential before prove to undertake range hood instalment . Consider these commonly ask questions about how to establish a reach hood .
Q.What is a range hood?
Range hood are receive in most kitchens . They are installed above the kitchen range and utilise a fan to suck rut , steam , food olfactory sensation , and airborne grease up and away from the range or stove . Ductless ambit hoods filter the air through a charcoal filter to aid remove odors and grime before the air is free back into the home . you’re able to also learn how to install range exhaust hood ventilating system ducts for a ducted chain hood system that vents the air alfresco . However , vent installation can be pricy and may not be necessary if you favor a ductless model .
Q.Do you need a vent hood for an electric stove?
While you do n’t have to have a vent hood for an electric kitchen range , it is recommended , even if you only cook one or two times a calendar week . However , the range hood for an electric range does n’t need to be as powerful as a hood for a gas stove .
Q.How high should a range hood be?
The height from the stovetop to the bottom of the reach hood differs depending on the Cartesian product , so there is n’t a stock range hood height that all model should follow . Some Cartesian product are plan for installation at just 20 inches , while other products should be instal at 36 inches . The best way to key out the idealistic elevation for your range hood is to refer to the maker ’s instalment instruction manual for the specific manakin .
This Is the Year for a Kitchen Renovation
Whether you ’re selling or staying , everyone can get something out of a kitchen update . Learn why we regard this overhaul the Most Valuable Project of 2025 and how to stay on budget .
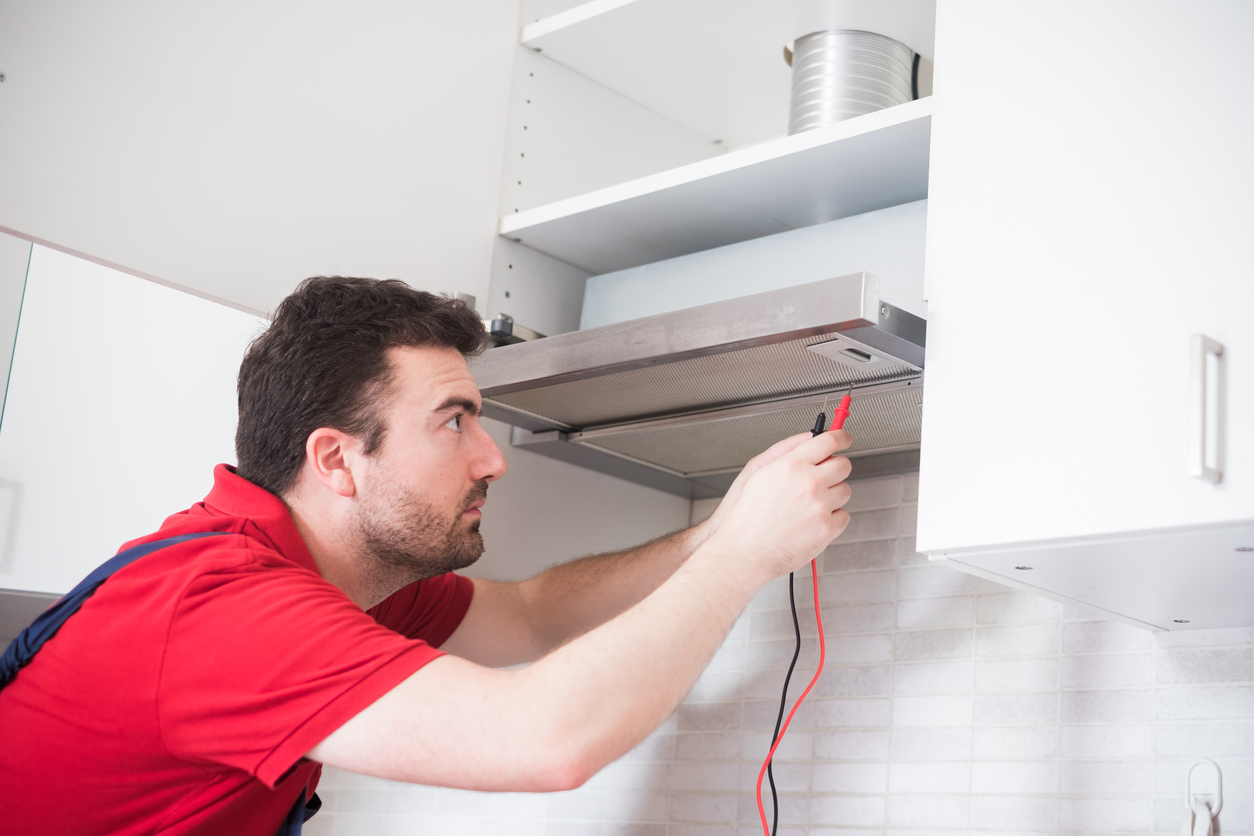
Photo: istockphoto.com

Photo: istockphoto.com
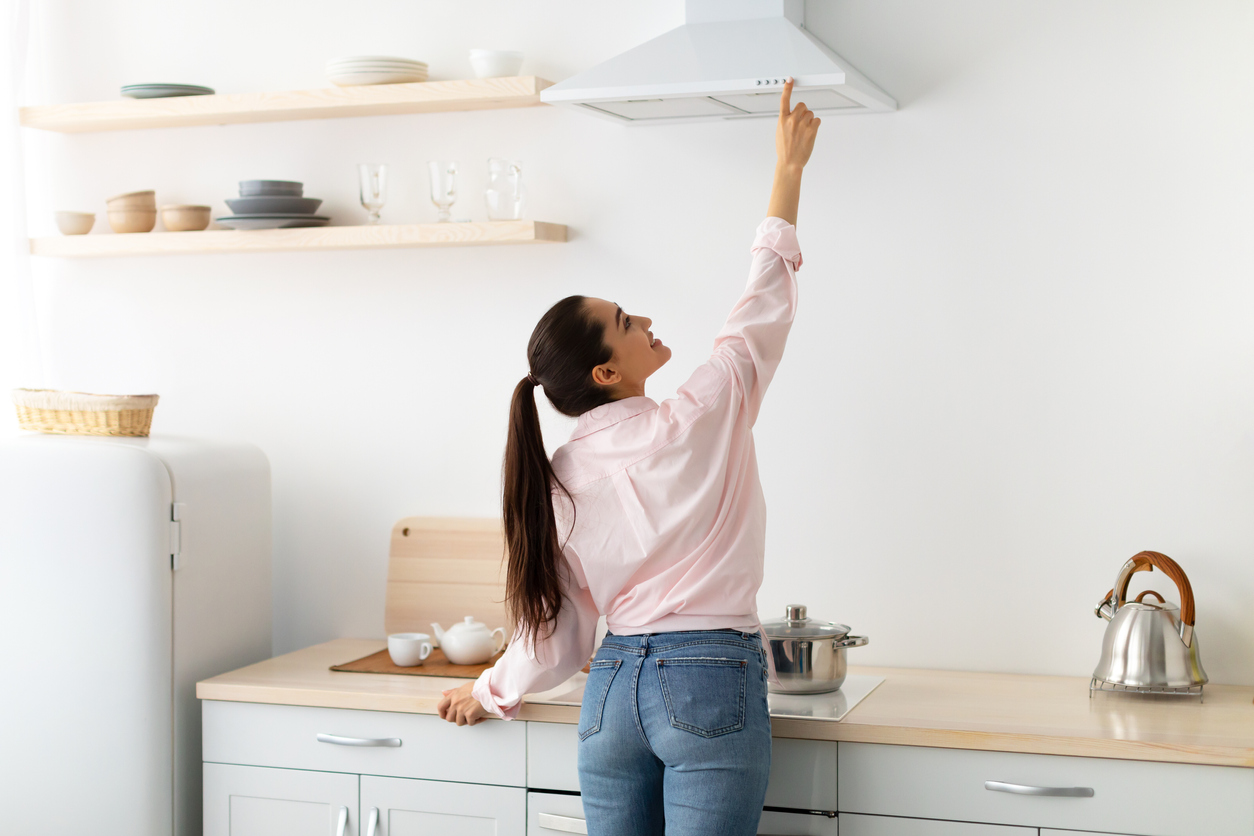
Photo: istockphoto.com

