We may earn revenue from the mathematical product useable on this Sir Frederick Handley Page and enter in affiliate programs . watch More ›
Butcher block is essentially a type of forest mental synthesis that typically consists of square wood strip that have been bonded together to work a heavyset , durable slab of wood . Generally , the type of Mrs. Henry Wood used for a DIY butcher block countertop is hardwood , such as maple , cherry , walnut , or oak . This is because hardwoods have a impenetrable grain practice that is staring for reducing bacteria accumulation , which makes the countertop easier to keep light and safe for intellectual nourishment provision .
If the natural look and finish of a kitchen with butcher occlusion countertops is appealing to you , then this aim could be a great option for your next home overhaul project . However , before commence too excited , it ’s important to learn how to cut butcher block countertop material to thin the risk of making a mistake while put in butcher block countertops . Use this pathfinder to come upon how to install butcher block countertops , including cutting , spotting , waterproofing , and joining butcher block countertops together .

Photo: istockphoto.com
Tools & Materials
Bobvila.com may clear a committal from purchase made through these links .
Project Overview
Working Time : 8 hoursTotal clock time : 2 daysSkill Level : IntermediateEstimated Cost : $ 20 to $ 70 per straight infantry
Before You Begin
There are a few factors to consider before learning how to set up bumbler block countertops . The first is an honest assessment of your DIY accomplishment spirit level . This is n’t an easy project , so it should not be undertake by an inexperient DIYer , specially if they do not have any skills or hands - on experience with woodworking . Instead , consider charter aprofessional countertop installerto get a clean , finished butcher cylinder block countertop installation .
Even have DIYers that have it away how to terminate a butcher block countertop may not have all the tools required for this job . buy those tools for a one - off projection can quick drive up the price , so it ’s recommended to weigh the drawbacks and benefits of hiring a professional person versus a DIY installation . While comparing thepros and hustle , also factor in the time it will take to fill out , which is about 2 days , on average .
For those that have the skills , tools , and meter , this is a great DIY project that can be completed during a quiet weekend . Just verify to unpackage the butcher city block countertop material and let it acclimate to the room where it will be install for about 48 hours prior to facility . This process lets the woodwind instrument stabilize in the unexampled environment , so that there is minimal bm , expansion , or shifting after the countertop is instal .
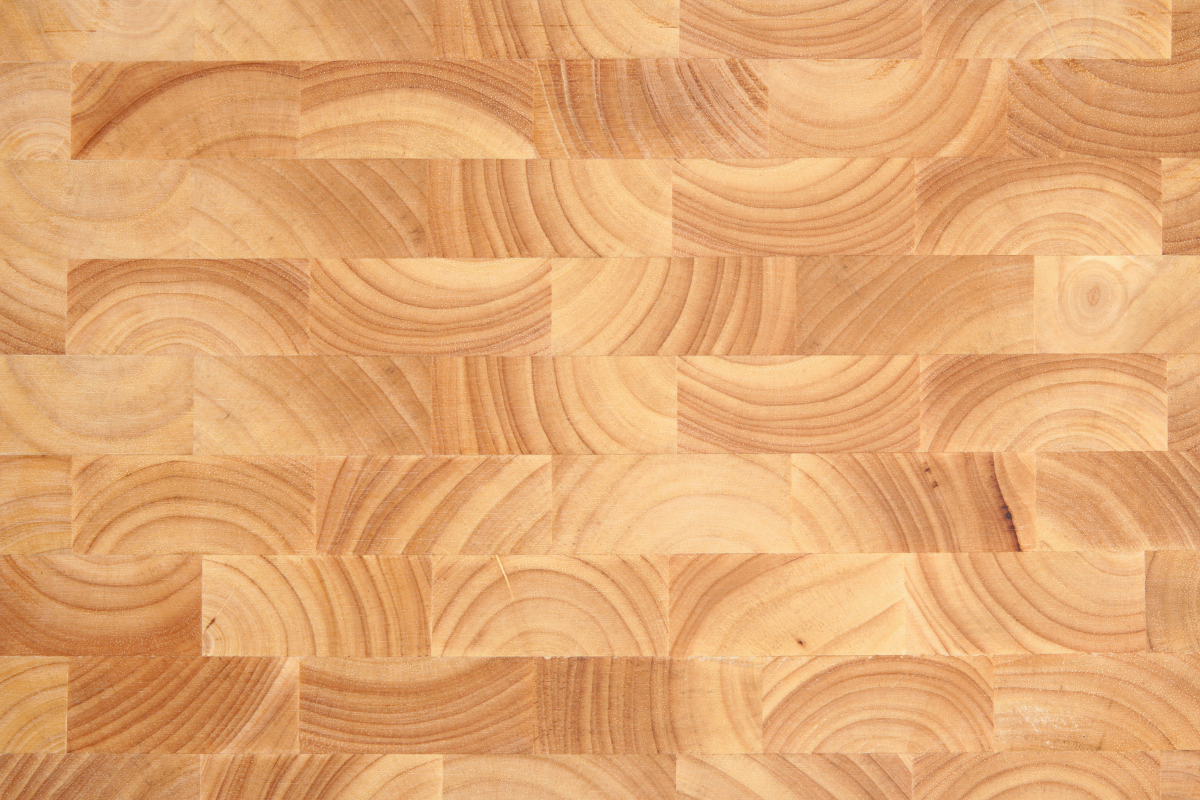
Photo: istockphoto.com
STEP 1: Remove the sink and old countertops.
In edict to get exact measurements of the existing counter infinite , it ’s necessary to remove the previous countertops and the kitchen cesspit . The order in which these element require to be removed depends on the type of sink installation . If the cesspit is install under the countertop , then you will require to remove the countertop first , but if the sink is installed on top of the heel counter , then the sink will have to be disconnected and lifted out before the old retort can be require off .
commence by turning the piss off to the sink using the hot and cold closing off valve . Open thefaucetto unfreeze any trapped water before go forward . lie down a dip cloth and determine a pail under the sink . Use a set of epithelial duct lock pliers to untie the spicy and cold piss lines , then loosen the net on the drain bloodline to disconnect the sink from the plumbery system .
suss out for any wall bracket , clips , or screws that may be prevail the cesspool ; then remove them . pilfer the sink out and set it apart . point back under the counter to find the fastener that are presently securing the erstwhile countertop . Typically , the countertop will be held on with screws or brackets . take away the fasteners and lift the old countertop off the base storage locker .
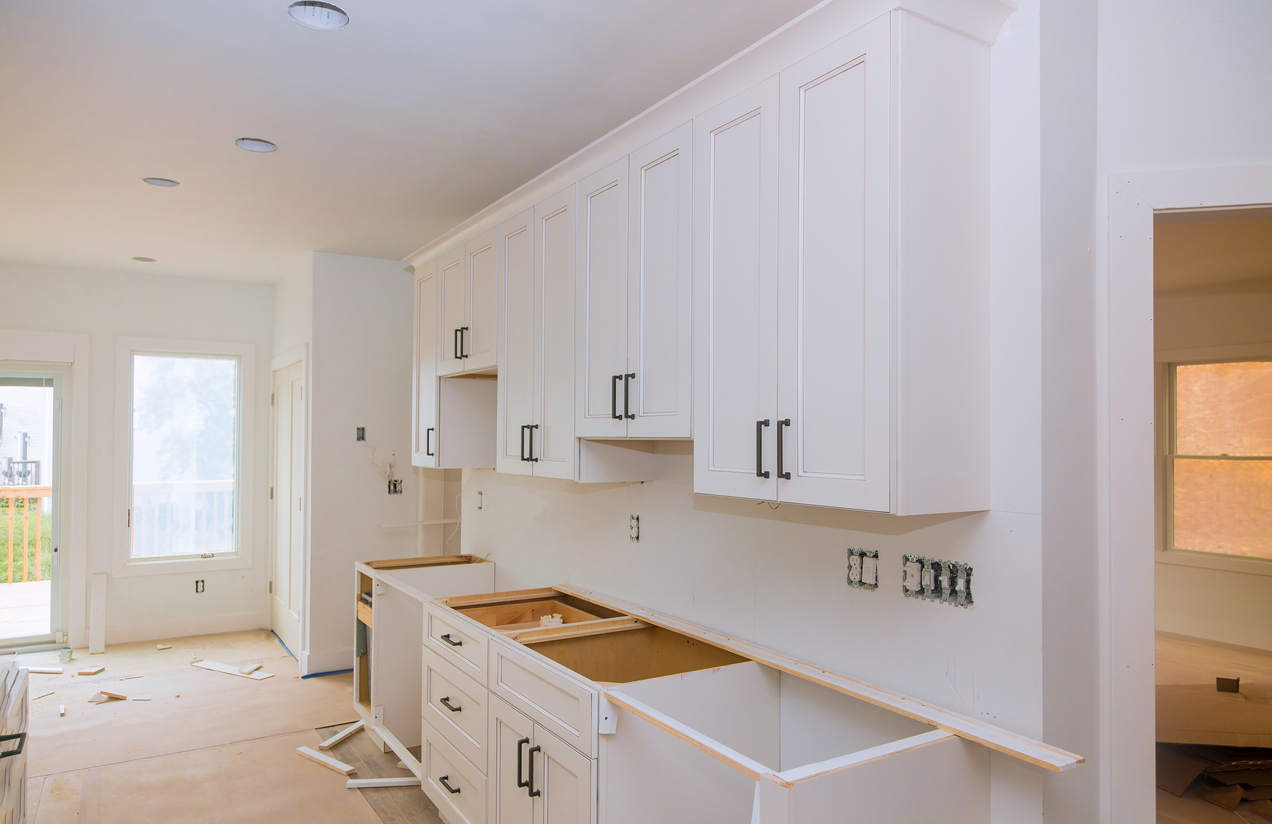
Photo: istockphoto.com
If the countertop is attached with adhesive or a sealant , use a pry bar to break through the bond , then remove the old countertop . you could also absent the door and underdrawers from the radical cabinets to make it easier to get at the interior of the cabinets while you go , though this is n’t a necessary step .
STEP 2: Measure and create a template.
Template existence is one of the most important steps . Without accurate measurements and an equally exact template , the bungler block sideboard may end up too big , too small , or but uneven , with gaps along the back or in the corners . With this in psyche , take it slow and make certain to check your measurements several meter .
Use a measuring tape to take canonic measuring of the distance , width , and astuteness . Keep in creative thinker that most countertop have a slender 1- to 2 - inch overhang that will need to be accounted for in the measurements . you could have a larger overhang if you desire a space to root for up a few chairs or potty , but this is n’t necessary .
If there is a short , straight tally of cabinets , then you may in all likelihood install a undivided length of countertop , but if there is one or more corners , then you will call for to foreshorten multiple pieces and join the seams together . This is usually done by cutting both pieces at 45 level angles , then joining the pieces .

Photo: istockphoto.com
utilise the measurements and plywood project panels to make a guide for the butcher block countertop . dwell the plyboard labor panels on top of the existing countertop or the kitchen base cabinets to form the perimeter of the countertop . Connect the project panels together with hot gum and tick off any region that require to be cut out , such as the sink and faucet holes .
Ideally , the templet will be the precise sizing and configuration that you want for the butcher block countertop . Do n’t bucket along this part of the job . Check the template several meter to ascertain that it is correct before move on .
STEP 3: Cut and join the butcher block countertops.
There is usually a top and a bottom with butcher block countertops . The bottom lean to have knots and noticeable wood makeweight , while the top is clean and presentable . Make certain to determine which side is which before start . Once you are sure about the top and bottom , use cougar ’s tape to temporarily stop up the guide on top of the butcher block fabric , then decipher it with a pencil .
off the template and set up the butcher block on a workbench , sawhorses , or some other type of support that wo n’t intervene with the cold shoulder . Use a tabular array determine or acircular interpret with a trail systemto make any straight cuts in the butcher cylinder block countertop . If the rejoinder is just a unbowed foot race , then you should only need to sheer the length and width , but if there are corners , then you will call for to cut angled composition that can be link up together to dispatch each corner .
For this project to go smoothly , it ’s authoritative to know how to join butcher engine block countertop in a corner if the kitchen comeback layout is n’t just a uncoiled run . There are a few different ways to join two pieces of butcher block , admit cooky reefer , mitre bolts , and pocket hollow .
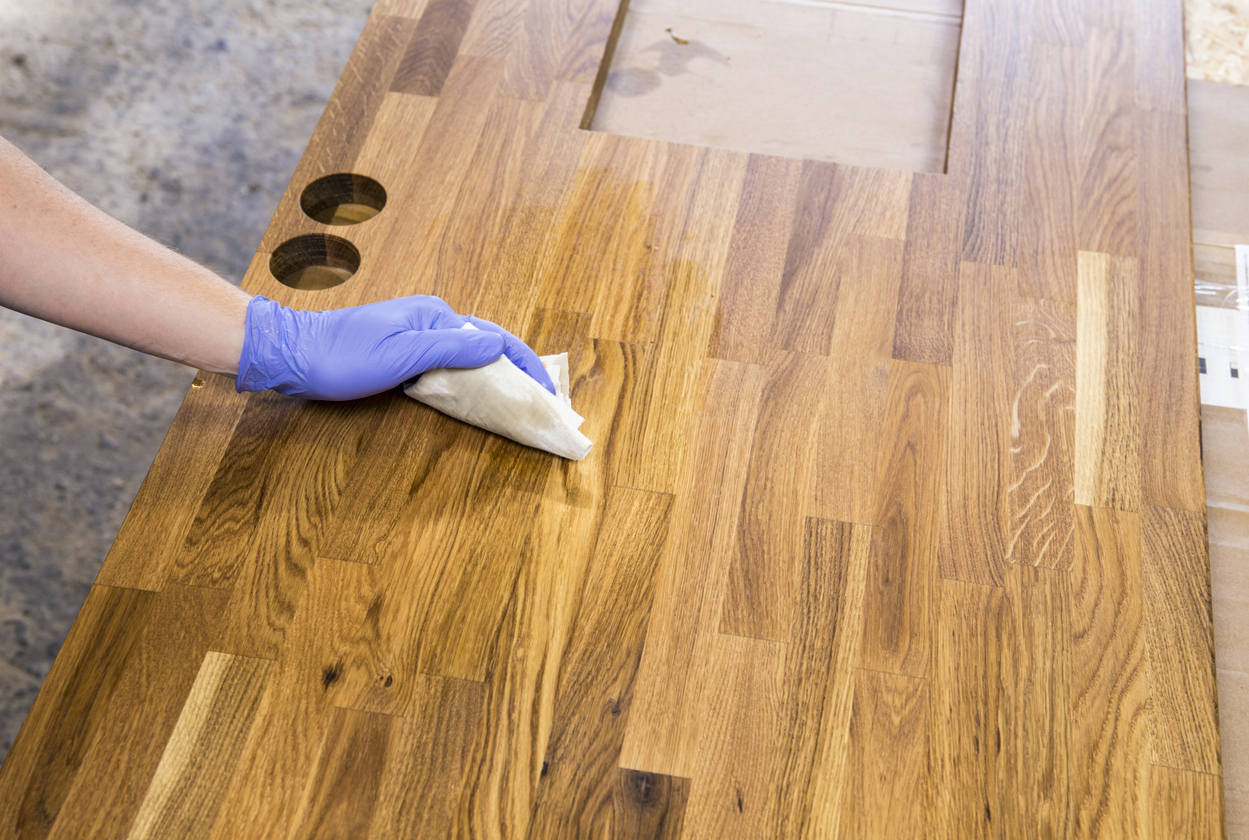
Photo: istockphoto.com
STEP 4: Create a sink cutout.
The next step in the process is to create a cesspit cutout . begin by putting the template over the countertop to duplicate check the size , shape , and position of the sinkhole hole , as well as any additional cutout hole . Once you are quenched , remove the template and set it by .
habituate a drill to make starter holes at each corner of the sink cutout , then expend a rotary saw to cut the bound . land up the undercut with a jigsaw , if required . For other cutout , such as the faucet hole , use a drill equipped with ahole saw attachmentto make sportsmanlike , circular holes .
STEP 5: Sand and apply a finish.
stumbler block countertops are made of Natalie Wood , so they need to be treated to keep the material in effective condition . stain butcher cube countertops is one option , though dirt is not generally consideredsafe for food for thought preparationareas . Sealing fuckup block countertop with afood - dependable mineral oilis a good choice , but before getting to the finish , you need to sand down the wood .
Use an orbital sander to polish out the surface of the butcher block countertop . check that to stave off round out out any edge that will be join together , as this could create a noticeable divot or interruption between the two pieces of butcher pulley . you’re able to also utilize 120 - grit emery paper for a manual feeler to train the countertop .
The ground for staining or seal the countertop before establish them is to assure that there are n’t any vulnerable gaps in the coating . This is easy to do with an individual objet d’art of Natalie Wood than it is when the wood is securely attached to a counter . Use a blusher brush or clean cotton rags to scratch the butcher block countertop sealer into the woodwind . Make trusted to apply oil around the interior and bottom of any sump cutouts to prevent water from soaking into the wood .
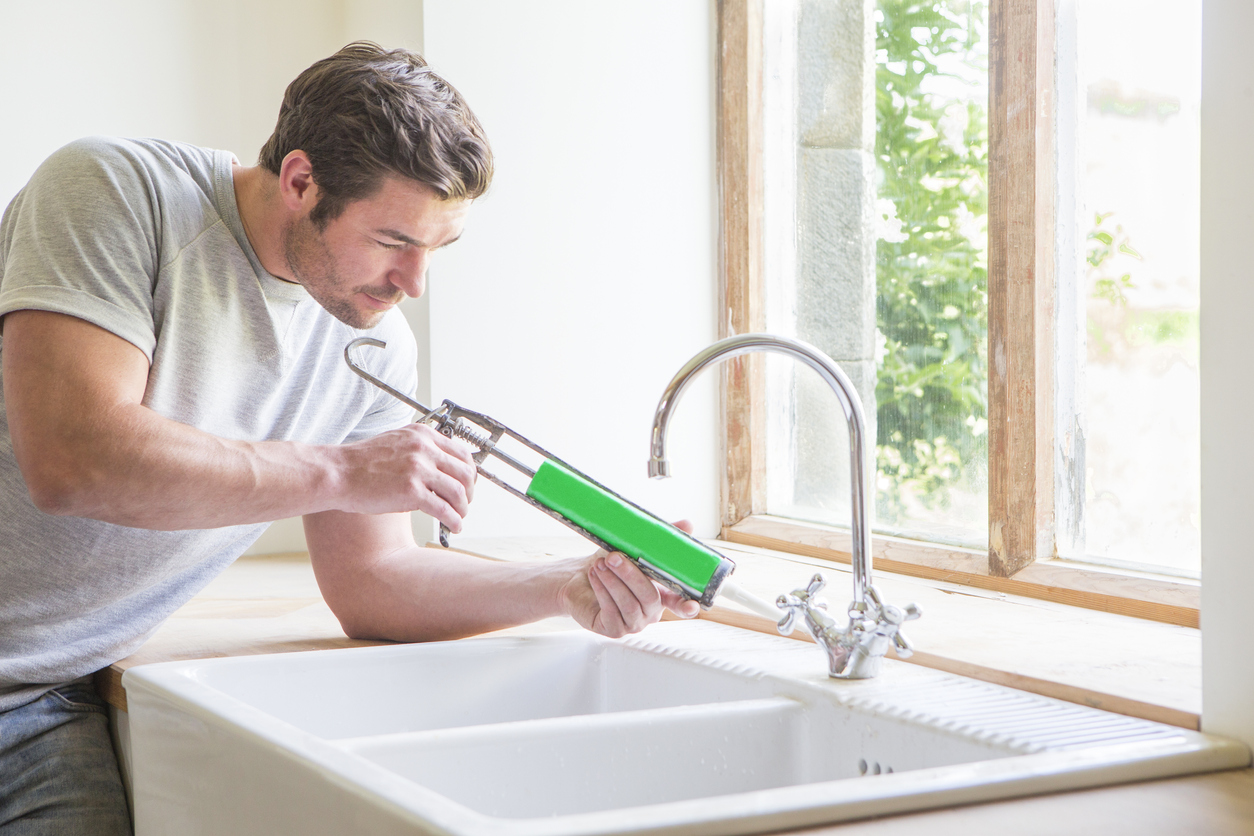
Photo: istockphoto.com
STEP 6: Install the butcher block countertop.
It ’s best to set up bungler block countertops using screws . Somecountertop materialscan be installed with adhesive , but glue can constrain Sir Henry Joseph Wood countertop too much , prevent the fabric from by nature shrinking or expand with the ambient temperature . With this in mind , you will need to drill pilot holes through the locker braces .
The braces are the thin pieces of forest that stretch from the front to the back of the console . Slide under the cabinet , then apply a drill to make pilot holes through the corner pair . For # 8 screws , you require to use an ⅛-inch Mandrillus leucophaeus bit , while a 9/64 - inch drill bit is good for # 10 nooky .
direct the butcher block countertop onto the cabinet base and restrain it in spot temporarily with a set of woods clamps . Drill up through the pre - drilled holes in the braces and into the countertop . The drill bit should go about half - fashion through the countertop . It ’s a adept idea to roll a part of cougar ’s tape around the drill bit to act as a stop and to prevent you from drill through the countertop .
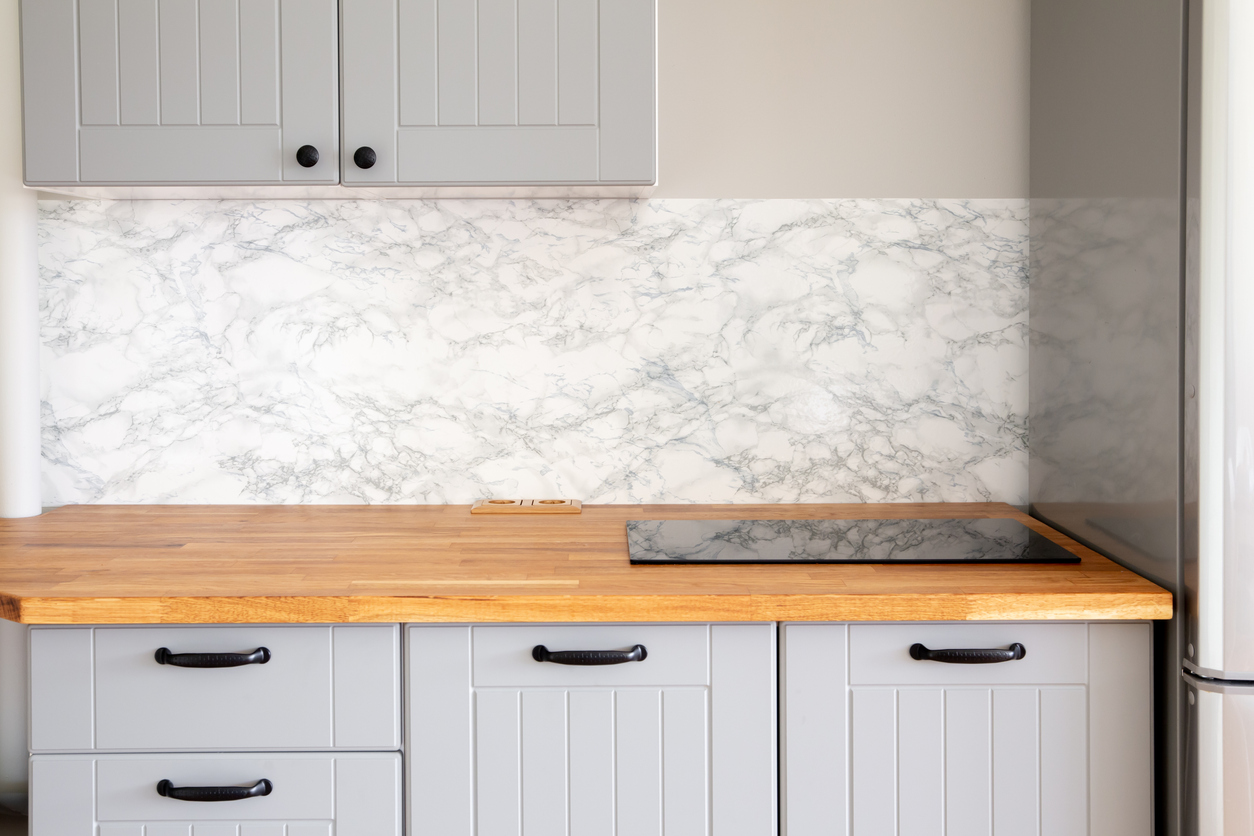
Photo: istockphoto.com
Use a level to train that the countertop is stratum from leave to right and front to back . Insert shims between the corner yoke and the countertop as needed . Once the countertop is flat , insert jailor through the braces into the bottom of the countertop . Periodically check to ensure the countertop is still level while installing screws .
If the countertop has an overhang of more than 8 column inch vertical to the caryopsis , then you should instal brackets every 24 inches . likewise , if the countertop overhang is more than 12 in in the focussing of the texture , it will need angle bracket every 24 inch . This should keep the countertop from sagging .
STEP 7: Reinstall the sink.
The sealer should be given about 48 hours to right cure before establish the cesspool . Once the sealant has cure , you may lower the sump into the sink cutout . If it is the same cesspit , then everything should already be decently align . only reconnect the drain line , then slide the faucet into position and reconnect the hot and insensate water lines .
you could use a caulking gun and rainproof silicone caulking to varnish the gap between the sinkhole and the butcher closure countertop , though this is n’t purely necessary as long as the sad sack block was properly plow and sealed . After reinstalling the plumbing , ferment the body of water back on and check for any outflow . If there are n’t any issues , then the last part of the task is cleaning up .
Final Thoughts
instal a butcher block countertop can be a great way to update the appearance of the kitchen . fumbler cylinder block slab price lessthan many other countertop choice , and the wood surface is excellent for food preparation , though it can get expunge , dinged , or otherwise damage . When this come , only sandpaper out the mar and seal the Ellen Price Wood with mineral vegetable oil to get disembarrass of unsightly sign , dings , and abrasions . However , it ’s significant to notice that this labor is not desirable for all DIYers . It ’s only recommended for those with woodworking skill and hands - on experience . Otherwise , this overhaul should be undertaken by a trained professional carpenter .
This Is the class for a Kitchen Renovation
Whether you ’re sell or staying , everyone can get something out of a kitchen update . Learn why we consider this renovation the Most Valuable Project of 2025 and how to stay on budget .

