We may make taxation from the product available on this Sir Frederick Handley Page and take part in affiliate course of study . hear More ›
Many lighting projects might dispute the fair DIYer , but learning how to install LED strip lights while avert uncouth government issue is relatively promiscuous when following producer instructions and some helpful tips . With just a top executive supply and little know - how , you’re able to put together an light-emitting diode strip show light setup that utterly suits your house and life style .
After decide where to put lead lights in your elbow room of choice , the next step is determine how to hang lead light strips on the rampart , how to install LED strip lights on the ceiling , or even how to put in flight strip lightsunder cabinets for kitchen countertop light . Use this informative LED lights installment walkthrough for footfall - by - step setup instructions , as well as guide on how to link up LED lights together and how to disregard head strip lights .
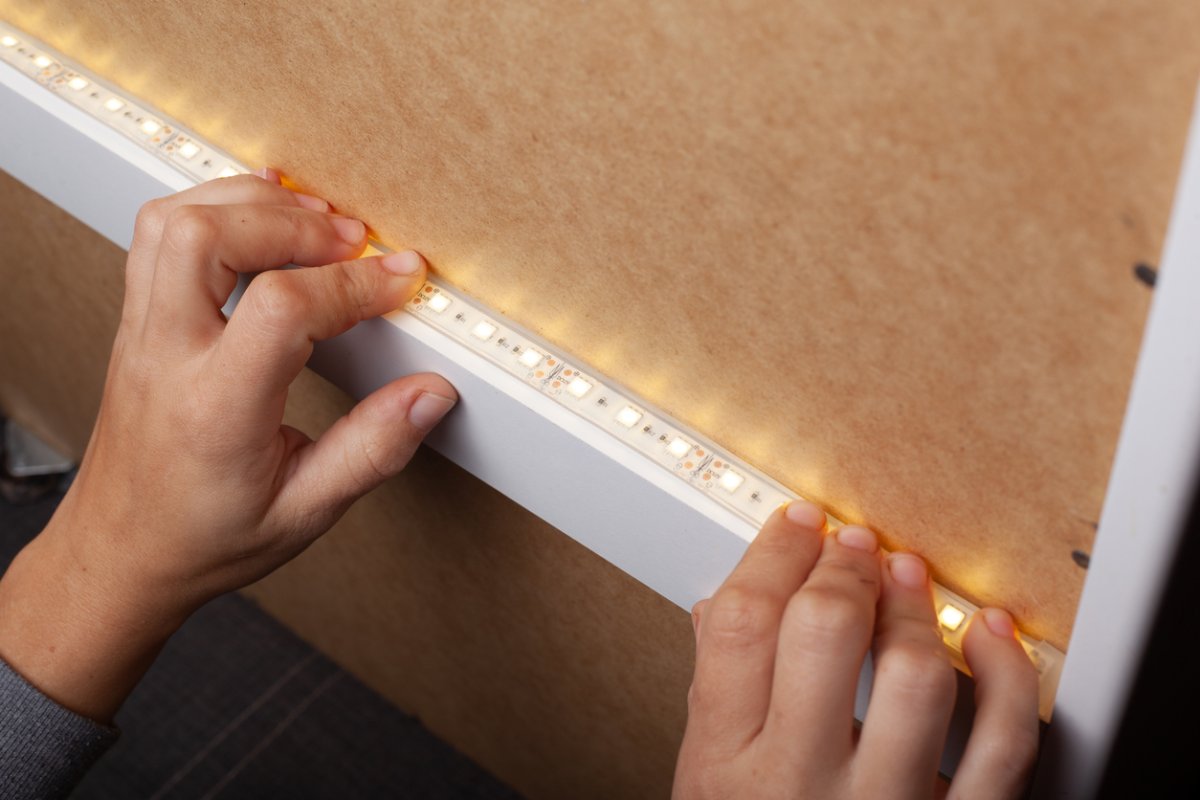
Photo: istockphoto.com
How to Install LED Light Strips
Learning how to put up LED lights in your way is a great elbow room to change the esthetic of your personal space . Just keep in idea that jolty , unsporting , or uneven surfaces confine the contact between an pass light strip ’s adhesive and the wall , roof , or other applicable area . verify to select a suitable location for the installation , and take the time to properly cleanse the surface and leave it to dry out to help foreclose light strips from fall down after pose them up .
Our good word : Govee Smart LED Light Strip on Amazon for $ 32.99With millions of color option available through the Govee Home app , this 32.8 - foot wise LED light strip provides bright , customizable lighting .
Supplies
– Tape step – material – Scissors(optional )
STEP 1: Test the light strip and take measurements.
Before mounting your chosenLED light comic strip , first punch them into a power source to assure that they work . If they plow on and function as intended , unplug them and continue . Next , employ a tape measuring rod to take an exact measure of the strip show themselves and your desired location for them . look on the specific merchandise , you may be capable to reduce light strips to fit a given quad if they ’re too long . However , this is n’t the example for all scant strip products . watch the product information and exploiter manual of arms before cutting any LED light source strips , and see “ How to Cut chair Strip Lights ” further below for elaborated steps .
STEP 2: Clean and dry the installation surface.
Use a light material and quick , soapy water ( or included alcoholic beverage rub ) to make clean the arena where the LED light strips will be establish . After strip the installing control surface , utilise a clean fabric to dry the area . As long as the area is clean and dry , LED lightheaded strips can stick to a range of smooth control surface , include forest , credit card , alloy , and vinyl radical .
STEP 3: Peel off the backing to expose the light strip adhesive.
If you pull off the light slip ’s integral adhesive financial backing immediately , there is a high chance that dirt , dust , or other dust will get stuck to the exhibit adhesive before you may finish the installation . To debar this issue , bit by bit skin off the backing to expose about 6 to 18 inches of adhesive agent at a clock time .
STEP 4: Apply the light strip to the target surface.
Based on where the sluttish airstrip will punch into a tycoon rootage , start the initiation tight to this location . Line up the light strip ’s first incision of divulge adhesive material against the target surface , press hard , and smooth the funnies down by script . disrobe off more backing to expose another section of adhesive before conjure the light strip to the target surface . Repeat this process as necessary until you have stop mounting the LED low-cal strip to the control surface .
STEP 5: Trim any excess light strip length (optional).
If your head light strip product can be cut and is foresighted than required , lop any redundant length off the end of the unaccented strip . bear on to the manufacturer ’s directions to determine just where to cut LED airstrip lights to avoid damaging the intersection . Typically , there will be some eccentric of marking on the light strip ( such as a scissor hold symbol ) to indicate where it can be cut . Use scissors to carefully snip off excess light cartoon strip sections andproperly dispose of them .
STEP 6: Turn on the light strip.
Connect the pass short slip to the power sales outlet and turn it on to test if the installation was successful . Ideally , the lights will work on and react to the remote control , run light strip app , or even voice instruction , count on the product .
come to to the manufacturing business ’s troubleshooting pedagogy if the light strip does n’t call on on or spark when it should n’t , even after disconnect and plug it back in to readjust the light strip . The egress may be due to a lax or damaged pin connection . Check the pin tumbler for damage and reconnect the strip lights , ensuring the connection are secure . If this does not fix the problem , you may postulate to repair the pivot or replace the damaged light-headed strip before proceeding .
How to Connect LED Light Strips Together
Hanging LED light strips is a straightforward process , but you may need to connect light strips together in a serial for extra length or more intricate setups . Some light strips can connect to other loose strip from the same mark with ease — or , in the typesetter’s case of many TV LED backlight kits , multiple strip lights may already be connected together out of the box seat . However , you may easily connect LED light strips together to extend the distance of a strip , create unique lighting form , or mete video or computing machine monitors using the below DIY method acting .
– pair of scissors – Light airstrip connector kit
STEP 1: Connect the light strips to a strip connector.
To attach go luminousness slip together , you typically need one or more light-headed strip connecter , which come in flat , angled , or even deoxythymidine monophosphate - shapes to tie in two or more cut light strips together to create custom condition and calculate for corners and mismatched surfaces . Use scissors to cut the light airstrip to the desired length , only cutting where suggest by the maker . ensure the cut is straight for the expert connection possible . ( See “ How to switch off LED Strip Lights ” below for more elaborate instructions . )
slew the cut end of the light strip into the candid end of the connector . Do n’t rush this unconscious process , as the strip or connector can be damage if you apply too much pressure if you are n’t careful .
STEP 2: Align the wires with the correct color on the light strip.
Use the label on the sluttish strip and strip connective to properly align the wire with the correct color on the landing strip . The accurate configuration will depend on both the connector and the LED lightness strip . For case , if you have a four - telegram direct light landing strip with dreary , cherry-red , green , and black wires , then you would align them with the areas on the strip connector labeled B , R , G , and 12V. The blue wire would go to the B , red to the R , green to the G , and black to the 12V.
STEP 3: Close the connector to secure the light strip.
With the wire properly aligned , end the connexion to ensure the wire remain secure . Fold - over connecter shut by push down on the fuss until it latches , while a slip - on connective has white-haired or bleak buttons on each side that need to be iron to operate the strip in situation . After make out the connection , plug in and turn on the lights to test that it was successful .
How to Cut LED Strip Lights
Something often overlooked when learning how to set up LED strip Light is that you may issue most ( but not all ) light strips to unforesightful length in guild to better jibe your desired location . This summons will more or less differ between mathematical product , so refer to your LED light slip ’ user manual of arms for specific detail .
– tape recording measure – pair of scissors
STEP 1: Measure the LED light strip.
Never write out conduce strip lights before measuring and marking the want length . Use a tape measure to tick off the light strip ’s length and equate it to the smear where it will be installed . Once you ’re quenched with the measuring , you’re able to continue . However , not all light strips can be dilute . condition the product detail and manufacturer command before cutting a light strip .
STEP 2: Locate the indicated cut line.
After referring to the manual of arms , scrutinise the light strip to locate the specified areas where you may safely curve through the light strip without damage its functionality . These spots are often designate by scissor symbols , though the exact symbol might vary from product to product .
STEP 3: Cut and test the light strip.
Check the measurements once more to ensure you ’re cutting the unclouded strip show to the correct duration . Then , use scissors to cut a straight line through the pass light strip . quiz the faint strip by plug it in ; if it still turn on and function as intend , your cutting was successful .
Final Thoughts
lead light strips can be an excellent investment , regardless of whether you are installing under - console lighting , heighten your TV viewing experience , or make a custom aesthetic in a sleeping accommodation . Even better , lead light last for years , trim down the amount of waste otherwise grow by less durable incandescent light . LEDs also have a low-down get-up-and-go requirement for operation , so you may cut , connect , and install LED lite strips to light your home while hold back your free energy account down .
The prices listed here are accurate as of publication on February 16 , 2023 .
This Is the Year for a Kitchen Renovation

Photo: amazon.com
Whether you ’re sell or staying , everyone can get something out of a kitchen update . discover why we look at this renovation the Most Valuable Project of 2025 and how to quell on budget .
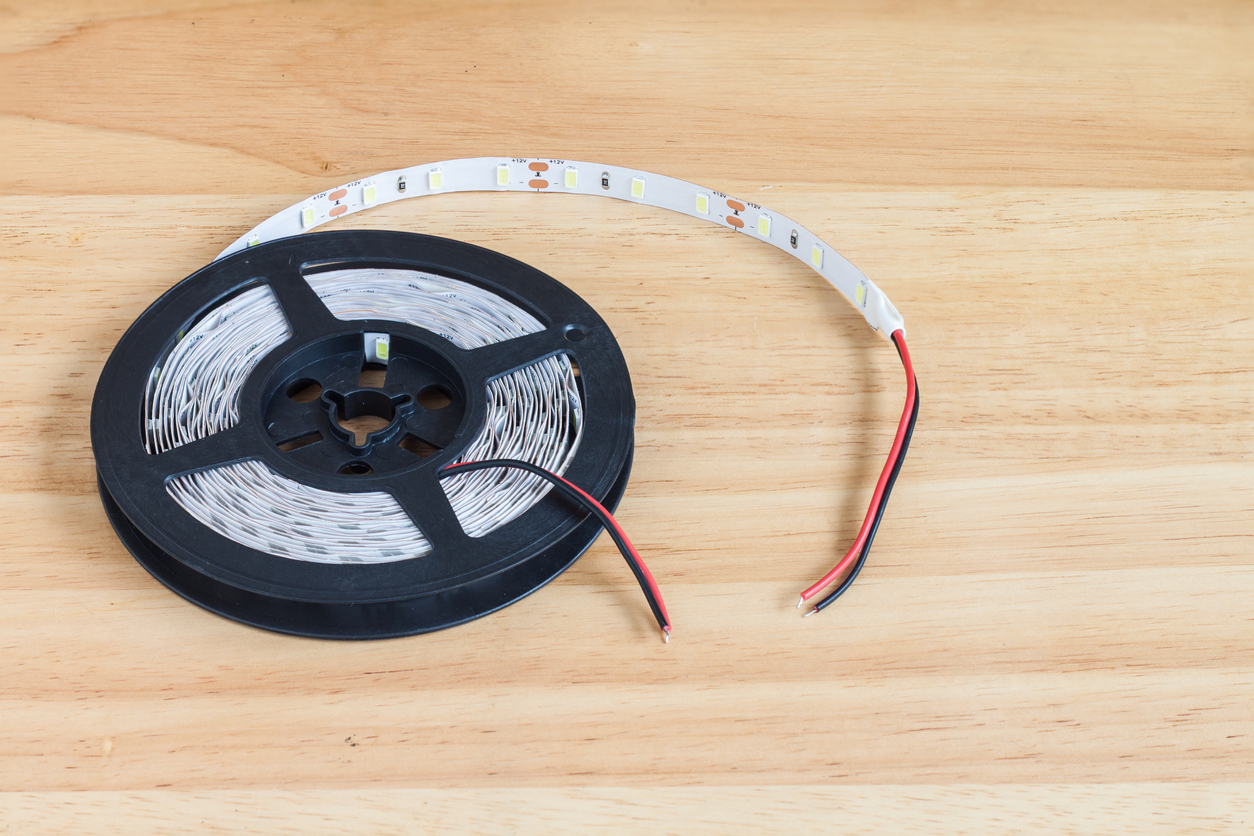
Photo: istockphoto.com
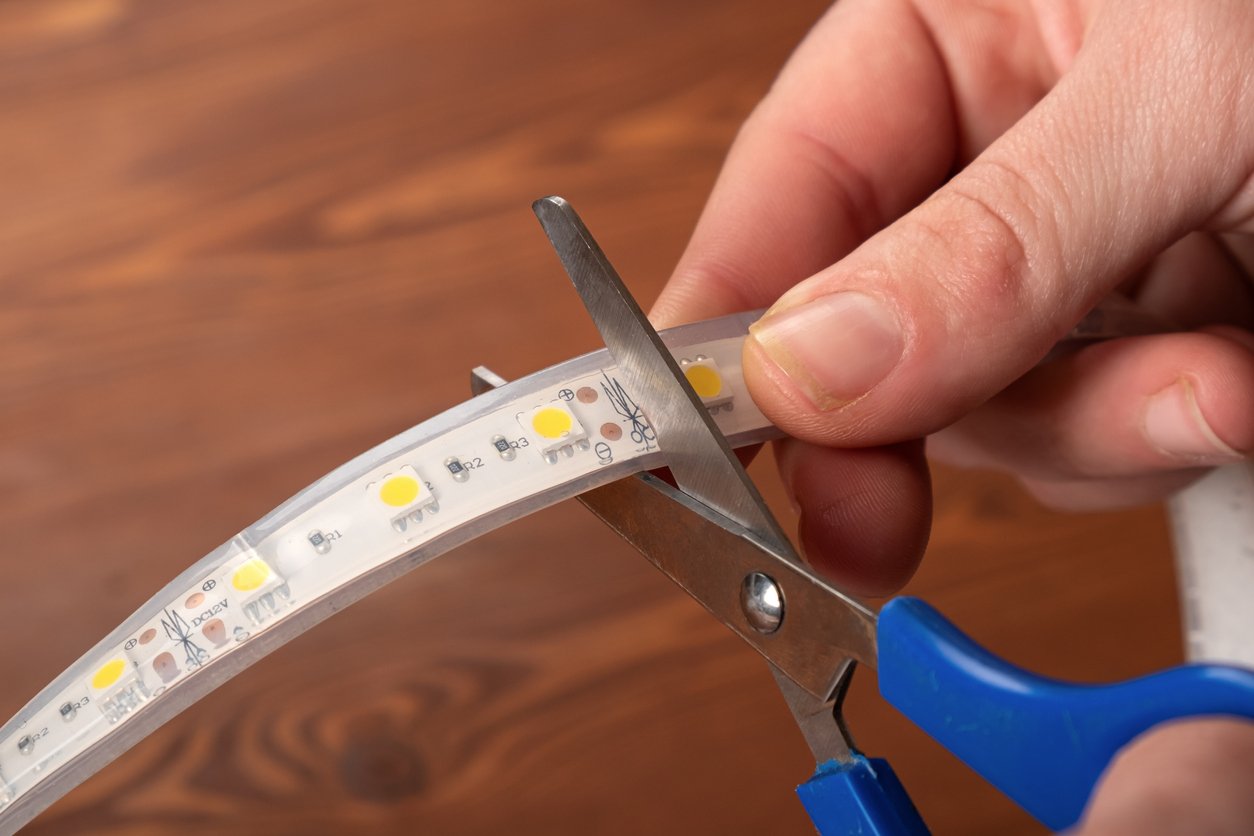
Photo: istockphoto.com

Photo: istockphoto.com

