We may earn revenue from the product available on this Thomas Nelson Page and take part in affiliate program . determine More ›
When the kitchen , bathroom , or another room like the basement needs a bit of a rhytidoplasty , but you do n’t have the time or money to drop on laying a tile floor or wall , study using peel - and - stick roofing tile . Peel - and - spliff roofing tile can be made from vinyl radical , glass , and even alloy ; the roofing tile have anadhesivebacking that sticks to a variety of Earth’s surface , ensuring a quick and efficacious level update orbacksplash installation . Learning how to instal peel - and - stick tile is easy enough for most DIYers — this is n’t the form of projection that will postulate hiring a professional .
A word of circumspection , however : The unassailable adhesive agent on the back of the tile can cause problems if the control surface is n’t decent prepared or if the area is n’t measured and planned out . These issues can let in crack or broken tiles , twisted tiles , and mismatch patterns . in the lead , learn how to obviate these issues how to use Sir Robert Peel - and - stick roofing tile .
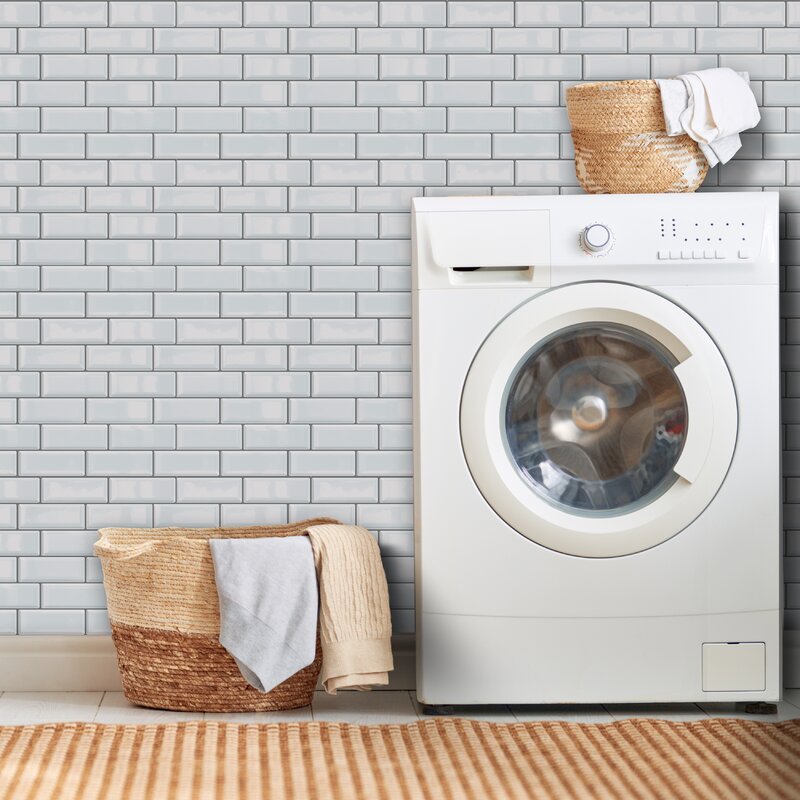
Photo: Wayfair.com
DO prepare the wall surface properly.
Before diving into any tiling undertaking , it ’s imperative that the wall or base is by rights prepared . A sporting level open allows the tile to sting . To cook the surface , sand or scrape away any old adhesive or protuberance that may prevent the new roofing tile from lying completely flat , then pick the bulwark or storey using a degreaser if necessary . Peel - and - stick tiles can be used on painted drywall , existing linoleum , ceramic , concrete , and many other common wall and floor cloth .
However , if the tile is being installedover exist ceramic or marble , the grout seams need to be flush to the top of the tile . Otherwise , the peel - and - stick tile will cling to the indentations , leaving an uneven finish . Tiles that do n’t stick to the indents will put savourless against the wall , but the gap between the tile and the grout bed still live . These gaps can be a breeding ground for mildew and mould and they may also make the tiles to come down off the wall . It ’s a better idea to fill up the grout lines with moregroutbefore installing the new tile to ensure that you are make with a white and fluent surface .
DON’T just start installing from the top of the wall.
Sir Robert Peel - and - reefer tiles are very easy to utilise , but this easiness can often extend to mistakes when users decide to plunge into the project without right measuring the space or creating a layout . Whether you are installingpeel - and - stick backsplashor floor tiles , you need to assess the whole area first . It ’s crucial to calculate the act of tiles that are necessary for the project , and determine whether there will be any half or partial tile needed to satisfy in small gap along any of the sides .
Here ’s how to place peel - and - stick tile decently : When you have the tiles necessary for the projection , put a full rowing of tiles in spatial relation without removing the protective backing . This dewy-eyed step countenance you see how the tiles will lie when they are establish , so you may be after the appropriate layout for the undertaking , visualize how you ’ll deal with obstacles , and learn where half or fond tiles should be placed . It ’s notify to place these partial tiles in out - of - the - way areas , like a corner or the cornerstone of the wall , where the deviance from the pattern is n’t so noticeable .
DO use a sharp knife to make precise cuts.
Most flake off - and - stick roofing tile initiation will require some alterations to the tiles so that they properly fit in the intended area . Whether this is cutting a tile completely in half to tally along the base of a wall or cutting a mountain pass from a quoin to allow the tile to fit tightly up against a cupboard , cesspool , or bathtub it ’s crucial to understand how to trim down peel - and - stick tile before you begin . Our best advice ? Use asharp utility knifeto make the deletion .
Dull tools can damage the tile , leaving unsightly scratch and blunt edge . To ensure the preciseness of the cut , use a sharp utility knife and always rate a protective piece of wood ( or like protective material ) underneath the tile while cutting . This allows the drug user to cut cleanly through the tile without birth to vex about the tongue damage a workbench , counter , or any other control surface .
DON’T peel off all backing paper at once.
The paper on the back of skin - and - joystick tiles is typically referred to as backing paper . While it may seem appropriate to simply remove the patronage and place the roofing tile like you would a poser , it ’s actually a better idea to only skin one-half of the backing paper . The reason for this is that the backing paper has arrow to bespeak the orientation of the roofing tile . For the best results , the tiles should be lay allot to the arrow on the funding paper , ensuring that all tiles are instal in the same preference .
If one roofing tile is facing a unlike direction than the rest of the tile , it will in all likelihood stand out , though there are normal that are completely symmetrical on all side . The support newspaper also helps to protect the adhesive , so it ’s recommend to peel off the backing paper from one sharpness of the tile , then begin to lie the tile in the right place and orientation . As the edge get to contact with the surface , proceed to transfer the newspaper publisher until the entire back is exposed and the tile is laying flat against the Earth’s surface of the wall or base .
DON’T stretch the peel-and-stick tile too much when installing.
After measuring the surface area for the backsplash , wall , or flooring , planning out the precise layout of the tiles , and cut them to the correct size and shape , the job should be relatively straightforward . Just peel and bewilder the tile in the correct place and orientation course harmonize to the plan and the result should look as you intended . However , some DIYers put too much personnel into bending , pressing , and bend the tiles as they install them , which can do the tile to stretch .
When the tiles become stretch out , they take up more infinite than originally intended , creating problems with the installation . The stretched tile is susceptible to breaking and does n’t check with the found pattern , so it needs to be removed before the line can be completed . If you pick out to exit the stretched tile , expect this damaged piece to stand out from the eternal sleep of the project , negatively impacting the esthetic appearance and the calibre of the line of work .
DO keep extra peel-and-stick tile for future repairs.
Tile manufacturers and the companies that stockpile these products regularly update available color palettes , pattern , and tile thicknesses , so there is no guarantee that you will be able to find the same type of tile , even if you return just a few week later . For this reason , it ’s a good approximation to adorn in supernumerary tiles . have about 5 percent more tiles than necessary to complete the project helps to ensure that the color and pattern match the existing tiles in case any pieces are rip off , cracked , chipped , or otherwise broken .
If damage to the subsist roofing tile does occur , use a blow dryer to warm up the adhesive , then gently peel the damage tile off and prepare the open for the instalment of the unexampled roofing tile . In most case , small patches can be completed without need to move or reassemble the surrounding tile . Just make certain that the replacement tile is present the right direction so that the repair blends in seamlessly with the exist pattern .
DO use gentle heat for easier removal.
For best results , replace onetime peel - and - stick tile before put in a new floor , backsplash , or wall to ensure that the surface is uncontaminating and smooth . Newly installed tiles should also be replace if they become loose , break away , or broken , but the strong adhesive on the back of the tile can make removal hard .
To avail prevent harm to the wall or floor behind the tiles , use aheat gunor hairdryer to apply gentle heating to each tile . The heat energy increase the tractability of the tile and loosens the adhesive material , nominate peel - and - stick roofing tile remotion an easier task . A putty tongue can aid to fracture through stubborn adhesive without damaging the surface of the paries or floor , though the remaining adhesive will need to be sand or kowtow from the aerofoil before the Modern tile can be put .
This Is the Year for a Kitchen Renovation
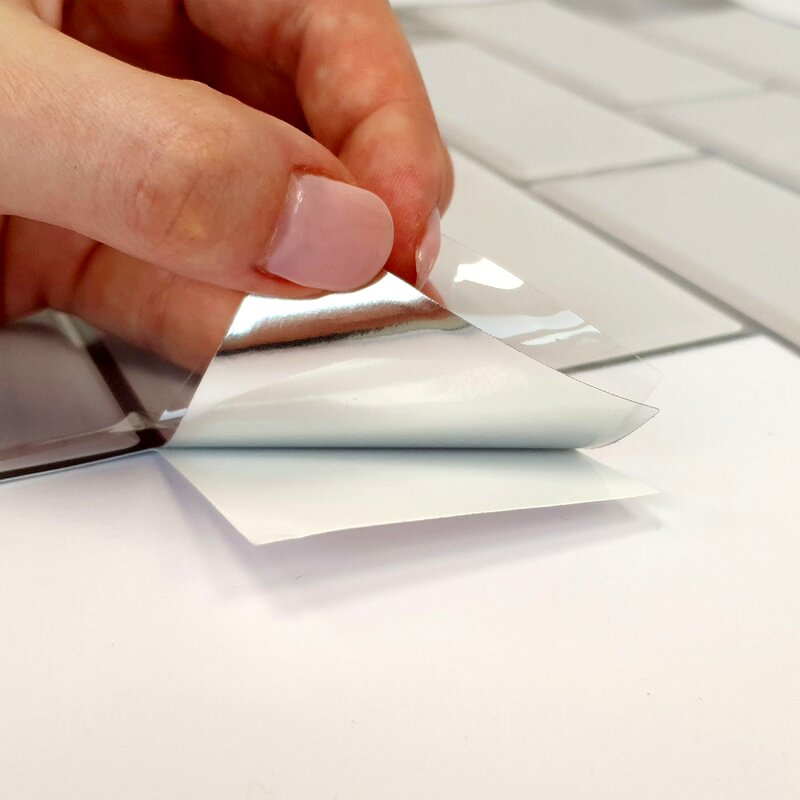
Photo: Wayfair.com
Whether you ’re selling or staying , everyone can get something out of a kitchen update . Learn why we consider this renovation the Most Valuable Project of 2025 and how to stay on budget .
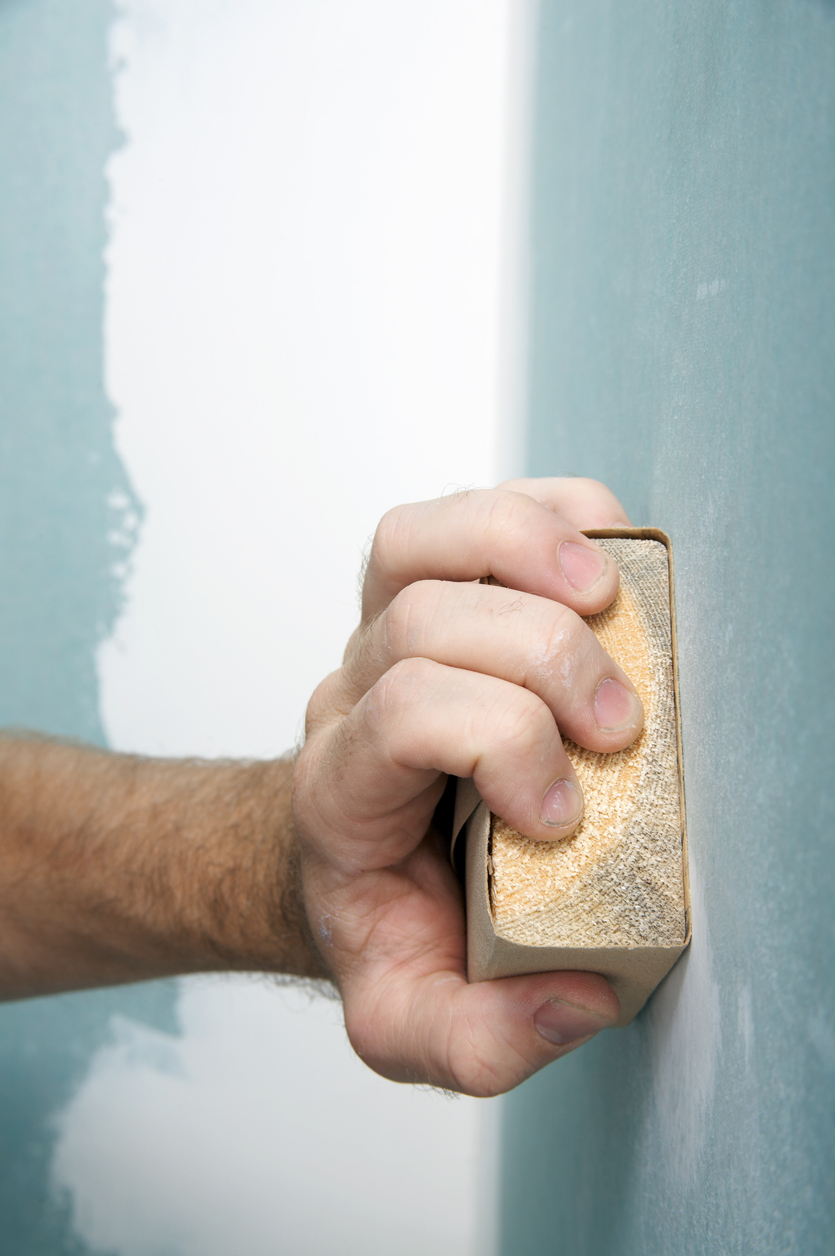
Photo: istockphoto.com
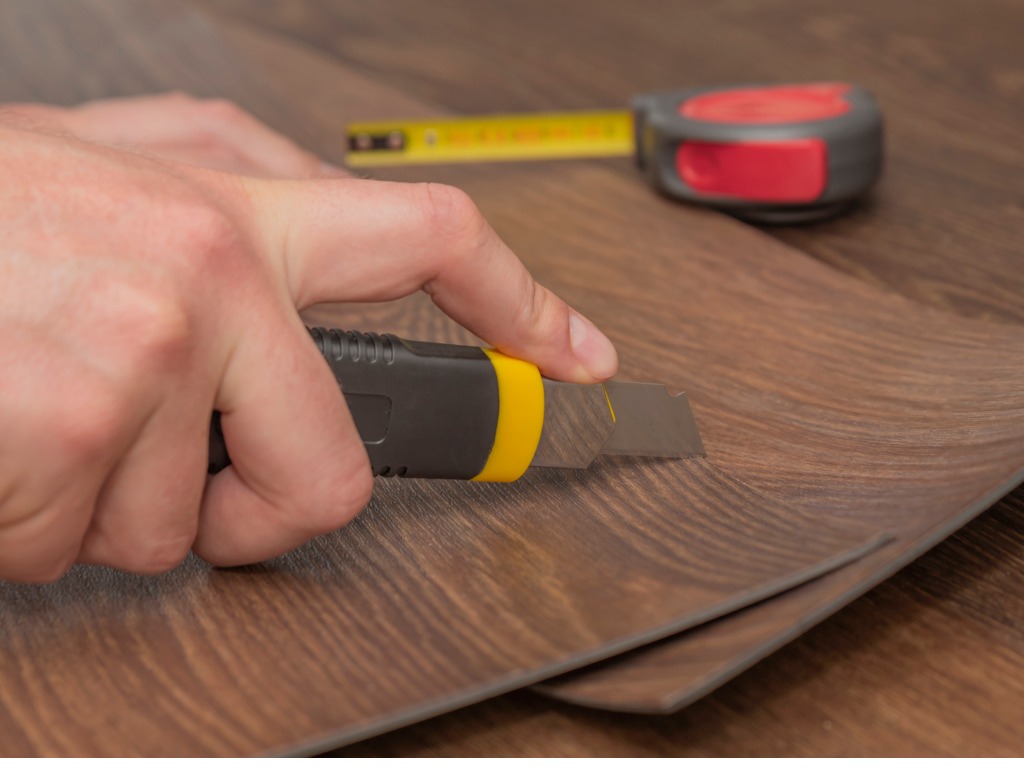
Photo: istockphoto.com
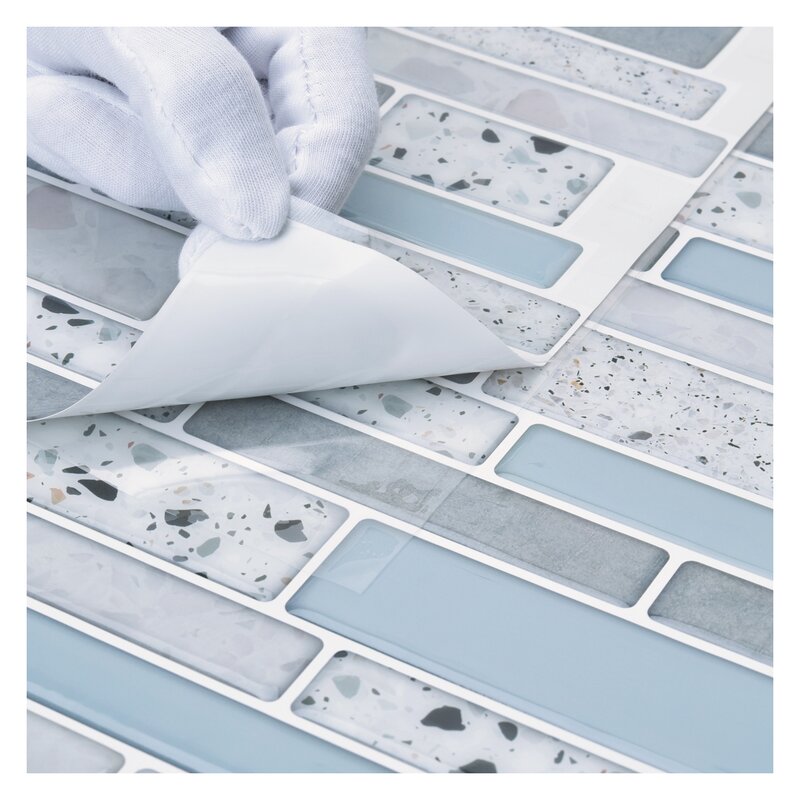
Photo: Wayfair.com
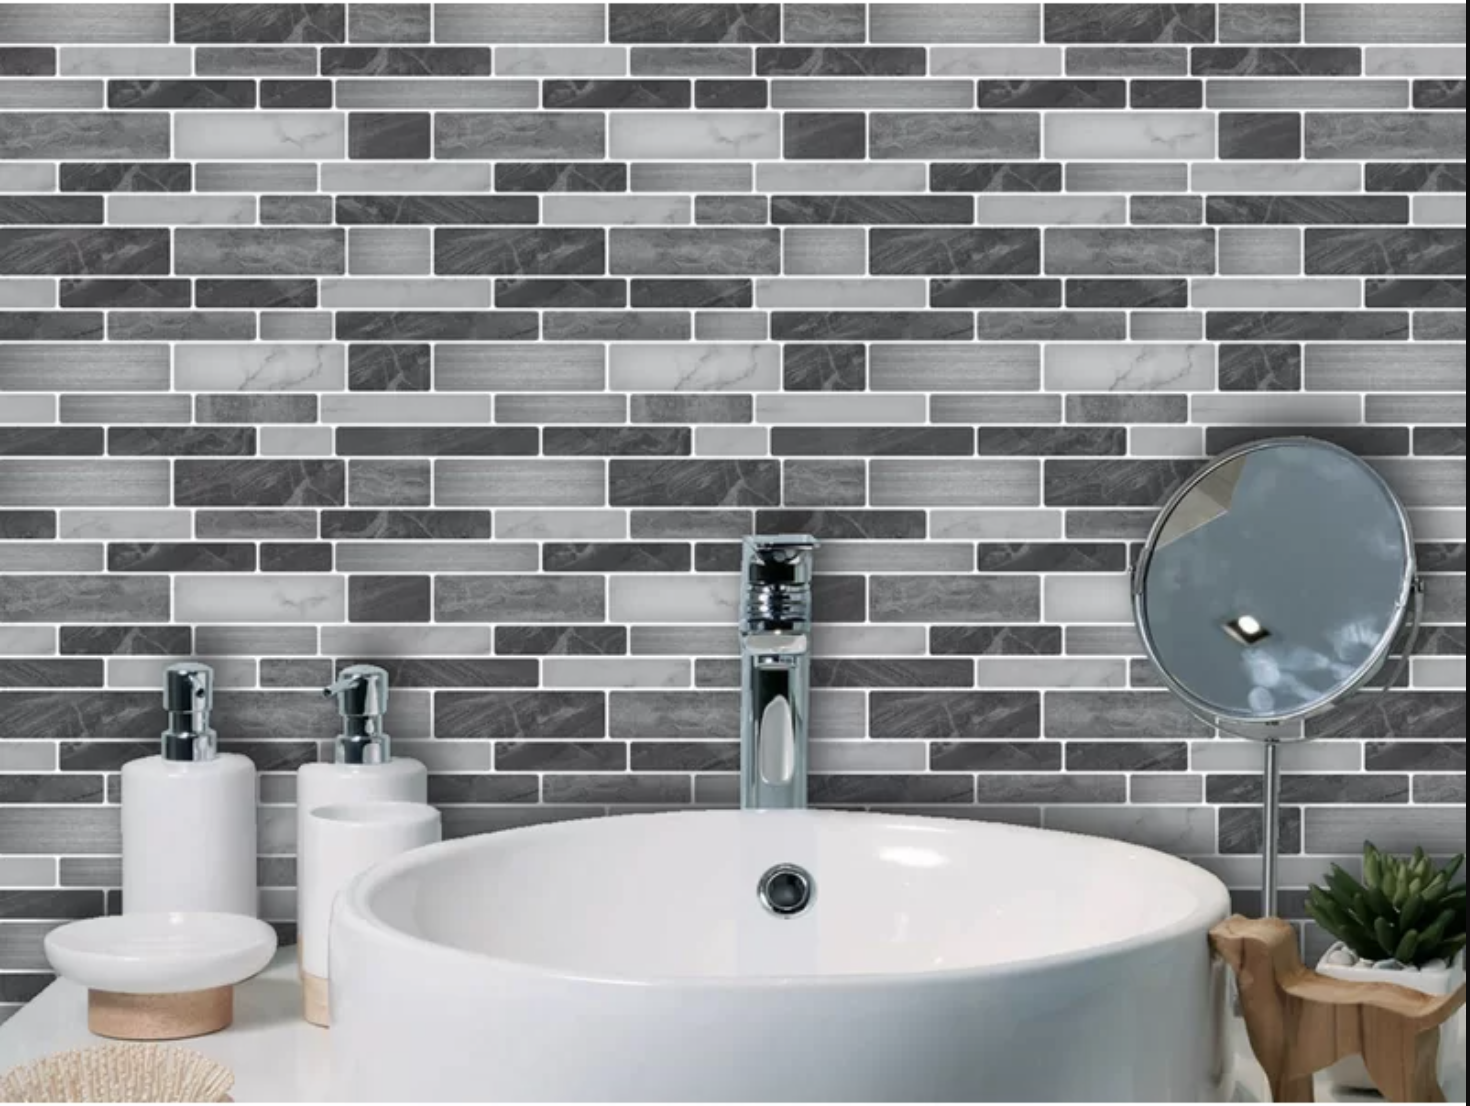
Photo: Wayfair.com
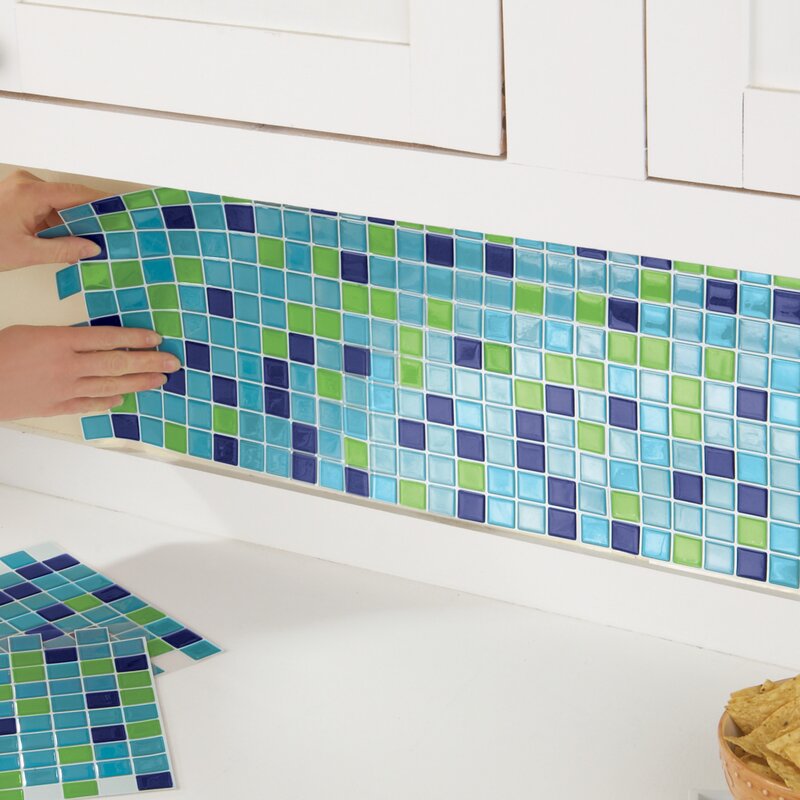
Photo: Wayfair.com

