We may earn revenue from the products usable on this page and take part in affiliate programs . acquire More ›
Successful roofing tile jobs are a direct result of serious planning and a methodical glide path . two-fold retard every step ; measure at least twice !
Clear and clean the room.
Wallpaper , informal plaster , peel off pigment , skin tile , or unguaranteed piece of paper floor must be off from the paries or floors that are to be tile . Make certain your tiling surface is bland , strict , and dry .
Assess the underlayment.
Theunderlayment — the surface that the tile will be installed on top of — is just as important as the tile itself . A flexing floor or a wall that is uneven can lead to broken tiles and failed grout .
Water - insubordinate angel board , not drywall , should be used under the roofing tile that will get cockeyed . Whether it ’s angel board , plywood or concrete , the substrate needs to be sound , clean and dimensionally stable . surface need to be level or plumb and dead on target to plane , as the pros say . That means no bumps .
Pre-plan the orientation and location of tiles.
When you install tile , you want the finished surface to appear symmetrical , even if it is n’t . To accomplish this , you ask to find the centre of the control surface first , measuring in from the slope . This is especially of import whentiling small areas , where wide tiles at one boundary and slender ones at the other will make the whole problem look out of residuum .
specially in a house of a sure age , you may well chance on that the flooring arena is n’t square . That makes the line of work a bit more complicated . Most often , the skillful scheme is to use as a baseline the wall that is most obvious . Then when your guest walk into the way , they ’ll see roofing tile credit line that are parallel to that wall , and you ’ll get credit for a nice even job .
If their first view is of lines that are n’t ordinate , the whole job may look cockeyed , even if it is n’t .
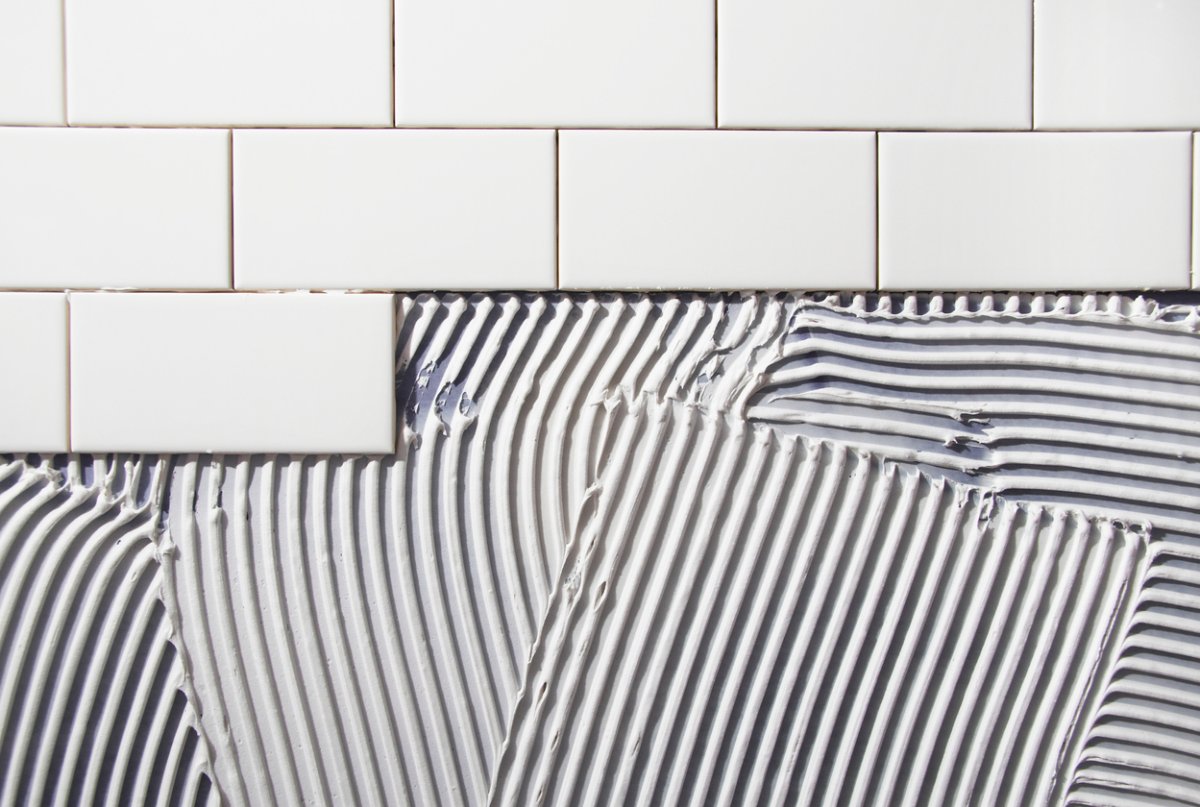
Photo: istockphoto.com
Mark out installation guide lines with chalk.
Once you ’ve identified the center and service line from which you will work , snap a span of perpendicular trash lines . These will divide the room into or so equal quadrants . You ’ll require to wreak outward from the center point in each of the four sections .
instal its summit so that you wo n’t have to cut very slight tiles ( or cut very thin shards from about full tiles ) to come loaded to the floor . Snap a top line on your walls , and then break down a mall line , too , just as you would for the floor . And be certain to lie out all the walls you plan to do before you begin tiling .
Dry lay rows of tile to test your approach.
One further preparation step : After you ’ve find the snapper spot , squared the elbow room and are quick to go , billet rows of tile ( do it dry , before you mix the adhesive or mortar ) within each quadrant of the grid . Take the rows to each wall . This last stride should admonish you of any trouble to come .
One problem you might encounter , for example , is if you made an arithmetical error and your center line is n’t your center line at all . This can easily be corrected at the layout stage but could make major headaches later on .
You might chance on that the tile you laid to butt to the wall ( or story ) are so narrow as to be impossible to cut . For example , turn out a ceramic roofing tile to a breadth of less than about three - quarters of an column inch is hard and should be obviate if at all potential . You could decide to go back and cheat the whole grid an inch or so one path or another , even at the cost of turn a loss your perfect symmetry . Only you will know .
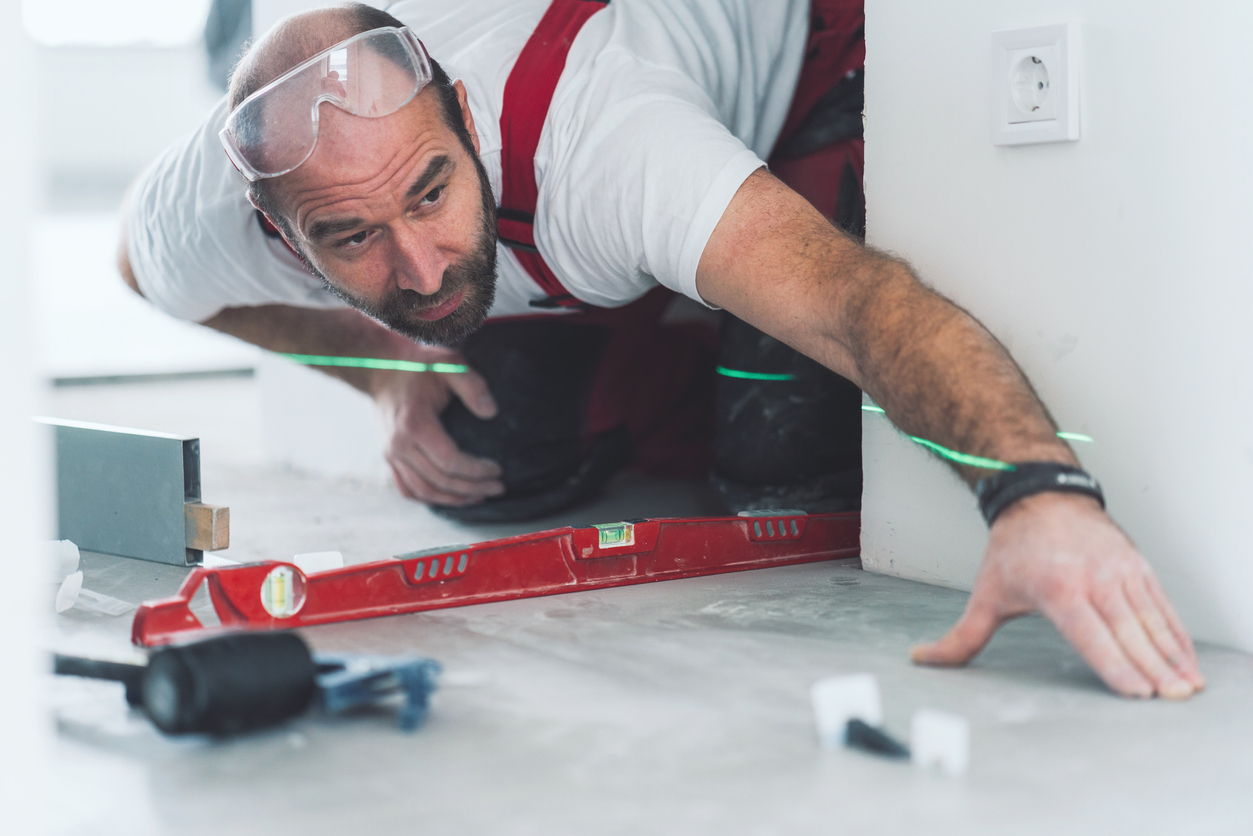
Photo: istockphoto.com
You may also opt to make a variation on the story perch that is called a panel stick . If you scar on a straight piece of plain wood stock the width of a particular serial of tile ( and do n’t forget the grout joints , too ) , you’re able to hold it to the open to be tiled and identify potential difficulties easily without having to set whole country of tile in place . When it get to the actual tiling , cultivate across to the outside border of one quarter-circle , then to the top or bottom one row or course at a clock time . Fill in as you go .
Cutting Tile
A little longanimity , along with a little practice and a score and a snap , and you ’re a roofing tile cutter . Here ’s how you do it :
Use waterproof adhesive where appropriate.
If you are using tile , chance are that it ’s to be in a setting where wet is a given , whether it ’s a kitchen , bath , or entryway . Make indisputable you use awaterproof adhesive . you’re able to use a premixed adhesive agent or a mortar , but if you select the latter , verify it ’s a thin - set variety . The blockheaded - bed howitzer need some recitation and skill at smoothing to get the roofing tile to pose flat , and the extra mortar is n’t necessary for a water - tight cultivation .
Any cracks or voids can compromise even the best roofing tile job . The only room to be sure the roofing tile sticks fast is to use a notch trowel to apply adhesive to the substratum .
Using spacers to ensure a uniform look.
The space between the tiles should be uniform , so usespacersif your tile do n’t come on mesh sheets . The larger the tile , the expectant the space should be between them . Some do - it - yourselfers will make the misapprehension of push tile too close together to cut back grout lines . Without enough surface area , grout wo n’t bond well and can betray prematurely , leaving way for leaks and piss damage . It ’s also very authoritative to let the adhesive cure fully .
Grout to complete the installation.
check that all tiles are fully place and space as you ’d like beforegrouting . Use a grout float ( or in a collar , your putty tongue ) to press the grout into the space between each roofing tile .
Note that grout is usually buy as a gunpowder , then mixed with water or a recommended additive . Read the instructions on the parcel , or expect advice at the roofing tile store to be sure thegrout typeis advised for your function .
Remove grout haze before it dries.
ensure yousponge off the residueon the surface of the tiles before it dries . This step will require several offer over a period of an hour or more . It ’s a critical element when you ’re working with tile that have a porous or variegated surface . Dried grout can shew almost impossible to polish off from the indentation .
This Is the yr for a Kitchen Renovation
Whether you ’re selling or staying , everyone can get something out of a kitchen update . see why we consider this renovation the Most Valuable Project of 2025 and how to stay on budget .
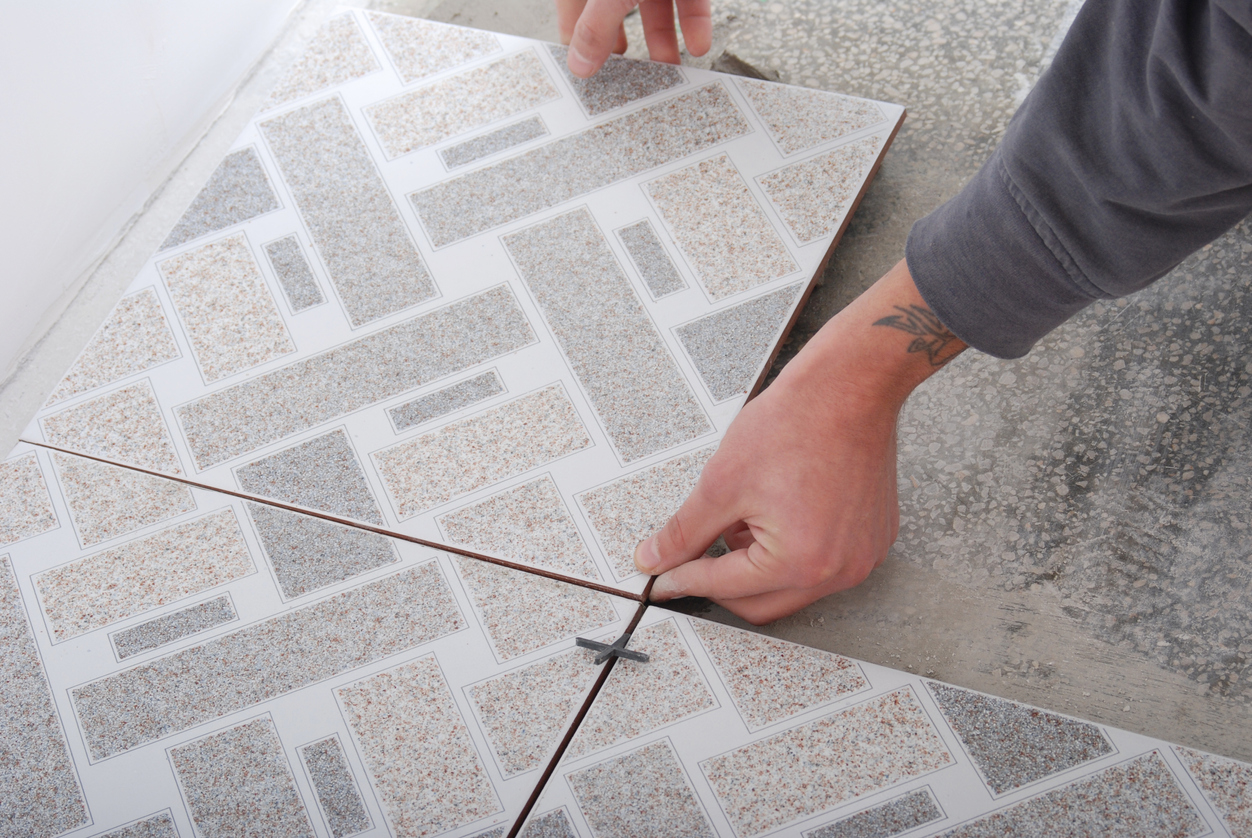
Photo: istockphoto.com
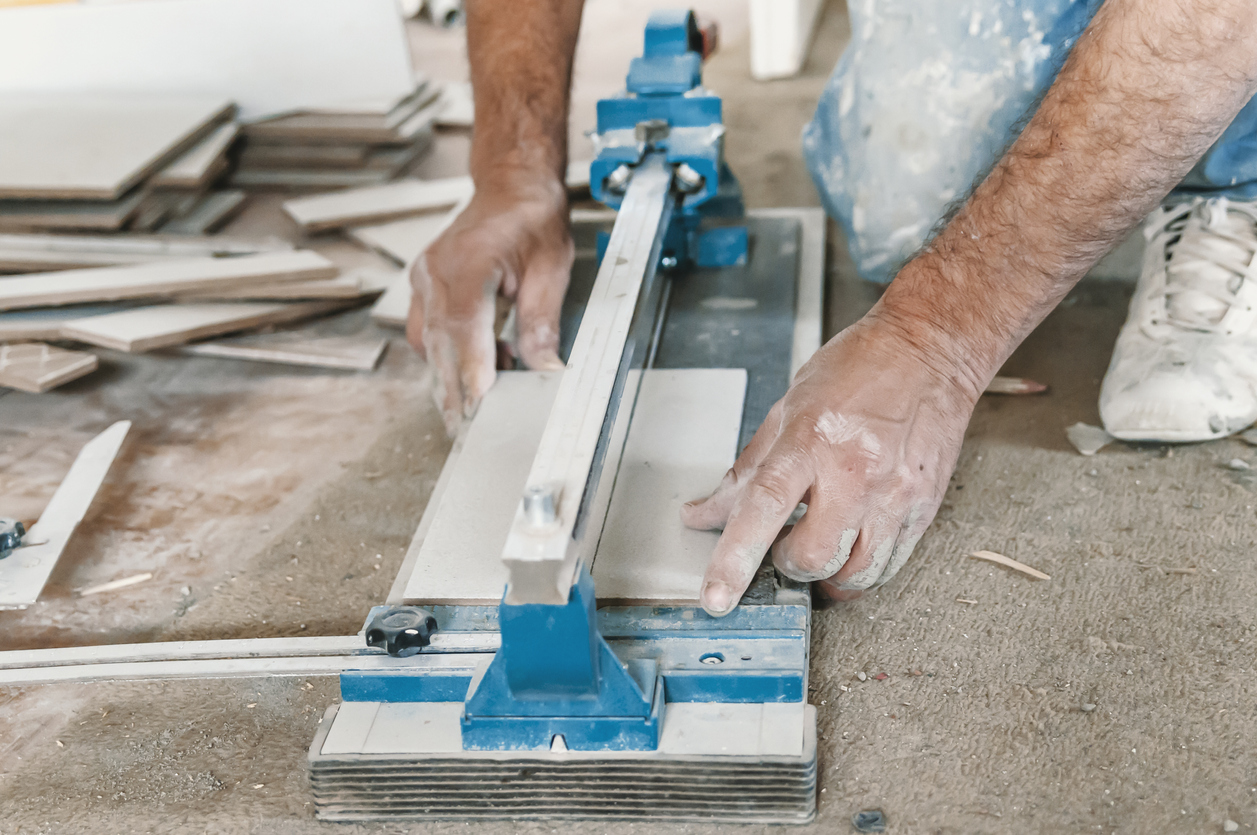
Photo: istockphoto.com
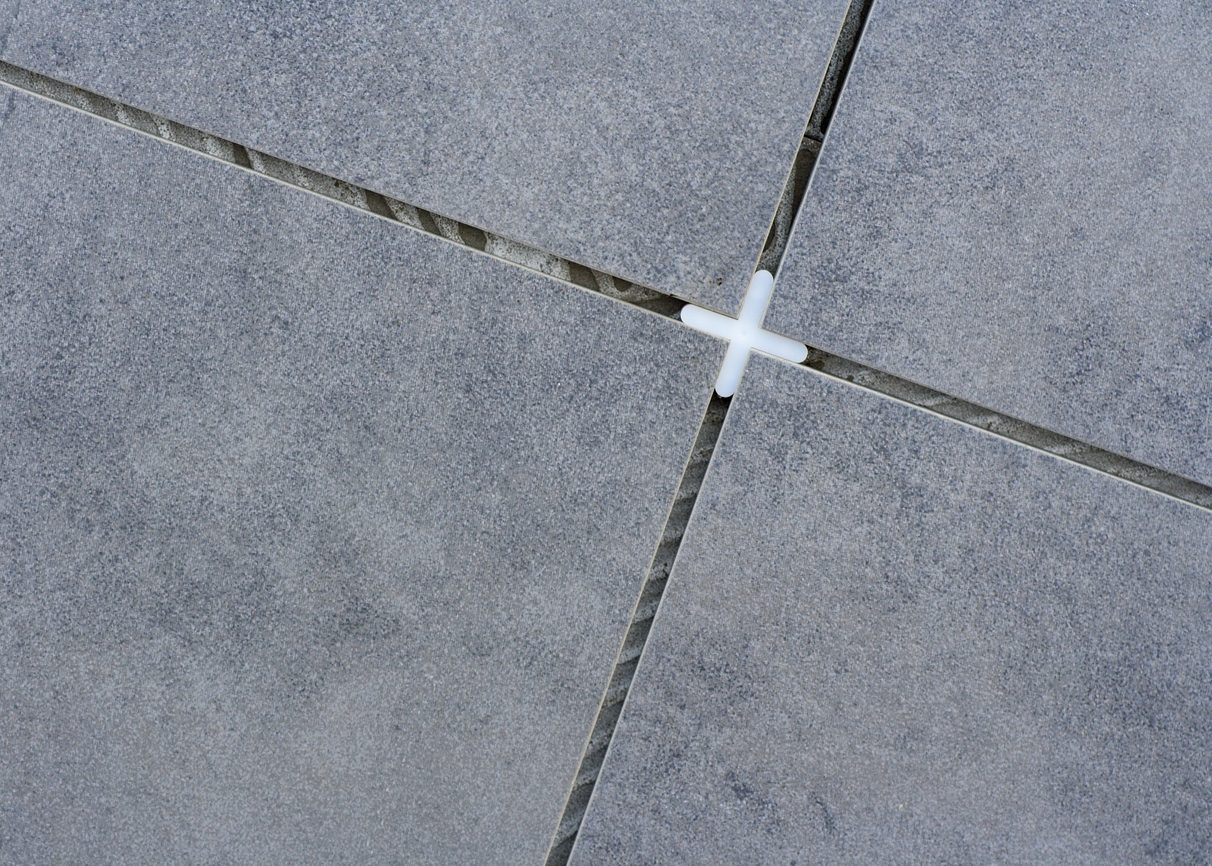
Photo: istockphoto.com

