We may make revenue from the mathematical product useable on this page and participate in affiliate program . find out More ›
A shed can often gain from insulation . Whether it ’s a childlike storage space for lawn and garden equipment , a backyard home gymnasium , a functioning workshop , or a work - from - home haven , keeping the interior space well-heeled while foreclose abridgement helps keep a shed operational for all four seasons .
While translate ashedwith detachment look at a bit of piece of work , most DIYers can learn how to insulate a shed and complete the project in less than a weekend . This template will explain the pace , as well as some of the all right stage of creating an isolate shed space . Armed with this knowledge about shed insulation and some articulatio cubiti grease , you ’ll be able to decent isolate your shed .
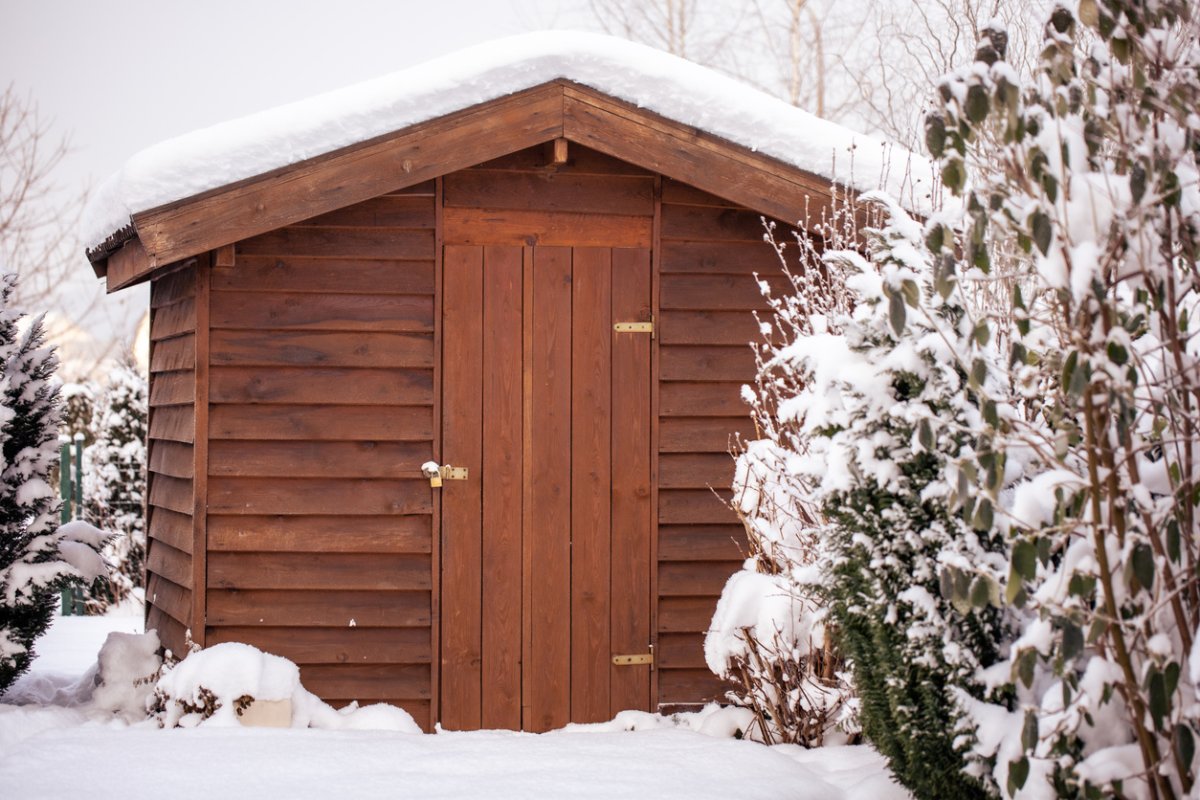
Photo: istockphoto.com
Types of Shed Insulation
Like most construction materials , there are multipletypes of insulationsuitable for a variety of shed . The most suitable types for the majority of a shed ’s Interior Department let in roll fibreglass insulation , Rockwool insularism ( made from mineral woollen ) , and rigid foam board insulation . Mineral wool and rolled fiberglass fit snugly between rivet , while foam display panel insulant can be cut to any size ( and often makes a great caducous door insulator ) .
On top of these chief types of caducous insulation , DIYers also ask to consider spray froth insulation and caulk . Any spread between the panels of insulation ( such as around windowpane framing or between corner stud assemblies ) can profit from expanding spray froth insulation . This stuff elaborate when it is exposed to oxygen , so replete small gaps is what it does best . For weatherproofing pocket-size gaps between construction materials , like around the exterior of the shed or around venthole , caulking is the most effective selection .
Bubble wrapping is also a babble - about storage shed insulation material . While there is some value in bubble wrap ( foil - confront bubble wrap is obviously better than stock bubble wrap ) and it may be better than nothing , it does n’t insulate very well for very long . And after spend a bit ofmoney to build a shed , a received insulation will well protect that investment and increase its length of service and serviceableness .
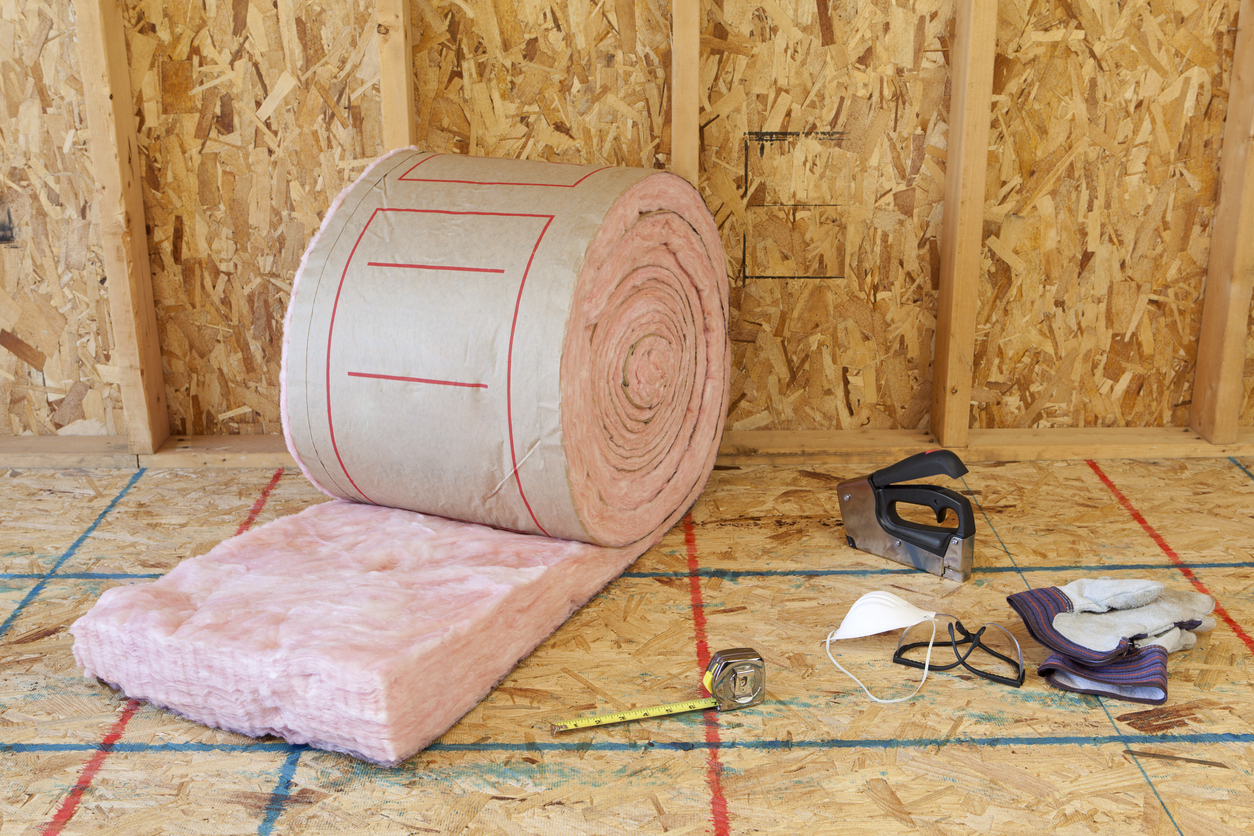
Photo: istockphoto.com
Rolled Fiberglass Insulation
roll fiberglass insularism , or batt insulation , is the iconic roll of pink fibrous insulation , and it can be a proficient choice for insulating astorage shed . It ’s made of small fiberglass fiber that weave like cotton confect , make air gaps and foreclose the gratis flow of caloric vim from one side of the batt to the other .
However , roll fibreglass insulating material has its pro and cons . First , it ’s one of the best options for cheap insulation for caducous bulwark and roofs . Since it typically comes with a theme - front vapor roadblock that fasten to the studs , it does n’t require an supererogatory vapour roadblock . However , it ’s also one of the itchiest and requires the installer to have all skin covered . Still , it ’s probable one of the practiced insularism choices for most shed .
Rockwool Insulation
Rockwool insulationis one of the most popular mineral woolen brands . This insulation is made from spinning mineral and lava rock ‘n’ roll at gamy hurrying , causing the minerals to stretch and elongate . These fibers then interweave and make this batt - type insularity .
Beyond being well-heeled to fit between studs , mineral woollen insulation has many benefits . It ’s fervor - resistant , a great sound barrier , and an first-class insulator . It ’s also not nearly as itchy as standard fiberglass . However , it ’s not the flashy way to insulate a shed , and it does require a vapor roadblock as it does not come with a paper face . On a large project , using faced insulation may save some prison term , but the benefit of Rockwool may be deserving the supererogatory expense and extra step when isolate a shed .
Foam Board Insulation
Foam display board insularism is a form of rigid insulation made from polystyrene . It ’s available in unlike thicknesses and in mainsheet that the DIYer can cut to tally in stud bays . It ’s relatively easy to ferment with and does n’t cause itching .
Foam display board really glint as metallic element shed detachment , as well as for any control surface without many studs to figure out around . That ’s why some great applications programme for froth display board insulation let in shed ceilings , doors , and insulating a alloy shed , all of which often have no studs at all . Because these boards have some structural integrity of their own , they can be glue and screwed without needing shed stud poker to hold them up .
How to Insulate a Shed
isolate a shed involves the wall , ceiling , and floor . Without access to the base framing during the shed ’s construction , it ’s almost impossible to effectively isolate the flooring without disassembling it . However , most of the following steps are applicable to shed story insulation , as well as walls and the ceiling .
Tools & Materials
Bobvila.com may garner a commission from leverage made through these links .
Project Overview
Working Time : 1 or 2 daysTotal Time : 1 or 2 daysSkill Level : BeginnerEstimated Cost : Around $ 0.90 per straight human foot of fiberglass insulating material , or $ 1.75 per straight foot of mineral wool insulation
Before You Begin
fibreglass insulation ( and mineral wool insulation to some extent ) can cause itchiness . detachment maker recommend covering up from pass to toe and wearing baseball mitt . Install insulation in a well - air out surface area , if you’re able to . It ’s a smart idea to fall apart a respirator , rubber drinking glass , and a hat .
Make certain to leave plenty of way on the shed floor for cutting fibreglass rolls to form . For lowly shed , it ’s usually easiest to off everything from the shed before starting this projection .
Measure the walls , cap , and/or floor , and get enough insularity before begin the labor . Most of thebest shed plansutilize 2×4 frame , so utilise insulation that fits in these stud bay tree ( the packaging is distinctly marked with size ) . Typically , the faced fiberglass insulation that fit in a 2×4 stud bay will put up an detachment value of R13 . ( R - economic value measures how well insulation ferment to keep estrus from come into , or escaping from , a space . Insulation manufacturerJohns Manvillerecommends that exterior walls have insulation with R - value between 13 and 23 . )

Photo: istockphoto.com
Finally , note that the following steps are order for regions where it is cold outside during the wintertime . For warm climates that require line conditioning most of the yr , you ’ll want to instal the vaporisation barrier before the insulating material .
Step 1: Calculate how much insulation you need.
Most flap fiberglass detachment comes in 8 - foot - farseeing strip , each of which are designed to fit between a 16 - in or 24 - in stud bay . To settle how much insulating material you need , count the turn of stud bays and rafter bays in your shed , divide that numeral by the turn of strips in the package , and round up .
you’re able to also use continuous curl of insulation , which produce less flock and waste . To determine how many uninterrupted roll you need :
Step 2: Prepare the shed.
Empty the shed completely and perform an initial inspection . reckon for any signs of scathe or leaks . Make repairs now , before the insulation is instal .
This is also a skilful time to sprayexpanding foamaround any window , as well as caulk exterior gaps and seams . compensate attention to spread around window , vents , and other areas where rain or C. P. Snow can penetrate seams or connection points and gazump the insulation .
Step 3: Measure and cut the wall insulation.
Measure the height of the shed wall stud bays and tot 1 column inch to allow for a cosy fit . Roll out the insularity on the floor , paper side up . In the eccentric of mineral wool insulation , just put the 4 - foot strips out . Transfer the measuring to the strip of insulation and label the paper with a permanent marker .
Compress the insulation at this mark by laying a level across the strip show and tug downwardly . Once it ’s compressed , make out along the boundary of the level with a utility tongue until the insularism is cut to distance .
Note : If there are two or more people working together , one can keep cutting more insulation to distance while the other begins instal what has already been cut . To insure the cutter can make up for any irregularities in wall height , the person installing can double up - check the height measurement every few stud bays . A two - person initiation method can go quickly with mineral woollen insulating material , as each bay requires two strips stacked one on top of the other . The installer can place the bottom landing strip while the other issue the top strip to length .
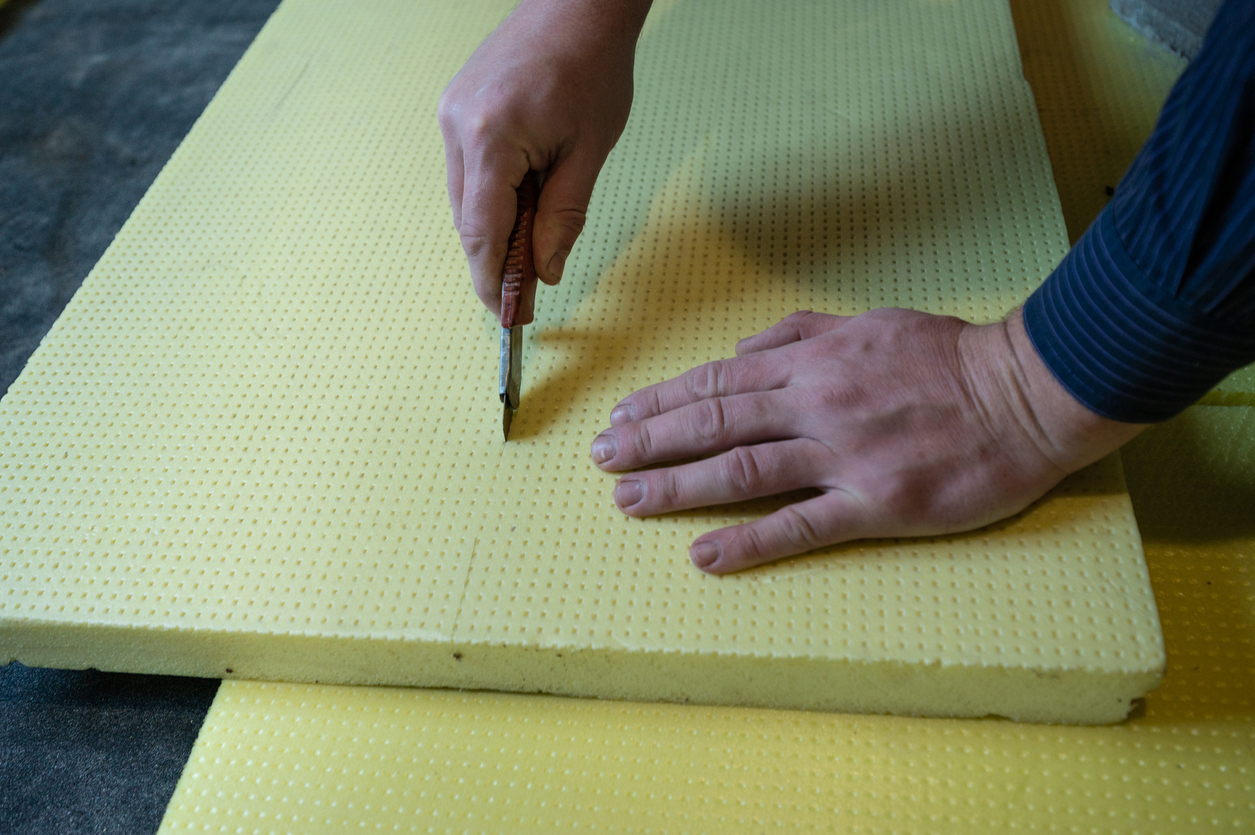
Photo: istockphoto.com
Step 4: Cut around obstructions.
Sheds with electric exit and window will have plenty of little areas to isolate around . While it ’s potential to clobber insulation around these object , doing so compresses aura gap inside the insulation and prevents the insulating material from doing its job . or else , swerve the insulation to shape around obstructions .
It ’s often potential to trim the insulation in place . When it ’s not , though , use a tape measure to find the view of the obstructer and transfer the measurements to a slice of insulation with a permanent marker . utilise an insulating material knife to cut any holes for the obstructions .
Step 5: Install the vapor barrier.
Once the insularity is in the stud bay , it ’s time to establish the shed ’s vapor roadblock . For paper - backed fiberglass , this but requires overlapping the studs with the paper wing on either side of the cartoon strip and stapling them to the studs . This holds the insulating material in place and also forms the vapour roadblock .
Unfaced mineral wool insulationrequires a plastic vapor barrier set up on the inside of the stud . start out at the bottom , roll the plastic out onto each stud bay and staple the plastic in home . Once the entire bottom of the rampart is covered with plastic , start another row overlapping with the bottom boundary of the first rowing by at least 6 inches . Once the vapor roadblock are in blank space , practice seam tape to videotape any edges .
Step 6:Measure and cut the ceiling insulation.
reduplicate this unconscious process for the balk . Measure from the shed ’s crest to the edge of the wall ’s top plate and tot up 1 column inch . issue the strips on the base in the same manner as before . Once they ’re cut to distance , go up the ladder and instal the end of the first striptease in the low remnant of the rafter bay first , be active upward toward the height . Staple the newspaper vapor barrier tabs onto the rafters along the way .
Mineral woolen can get very crumbly and make insulate a shed ceiling challenging . It often makes sense to install a few scraps of credit card vaporization barrier across the ends of the rafters and slide the mineral woollen into place over top of it . It ’s also a proficient estimation to wear a hat and safety glasses while working overhead with any insulation product .
Step 7:Install the vapor barrier over the rafters.
Leaving the scrap vapor barrier piece in place for Rockwool insulant , instal the vapor roadblock on top of the shed cap insulation . At the bottom of the rafters , start the next row so it overlaps the previous quarrel by at least 6 column inch . Be sure to record any seams when done .
Installing a vapour barrier in a shed can be a irksome process because the neckband ties or ceiling joist might get in the way . If it ’s necessary to cut the vaporisation roadblock around these objects , videotape any seams or cut created to make it jibe properly .
Step 8: Insulate the shed doors.
Insulating shed room access is of import , but it ’s not loose with received rolled fibreglass or Rockwool insulation . Use strict foam instrument panel insularism , as it ’s the easiest and good insulation for a shed door .
Measure each threshold ’s breadth and height , and transfer those measure to a piece of foam panel insulant . Using the level as a straight bound , cut back the foam add-in to size with the insulating material knife . Take Federal Reserve note of any latch or door ironware that you ’ll need to veer around .
Once the froth board is cut , glue it to the back of the caducous room access with froth adhesive . complete the project by install a threshold sweep on the caducous room access using a recitation and the ironware supplied in the door sweep kit .
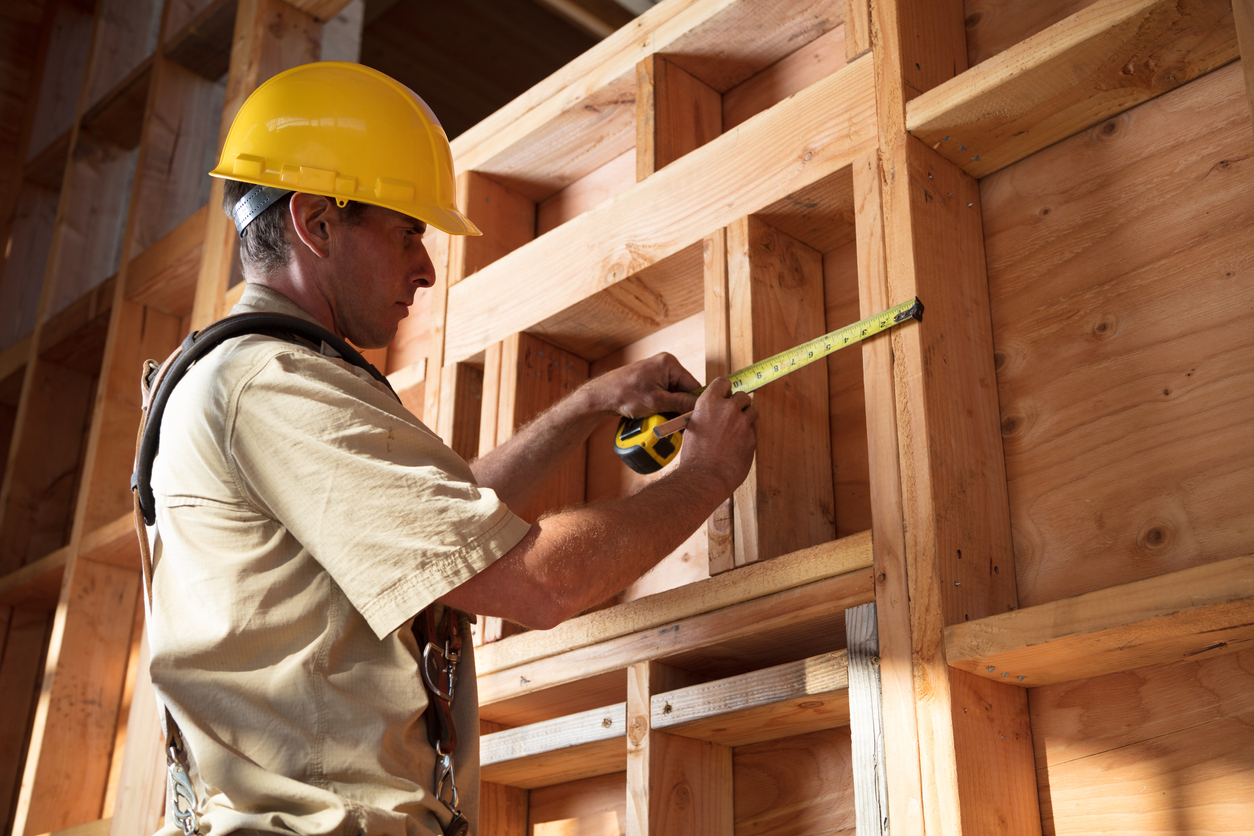
Photo: istockphoto.com
Final Thoughts
Insulating distinctive shed walls is n’t a difficult project , but it does take at least a full day of oeuvre to complete . After the insularism and vapor barrier is installed and seal , it ’s a skilful idea to install drywall or plywood over the insulation to protect it , as even the smallest laggard can affect the insulating material ’s public presentation . Once it ’s covered , though , the shed will be comfortable and ready for your office piece of furniture , gymnasium equipment , or storage items , and the internal space will benefit from full and more uniform temperature regulation .
Everything You call for for a Lush and Healthy Lawn
Keeping your grass unripened and your plant thriving does n’t just take a green thumb — it start up with the right tools and supply .
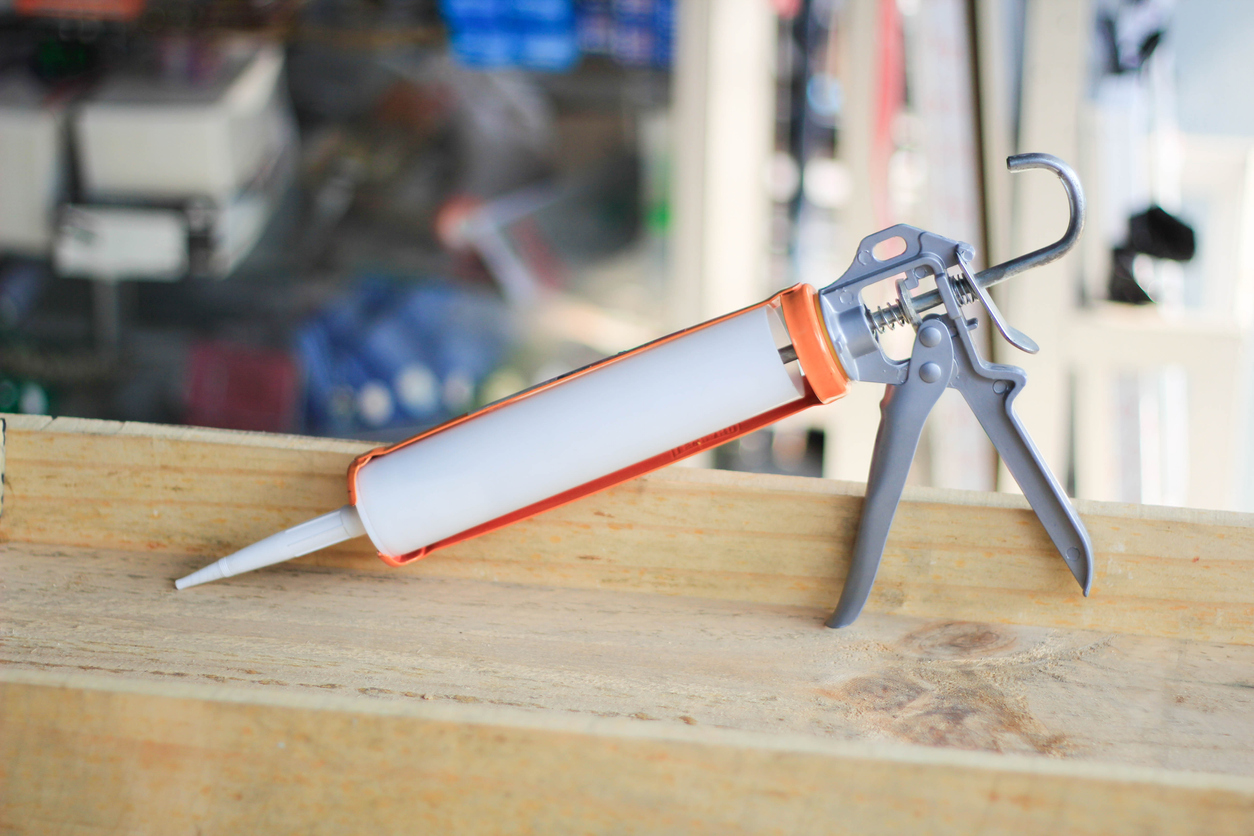
Photo: istockphoto.com
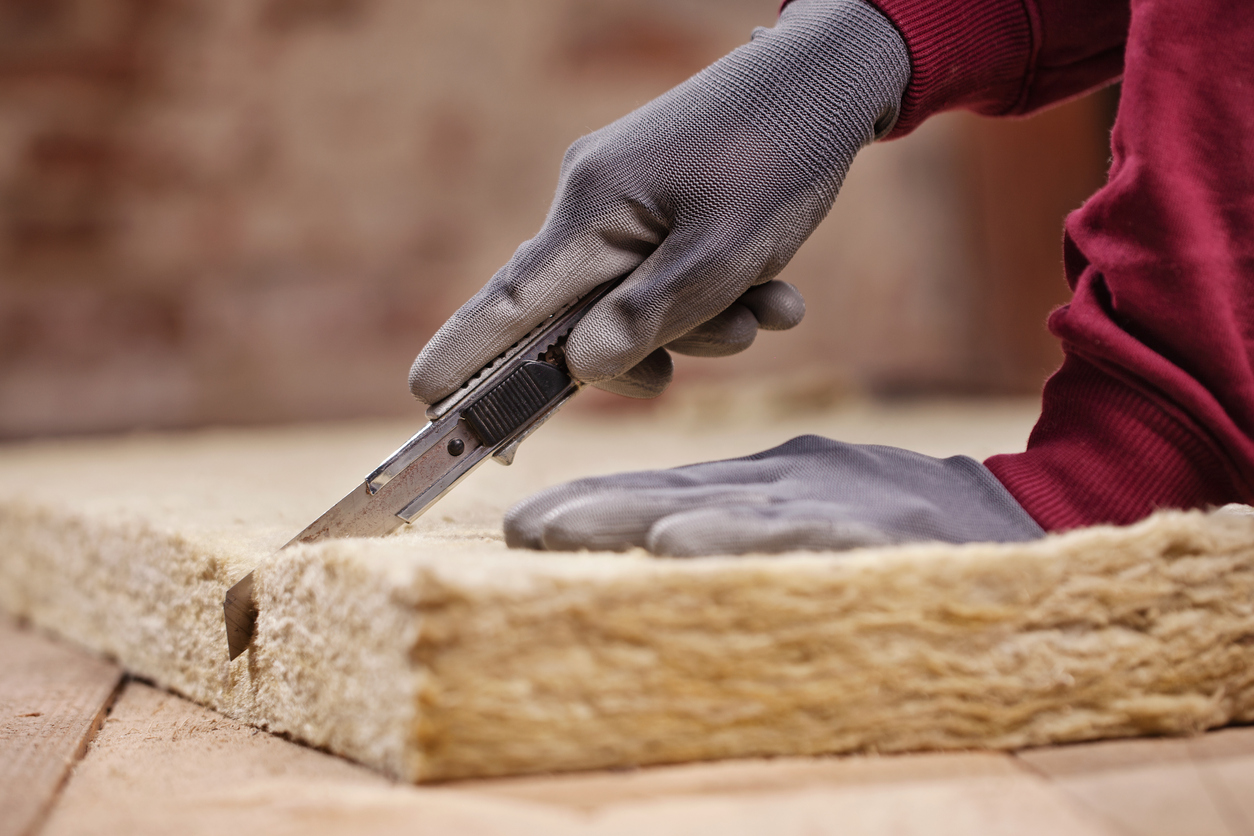
Photo: istockphoto.com
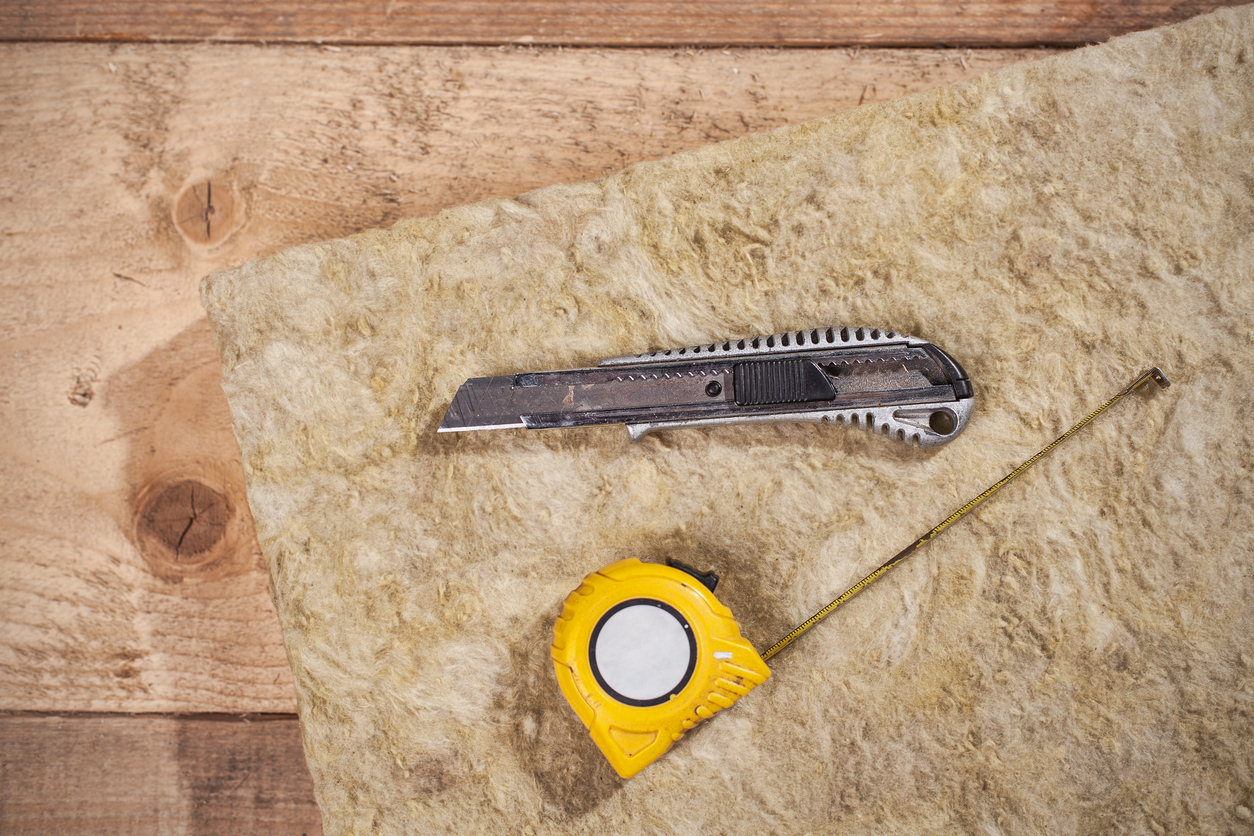
Photo: istockphoto.com
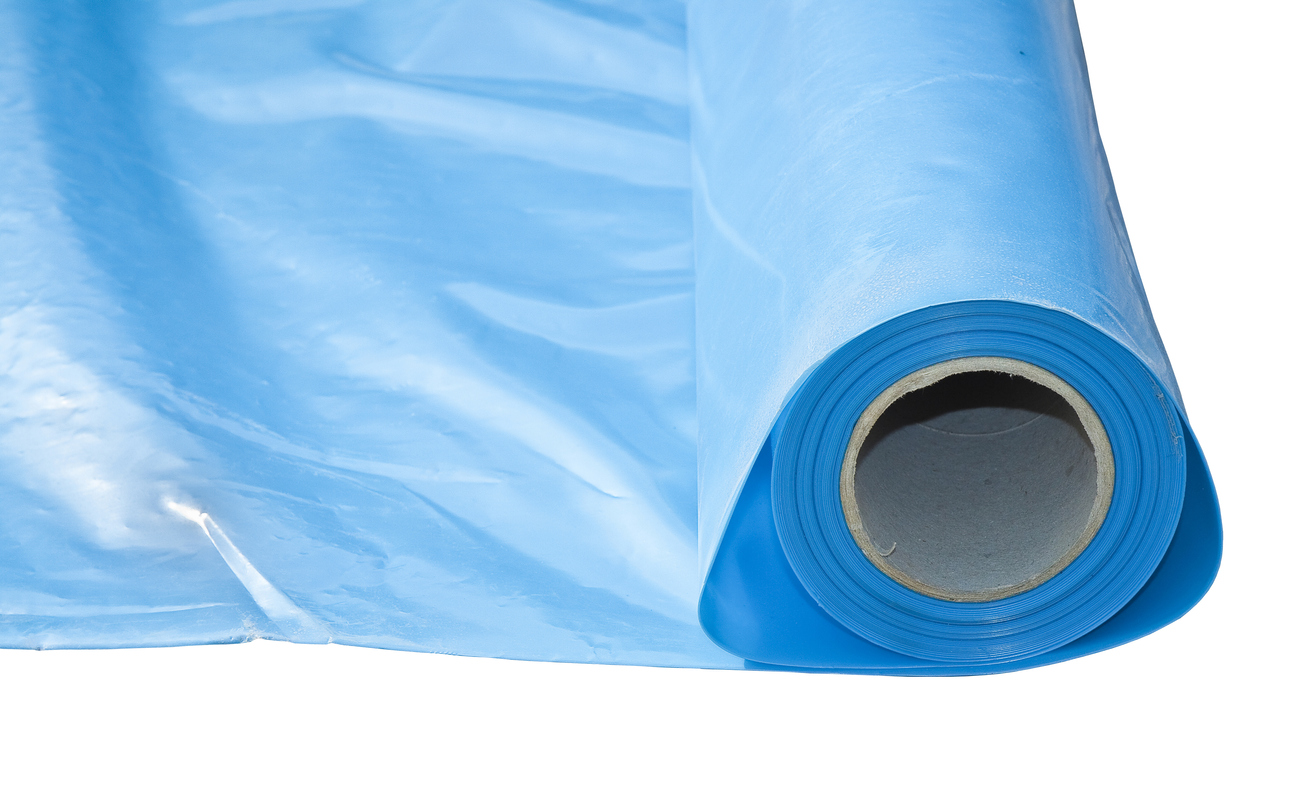
Photo: istockphoto.com
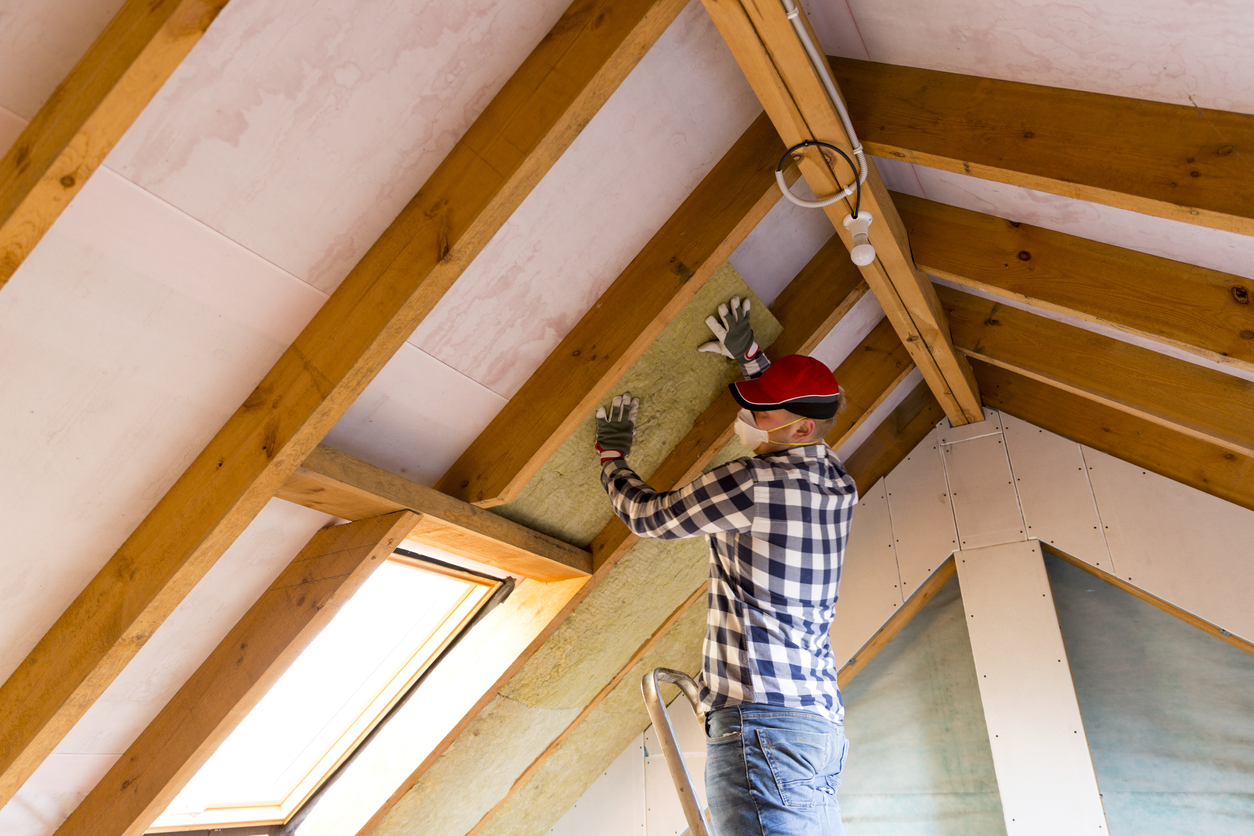
Photo: istockphoto.com
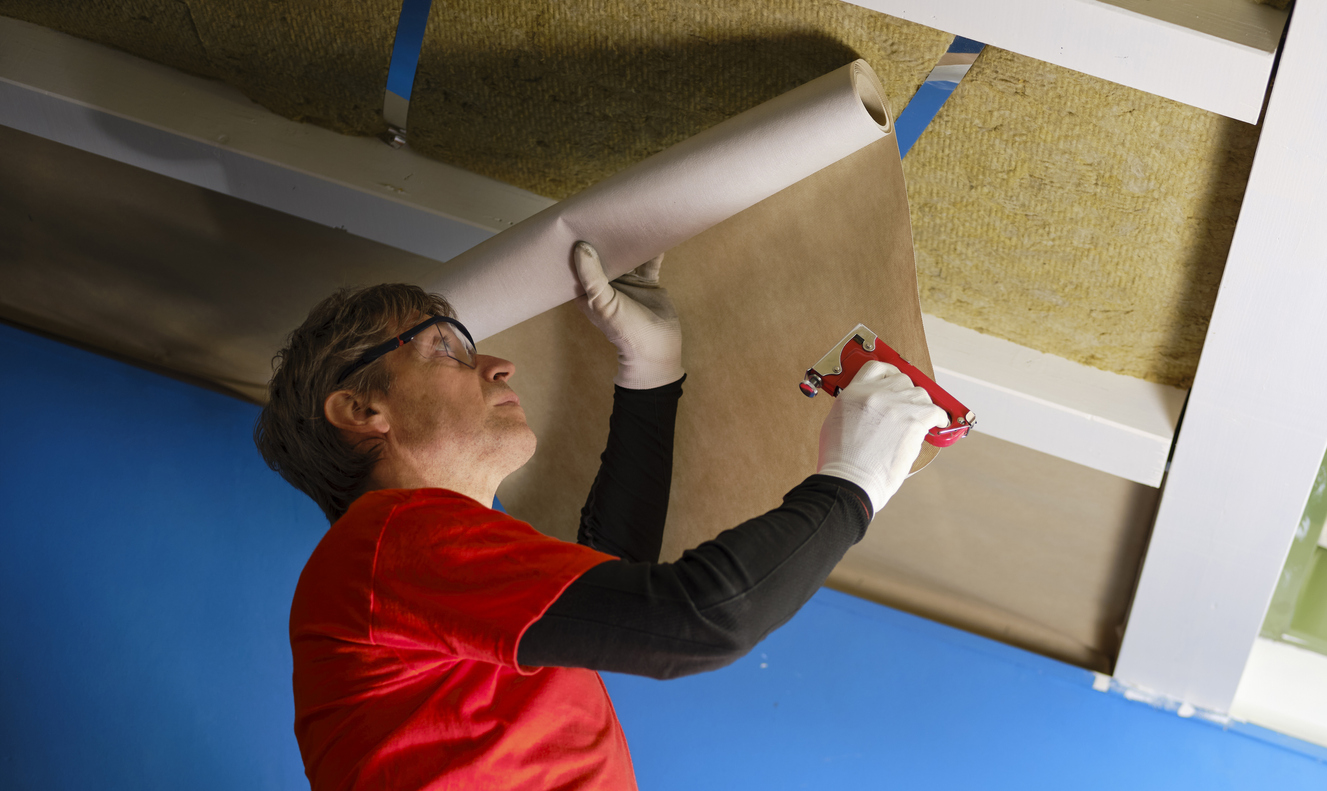
Photo: istockphoto.com

