We may gain revenue from the products available on this varlet and enter in affiliate syllabus . memorize More ›
Tools & Materials
Bobvila.com may earn a mission from purchases made through these tie .
Step 1: Scrub the brick clean.
Due to the tendency of brick to compile moxie , you should wet and clean the brick fireplace prior to painting it to see to it better paint adhesion . Using a stiff - bristle encounter doused in fulsome water , first scrub the grimace of the brick fireplace with a brush to remove turd or efflorescence — that is , white , powdery , mineral deposits . If your hearth also contains leftover carbon black , watch with a mixture of 1/2 loving cup oftrisodium phosphateand 1 gallon of water .
Next , dispatch any visible mildew with a answer of one part whitener to three parts pee . Sponge the diluted bleach over your brick , allow it soak in for for half an hour , and scrub the surface with a telegram brushing . Once you ’ve wind up cleaning , allow the brick to dry for at least 24 hour before painting it .
Tried-and-True Advice
“ Brick and masonry surfaces require a different type of paint brush and roller than what works on monotone surface . Look for apaint rollerwith a 1 1/4 - inch forty winks and a sozzled paint brush . A flatter roller and a diffused brush wo n’t deliver the paint as well on the rough-textured surface . ”
Step 2: Inspect the fireplace.
Inspect the fireplace for small cracks in the brick . If you encounter any , fill them in with acrylic caulk . Check the computer software ’s teaching for required dry metre before moving on to the next stone’s throw .
Step 3: Prepare for painting.
Using mountain lion ’s magnetic tape , treat the area around the fireplace that you do not need to paint , such as where the brick meets the floor and walls . Protect the floor and the fireplace hearth from sputter by lay out a fall cloth .
Step 4: Prime the brick.
Pour your Freemasonry primer into one of the 5 - gallon buckets and stick in a bucketful concealment on end ; thispainting toolwill aid in both minimise mess and achieving an even pelage on your rolling wave . duck the roller into the bucket , roll it along the screen , and repeat until it ’s wholly load up with primer .
Carefully apply the first coat of primer to the brick , assure that you cover the surface as well as the mortar joints . To paint cryptical spliff that the roller girl , switch to a paint brush . If your brick social organization touch the ceiling , use a telescopic roller extension rod to access hard - to - reach areas near the top of the fireplace .
Apply an additional coat of two of primer to area where you cleaned efflorescence in Step 1 . Then , moisten up your painting tools and countenance the primer to dry overnight .

Photo: Andrey Sinenkiy / Depositphotos
Step 5: Paint the brick.
The next day , set out to prep youracrylic latex paintthe same way you had your fuse in the 2nd 5 - gallon bucket with its own bucketful screen door . ( While you’re able to opt any pigment cultivation , a matte blusher really complement the natural grain of the brick . ) Then , dip your crimper into the bucket and coat it evenly with blusher . munificently lend oneself a top pelage of thepaint to the brickusing overlapping shot to cover nooks and crannies , and allow it to dry .
Step 6: Clean up.
Perform any paint feeling - ups as desired with the brush , and then give all of your peter a thorough wash before the paint dries . When you ’re end , draw back the painter ’s tape and the drop cloth from the hearth area . If you meet paint splatter where it should n’t be , just wipe it away using a soft cloth damp with fond weewee — the sooner , the good . Otherwise , all that ’s left to do to enjoy your fresh refreshed fireplace this season is to stock up on theright firewood for the fireplace .
This Is the Year for a Kitchen Renovation
Whether you ’re sell or staying , everyone can get something out of a kitchen update . ascertain why we consider this renovation the Most Valuable Project of 2025 and how to stay on budget .

Photo: Zillow Digs home in Oakland, CA
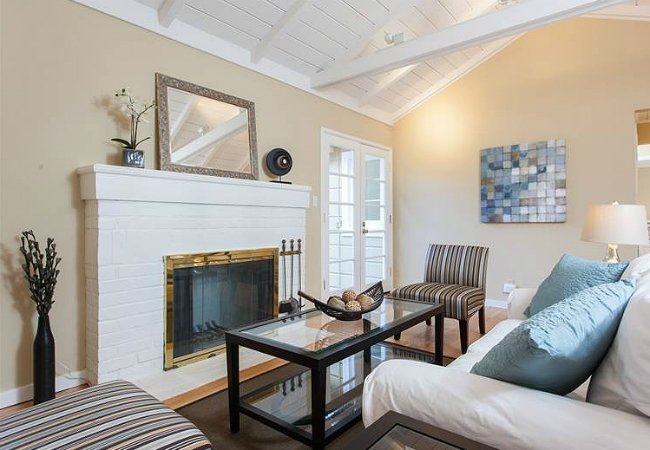
Photo: Zillow Digs home in Oakland, CA

