We may earn tax revenue from the product useable on this page and participate in affiliate program . Learn More ›
house painting is perhaps the easy of DIY home upgrades , but harness the ceiling can be a intimidating endeavour , particularly since it take a bit of top and tortuosity . Here are some cursor on homework and techniques for how to paint a ceiling that will help you fulfill the job well and successfully , just like a pro .
Project Overview
Working Time : 4 hoursTotal Time : 14 hoursSkill Level : IntermediateEstimated Cost : $ 150
Before You Begin
To ensure the best outcome for both your ceiling and your own eudaemonia , take a few steps to insure you ’re fully quick to get started on your projection .
First , cautiously peruse the provision list below and gather all the necessary equipment . You do n’t desire to be pall out to the service department every 5 moment , climb up and down a ravel each time , to see this project through .
Second , dilute your body . It may go disturbed , but when you paint a ceiling you ’ll believably be twine your dead body into unfamiliar and strange positions . At the very least , you ’ll be craning your neck at left angles , and your arms will be stretched overhead for long periods of metre . If you do some stretching before you get started , you may need less Nuprin when the job ’s done . Of of course , it ’s always a right idea toopen windowsto allow for adequate public discussion .
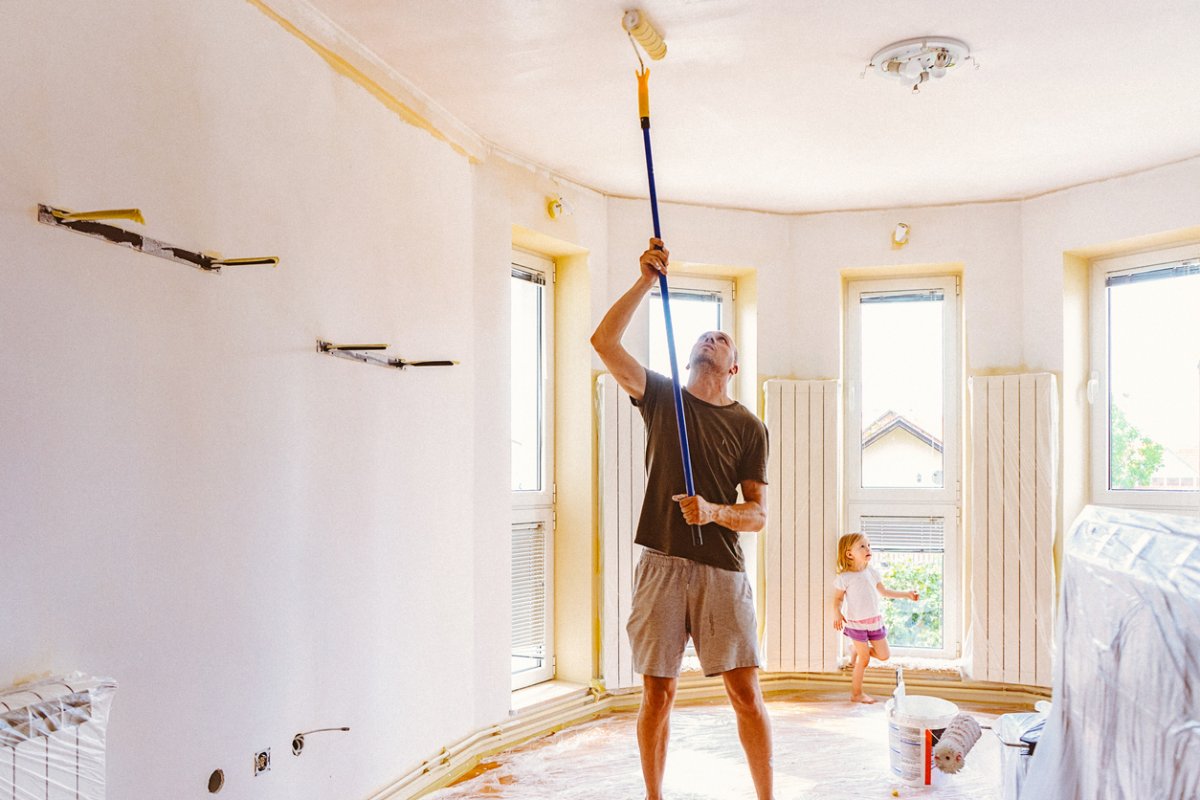
Photo: istockphoto.com
Tools & Materials
Bobvila.com may pull in a commission from purchases made through these link .
STEP 1: Clear the room out, and cover the floors with drop cloths.
Before you beginpainting the cap , slay as much of the furniture from the room as potential ; doing this will make it easier for you to maneuver through the blank space where you ’re sour . Use drop cloths to cut across any article of furniture that ’s too cumbersome to move .
Spread additional canvasdrop clothsover the floors to protect them from paint splatters and mishaps . ( Canvas will be less likely to cause you — or yourstep run — to slip . )
STEP 2: Mask tops of walls and crown molding with painter’s tape.
If you are just painting the ceiling and not the wall , use fast - releasepainter ’s tapewhere the walls meet the ceiling . Painter ’s tapeshould also be applied around any moldings that decorate the ceiling ’s edges .
If you plan to redo the whole way , the cap is where you should start ! In this berth , rap off is less necessary — you’re able to paint over any errant brushing strokes when you get to the wall .
STEP 3: Prime the ceiling.
Using a rolling wave with an extension pole , apply a coating of interior latex paint priming . Do n’t cut turning point and skip this step . The undercoat will provide a stain barrier and , in most cases , will make it potential to use only one coat of rouge to finish .
The specific primer coat you expend depends on the grain of your ceiling .
let the primer to totally dry out according to the manufacturer ’s education before you continue . In some situation — say , you ’re paint new drywall or you ’re painting a lighter color over a dark one — it ’s a unspoilt idea topaint a second coat of primerbefore painting .
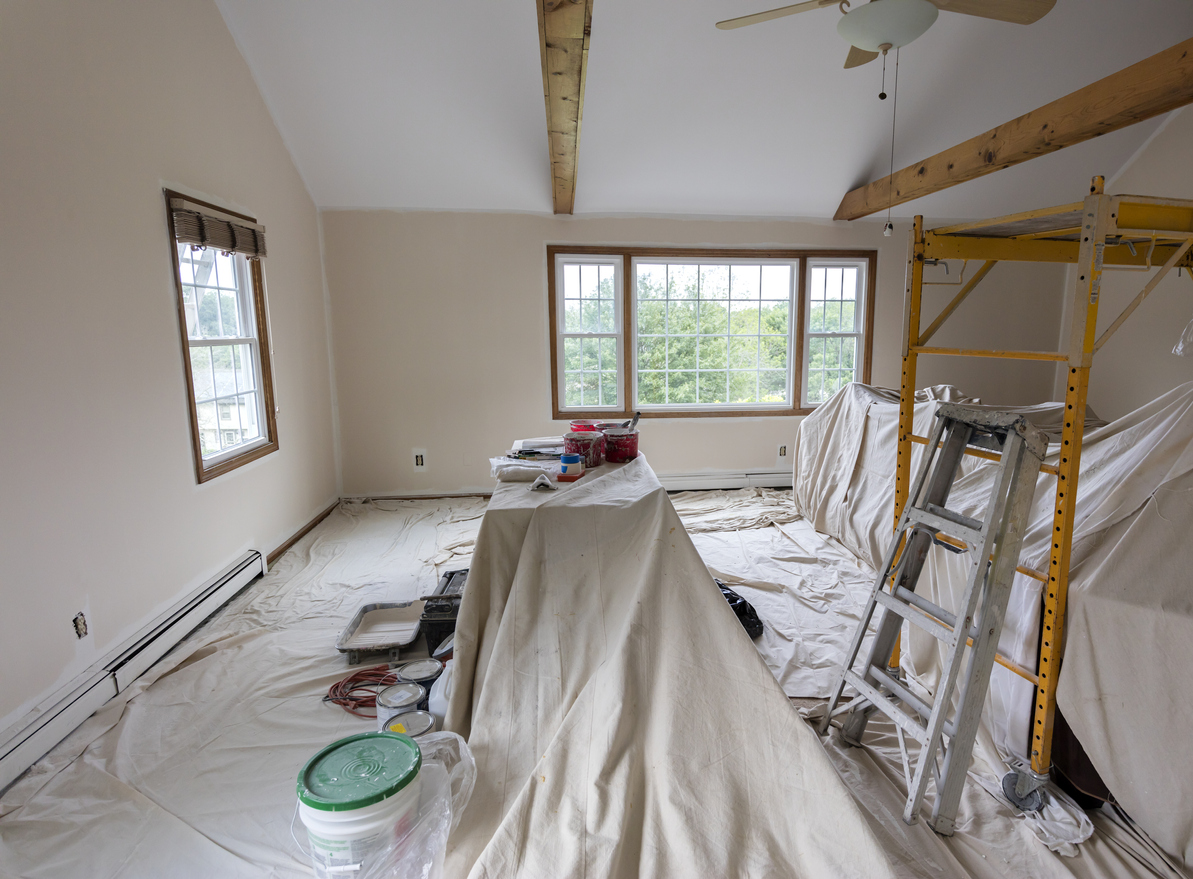
Photo: istockphoto.com
STEP 4: Cut in around the ceiling’s edges using an interior latex paint with high viscosity.
Now , tack to paint , either one that is labeled asceiling paintor an interior latex blusher with high viscousness . viscousness is measured in Krebs Units ( KU ) ; you ’re generally looking for a viscosity of 106 KU or more . You ’ll find the KU measurement in the producer ’s eyeglasses for any given pigment if it ’s not located on the back of the paint can itself . The slightly thicker rouge reefer better to the roof and stays there until it ’s fully dry .
stand on a tone ladder , paint a cut - line2 to 3 inches wide of the mark along the edge of the ceiling . Start in a nook , and use a 2 - inch trimming brush to paint about 3 foot along one bulwark , and then move on to the adjoining wall .
While the cut - blood line is still wet , carry on with the next step and begin painting the ceiling with a paint roller . paint the ceiling while the cut - business is tight will help concentrate seeable lines . The same will be true for paint applied from section to section with the crimper .
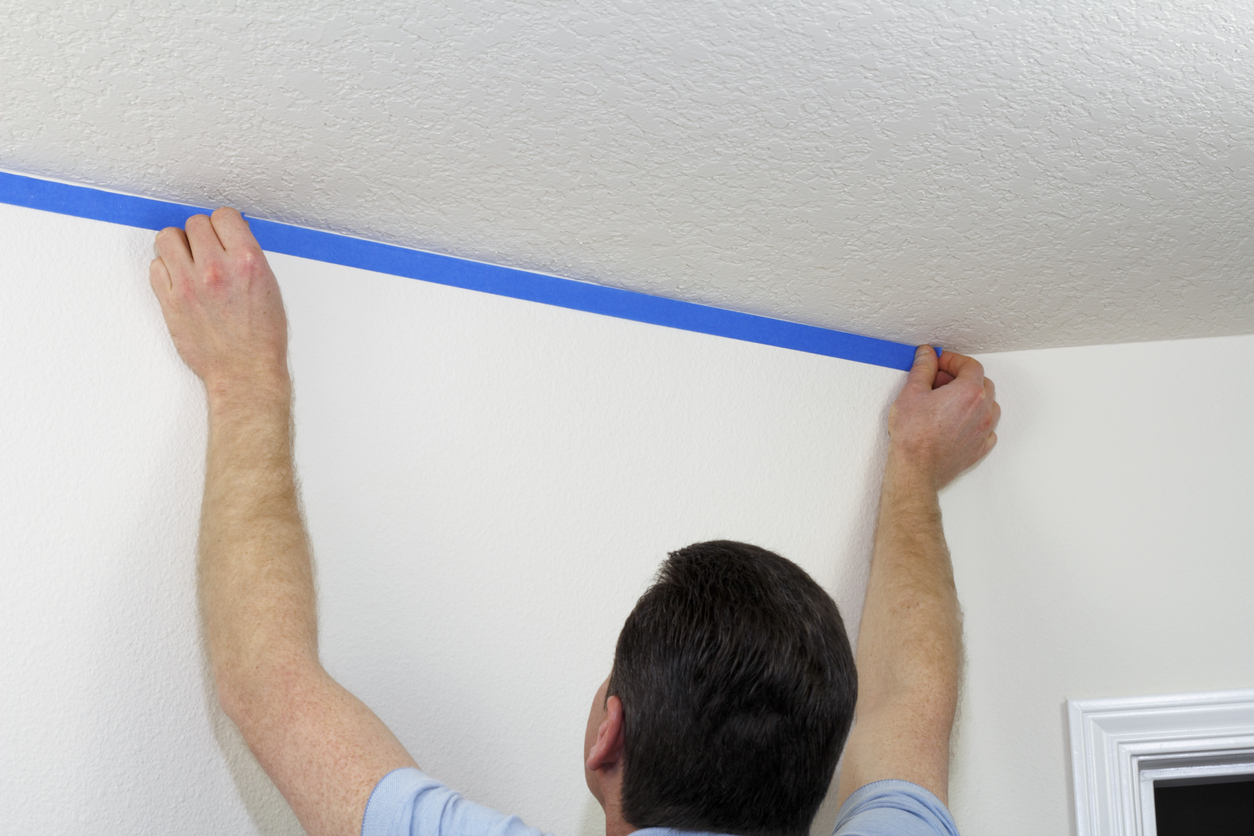
Photo: istockphoto.com
STEP 5: Load your roller with ceiling paint right away.
To use a roller , fill the deep luck of a roller tray with rouge and roll the setup over the key until the nap is covered . ( Depending on your ceiling ’s texture , certain roller covers piece of work best than others ; get the liquid ecstasy inour guide to the best paint rollersand make certain you choose the right one . ) The key is to fend off submerging the roller in the paint . Instead , glide it over the pigment , gently working it back and forth in the shallow part of the tray until the catnap is completely covered and paint drips are minimum .
STEP 6: Attach the extension pole to the roller and apply the first coat.
To paint the ceiling , use the in full extended , paint - meet roller to create a zig pattern measuring 3 to 4 understructure straight . Next , go over the same region using straight , controlled virgule to even out the blusher . keep off leave paint lines from the boundary of the roller . Since you need to wreak while the paint is still slopped , tackle smaller sections and be sure to square the edges to contract discrete , visible lines between sections .
STEP 7: Apply a second coat of paint if needed.
await for the first coat to dry soundly for the amount of time recommended on the can . Depending on pigment and coverage , you may demand to repeat the operation , from cut - line ( Step 4 ) through painting ( Step 6 ) .
STEP 8: Clean your tools.
Be sure to houseclean yourpaint clash , roller , and paint tray with warm , soapy water . A paint brushwood coxcomb and a mountain lion ’s peter with a notch for cleaning rollers should help pull in and squeeze out any last paint . Then , rinse off with uncontaminating urine until you ’ve removed any lingering soap .
Shake , smudge , and constrict out any excess water , or consider speed - dry out with a brush and tumbler pigeon spinner !
Final Thoughts
paint a roof can be a nuisance in the neck , literally . That said , the cap should never be ignore or given inadequate shrift in a painting chore — it ’s an authoritative ingredient of an update paint job ! Careful adherence to the stop outlined above will ensure that the projection go swimmingly and the outcome is spectacular .
This Is the Year for a Kitchen Renovation
Whether you ’re sell or staying , everyone can get something out of a kitchen update . hear why we count this redevelopment the Most Valuable Project of 2025 and how to persist on budget .
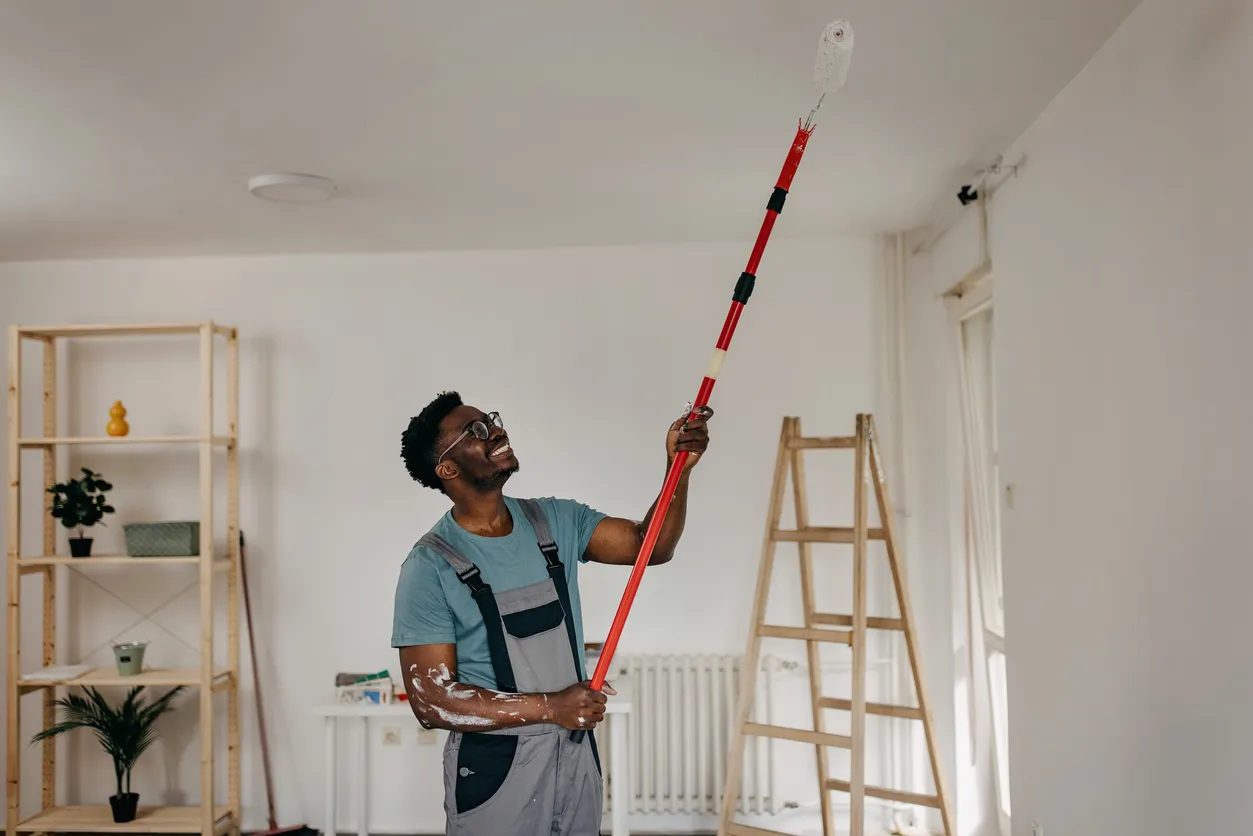
Photo: istockphoto.com
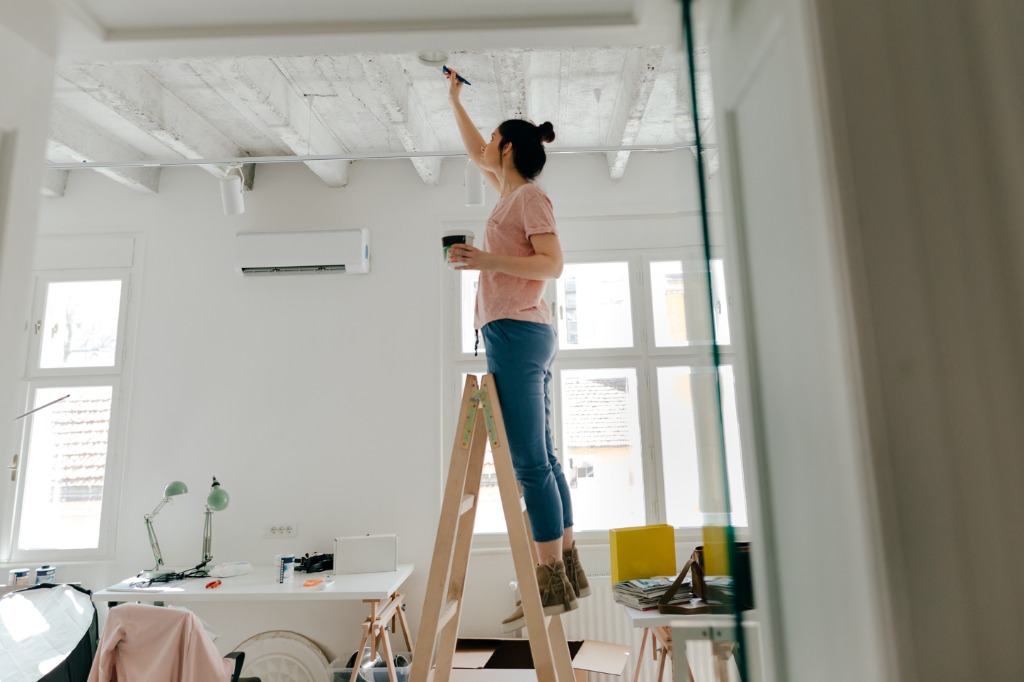
Photo: istockphoto.com
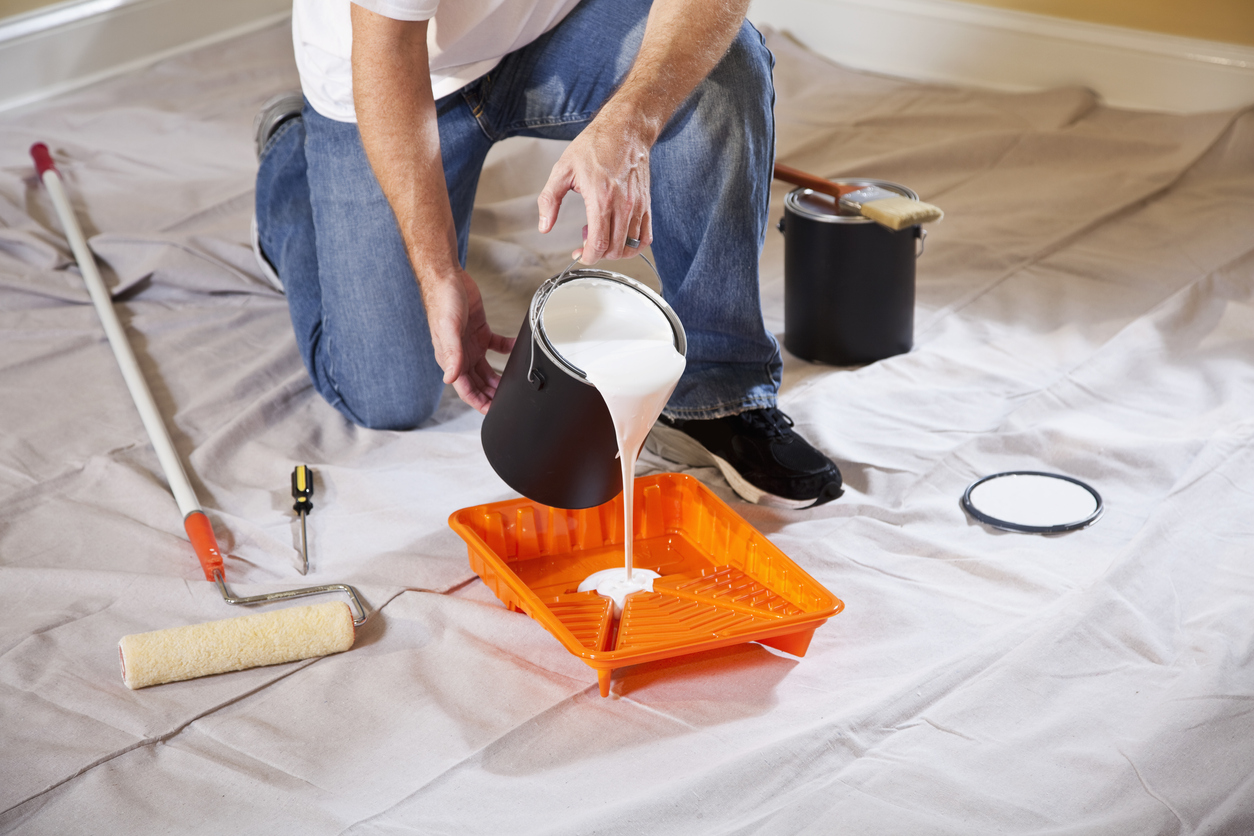
Photo: istockphoto.com
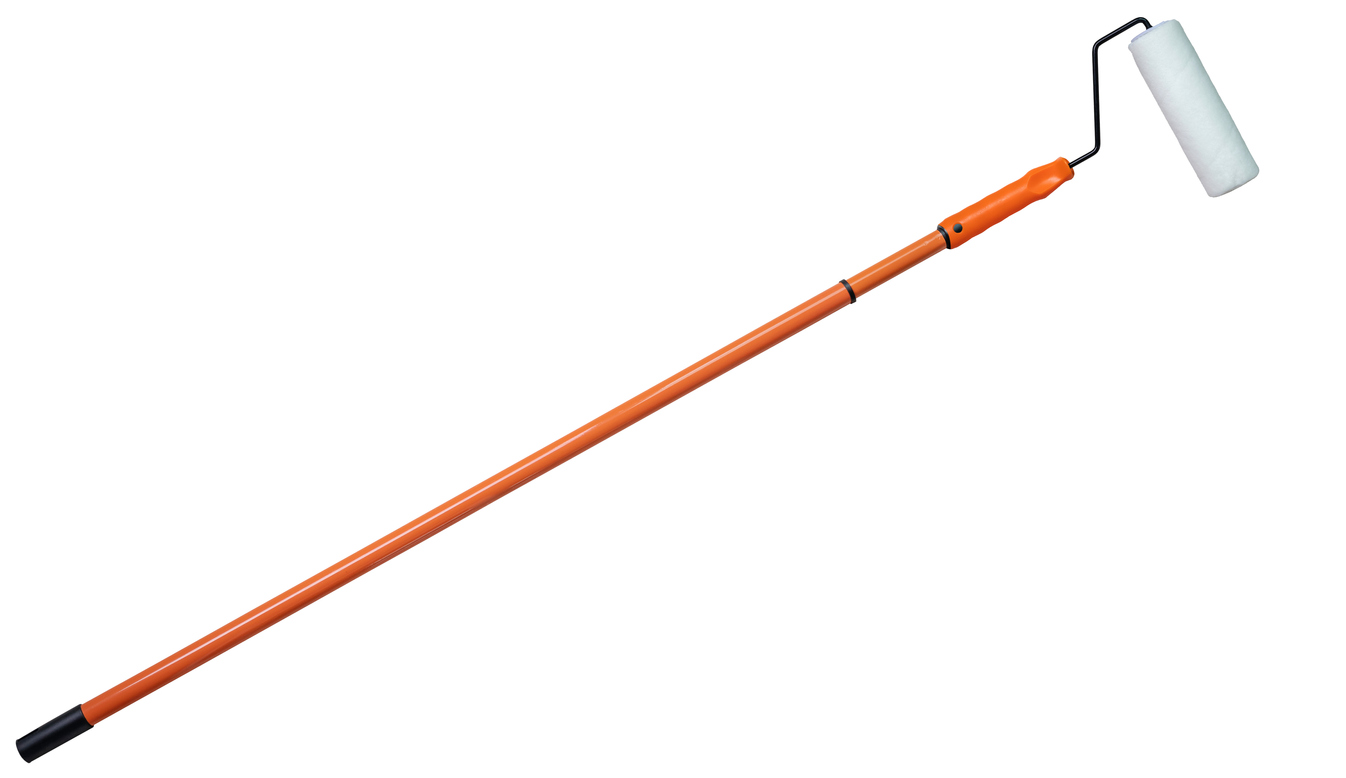
Photo: istockphoto.com
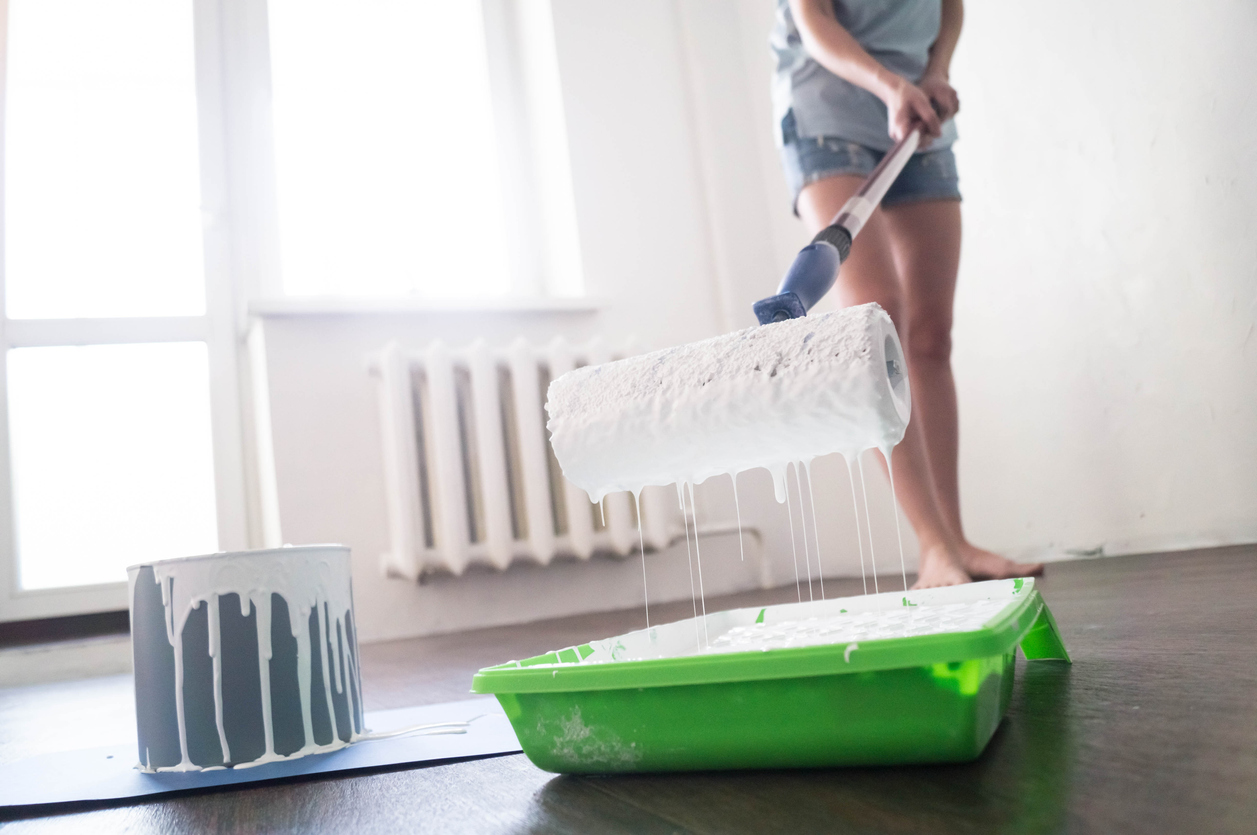
Photo: istockphoto.com

Photo: istockphoto.com

