We may earn revenue from the products available on this page and take part in affiliate programs . Learn More ›
Years ago , you buy particleboard piece of furniture at IKEA . Maybe it ’s begun to show its age , or maybe you simply no longer like the color . Either way , you’re able to — contrary to pop notion — renew your article of furniture ’s lease on life-time with a fresh coating of rouge .
The work demands a sure amount of preparation ; paint projects always do . forwards , you ’ll feel our advice about how to paint IKEA furniture to get the best results . Successfully following these steps can aid you translate the want mesa or BILLY bookcase you ’re still not ( or never will be ? ) quick to part with .
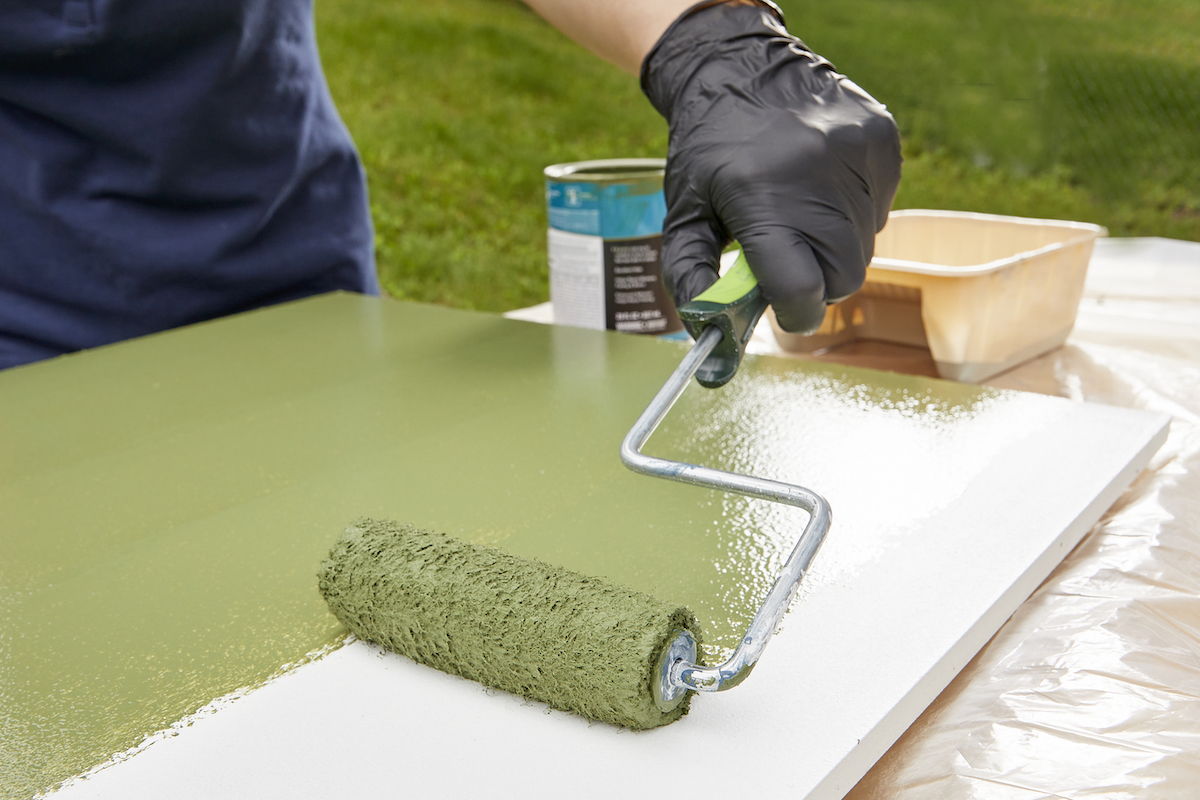
Photo: Tom Fenenga for Bob Vila
Tools & Materials
Bobvila.com may earn a delegacy from purchase made through these tie .
Step 1: Start disassembling your IKEA furniture.
When you lay out out to paint IKEA furniture , start out by draw off all the removable piece of music . That includes such things as shelves and threshold ( components that are easier to paint individually ) and ironware , such as hinge and knobs . Label each piece as you set it aside so that once finished , you ’ll know what locomote where .
Step 2: Clean any dirt and grime that has collected on the furniture.
Next , use a unobjectionable cloth to wipe down all surfaces with a intermixture of warm water and a small amount of dishwashing detergent . The objective here is to do away with any built - up grit . As you clean the particleboard , be very careful not saturate the fabric . Clean only the laminate portion of the article of furniture , not the pressed Grant Wood . Once you ’ve finished , go over the piece with a dry cloth to remove any lingering Georgia home boy residuum .
Step 3: Sand all sides to be painted.
Having earmark the IKEA piece of furniture enough time to dry altogether , go to sand the open with 120- or 140 - grit emery paper . Here , scuff the laminate enough so that thefirst primer coatcan adhere . Steer clear of sanding too sharply , which can leave the surface uneven or make the corpuscle add-in to deteriorate .
Step 4: Cover with oil-based paint primer.
When you ’ve finished sanding , pass over the sanding dust off the piece of furniture and vacuum the work area so that the detritus does n’t find its way back . Now , with a quality paintbrush , utilise a coating of oil - base primer and allow it dry out .
Tried-and-True Advice
“ IKEA furniture is middling unique in that it ’s sold in a bunch of different pieces , which the substance abuser can then assemble on their own when they get the package home plate . This intend it can also be quickly disassembled again , which is neat when you ’re repainting old furniture , since painting all the while separately is the best way to see that they each get a nice , even coating .
The problem , I ’ve come up , comes when it ’s time to reassemble the whole matter again . While not the most complicated cognitive process in the mankind , IKEA piece of furniture assembly can feel a bit like a puzzle , as anyone who ’s had to put together one of the brand ’s designs themselves has credibly experienced . Naturally , it helps to have the instructions on hand , and so I make it a point to save any included documentation whenever I buy a young IKEA product . Diagrams and gathering manuals for many of IKEA ’s product can also be regain online , which is great if you already mislay — like I always do , despite my best efforts — that documentation . ”
— Chase Brush , Contributing Writer

Photo: d3sign / Getty Images
Step 5: Apply a second coat of primer and wait for it to dry completely.
Sand the article of furniture a second prison term , this time with 400 - gritsandpaper . sporty the sawdust off the furniture and work area before applying the 2d coat of flat coat . Before you proceed to the next footprint , be indisputable to wait a few days — or as long as a week — for the ground to fully cure .
Step 6: Lightly sand and paint the IKEA furniture.
softly scuff the primed surfaces with average - gumption sandpaper , pass over away the sandpaper debris , then apply the first coat of key in the color of your choice . Do so in a thin layer , allowing a twenty-four hour period or two of dry out time .
Step 7: Apply a second coat of paint and reassemble the furniture.
Lightly sand the first coat of paint , wipe away the sanding detritus , then copse on the second , terminal coat . Give it a couple of daylight to dry , reassemble the piece of furniture , substitute the ironware , and you ’re all done .
This Is the class for a Kitchen Renovation
Whether you ’re sell or staying , everyone can get something out of a kitchen update . Learn why we look at this renovation the Most Valuable Project of 2025 and how to stay on budget .


