We may bring in revenue from the products available on this page and take part in affiliate program . see More ›
Medium - tightness fibreboard ( MDF ) is ordinarily used in furniture and rest home grammatical construction these day . An cheap , engineered wood material , MDF is a complex of sawdust and resins , combine together in a high - estrus , high - pressure process . Typically it comes in 4 - foot × 8 - foot plane and smaller project - sized gameboard ranging from 1/4 in to 1 column inch chummy , much like boards of plyboard .
But unlike plywood , which is manufactured from many thin sheet of wood veneering , MDF is free of the knots , ring , and texture of real forest . The result ? A writing that is very easy to abridge , and therefore often used for such upscale applications as customs clipping work and cabinetry . Plus , its hard , smooth open takes veneer and paint very well .
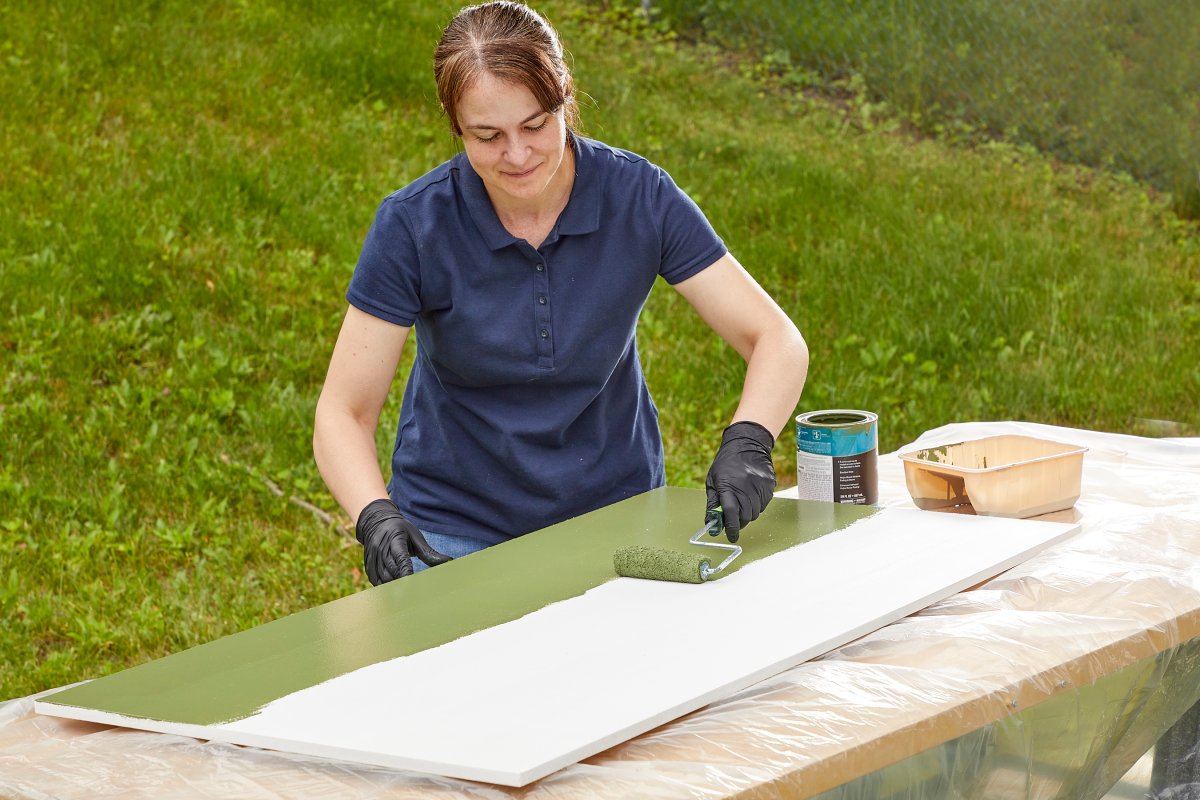
Photo: Tom Fenenga for Bob Vila
Tools & Materials
Bobvila.com may garner a commission from purchase made through these links .
Step 1: Protect the work area—and yourself.
If you ’re paint a firearm of furniture , remove any hardware and put it aside until you ’re done painting and varnish the workpiece . Then protect the work region with drop curtain cloths to make cleanup position well-to-do . MDFproduces a heap of rubble when sanded , and the fine particles can nark heart and lung , so be sure to outwear protective eyewear and a slopped - fitting debris masque .
Step 2: Prepare the MDF for painting.
Whether your MDF project has a manufacturing plant edge or has been tradition root , the sharpness must be seal to admit paint in a way that matches the smoother expression of the material . Seal the bound by run a generous pelage of filler over them with your finger . Once it has altogether dried , sand edge smooth with 220 - grit emery paper . Seal any scratches on the boldness of the MDF with filler as well , as any mars or scratches will be sorely obvious once painted . Sand the entire piece with 220 - gumption emery paper , then wipe it all down with tacking cloth to take fine junk and any remaining shit or junk .
Step 3: Prime the MDF.
Prime the MDF with a solvent - based primer , such asZinsserorKILZ . Avoid body of water - based primer , as it may cause the wood fibers to tumefy , resulting in a open that appears to have a raised grain ( no matter how much effort you put into sanding ) . habituate a brush , roller , or spray gun to apply the primer — whichever is appropriate for the project .
Step 4: Paint the MDF.
you may expend your preferred paint on primed MDF , and you may put on the pigment finish up with your preferable applier , be it a skirmish , crimper , or spray gun — whichever honest suits the project . Once the first coat of paint feel dry to the touch modality , assess if your work need a 2d pelage . If you spot any patchiness , cover the entire MDF project with another layer of pigment .
Step 5: Seal the MDF.
Allow paint to dry good . Then , utilize a sealer such as polyurethan , lacquer , or wax , if you anticipate your MDF project to get daily usance . The sealant will help preserve your paint job . For example , painted cabinet doors could benefit from an extra layer of security from wearing and tear ; MDF pennant molding , on the other hand , will be out of reach and therefore in all likelihood wo n’t need a sealer .
Step 6: Replace the hardware.
When the project is completely dry , replace any hardware you may have remove and step back to admire your work . After a coat of colour , MDF will look just like any other paint Sir Henry Wood . In fact , DIYers can make tradition trimness , wainscoting , or furniture partly with MDF and partly with wood , and once painted , the final piece will blend seamlessly together .
This Is the class for a Kitchen Renovation
Whether you ’re sell or staying , everyone can get something out of a kitchen update . memorize why we conceive this renovation the Most Valuable Project of 2025 and how to quell on budget .

Photo: Tom Fenenga for Bob Vila
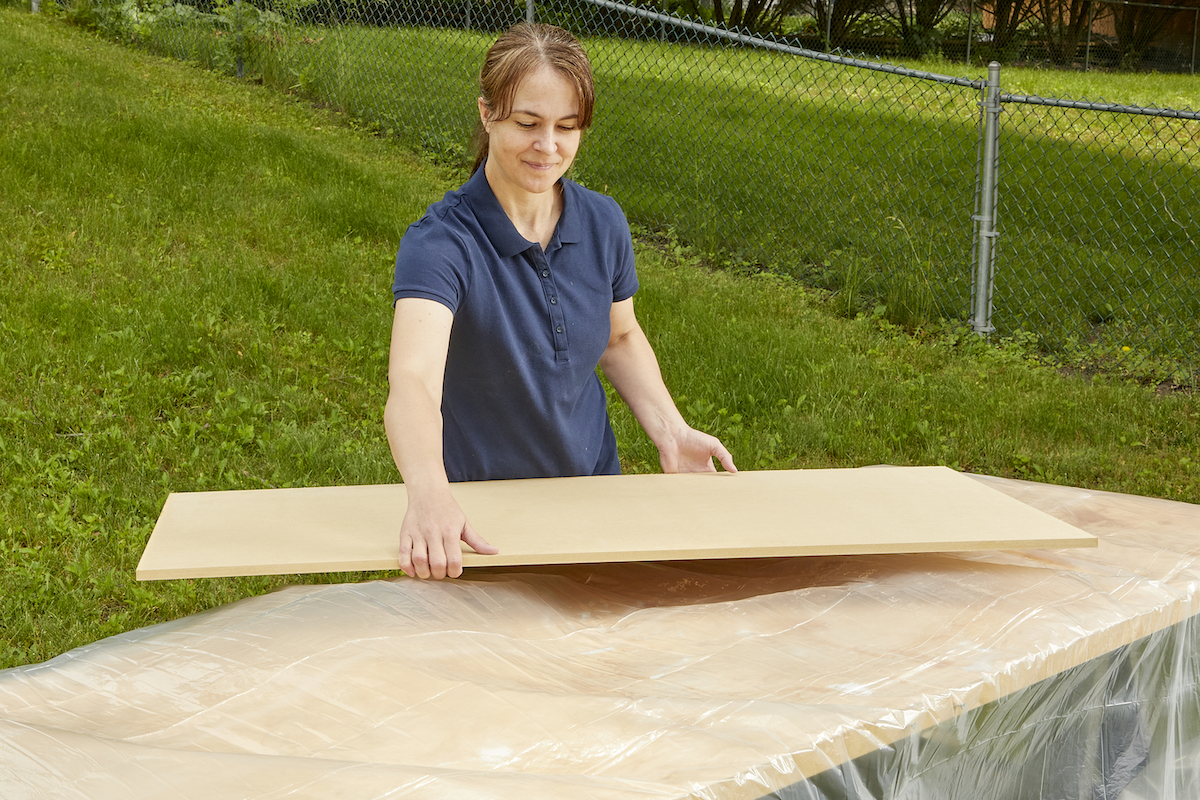
Photo: Tom Fenenga for Bob Vila
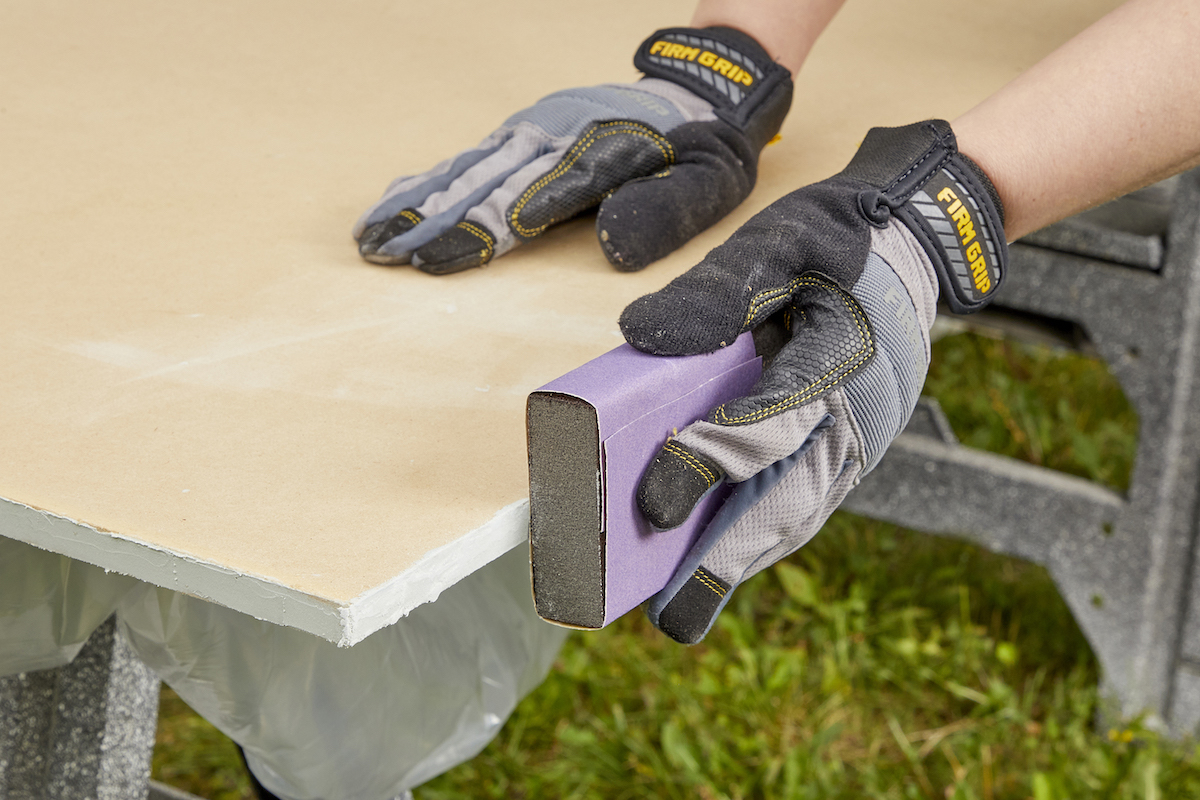
Photo: Tom Fenenga for Bob Vila
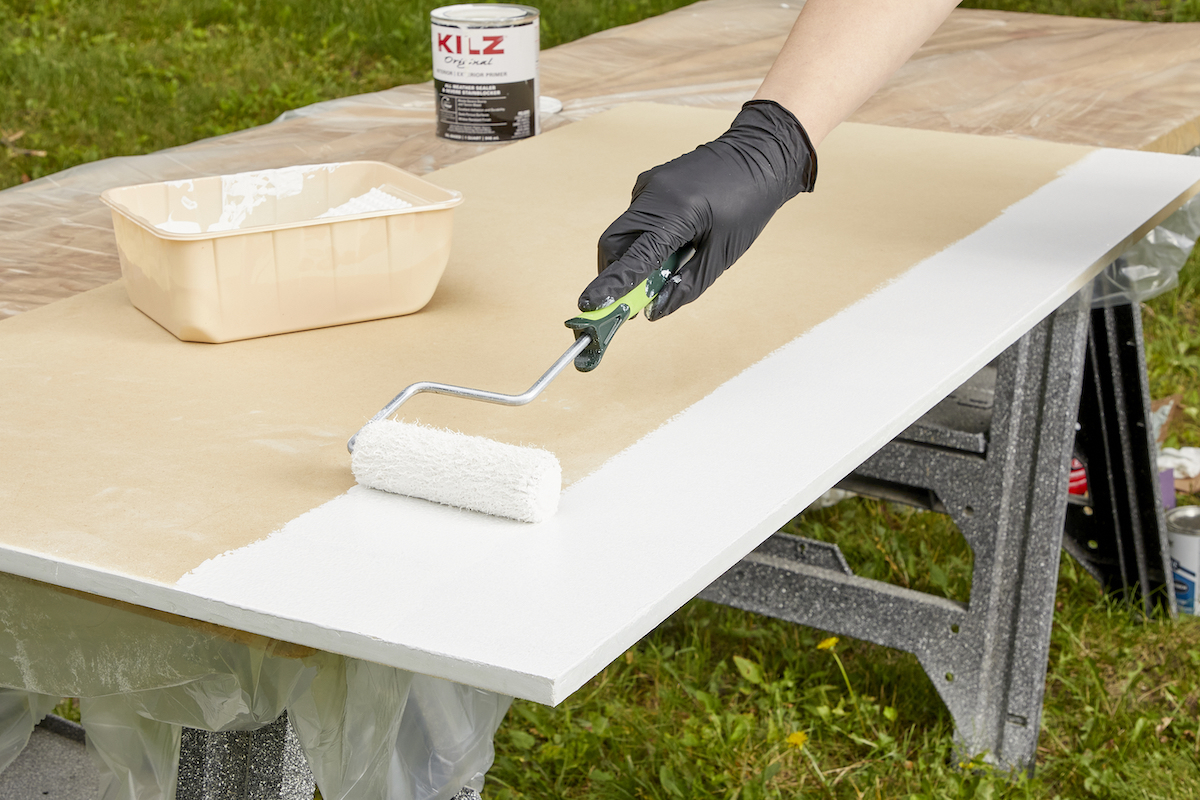
Photo: Tom Fenenga for Bob Vila

Photo: Tom Fenenga for Bob Vila
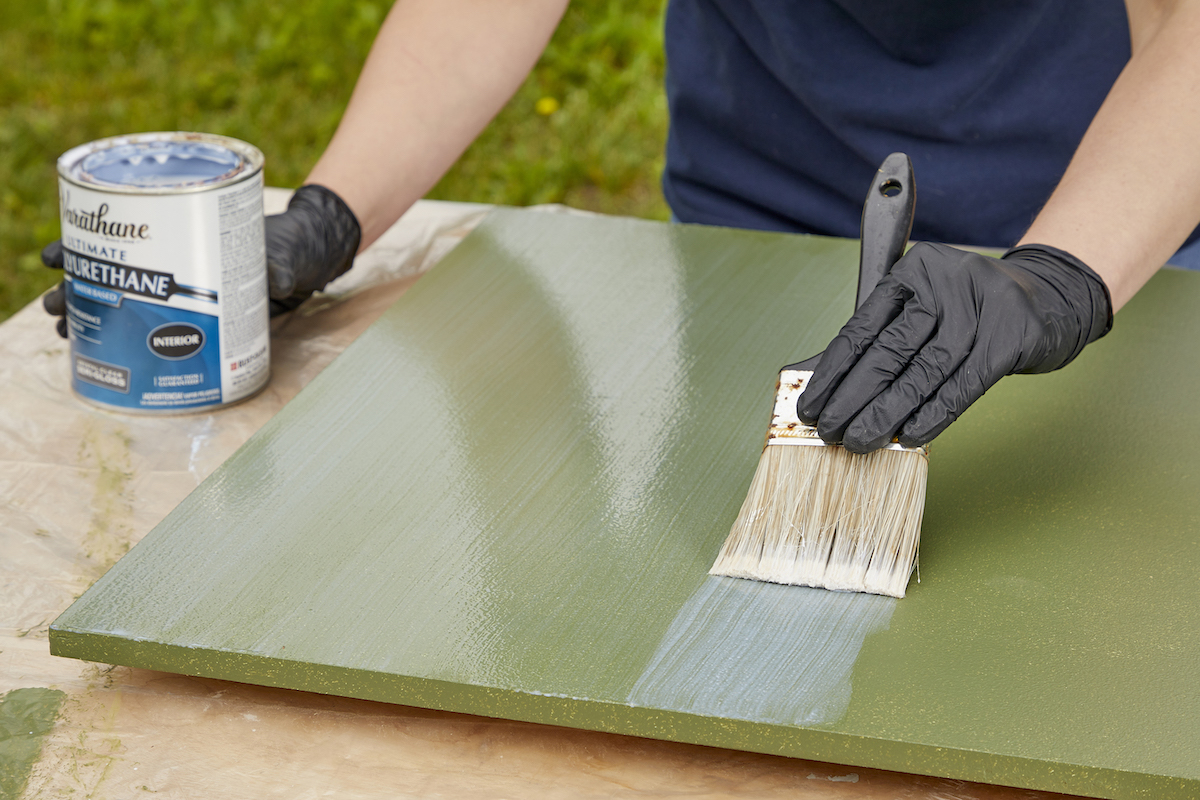
Photo: Tom Fenenga for Bob Vila

