We may earn revenue from the products usable on this page and participate in affiliate programs . pick up More ›
Looking to redo a bulwark that has been papered ? If you were n’t the one to put up the survive stratum wallpaper , any figure of imperfections — from nail holes to degraded plaster — may lurk underneath it . Another ugly truth : The wallpaper you see may , in fact , be only the top level of several applications . It ’s intemperately enough toremove one stratum of wallpaper , have alone multiple level .
If you have no programme to move , it may be deserving the effort to strip away the paper entirely and work with what ’s underneath . But if you need a quick fix , you could actually get honest results by painting over wallpaper rather than taking the paper down . Our usher will show you how to get a marque - new flavor with minimal tussle .
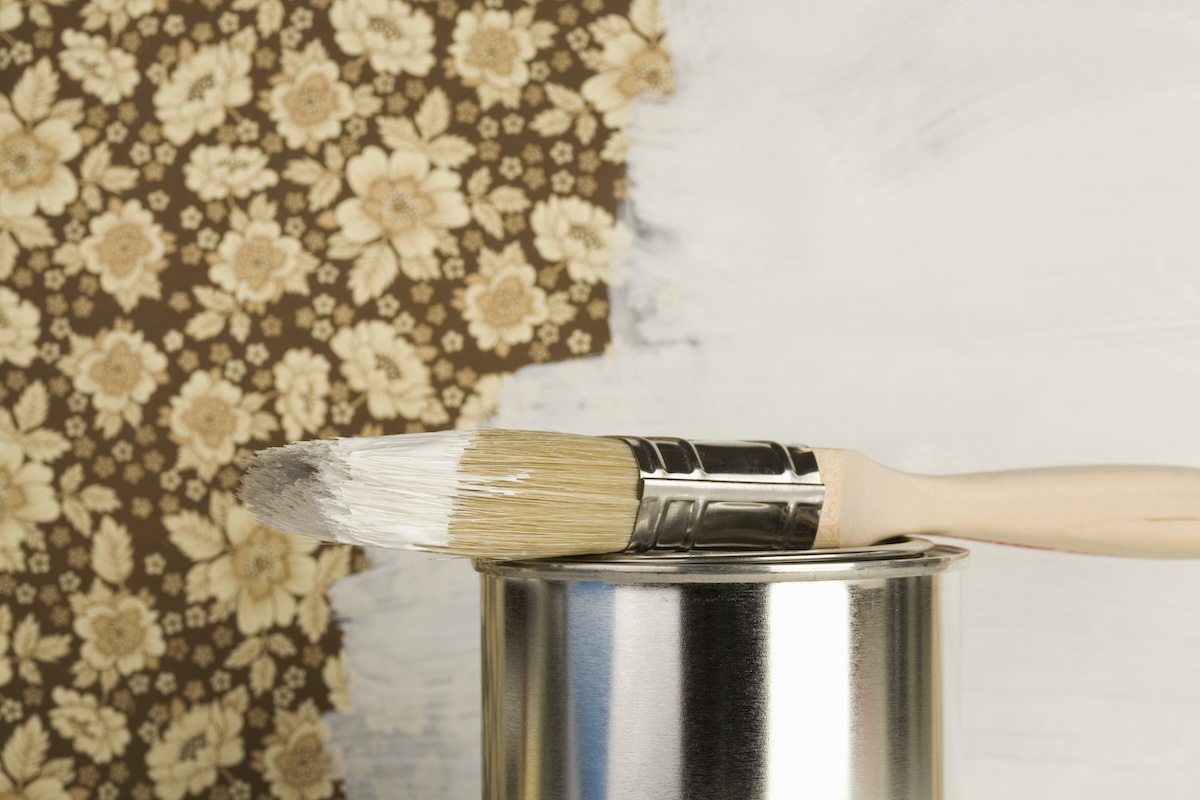
Photo: Caspar Benson / Getty Images
Tools & Materials
Bobvila.com may earn a delegacy from purchase made through these tie .
Step 1: Clean the wallpaper-covered walls with diluted TSP.
Painting over wallpaper successfully requires proper preparation . This may necessitate the counterintuitive task of remedy or replacing loose or missing sections of the wallpaper . At the very least , prepping the walls requirescleaning with trisodium phosphate , or TSP .
TSP is strong and must be diluted . Mix it with water in a bucketful , train for a ratio of 1/2 cupful for every 2 gallon of water . tight follow the producer ’s employment directions , include the label safety warnings . Adequately ventilate the room in where you ’ll be painting over wallpaper , and do n’t blank out to put on protective gear .
TSP can be lend oneself with a sponger or even an extra paintbrush . Once the TSP has dried , use a damp ( but not dripping wet ) rag to remove the chemical from the paries . Tread cautiously . Too little water and you may not get the chemical off , thereby compromise the paint ’s power to adhere . Too much water and you start the risk of damage the wall .

Step 2: Add extra adhesive beneath the paper’s top and bottom edges, then prime.
If you ’ve gone to all the worry of painting over wallpaper , peeling layer are the last thing you ’ll desire to see . One way to forestall desquamation is to apply an adhesive chemical compound where the wallpaper is most vulnerable : at the seams where it meets the ceiling and floor .
An even better plan of attack is to land up the right manner : by coating the bulwark with a combination primer - sealant after painting over wallpaper . Not only does primer - sealer denigrate the chances of shedding , but it also provides a control surface to which the paint can readily cling . Use an oil - based priming - sealer , not a water - base merchandise ; after all , water and wallpaper do n’t mix .
Step 3: Wait for the primer to dry before painting over wallpaper.
Once the bulwark are clean and you ’ve applied the primer - sealant , give the walls enough clip to dry . Check the manufacturing business ’s pedagogy for the advocate drying time .
Tried-and-True Advice
“ When I paint over pattern wallpaper , I found that applying a third , thinner coat of pigment help accomplish a smooth , hearty finish . After the first coat , I lightly sanded the wall with all right - sand sandpaper to remove any texture from the wallpaper . Then , I applied a thin second coat , just enough to cover unregenerate areas . After it dry , I add a very thin third coat . This extra step help fully block out the designing and created a smoother , sporty refinement . ”
Step 4: Apply your first coat of oil-based paint.
You are now ready to begin paint over the wallpaper . Whether or not you prefer to seal off and choice , be trusted to opt for an oil - ground blusher when you ’re ready to coat the wall .
draw near the problem as you would any other picture task : Use a paintbrush tocut in at the cornersand along edges , then lease the roller do the rest . You ’re belike going to involve a couplet of pelage to hatch any patterns when painting over wallpaper .
Step 5: Let the first coat of paint dry completely and then apply a second coat.
Let the firstcoat of paint dry completelybefore you carry on to the next one . During the interim , see sanding the wall . It ’s tedious , yes — less so if you own apower sander — but sanding minimizes imperfections and could greatly improve the finished appearance of your work . Either way , the very last footmark is to paint the top coat . When you ’re finally finished , stand back and admire the conflict . Where once there had been wallpaper you had tired of , you ’ll now see gleaming , freshly painted surfaces !
This Is the twelvemonth for a Kitchen Renovation
Whether you ’re sell or staying , everyone can get something out of a kitchen update . Learn why we moot this renovation the Most Valuable Project of 2025 and how to stay on budget .

