We may earn revenue from the product useable on this varlet and enter in affiliate programs . discover More ›
If you ’re thinking about updating a elbow room with woodwind - paneled walls , your instinct might be to start fresh , either by tearing out the paneling or by concealing it behind wallboard . Both of these choice demand expenses that may be hard to vindicate if you are on a budget . As long as yourpanelingis in comely term , the least expensive direction forward is to leave the paneling in place and paint it .
Tools & Materials
Bobvila.com may earn a commission from purchases made through these links .
Step 1: Clean the paneling with diluted TSP.
Dust , dirt , and oily fingerprints can prevent blusher from hold fast to wood pane , so your first task is to good wash the wood - panel walls with a resolution oftrisodium orthophosphate ( TSP)and water . Before you practice this toxic cleaner , put on full protective gear : full - sleeve clothing , galosh mitt , safety glasses , and a respiratory mask . undetermined window in the room to adequately ventilate it . Then , reduce TSP per the instructions on the package in a bucketful of water and pass over down the forest panelling with a sponge dampen in the root .
Tried-and-True Advice
“ I ’ve painted Natalie Wood paneling without thoroughly clean and priming , and it did n’t turn out sodding . The preparation study is important . Clean the paneling with a wet tabloid to remove all dust and grime . A bed of primer will really help the blusher and the overall ending close . A tumbler does most of the work , but a detail or sponge copse is really helpful for the gaps and coarse-textured elements on some panels . ”
— Zach Lazzari , Contributing Writer
Step 2: Lightly sand the wood paneling.
Next , proceed to light sand the paries using a technique aptly have it away as “ scuff ” ; the finish here is to make a good mechanical bond between the impanel wall and the initial coat ofprimerthat you will soon be apply . You ’ll habituate a 220 - grit sandpaper in even rotary motions to do so .
Today ’s primers are so good that you’re able to likely skip the sanding , but I think it ’s deserving doing . Even though it takes only 20 or 30 second , scuffing gives you long - lasting insurance against break away paint . Just be certain to wear a dust mask and , for health reasons as well as cleanliness , pass over away debris with a shroud cloth or damp rag as you go . ( Now may also be the metre to vacuum-clean the level so that you do n’t tag dust room to room . )
Step 3: Protect the floor from paint splatter using drop cloths and painter’s tape.
Save yourself from having to scrub errant paint drips and splatter off the story after the paint business is everlasting by laying down a bunch of old paper or a drib cloth . If there is molding or roof that you do not need the paint to inadvertently colourize .
Step 4: Apply two thin coats of stain-blocking primer.
Having finished scuffing the full breadth and height of the wood pane to be painted , give the surface its initial coat of undercoat to forbid any of the wood texture , imperfection , and the like from showing through the final coat of blusher .
Choosing the right primer is primal . For square wood , expend a water - based product ; for facing , use a shellac - establish one . While it ’s not strictly necessary to do so , you may have the primer tint to tally the shade you finally project to paint the wood panelling . One detail you absolutelyshouldlook out for ? The words “ stain - blocking ” on the recording label . This trait help hide out any knots that appear throughout the wood pane , or else you may see them phlebotomise through your weekend blusher task sometime in the future .
bulge out in with a 2 - inch high - timber slant sash encounter to cut in at corner , then keep it handy to swab away drip as you work out .
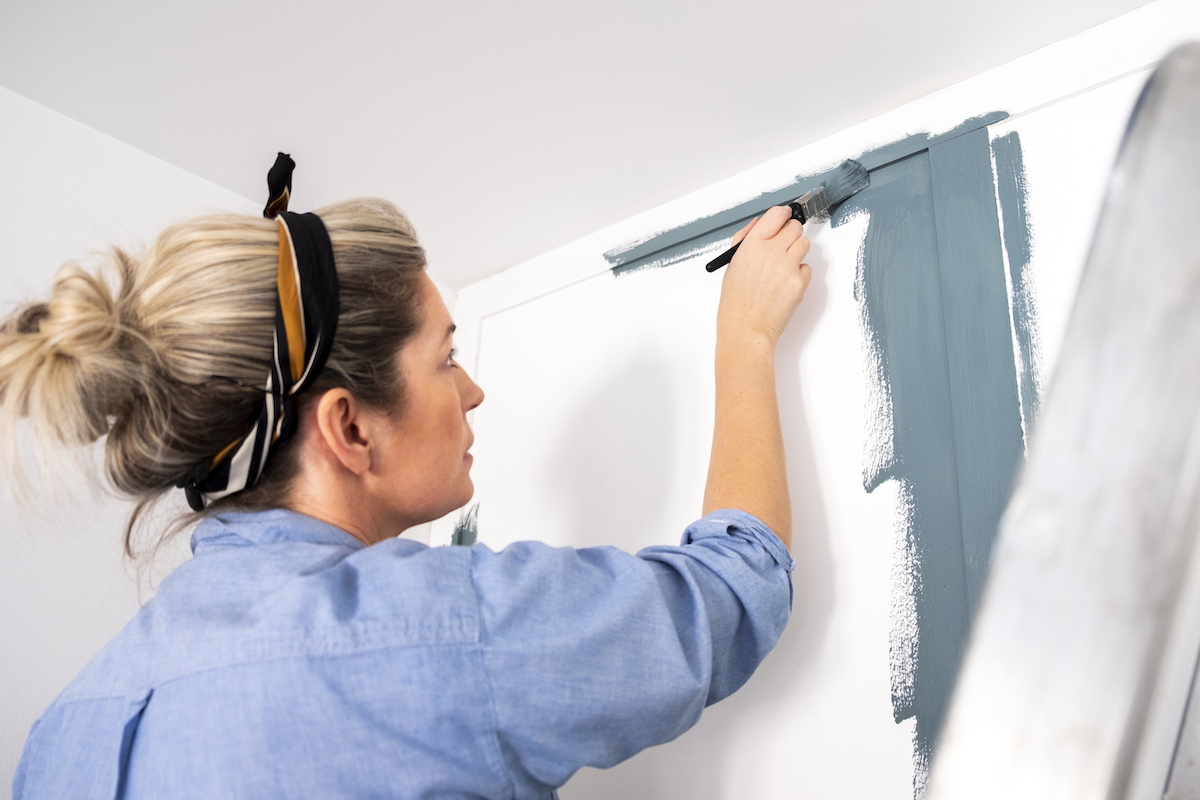
Photo: SolStock / Getty Images
Since you ’ll be covering such a big control surface , switch to a crimper for the rest period of the paint line of work — you’ll still be able to coat the grooves of paneled walls just fine . for forefend ending up with the orange Robert Peel – like texture that roller - applied paints sometimes produce , opt to habituate a foam sponge roller screening ( it ’s cheap and easy purchased at your local rouge supply store or home improvement center ) .
Two thin priming coat are usually sufficient . discipline your can of ground for instructions on precisely how long to expect between coats .
Step 5: Apply at least two thin coats of paint.
Top with your prefer paint applied in the same way as delineate in Step 4 . While you ’re rolling on the paint in thin layers , pay up confining attending to how much collects in the gore groove and wipe out any excess that might be too thick and become tacky once dry .
Lightly sand the airfoil between coats , and expect to do two or three in aggregate ( leave equal wry time between each ) . It ’ll be a weekend project for indisputable , but , when you finish , you ’ll sure look up to the dispute paint wood paneling can make in a room ! Whether you ’ve select to paint wood paneling a lighter coloring material to for a very airy farmhouse vibration or a lusterlessness black for something cozier and more dramatic , like a library , the fresh coloring material will definitely fork over upshot .
This Is the Year for a Kitchen Renovation

Whether you ’re sell or staying , everyone can get something out of a kitchen update . Learn why we see this renovation the Most Valuable Project of 2025 and how to stay on budget .

