We may realise tax income from the products available on this pageboy and enter in affiliate platform . Learn More ›
Planting bushes and shrubs can add depth and diverseness to your landscape painting . you could habituate them to add splashes of semblance to your backyard or define borders , frames , or fences around your habitation . Bush planting is also a task that most homeowners can take on themselves in a barren good afternoon , saving money on hiring a professional . Learn how to plant a bush or shrub in good order so you could watch your new landscape thrive .
Tools & Materials
Bobvila.com may earn a charge from purchases made through these radio link .
Project Overview
Working Time : 2 to 3 hoursTotal prison term : 2 to 3 hoursSkill Level : BeginnerEstimated Cost : $ 25 to $ 75 , depend on the bush or George Herbert Walker Bush
Before You Begin
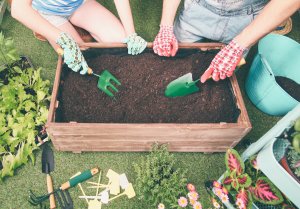
Planting shrubs is easy when the soil is moist . If you could , conceive waiting to plant until after a rain or after the sprinklers go off . cumulate your supply , include the shrubs and a shovel or trowel to assist dig and backfill . You might also desire to put on horticulture gloves to protect your hand from dirt , grunge , and any thorns you might encounter when establish .
Step 1: Consider your shrub’s care needs.
There are nearly endless smorgasbord of shrubs , many of which make out with unlike care demand . For instance , some shrubs requirefull sun , which stand for they ’ll need at least 6 hours of direct sunshine per day . Partial - sun shrubs require only 3 to 6 hours of sun , while full - shade plants should only get 3 hours max of Sunday per Clarence Day . So , check that the location for sunlight exposure is correct for a particular bush before planting .
Step 2: Plant during the right season.
Once you figure out the right spot in your yard , consider theplanting season . You ’ll want to plant bare - stem bushes in late fall , once the bush has gone dormant ( around early November ) , or wait until early springtime , before new growth educate .
Technically , container - grown or balled and burlapped shrub can be plant any time , but they tend to fare better if planted on the same schedule as bare - root selections or per the plant tag ’s way .
If you adjudicate to plant any shrubbery in late spring or summertime , success depends on your watchfulness in water the new plant bush since they can dry out quickly , stress out the still - developing deep origin organization .
Photo: istockphoto.com
Step 3: Plant the shrub in the right soil conditions.
bush and bushes typically require well - draining soil . As a normal of thumb , higher - ground areas propose best - draining soil than small - land areas , but this is n’t always true . If you ’re not sure how well your ground drain , use these pace to figure it out :
Well - draining grime drain 1 to 2 in per hr . So , if a half - in to 1 in of water has drained within 30 minutes , you ’ve found a gravid position to plant most bushes .
If most of your yard has slow - debilitate soil , you’re able to ameliorate it by tilling a radius of territory as spacious as 15 foot around the place where you ’d like to plant .
Photo: istockphoto.com
Step 4: Prepare the planting site.
Once you key the right planting site , cleared leaves , mulch , and other debris away to prepare for planting . Next , find how much space your new shrub will take when they ’re matured , and space the George Bush accordingly . Place markers or dig shallow holes to indicate where each plant will go .
Step 5: Dig a hole for the bush.
The right agency to dig a hole count on the shrub or bush you ’re planting .
Dig a hole two or three times as wide and deep as the root ball . flatten out the soil at the bottom of the trap or raise it slightly in the middle to promote drainage .
Once inserted , the top of the root nut should sit loaded with the top of the trap if you flattened the bottom , or it should climb an column inch or so above it if you sum a mound to promote drain .
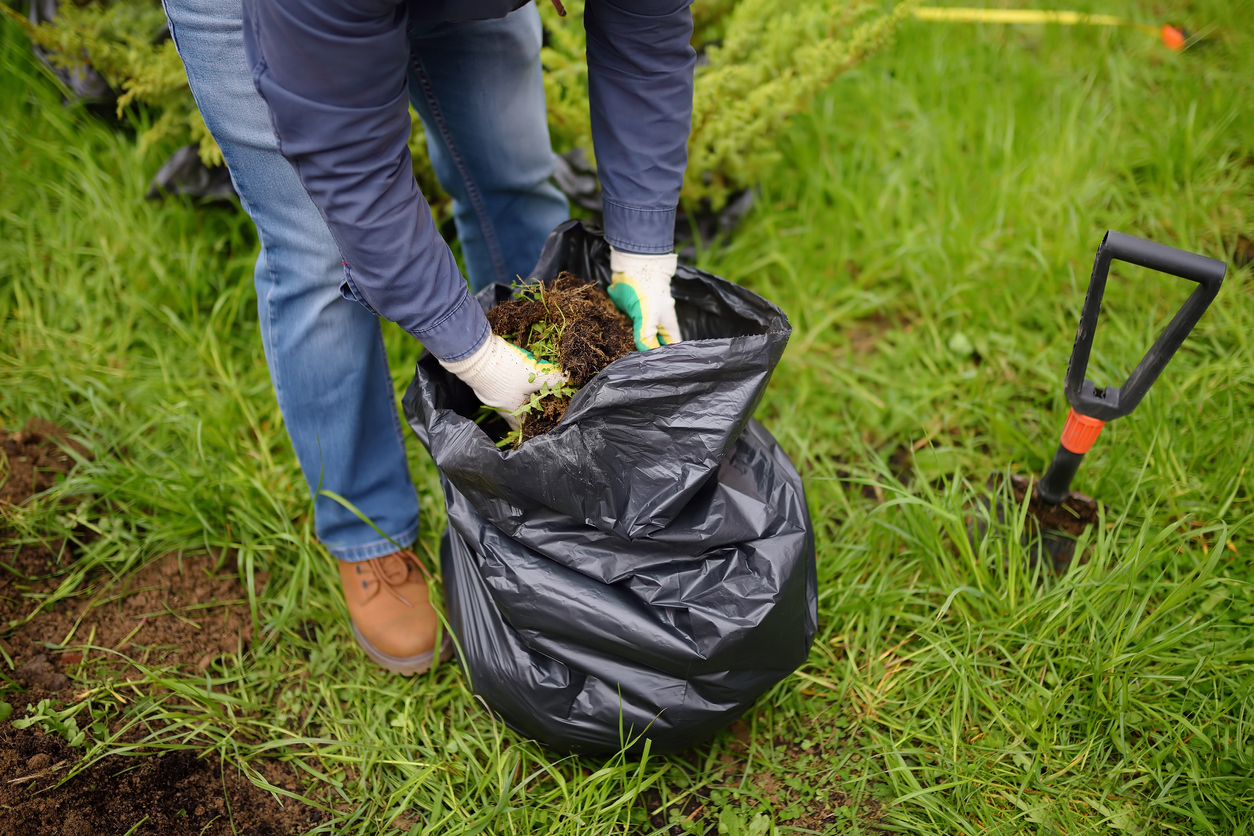
Photo: istockphoto.com
A few hours beforeplanting , inebriate the roots in water . Then dig a hole roughly tantamount to the deepness of the land in which the shrub was originally plant ( the plant ’s tag end may indicate this , or you’re able to estimate from the soil print on the bole ) . Avoid planting too far down since doing so can prevent O from touch the roots .
build up a tenuous cone shape at the bottom - center of the hole , but make indisputable the hole is all-inclusive enough to conciliate the shrub ’s spreading roots .
Step 6: Set the bush.
lightly set the plant into the hole to quiz its deepness ; make any necessary allowance at this point . Orient the plant so that its most attractive side present out .
If you ’re institute a burlapped plant , you do n’t need to remove the gunny completely unless the fabric has been treat or contains vinyl . Typical burlap is biodegradable . Instead , peel the gunny back from the automobile trunk to about the top third of the root ball . Take off any plastic , wood , or wire still attached to the bush .
If your container - grown George Walker Bush has tightly loop radical , use your hand or a tongue to carefully loosen and separate them . Bare - rooted Bush do upright if you spread the roots over the cone cell shape you created along the bottom of the planting hole .
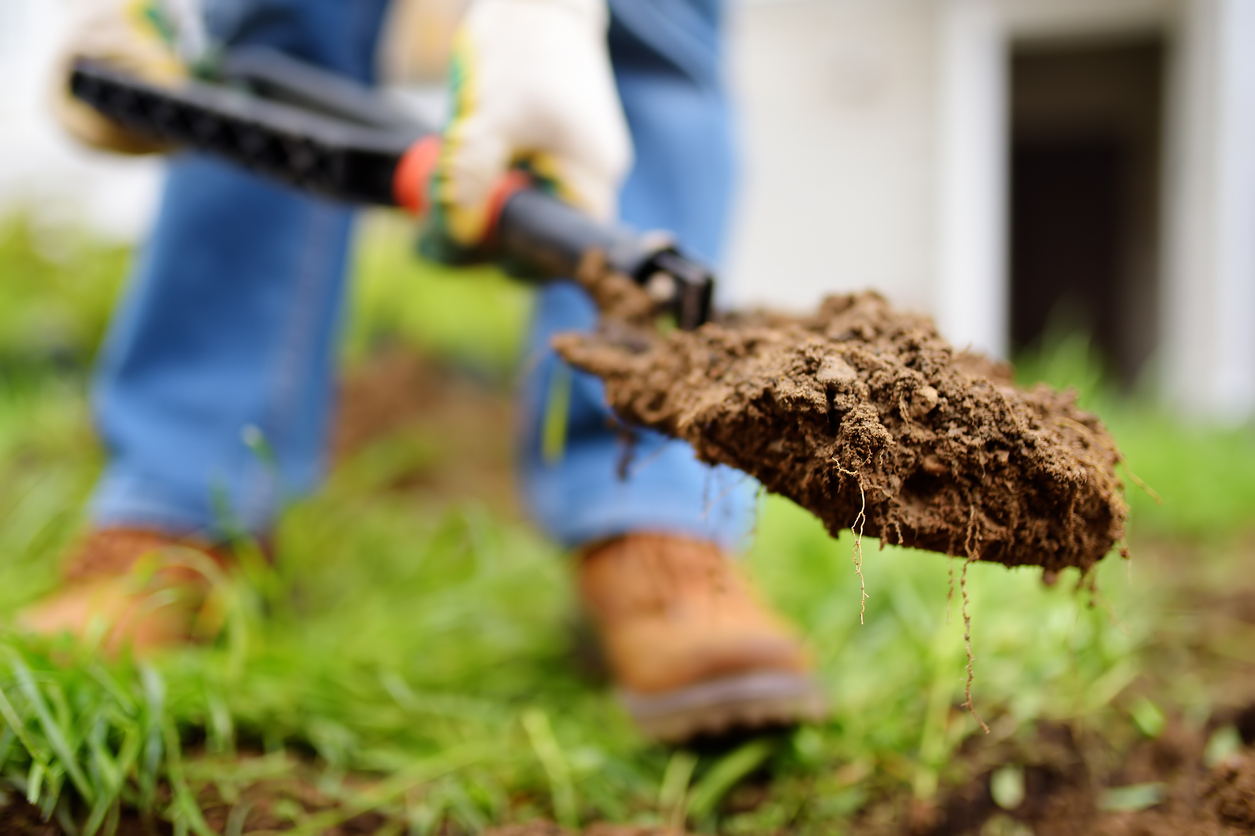
Photo: istockphoto.com
Step 7: Backfill the hole.
After placing your shrub in their various hole , backfill each hole so that it ’s flush with the rest of your landscape painting .
Step 8: Don’t add fertilizer.
Fertilizing fresh establish bushes is not commend since the N in plant food can accent and inhibit spring up root systems . In most example , you should wait at least a year before applyingfertilizer .
As is always the typeface for gardeners , there are some exceptions to the regulation . If you try out your grunge and determined that it ’s sternly nutrient lacking , total fertilizer might be in purchase order . In this pillow slip it ’s a undecomposed idea to consult an expert on the fussy shrub you ’re institute , which could be the nursery or grower you corrupt it from , to see what they recommend .
Step 9: Add mulch.
Apply a 1- to 3 - inch level of mulch over the topsoil , taking concern to keep the piled mulch 3 to 5 inches away from the shrub ’s trunk or main radical . Mulchinghelps defend wet and insulate the tooth root from temperature fluctuation . Bark mulch and wood chips are both suited for most shrubs .
you may also apply straw or hay , but they moulder quickly and requires frequent replenish . It commonly does n’t look as nice as bark mulch or Mrs. Henry Wood scrap , either .
Step 10: Water the new plant thoroughly.
After plant a President Bush , weewee it easy and exhaustively , guarantee the stem ball and soil are fully saturated . To show an on-going lacrimation agenda , consult the grower ’s direction but keep in judgment that fresh planted shrubs postulate more water their first season in the background than they will the next yr . Most young shrub do good from everyday lacrimation for a week or two , followed by 3 weeks to 3 months of tearing every 2 to 3 days . Then irrigate it every calendar week or so , depending on your weather and climate .
Final Thoughts
acquire how to plant shrubs yourself can carry through you draw of money on landscaping costs , while raise the look of your yard . When you ’re done planting , weigh find out how toprune shrubsto promote their wellness and preserve their appearing over time .
Our Best Advice for Beginner Gardeners
We ’ll help you lay up your first garden — whether that ’s a few pots on your patio , a raised layer , or an in - basis plot of ground out back — and take the right plants for your soil and neighborhood .

Photo: istockphoto.com
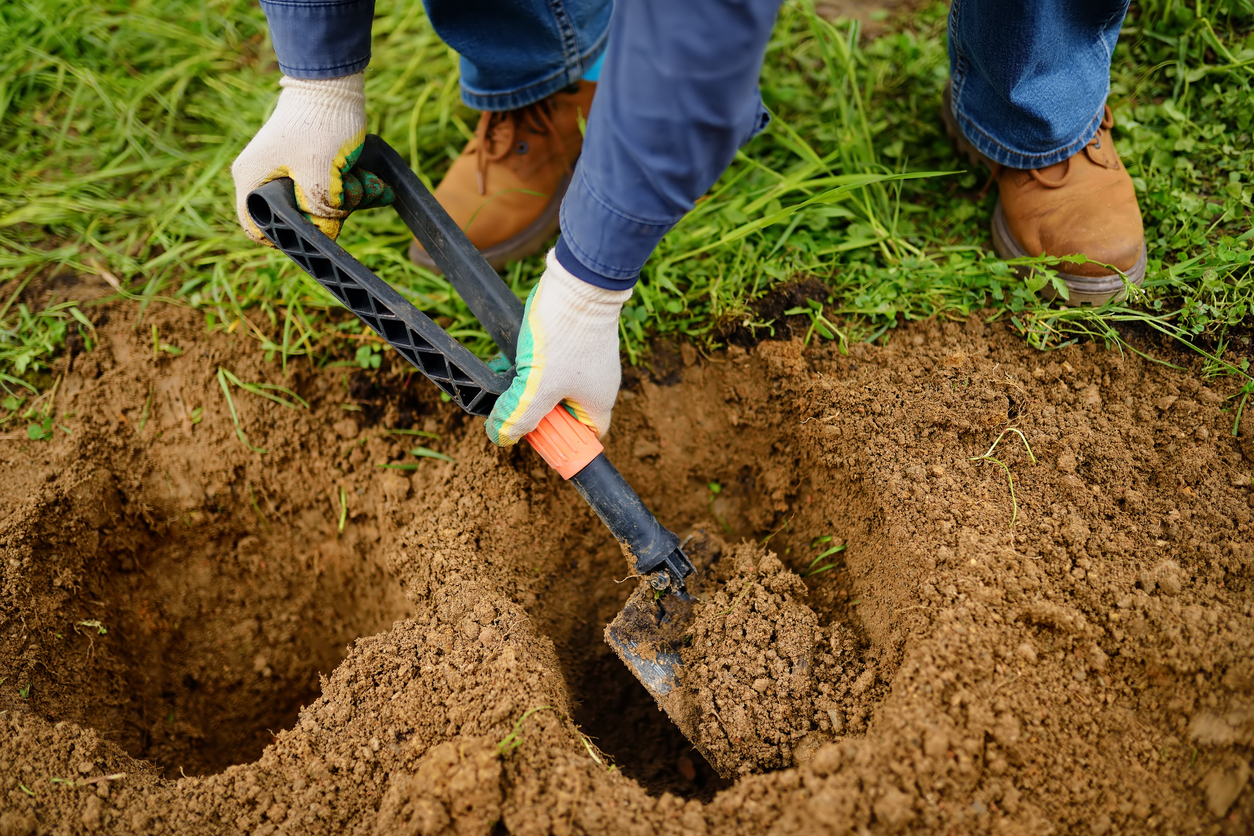
Photo: istockphoto.com
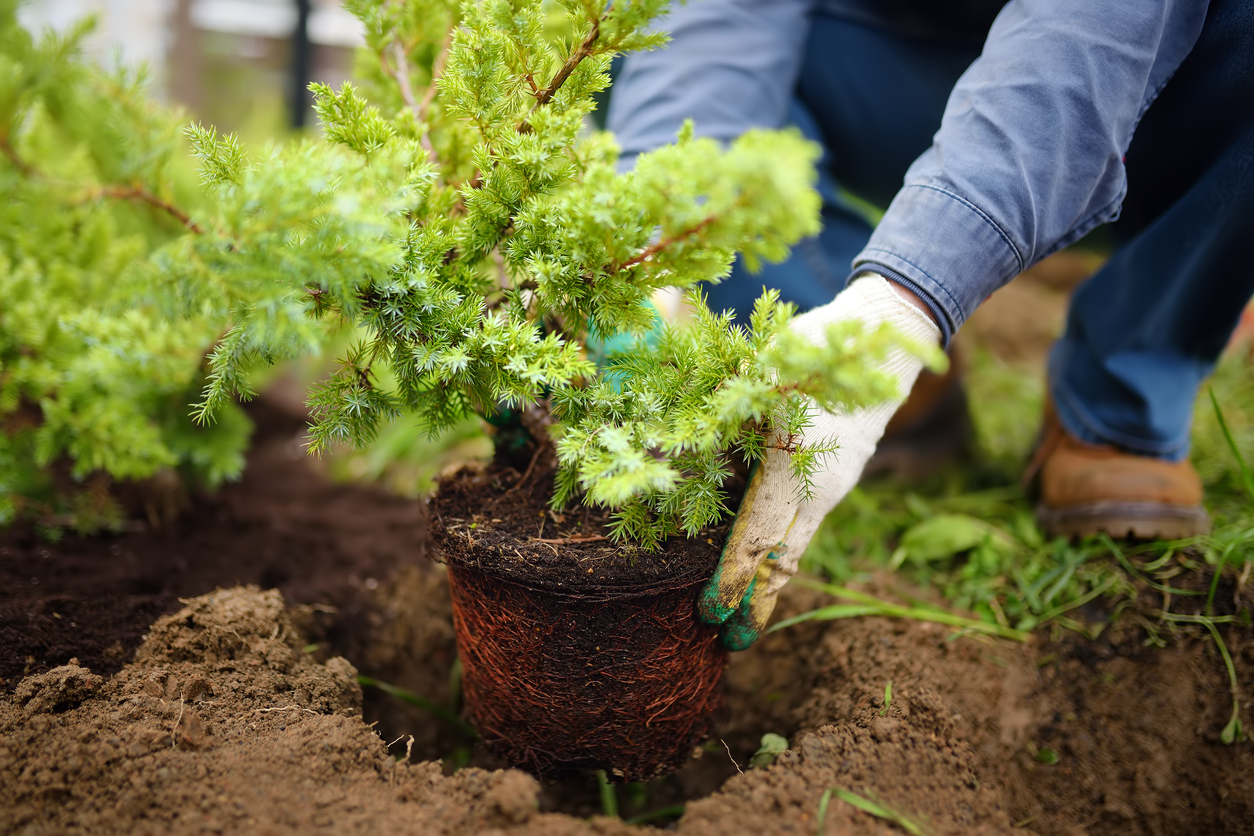
Photo: istockphoto.com
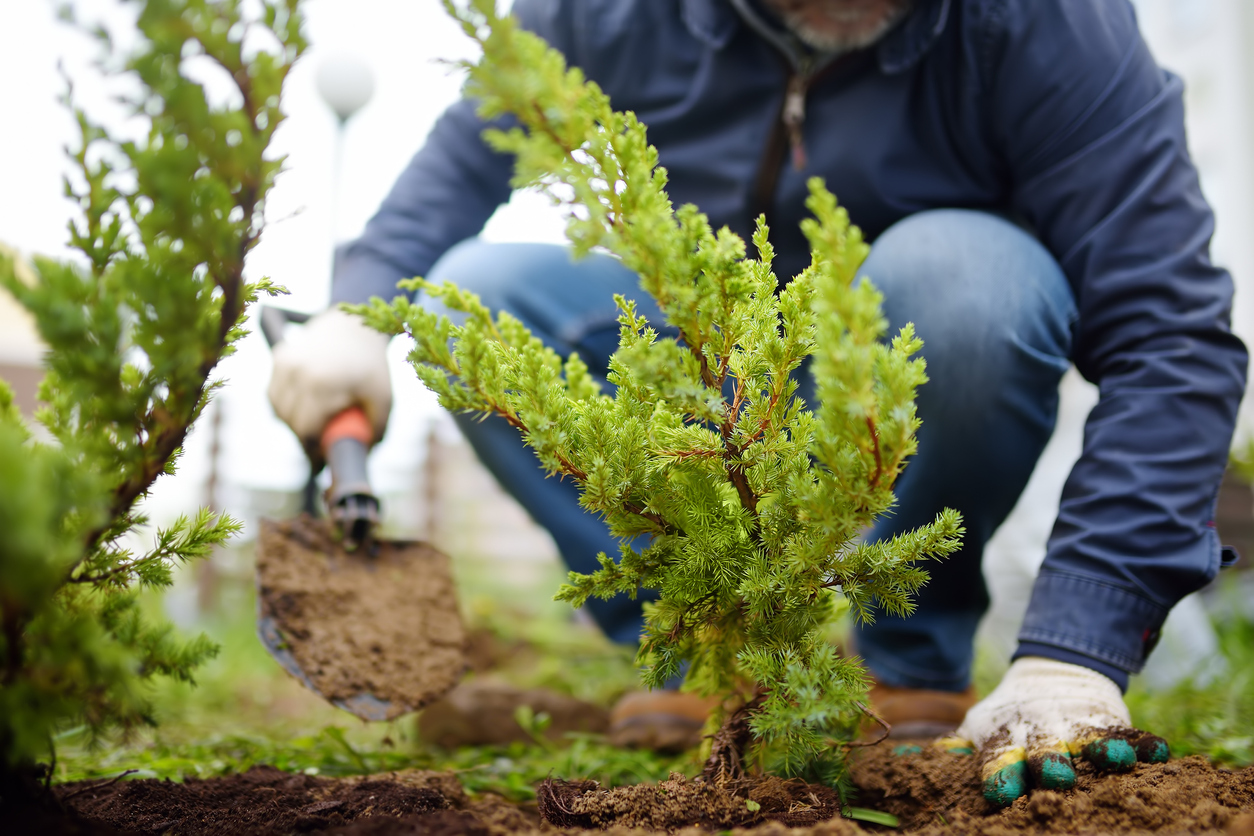
Photo: istockphoto.com
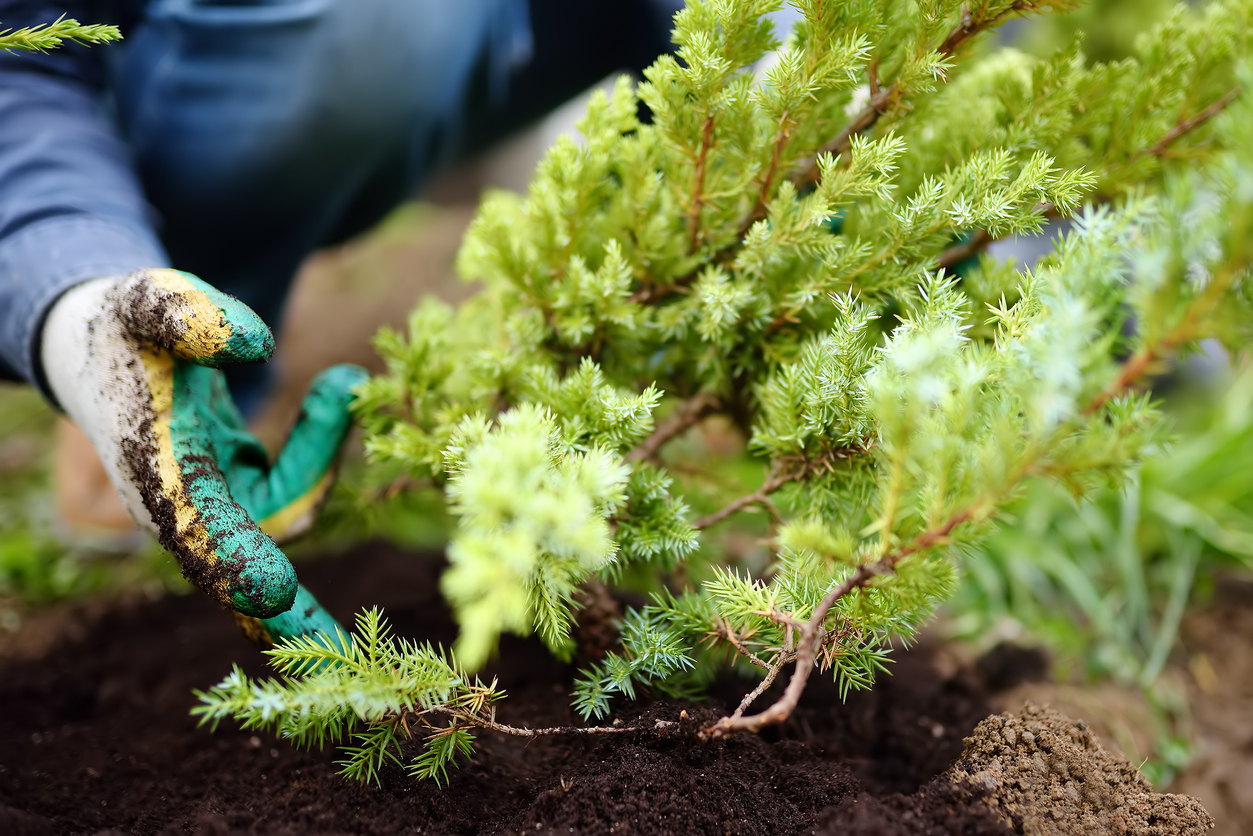
Photo: istockphoto.com
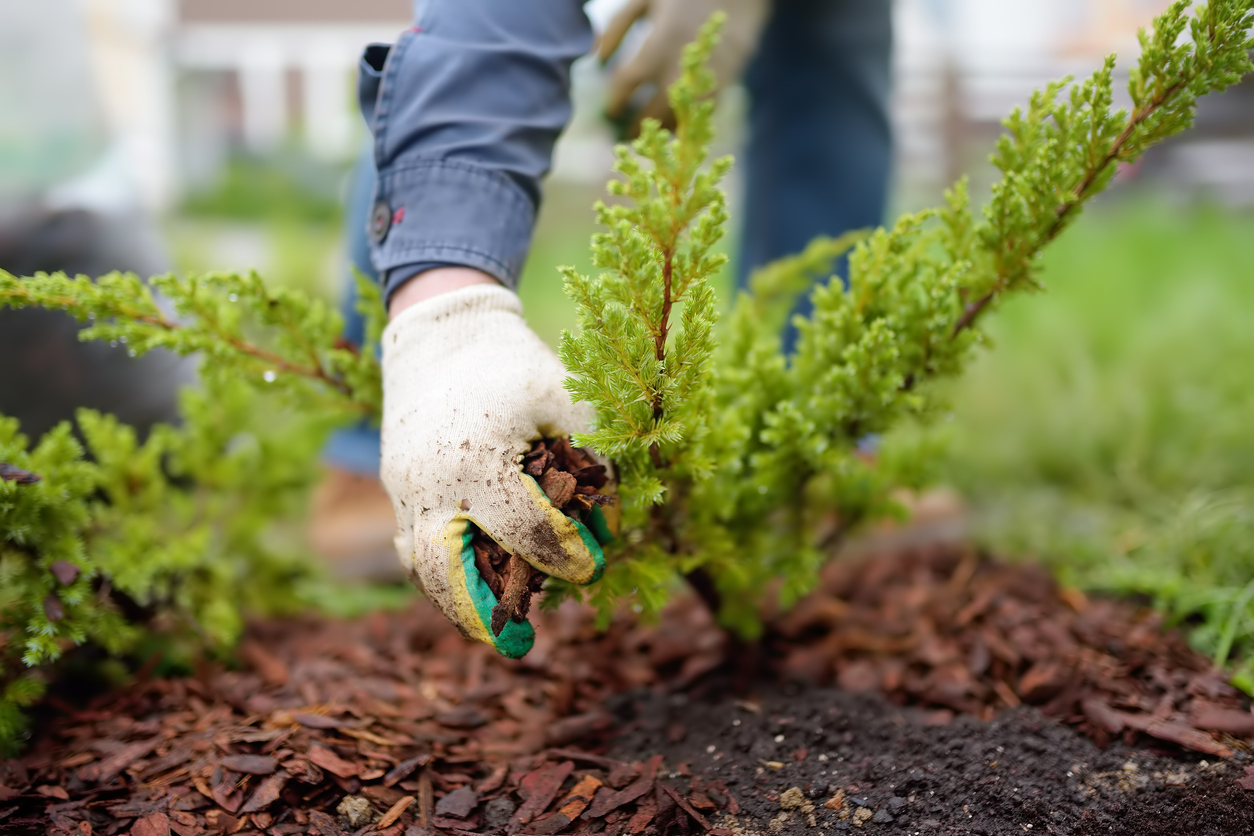
Photo: istockphoto.com
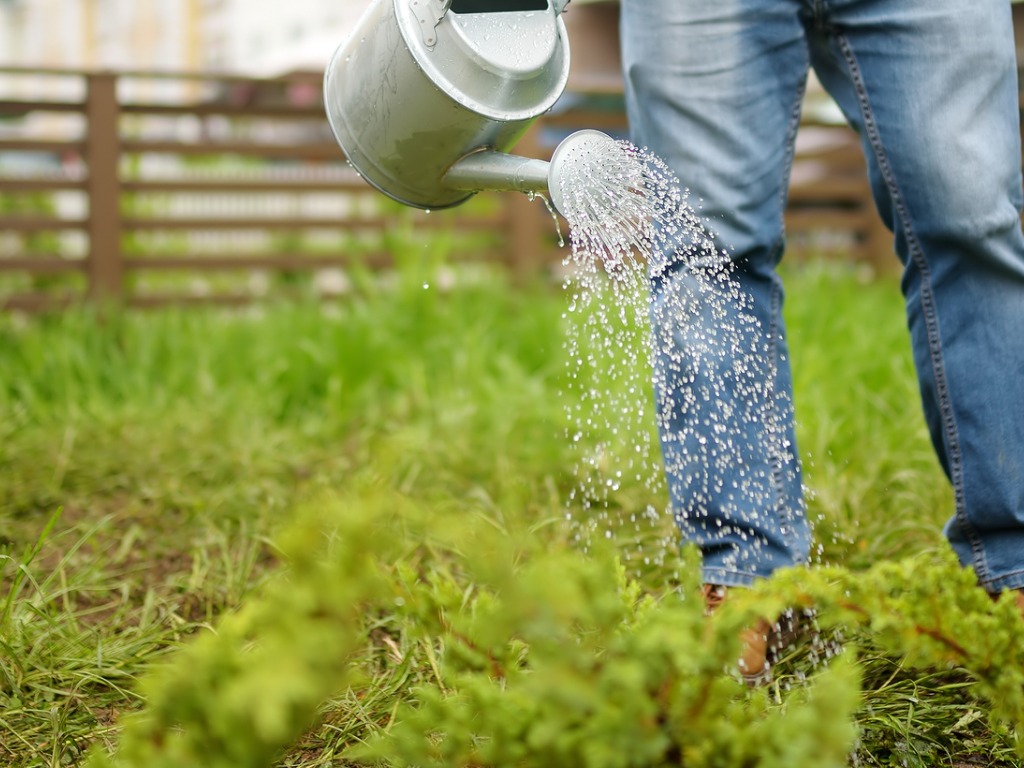
Photo: istockphoto.com