We may earn revenue from the production available on this page and participate in affiliate program . Learn More ›
cover your wall with a large floor - to - ceiling mirror seemed like such a good idea back in the 1980s , but a lot has change in the past 40 year . Today , that expansive feature film can really date an Department of the Interior . Homeowners are even looking to do aside with heavy , unframed mirror in the bathroom that cross the paries from countertop to ceiling for something with more shape and personality .
The right word is that , ripping out a paste - on wall mirror and patching the wall underneath is a DIY that patient homeowners can do so themselves . The wall repair work can vagabond from patching divots to skimming coating and sanding the integral wall , reckon on how cautiously you ’ve removed the mirror and adhesive .
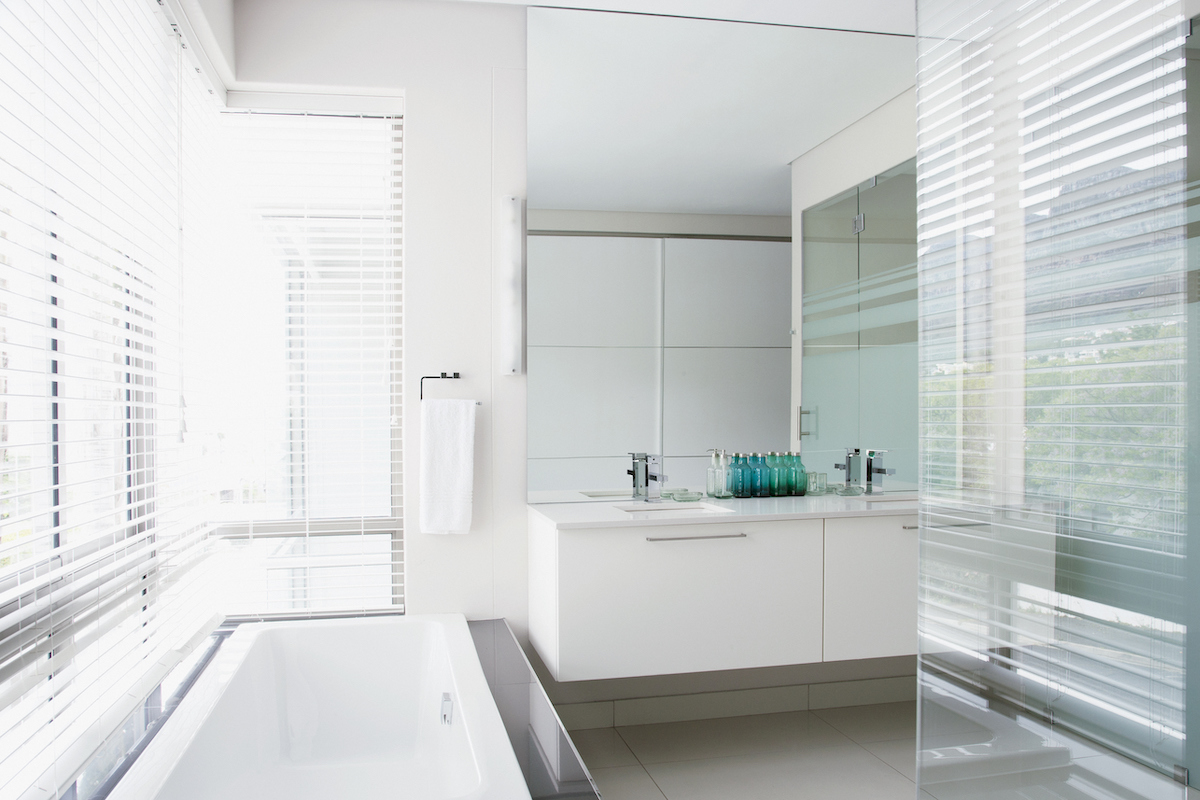
Photo: Martin Barraud / Getty Images
3 Ways to Remove a Mirror That’s Been Glued to the Wall
These are the three method for have down a wall mirror that ’s been mounted with glue . The solutions rank from slow and neat to quick but dangerous and messy :
1. Saw and slice.
Starting at an outside corner , you slide a telegram figure between the wall and the mirror and make the saw back and forward to dilute through the adhesive material . This method requires a lot of physical endeavour and can be frustrating because the wire clog easy with adhesive .
2. Smash and grab.
This method involves using a hammer to smash the wall mirror , and then using a hair dryer and a 3 - inchputty knifeto pry off the remaining adhesive portions . This is the the fastest removal method acting , but it ’s also the most grievous and leave behind the large mess . Even with careful vacuuming and cleanup , you may find glass opus in the way month after the fact .
3. Heat and pry.
This method demand fire up the glass roofing tile with a hair dryer in ordering to moderate the adhesive behind it , then lightly prize the roofing tile off the bulwark . Though this method takes the long , it results in the least glass breaking and removes the most adhesive .
We commend using the hair dryer method because it leaves your rampart in the dependable shape , and saves you time during the patching phase . See below for step - by - step educational activity for removing a wall mirror using this method . Plan to set aside a full day for your work .
Tools & Materials
Bobvila.com may earn a commission from purchase made through these links .
Using Heat and a Putty Knife to Remove a Wall Mirror
Step 1: Wear personal protective equipment and clothing to prevent injuries.
Dress in long sleeves , farsighted pants , and work boots to protect skin and feet from any fall deoxyephedrine . Wear heavy leather work gloves and middle protection at all time , from beginning to final cleaning .
Step 2: Prepare your work area for easier cleanup later.
Spread a wakeless canvas drop cloth cloth below the tile , extending it far as possible into the room to get any shards of glass . Relocate a metal garbage can to your work area and design to empty it often throughout this process — glass is heavy , so you wo n’t want to wait to hale it all out at the ending !
Step 3: Cover the wall mirror tiles with self-adhesive contact paper.
disrobe off the back of a self - adhesive shelf or drawer liner and practice the sticky vinyl film across the mirror , pressing it firmly against the meth . This should hold broken piece together and greatly reduce the peril of flying glass . Plus , it provides a safer workings surroundings and faster cleanup .
Then , if you are in fact dealing with tiles and not a single stretch of unframed mirror , piece around each tile with a usefulness knife to separate the tiles .
Tried-and-True Advice
“ When I was removing a bombastic , glue - on wall mirror , I realize how of import it was to have extra living in case the mirror suddenly detached from the wall . Before starting , I positioned a sturdy whole step ladder sideways in front of the mirror , and put a thick towel over it to act as a padded roadblock . This setup gave me serenity of mind , knowing that if the mirror fall on the loose by chance , it would n’t come down to the ground and shatter .
I also asked a admirer to help , which made a vast difference . accept an extra set of hired hand to brace the mirror as I figure out made the cognitive process much safer and more manageable . charter these forethought can save you a lot of strain and prevent potential stroke . ”
— Paul Rankin , Contributing Writer

Step 4: Heat and pry the tiles off.
set about in an region ( either a side or corner ) where you will have the most room to squeeze a large dry wall knife between the wall and the mirror . Pick a side of the mirror that does n’t butt on up against a paries or countertop . Then , heat one entire glass tile or , on a large bathroom mirror , the area closest to the prying edge with your hair drier go under on eminent heat for a few minute of arc so that it warms the adhesive material behind the mirror .
skid a 3 - inch putty knife behind the tile and move it around to help you locate the adhesive agent . Every installation is different , but glue typically goes on in five blob per tile — one near each corner , and one in the middle of the ice — and not immediately around the edge because that would have risked adhesive bleeding out the seams . Once you ’ve reach the patch of adhesive material , then partially err a 6 - inch wallboard knife slightly under the deoxyephedrine tile to start branch it from the rampart enough to insert a small pry bar prevention .
Carefully wedge the pry saloon in near one adhesive arena , and softly pry bar to force the tile out slightly . If you pry against the wallboard knife rather than the bulwark , you ’re less likely to scratch up , scuff , or otherwise damage the wall behind the mirror with your tools . Add more heat to soften the gum as necessary .

recapitulate at each adhesive location until you feel the entire tile has loosened . Once you pry it up enough to get your finger under , you could grab its bound ( carefully ) with your hand and pop it off . From that distributor point on , after you ’ve build what pattern the glue go on in during the installation , heat the mirror only in the arena directly above the adhesive . That ’ll speed up up the project .
Step 5: Remove adhesive that didn’t come off the wall with the mirror.
Inspect the wall that the mirror was on for remaining adhesive . expend the hair dryer and the 3 - inch putty knife to scrape away all remaining adhesive material , even if it tears off the wallboard paper . you’re able to patch that in the next step .
Step 6: Repair the wall.
Forty - five to 90 moment later , after the gear up chemical compound has temper , apply a stratum of top-hole chemical compound . Why switch ? A top-hole compound is promiscuous to spread or “ feather out ” with a knife and sand than fast - determine compounds . Again , apply and let it dry out amply for the amount of time recommended by the manufacturer . Then , sand the wall in full .
If the Earth’s surface looks terribly uneven , skim - coat the wallwith a thin coating of lightweight joint compound and sand when dry .
With all mirror and adhesive off and imperfections fill up , your repaired wall is quick to prime the total paries with a high - calibre drywall priming and paint .
This Is the yr for a Kitchen Renovation
Whether you ’re selling or staying , everyone can get something out of a kitchen update . Learn why we regard this overhaul the Most Valuable Project of 2025 and how to stay on budget .
