We may earn tax income from the production available on this page and enter in affiliate broadcast . study More ›
Though caulk often lasts for years , it does n’t stick around constantly . If yours has become discolor , has break cracks , or has begin to divide , it ’s sentence for a fresh app program . Before you canlay down a young bead of caulk , however , you must get rid of the caulking that ’s already in berth . Though it ’s not overwhelmingly unmanageable to remove caulk , the job can be tedious . In any case , it ’s secure to experience what case of sealant you ’re dealing with .
Inspect the caulking to determine whether it ’s silicone- or water - based . While silicone - based caulk is cartilaginous and somewhat stretchy , the water - based material is substantially voiceless and tend to break away away . Some caulk removers work on both case ; others only figure out with one or the other . nullify a coming back trip to the storage and be aware of what you ’re purchasing .
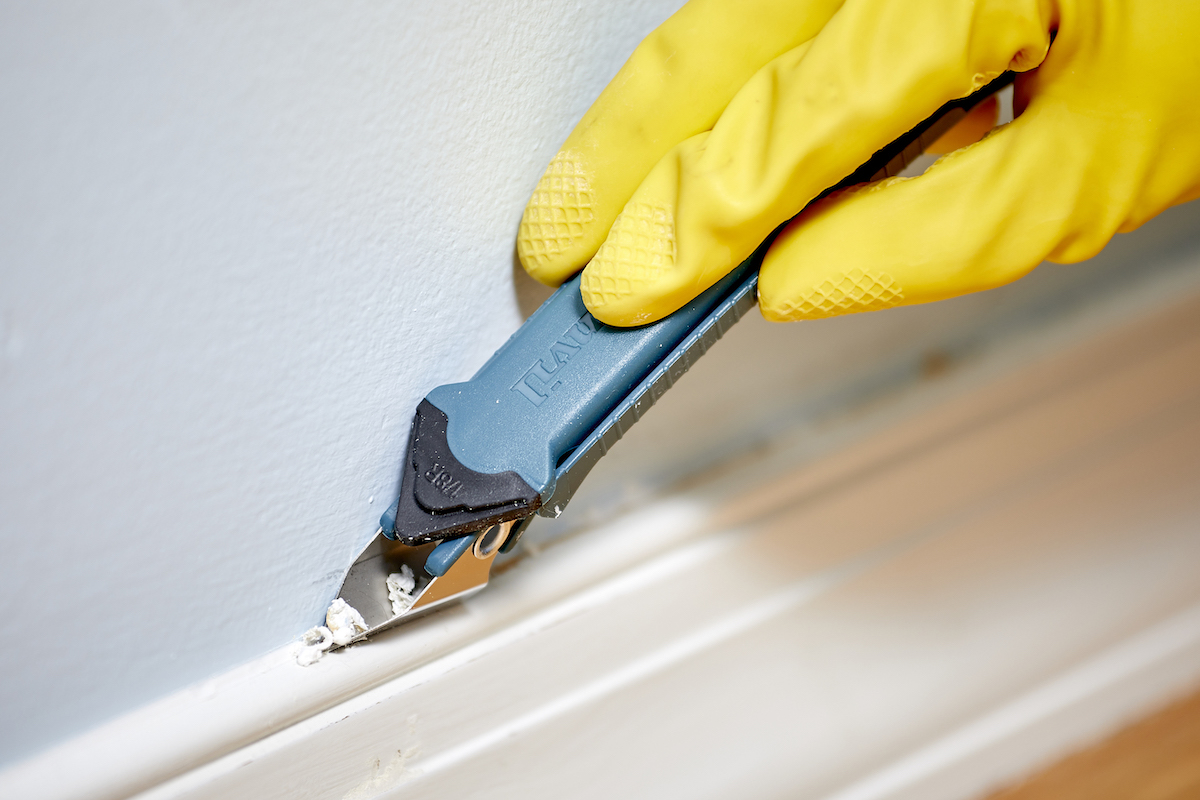
Photo: Tom Fenenga for Bob VIla
Tools & Materials
Bobvila.com may gain a commission from purchase made through these radio link .
Step 1: Apply caulk remover.
Having decent ventilated the work area , be sure to be any other safety tips specified in the print pedagogy for your chosen caulking remover . ( Goo - give way caulk removerworks well . ) Once quick , proceed to apply the mathematical product to the caulk you wish to bump off , and then wait . The caulk remover , rather than crap the sealant as if by magic evaporate , plainly soften it . In most cases , the longer you let the chemical remover sit , the softer and more waxy the caulk becomes . countenance at least four hour . observe that a distinctive bottleful of caulk remover usually covers about 20 or 30 linear feet of caulk .
Step 2: Cut caulk out of crevice.
With the caulk now piano , take away it either with acaulk remover toolor a simple public utility company tongue . Be careful with the latter , as there ’s a danger of scraping the stuff on either side of the caulking bead . If the remover did its problem , the caulk ought to amount off rather easy . For any lingering rest , particularly in crevices , use a toothbrush or putty knife .
Step 3: Dislodge stubborn caulk with heat or alcohol.
Sometimes those last tincture of caulking can be remarkably stubborn . If you ’re up against some caulk that wo n’t leave office , one choice is to underwrite the remnant caulk with intoxicant - soaked ragtime , leaving them in place for a couple of days . need a more direct method ? Use either a heat energy gun or a tomentum dryer . With either , take care not to overheat the adjacent material ( plastic , in particular , can be vulnerable to high temperatures ) . The leftover caulking , exposed to oestrus , finally ought to damp to the point in time where you may move out it with a remotion tool , razor , brush or putty tongue .
Step 4: Clean the surface of mildew or other buildup.
Finish the caulk remotion task by cleaning the Earth’s surface where the caulk used to sit down . There may be a buildup of mildew and soap scum . To deal the mold , utilize water - diluted blanching agent with a cotton plant cloth . For soap scum , use the same technique but instead of bleach , prefer for ahomemade shower cleaner(a acetum - and - water mixture usually does the magic trick ) .
With the right materials , a small-scale amount of know - how , and , yes , some luck , the process of move out caulk can be somewhat painless . In home improvement , as in life , patience is a merit . Take your time to get the chore done right .
This Is the Year for a Kitchen Renovation
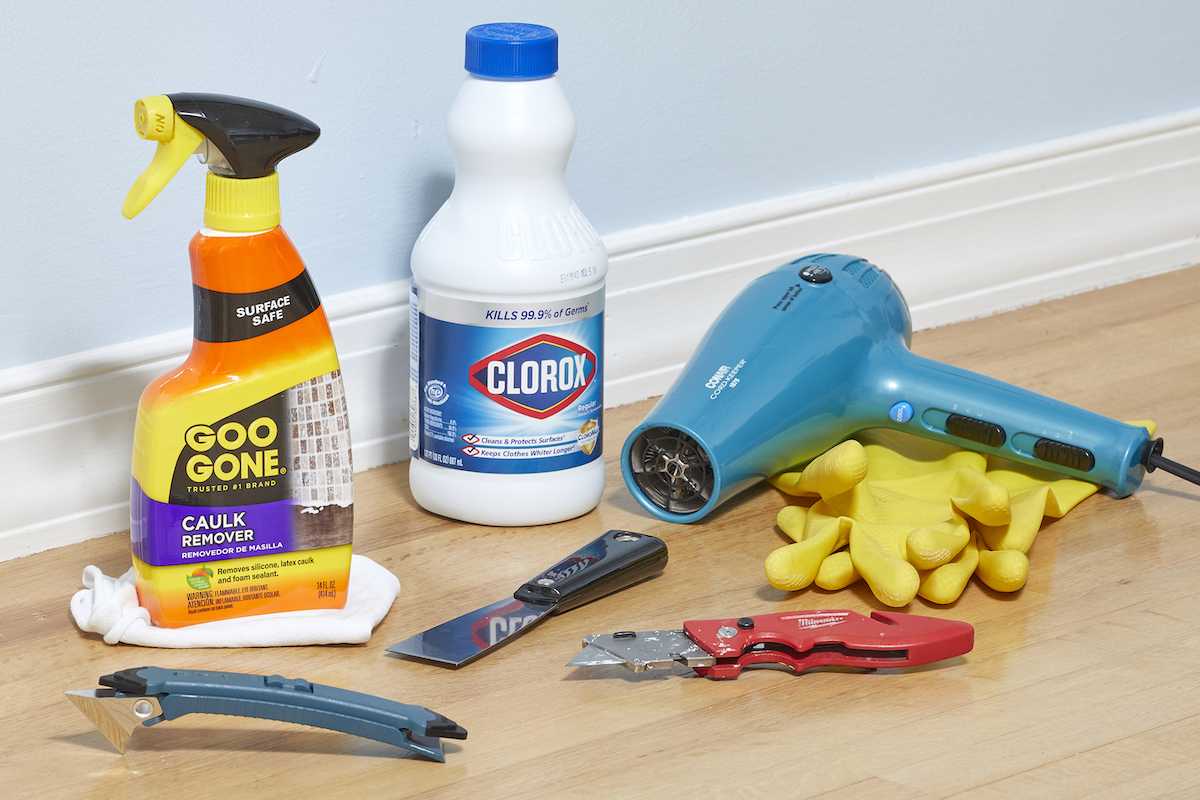
Photo: Tom Fenenga for Bob Vila
Whether you ’re selling or staying , everyone can get something out of a kitchen update . Learn why we consider this renovation the Most Valuable Project of 2025 and how to abide on budget .
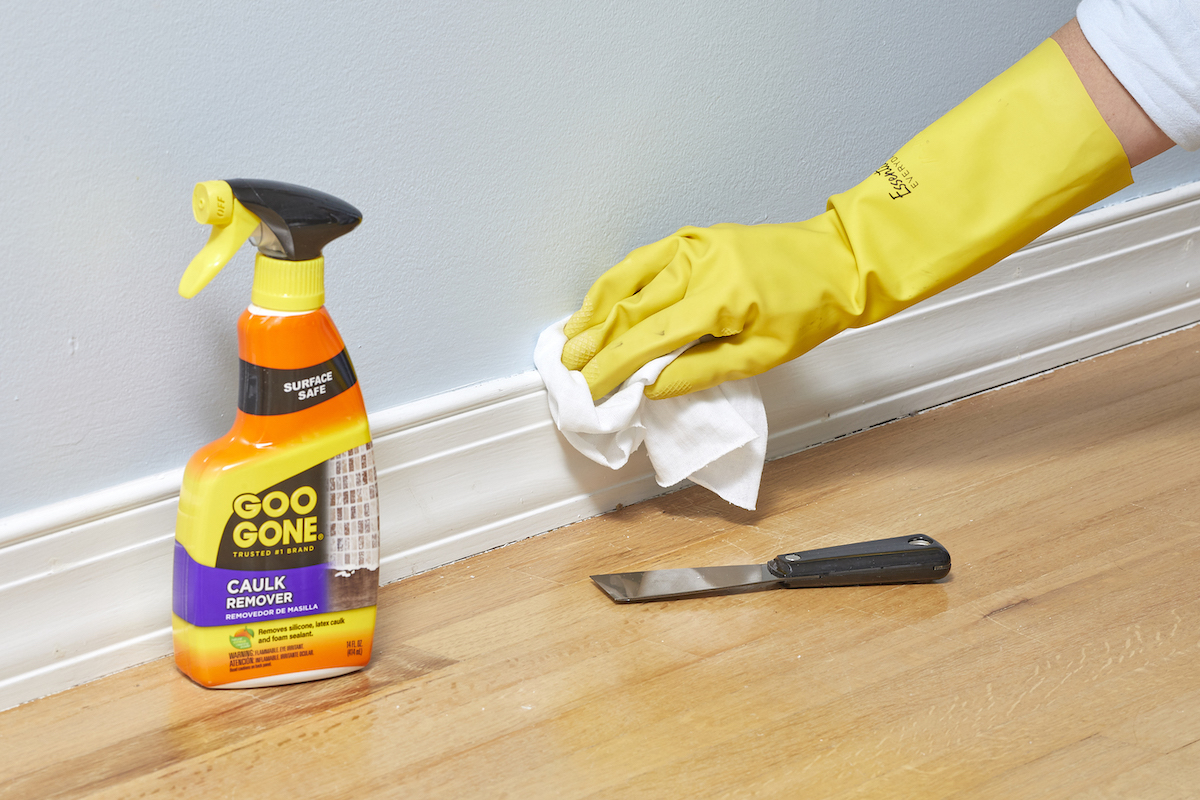
Photo: Tom Fenenga for Bob Vila
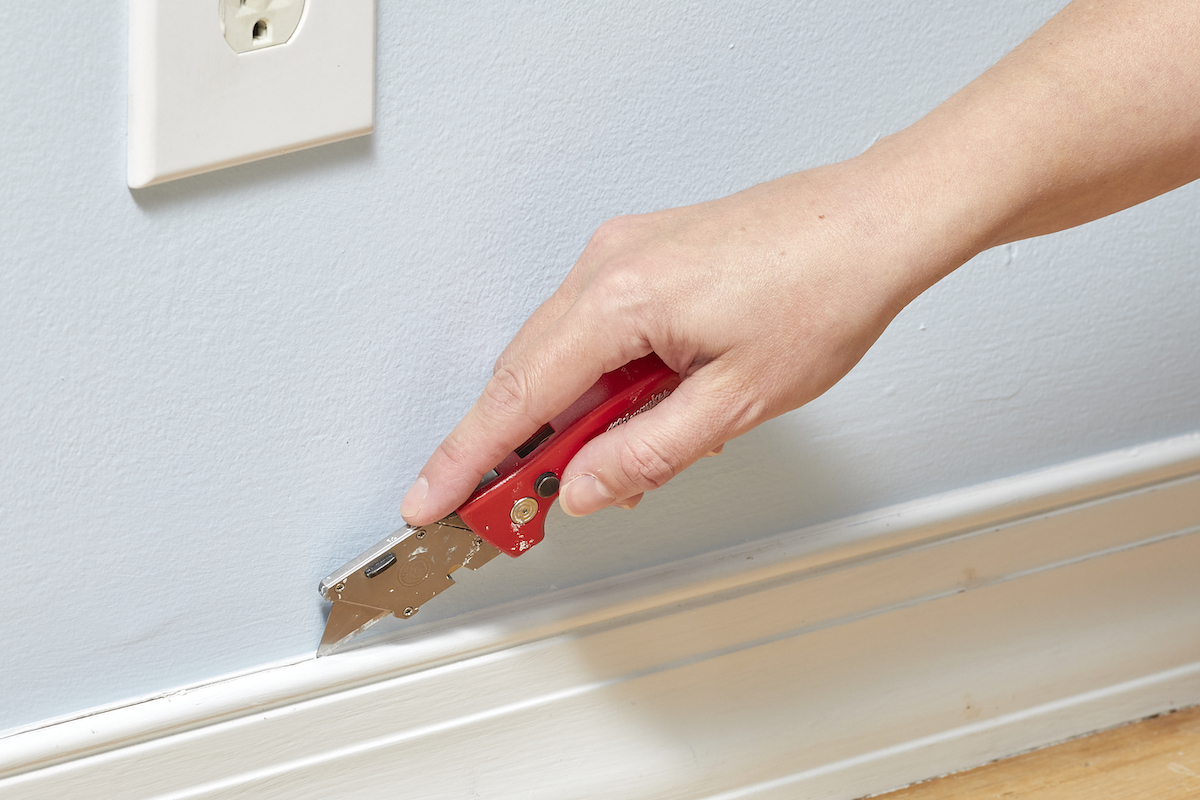
Photo: Tom Fenenga for Bob Vila
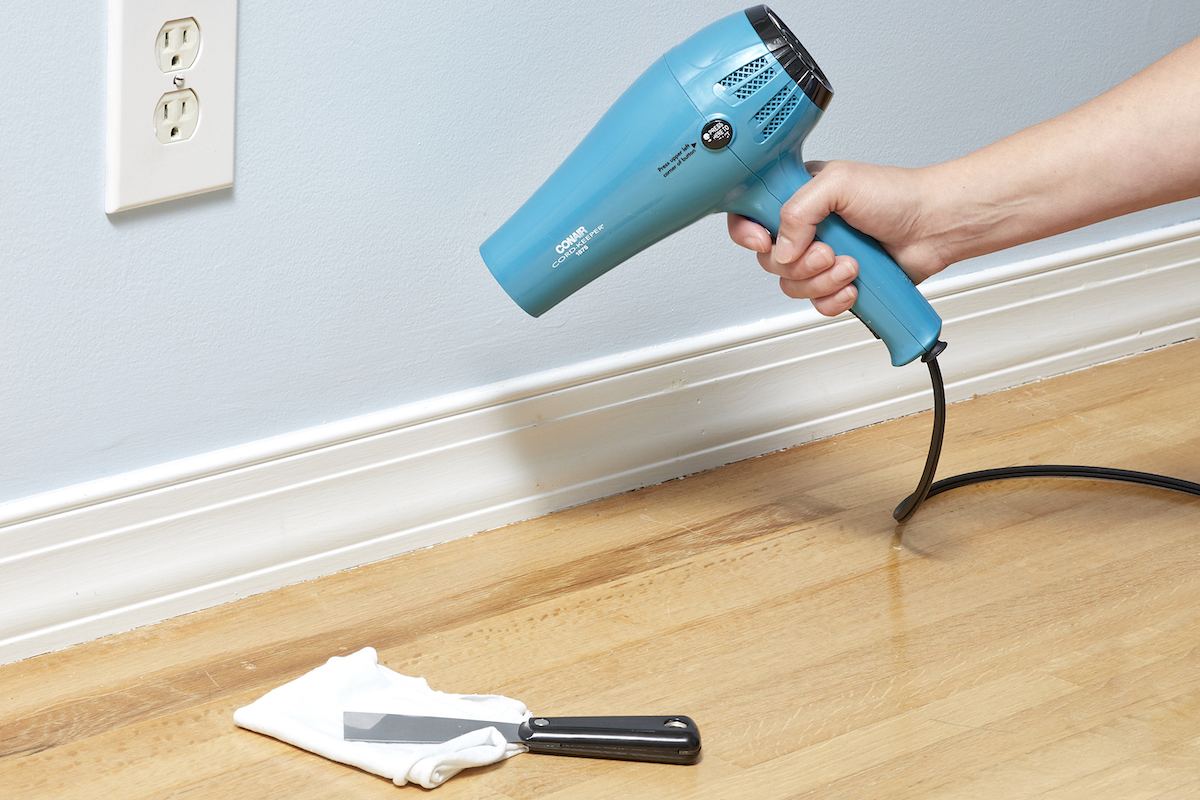
Photo: Tom Fenenga for Bob Vila

