We may clear revenue from the production available on this Thomas Nelson Page and take part in affiliate programme . Learn More ›
Thanks to the simpleness of their design and map , short switch seem to last jolly much forever despite casual consumption . Indeed , most of us seldom give a 2nd thought to these humble , hardworking components , but there are certainly instances when you ’ll want to put back them . Perhaps you just desire a better - looking or more functional replacement , or mayhap the switch is act up , either emitting sparks or making a popping stochasticity .
Whatever your reason for researching how to replace a light switch , you may be looking to call in an electrician . After all , as with any rest home fix that involves electrical energy , it ’s always heady to err on the side of caution . Yet , so long as you keep basic safety measures , you could probably supersede a light switch on your own , saving the tussle and disbursal of hiring a professional . chance are that your toolbox already control the necessary tools , so by from a new replacement and the following statement , you need only a spare hour to complete this little project .
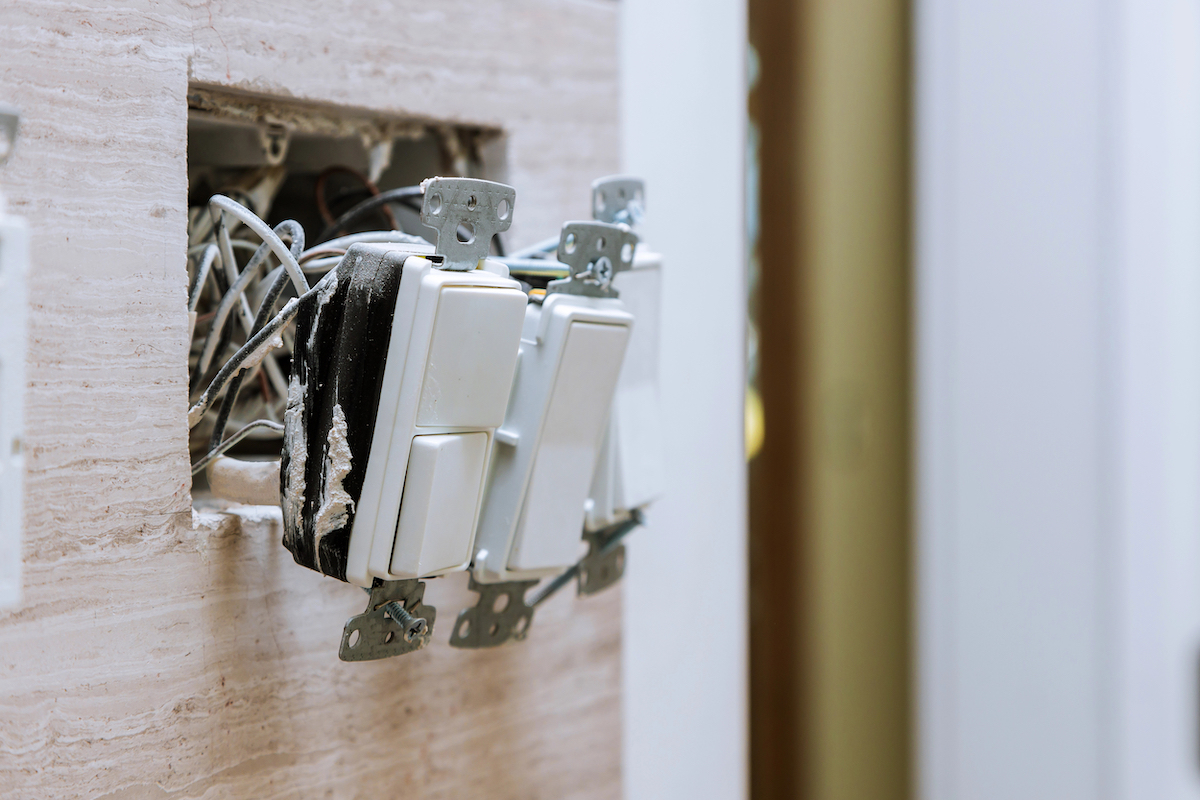
Photo: photovs / Depositphotos
Tools & Materials
Bobvila.com may earn a commission from purchases made through these links .
Step 1: Cut the power.
Before begin in businesslike to supersede a light transposition , go first to the electrical venire and trend power to the way where you ’re last to be working .
To do this , first flip the permutation on . If it hold in a ceiling fixture , make certain the light goes on . If it controls an outlet , plug a lamp into the way out and verify it give way on . Then , one by one , toggle each ledgeman and checker the ceiling fixture or test lamp to see if it goes off . ( Enlist a friend or home member to serve so you’re able to fend off throw to make multiple head trip back and forth . )
Once you have identify the correct circuit breaker , move it to the “ off ” position . Next , to make absolutely certain there ’s no electricity reaching the light switching , remove the faceplate and hold a non - contact voltage detector within about a half inch of the switch ’s screwing terminals . ( If you ’re using a unlike type of potential quizzer , such as amultimeter , follow the producer ’s instructions . )
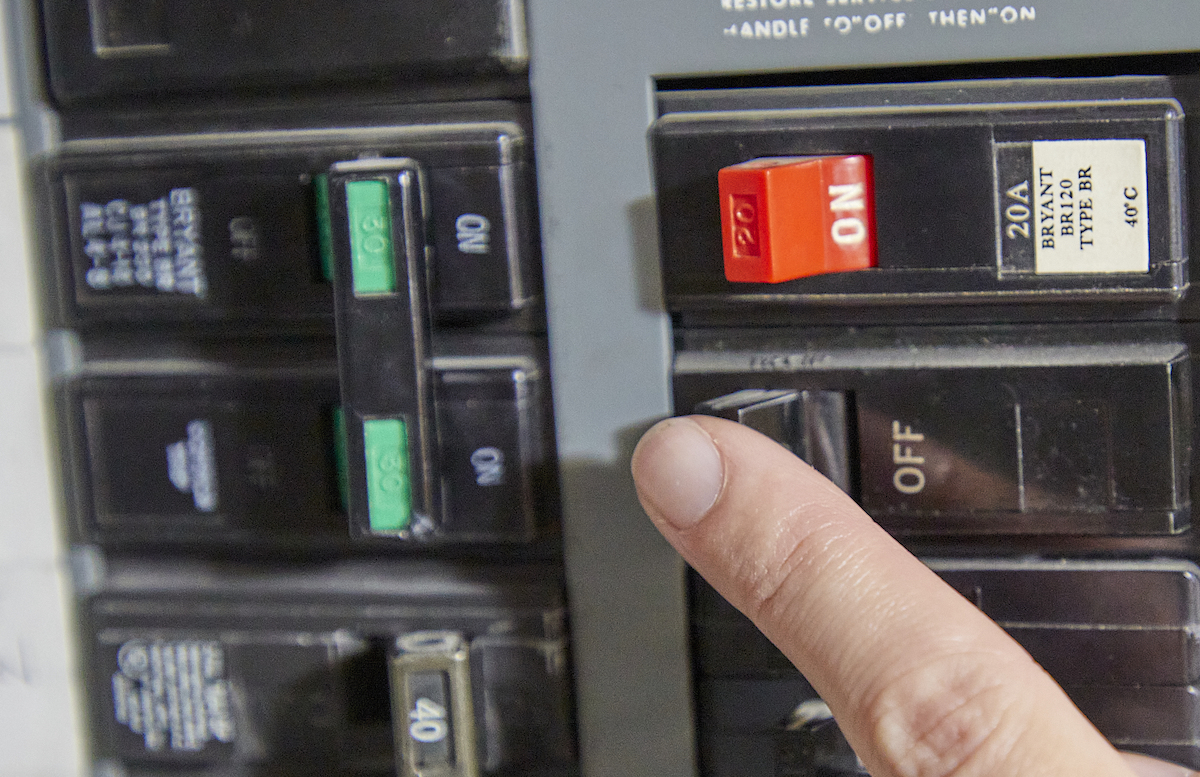
Photo: Tom Fenenga for Bob Vila
If the demodulator does not file a current , it ’s probably good to keep to the next step , but before you take a hop in advance , it can never hurt to test the detector by trying it on a nearby outlet that you ’re certain is receive power .
Step 2: Unfasten the screws and pull the switch from the wall.
Now that you ’ve guide off the faceplate , proceed to get rid of the screws that fasten the substitution to the wall . pull out the switch out from the bulwark and scrutinise the wires feeding into it . If those wires coil around the final screws on the side of the permutation , plainly loose the screws to relieve up the wire . If , however , yours is a newer substitution , the wire may get in touch not to the terminal shtup , but through holes in the back of the switch . ( These are live as “ back - wired , ” “ backstabbed , ” or “ push - in ” switches . ) To remove the wires , mildly tower on each one while put in the flat sword of a little screwdriver into the slot beneath the hole where the wire enters the trapping .
As you wreak , be certain to keep track of which telegram goes where , specially if the wires are n’t color - code . The bootleg or flushed “ hot ” telegram attaches to the governing body screw ( or goes in the hole on the same side as the organization screw ) . Meanwhile , the white “ neutral ” wire connect to the silver screwing ( or sound in the hole on the same side as the silver screw ) . Finally , note the location of the ground wire . This green or spare copper conducting wire is usually impound to a green terminal screw on the light electrical switch , so you ’ll need to unscrew it . Sometimes , the ground conducting wire is connected to a roll in the hay on the electrical box itself , in which showcase you’re able to leave it alone .
Tried-and-True Advice
“ I ’ve bring a fewdimmer switchesover the years . The first meter I contain on this labor , I had no idea what the difference was between a single celestial pole and 3 - way switch . You require to know the difference if you ’re interchange a lightsome permutation . If you ’re do work on a light fixture or issue that ’s manipulate by a unmarried light switch , then you ’ll need a individual terminal theoretical account . But , for circuit manipulate from multiple location , such as in staircase , hallways , or big room , you ’ll need a3 - room switch . ”
— Tony Carrick , Contributing author
Step 3: Attach the hot and neutral wires to the new switch.
If necessary , use awire stripperto expose about a one-half inch of both the hot and neutral wire . Now , get the replacement spark switch ready , using its on - off labels to help you orientate the unit right - side up . Next , start with the hot telegram , begin attaching the wires to the new permutation . If you ’re connecting the wire to final screws , twist the exposed portion of the hot conducting wire into a clockwise loop , fit the iteration over the plaque fuck ( with the tip of the telegram pointing off from the room ) , then fasten the screw . If , however , the switch has push connectors on its rear side , simply manoeuvre the spicy telegram into the appropriate hole .
Step 4: Attach the ground wire.
Move on to attaching the inert wire to the light switch , using the same technique you used to seize the hot telegram . If the ground wire had been connected to the old switch , finish the wiring by attaching the ground . If the ground telegram had been ( and is still ) connected to the boxful , let it be . Once all the wires are hook up , advertize the switching back into the electrical boxful and stop up it to the wall with screws at top and bottom . Finally , return to the electrical board and restore mightiness to the light substitution . screen to verify it work , and if it does , eff the faceplate back into position .
A leave Bible : If want to replace a light switch with a dimmer , you may follow the operation described above , but remember — not all dimmer are created equal . For a successful installation , two-fold - check that your chosen dimmer has sufficient wattage to control your repair . add together up the maximum electrical power of the electric light you wish to put on the dimmer , and make it a point to essay out a dimmer transposition with a wattage evaluation above the calculated total .
This Is the Year for a Kitchen Renovation

Whether you ’re selling or staying , everyone can get something out of a kitchen update . Learn why we consider this renovation the Most Valuable Project of 2025 and how to delay on budget .

