We may pull in revenue from the ware available on this page and participate in affiliate programs . Learn More ›
Shellac is a versatile , nontoxic conclusion that enhances woods ’s born grain while adding smoothness without the charge card - same qualities of polyurethane or lacquer . Made from fleck of resin secrete by lacs ( insects native to Asia ) and dismiss in alcohol , most shellacs are vindicated or yellow-brown in color but can be touch in a reach of hues , from fortunate oak tree to dark mahogany tree . It ’s pronto available at habitation centre of attention , expire on easily , and dries quickly .
Shellac is n’t an idealwood finishfor all situations . The last can wither in the Sunday or dull over time , and it ’s highly sensitive to weewee and high humidness . So while this less - than - durable finish can be indemnify and retouched if necessary , it ’s usually well applied to ornamental wood point that wo n’t see a caboodle of wear and rip , rather than high - usance furniture like a dining way tabular array .
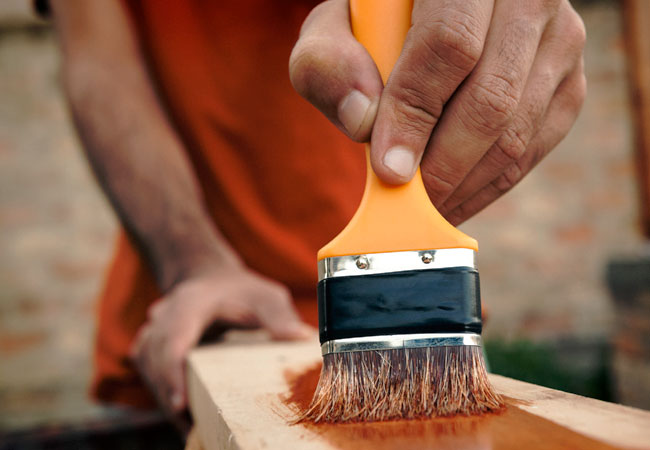
Photo: iStock
If you ’re considering enhance the rude stunner of your a la mode woodworking projection , this step - by - step guide on how to shellac woods will get you started . A full , protective shellacking generally requires several thin layers , with a bit of sanding and buffet in between — a task that can often be fill out in one afternoon .
Tools & Materials
Bobvila.com may realise a commission from purchases made through these links .
Step 1: Prepare the shellac to the desired consistency.
Shellac is used in various concentrations , or “ cuts , ” that are mix with denatured alcohol to determine the heaviness of each coat . For a full - finishing Ellen Price Wood coat , a ratio of 2 pounds of shellac per Imperial gallon of alcohol is common and roll in the hay as a 2 - Irish pound cut . A high alcohol ratio creates a thin mixture more ordinarily used as light sealer before staining . A high shellac ratio produce a thicker portmanteau word that can entail fewer coats but can be sticky and hard to do work with .
Shellac can be made from scratch or purchased pre - made . If you ’re up for the extra effort of pass water the mixture yourself , purchase shellac resin flakes and fuse with denatured alcoholic drink , using the 2 - pound cut proportion as a starting head . you could bestow more or fewer shellac varnish fleck to determine your own “ snub preference ” base on how the potpourri is performing .
Pre - made shellac is sold by the quart or gallon , and usually has a in high spirits shellac ratio ( 3- or 4 - pound cut ) which will result in thick coats . you could always dilute out pre - made shellac by bestow denatured alcohol . Shellac has a curt ledge life history , so buy only as much as you will necessitate for the job .
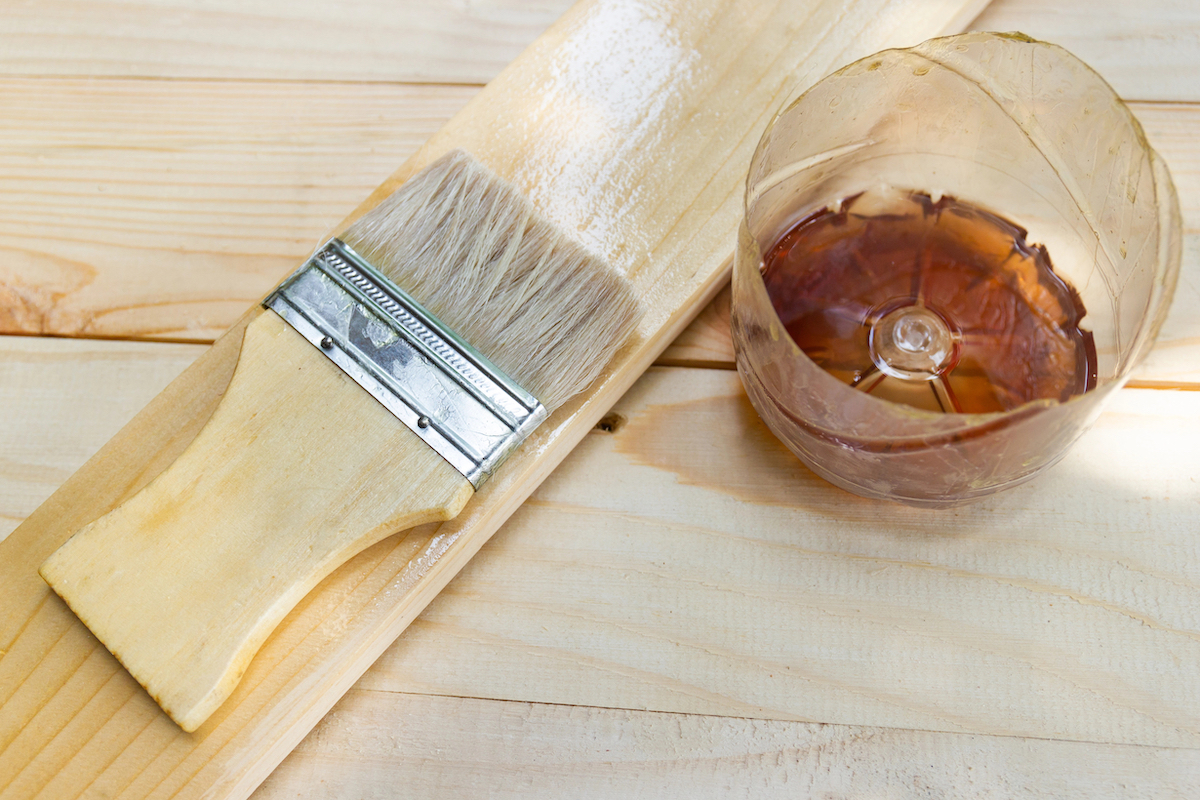
Photo: piyaphunjun / Depositphotos
Step 2: Test the shellac on a piece of scrap wood.
Because shellac dries promptly , allowing no clock time to smooth out out drips , it ’s overbold to test the consistency you ’ll be working with before utilise it to your project . Using a juiceless cotton cloth , rub some shellac onto a scrap piece of music of wood . If the shellac is too gummy to be wiped on swimmingly , try adding a drib or two of mineral oil as a lubricant . ( Mineral oil wo n’t bear on the people of color or overall conclusion . )
Step 3: Sand the workpiece.
Sand the wood(220 - grit sandpaper is appropriate for most projection ) and wipe it with a saddlery cloth to remove any dust . Shellac can be apply with either a cotton wool cloth rag , a brush , or a combination of both . A unspoiled rule of thumb is to apply a cloth to shellac wood if you ’re shroud a large surface area , and a copse for to finish soused edges and recess .
Step 4: Brush or wipe on the first coat of shellac.
Dip your rag into the shellac concoction and coat the wood using broad , even cerebrovascular accident and a generous amount of shellac . seek to avoid pooling or blotches , which will have to be sand down later . Use the brush to finish tight areas and corner , doing your best to minimize skirmish apoplexy . While shellac dry to the touch almost immediately , wait at least 30 min before moving on .
Tried-and-True Advice
“ When shellack a opus with intricate carvings or detailed edges , I favor to use a modest creative person ’s paintbrush to apply the shellac to those areas first before coating the larger surfaces . This keep pool in sozzled spots and makes sure the elaborated area are equally coat without suffer too chummy . Also , to make the mental process easier and to forefend drips , put your project on a lazy Susan or rotating turntable , which will give you to access to all side without treat the piece , reducing the peril of smudges or uneven coats . ”
— Paul Rankin , Contributing Writer
Step 4: Buff with sandpaper to smooth.
Sand any recruit wood caryopsis or uneven globs of shellac with 400 - gumption sandpaper . Alternately , use a piece of superfine ( # 0000 ) sword wool to buff between shellac bed .
pass over away any lily-white dust that accumulates from burnish . Examine the piece at oculus level to distinguish office where light does not muse , which would indicate that the forest control surface is not properly shellacked , and place those area on your next coat .
Step 5: Apply more coats of shellac as required until you’re happy with the finished look.
At least three to four bed of shellac are required to attain an ideal finish . Repeat Steps 3 and 4 until the Natalie Wood achieves a placid , even appearance . After the last coat , you’re able to leave the piece of music un - buffed for a glossy look , or buff one last prison term before applying a flimsy stratum of non - silicone paste wax with a material for a satin finish .
How to Repair a Shellac Finish
If a shellac culture gets damaged , it ’s easy to repair : Dab some alcohol on a rag and lightly itch in a rotary motion toremove the shellacfrom that orbit . Then come after the steps draft above to shellac Natalie Wood in just that arena , sand in between coatings , and make up until it is even with the ease of the piece , re - coating the entire aerofoil once or doubly if necessary . Scratches can also be repaired by using a okay brush to fill up in humiliated areas with shellac and then buff then suave .
This Is the Year for a Kitchen Renovation
Whether you ’re selling or staying , everyone can get something out of a kitchen update . Learn why we take this renovation the Most Valuable Project of 2025 and how to outride on budget .


