We may garner revenue from the products available on this pageboy and enter in affiliate plan . Learn More ›
Hostas are a plebeian sight in garden and landscaping across North America . They ’re low-down - maintenance and all right with partial sun conditions . Although hostas do n’t give rise the showy flower vulgar to other preferent gardenperennialslike roses and hydrangea , genus Hosta come in a full variety of colors . Their striking leave provide a tropical vibe without the demand requirements .
Hostas can develop reasonably much anywhere , whether that ’s in Montreal , where winters get mighty chilly , or in the southerly U.S. But while these plants require minimum sustainment , at some point you ’ll need to divide the plants to keep up plant size of it and health . you may also split hostas to diffuse new plants for alush under - tree diagram consequence — no need to head to your local nursery to corrupt new hosta plants .
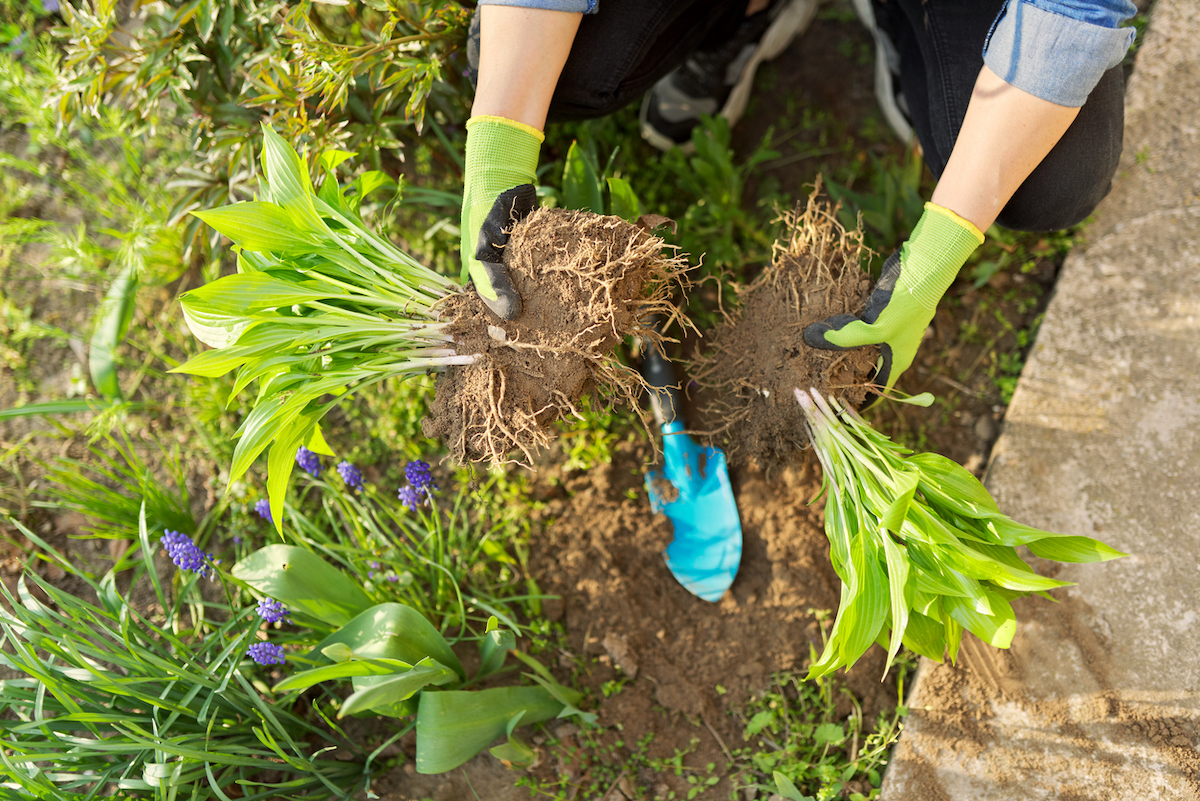
Photo: iStock Photo: istockphoto.com
Here ’s how to split up them .
Tools & Materials
Bobvila.com may earn a commission from purchases made through these link .
Before You Begin
check that to dongardening glovesbefore getting started . These keep hands protected from possible irritants . And you could avoid getting your fingernails dirty .
Theideal time to split hostasis in the other leap or autumn . In the spring , find out for Funka as they begin to emerge from the ground . This is the moment to start splitting . In the fall , wait until the atmospheric condition is nerveless and humid to start the process , while still giving flora enough time to become established before wintertime Set in .
genus Funka perform best when split every 3 to 5 years or so , but timing depends on the cultivar . It ’s essential to wait until a plant has reach due date before splitting because the process significantly slows down growing . Some large Funka change , for lesson , can take at least 5 years to pass on maturity .
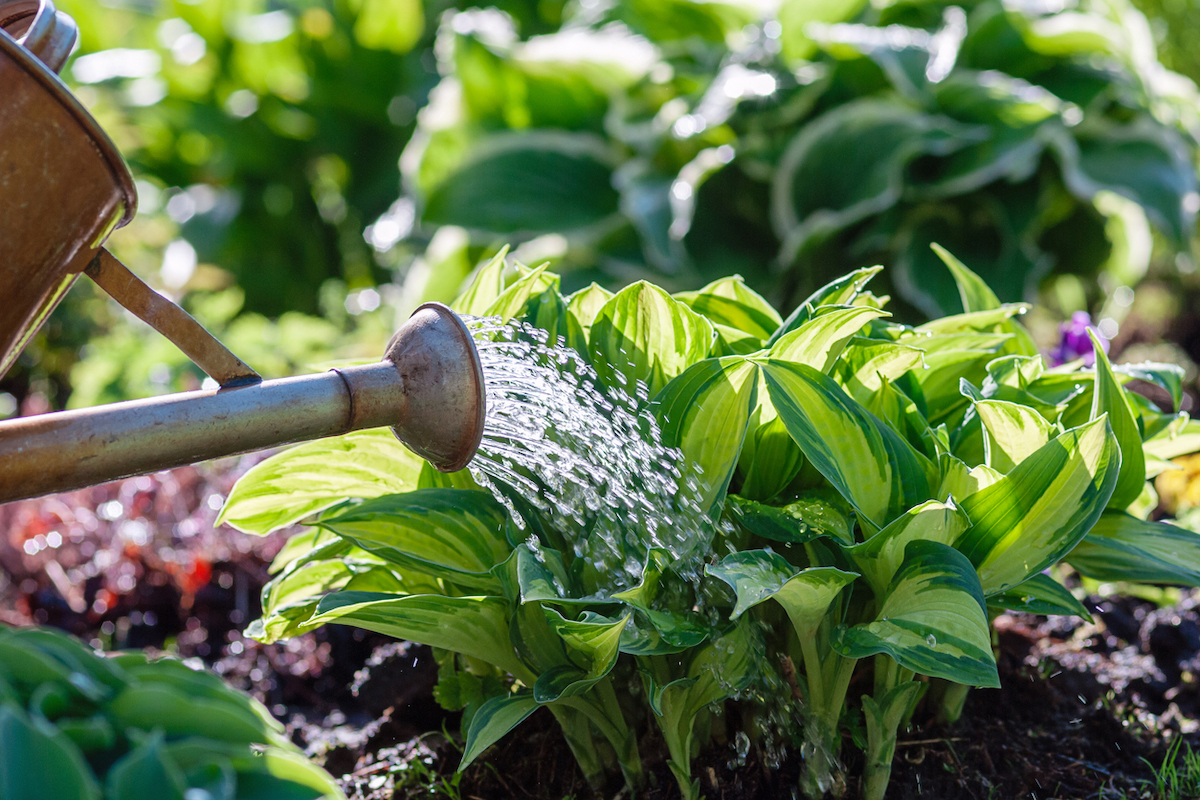
Photo: iStock Photo: istockphoto.com
Step 1: Water hostas thoroughly the day before you plan to split them.
Unless there ’s lots of rain in the forecast , plan towateryour genus Hosta the sidereal day before splitting them . Funka are thirsty plants , so ensuring they ’re well - water before splitting prevents excessive strain . It also means that new separated plants stay on caterpillar track to thrive in good order out of the gate . And do n’t worry , too much pee is rarely an issue with Funka . Keep in mind that water is even more critical for genus Funka planted in full Sunday .
Step 2: Using a shovel like a lever, dig around the roots and lift the plant out of the ground.
To dig up Hosta for splitting , utilize a nigra or ashovel . The tool required depends on the size of the plant life . Large plant with all-embracing root systems might take a great deal of effort to extirpate , so much so that a spade wo n’t do the prank .
Avoid stabbing into the ground haphazardly . Doing so might harm the plant ’s roots . Instead , gently iron the spade or shovel into the ground , making sure to dig around and just outside of the root word . Use the gardening tool as a lever tumbler to purloin the entire hosta plant from the ground .
Tried-and-True Advice
“ My absolute favorite instrument for divide plants ( and myriad other horticulture project ) is myhori - hori tongue . I have one that has a serrated edge that makes it promiscuous to mildly run across through root fibre with minimal legal injury to the flora . It can also be used to dig into soil for planting , and it help innocent root - bound plant from pots . ”
— Amber Guetebier , Contributing Writer
Step 3: Try to cut as few roots as possible to make the process of splitting more effective.
The flora ’s root word can grow pretty abstruse , so it ’s potential that lifting the plant out of the ground will dampen off some of the etymon . essay to cut into as profoundly as possible . Dig around the plant to avoid removing too much of the root organisation . Cutting too much of the roots can emphasize the live works and weaken the newly split plants . Do n’t rush the process . Being deliberate now will save you from dashing hopes later .
Step 4: Loosen the roots and separate the plant into sections.
Once you have the entire root ball out of the ground , you’re able to start splitting the plant life . Shake off excess dirt so that it ’s easy to see what you ’re work with . The piece might come apart easily , but some works require the use of a sharp tongue .
Separate or slit the plant into two or three clump . Do n’t try out to separate the flora into lots of mini discussion section . Splitting the hosta in half or thirds increases the chances that the unexampled plant will survive . After splitting , move out any dead leaves before potting or replanting the divisions .
Step 5: Pot up any divisions you plan to share or plant them in the ground.
After separating the hosta , take the split section and implant them in the solid ground or in a container . Place them at the same depth as before . verify the plant get plenty of water so they can establish their root chop-chop . you could also divvy up rip hostas with class or friends . If you plan to apportion them soon after hollow them up , wrap them in moist newspaper . Otherwise , pot the new hostas until it ’s time to give the flora off .
This method for splitting hostas is well-heeled , reliable , and a great way to get free plant for your garden .
Our Best Advice for Beginner Gardeners
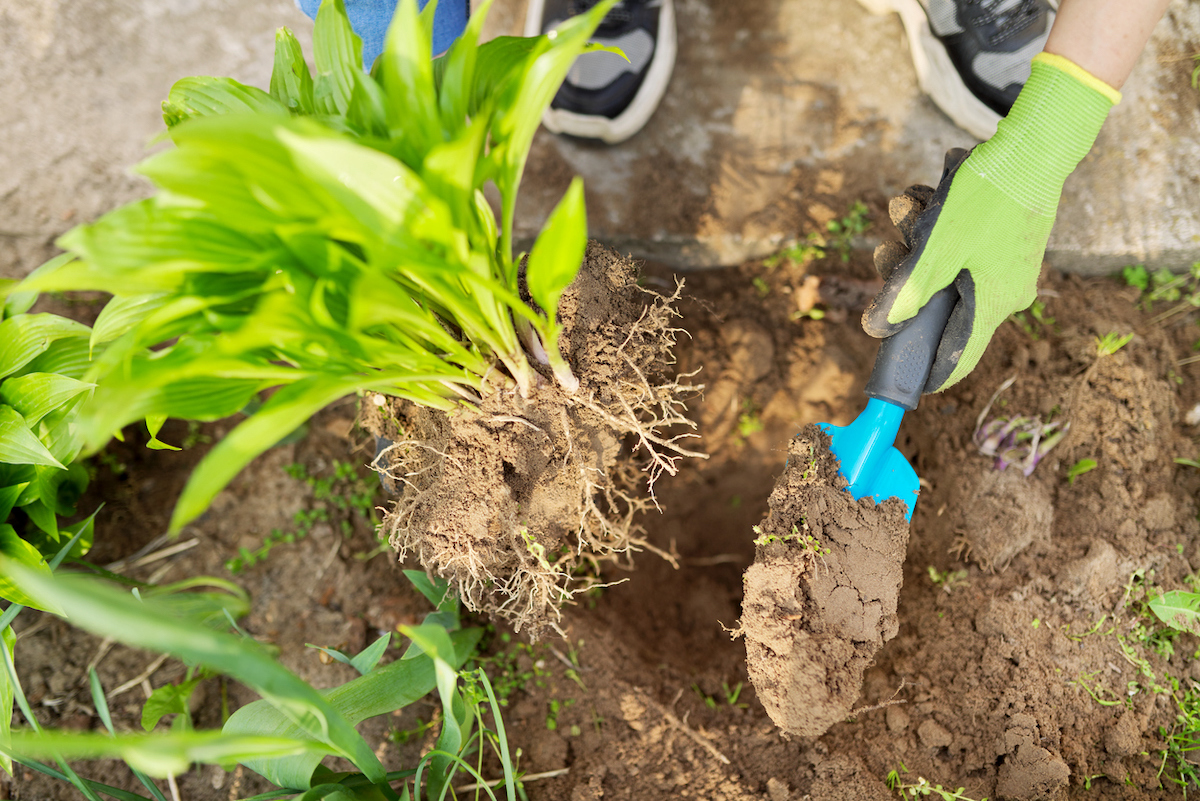
Photo: iStock Photo: istockphoto.com
We ’ll assist you set up your first garden — whether that ’s a few pots on your patio , a call down bed , or an in - undercoat plot out back — and choose the correct plants for your land and region .

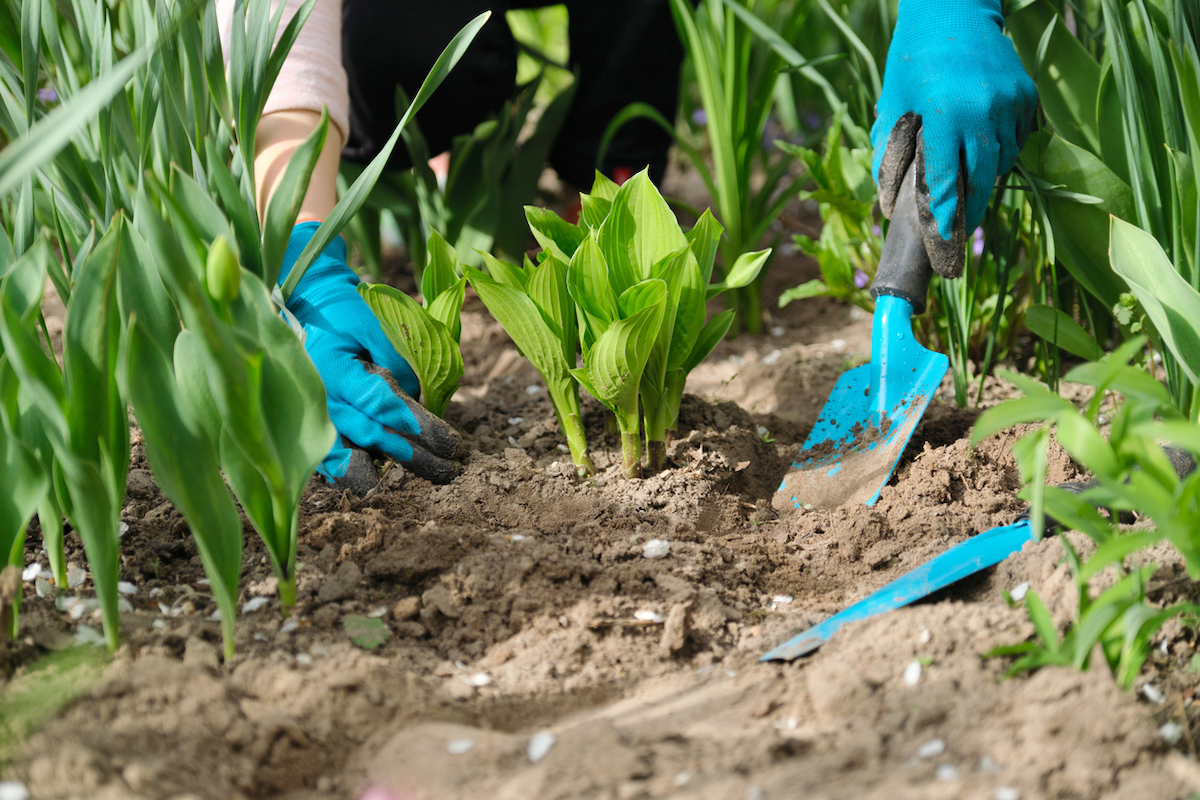
Photo: iStock Photo: istockphoto.com