We may garner revenue from the product available on this page and participate in affiliate programs . study More ›
Homeowners used to think ofconcreteas stringently utilitarian stuff , resorted to only when a better - looking material would be either unsuitable or far too expensive . Now , however , more householder are take concrete storey for their indoor and outdoor blank because of the building material ’s beauty and durability , and doing it yourself will cut the price of the advance significantly . From garage floors , cellar floors , and even outdoor concrete terrace , you’re able to make your home look awesome with varnished concrete level .
What You Should Know About Staining a Concrete Surface
One popular way to eat up concrete is with either acid - staining acrylic fiber or body of water - base concrete stains . I advocate back breaker stain because it survive longer and looks better . The downside of an acid discolouration , however , is that it can be jolly irregular .
Rather than coating on like a wood grime , acidic concrete stain give color through a chemical reaction . Results reckon in part on the stain you ’ve opt and how much of it you practice , but also on theconcreteitself — its location , historic period , and mineral composition . The colour you end up with may be quite different from the one you expected to get . And there ’s no way to delete or undo the smirch once you ’ve applied it . Your only option is supply more stain to intensify the effect .
Tools & Materials
Bobvila.com may gain a commission from leverage made through these link .
STEP 1: Surface Preparation
To maculate concrete successfully , the first step is to train the aerofoil , being sure that it ’s free of residual adhesive agent , peel off paint , and standardised debris . Scrub the concrete with a result of TSP and piddle . Treat obstinate stains sharply with a degreaser orchemical rouge peeler . Here are a few more tips to help you prepare your concrete aerofoil :
Be sure to strip up all junk , tools , etc . , on the level to help you complete the DIY project as efficiently as possible . The entire staining process count on your power to get stain into the pore of the concrete , and you do n’t want anything preclude that .
STEP 2: Tape Off Your Concrete Slab
Tape off any sections of the concrete surface that you do not like to maculate . Do this very carefully , as it may prove impossible to remove the dirt if it lands somewhere you did n’t intend it to go .
depend on your needs , you could habituate masking mag tape and a piddle - repellent cover textile to protect surfaces you do n’t want defile . you may preclude stain bleeding by laying duct tapeline over masking taping on area where you require to have sportsmanlike edges or more intricate styles .
STEP 3: Test Stains Before Application
To get an impression of how the stain will look , test it in an invisible corner or along a remote edge of the concrete . Do n’t screw how it attend ? aline the stain accordingly , adulterate or intensifying it .
STEP 4: Apply the Concrete Stain
Now you ’re ready to start applying the stain . The goal here is to achieve even coverage . To that end , many choose to employ asprayer(whose parts are fictile so as not to corrode upon touch with Elvis ) . Here are a few more tips to keep in mind when staining concrete :
After spraying — never so much that there ’s puddling — apply a shop broom to ensure that no parting of the surface look comparatively darker or lighter . If necessary , spray again to eliminate marks left by the ling .
STEP 5: Allow Enough Drying Time
Different stains and different soil across the colour chart will take different time period to set correctly ; consult the recording label on the chosen product . While the stain is coif , the chemical response continues . It ceases only when you neutralize it by wash the floor in a answer of piss and detergent ( and sometimesbaking tonic ) .
STEP 6: Apply Concrete Sealant
Finish up by protecting the stained concrete with a sealant . Again , please look up the production recording label ; it ’s a dear idea to apply the manufacturer - recommend sealer . Indoor concrete flooring is usually sealed with wax , although I would choose for epoxy beneath urethane in a gamey - dealings area . The same is true for your outdoor space , so consult the manufacturing business ’s guide to see you stick with the correct staining process . notice that you could utilise a buffing machine to facilitate the sealing unconscious process , so long as you are working on a flooring control surface indoors .
Staining concrete can bring new life sentence to the indoor and outdoor arena of your home . you could defile old concrete and newfangled concrete floor , but ensure you follow these step - by - step instructions to check you end up with the look and feel of stained concrete floors you ’re going for !
FAQs
go for a discolouration to a concrete floor canadd sweetheart and depthto this overweight - duty cloth and make it even well-off to keep .
I choose Elvis - staining acrylic over weewee - base stains , however , keep in mind thatacid - base concrete stainsare a number more challenging in that they are less predictable because the staining chance via a chemical chemical reaction .
DIY concrete staining cost between $ 0.30 and $ 0.40 per square understructure
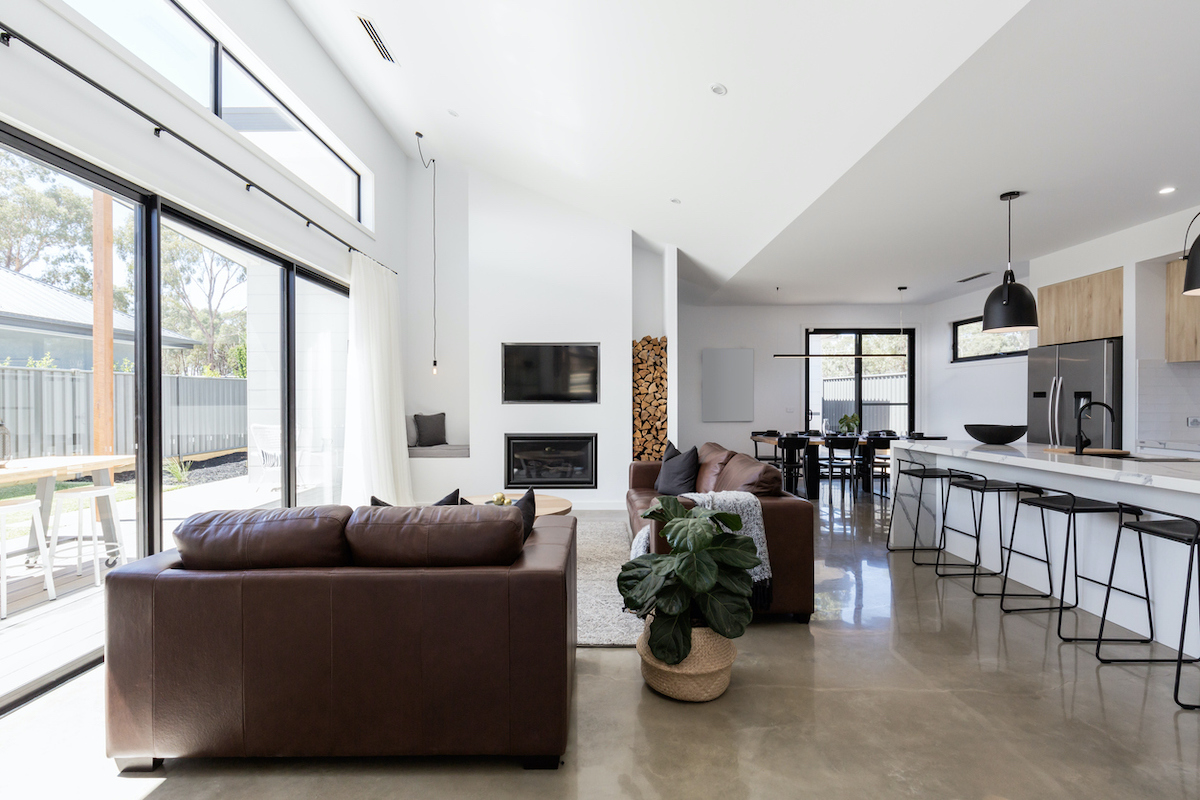
Photo: istockphoto.com
This Is the Year for a Kitchen Renovation
Whether you ’re sell or staying , everyone can get something out of a kitchen update . Learn why we consider this refurbishment the Most Valuable Project of 2025 and how to stay on budget .
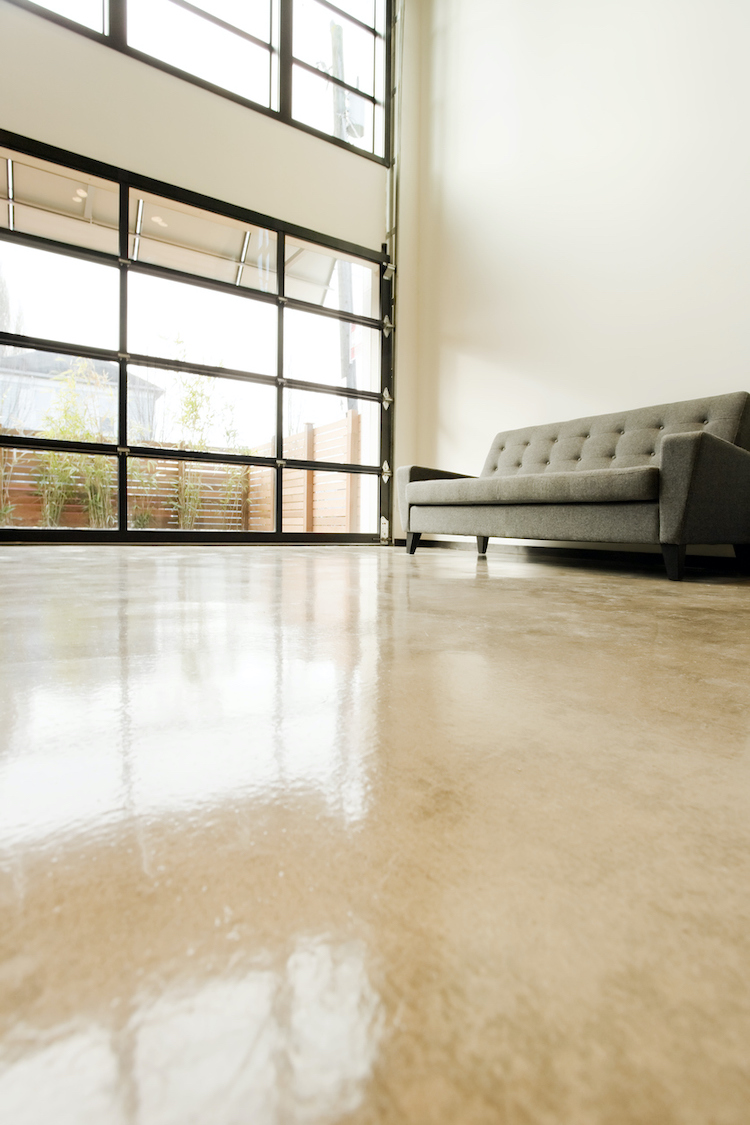
Photo: istockphoto.com

Photo: istockphoto.com

