We may earn gross from the products available on this page and take part in affiliate programs . see More ›
Pressure treating protects wood from the elements , avail prevent worm attacks , and derogate the effects of ageing . While pressing - treated woodwind instrument offers many benefits , social structure work up from it often give something to be desired in appearance . But arm with a few childlike techniques , you may tarnish the surfaces , giving them both a more beautiful smell and additional long - lasting trade protection . Staining also aid protect the wood and prevents it from cracking and splitting when seasons vary . With these effective steps , you’re able to enhance your deck of cards , fence , or other structure and bask it for many years to descend .
How to Stain Pressure-Treated Wood
Stain force per unit area - handle wood as you would defile any Sir Henry Wood . Select a stain , prepare the airfoil , check the woods is sufficiently dry , do a fleck test , and then cautiously lend oneself your stain with a skirmish or a staining pad .
Tools & Materials
Bobvila.com may make a direction from purchases made through these linkup .
Step 1 : choose the stain .
Anyexterior wood stainwill work to stain pressure treated wood . While you will find fossil oil - ground soil and latex stain , most homeowners prefer using oil - ground stigma for pressure - treated Grant Wood . Oil - base brand completely hit it up into the wood , creating a barrier against water incursion .
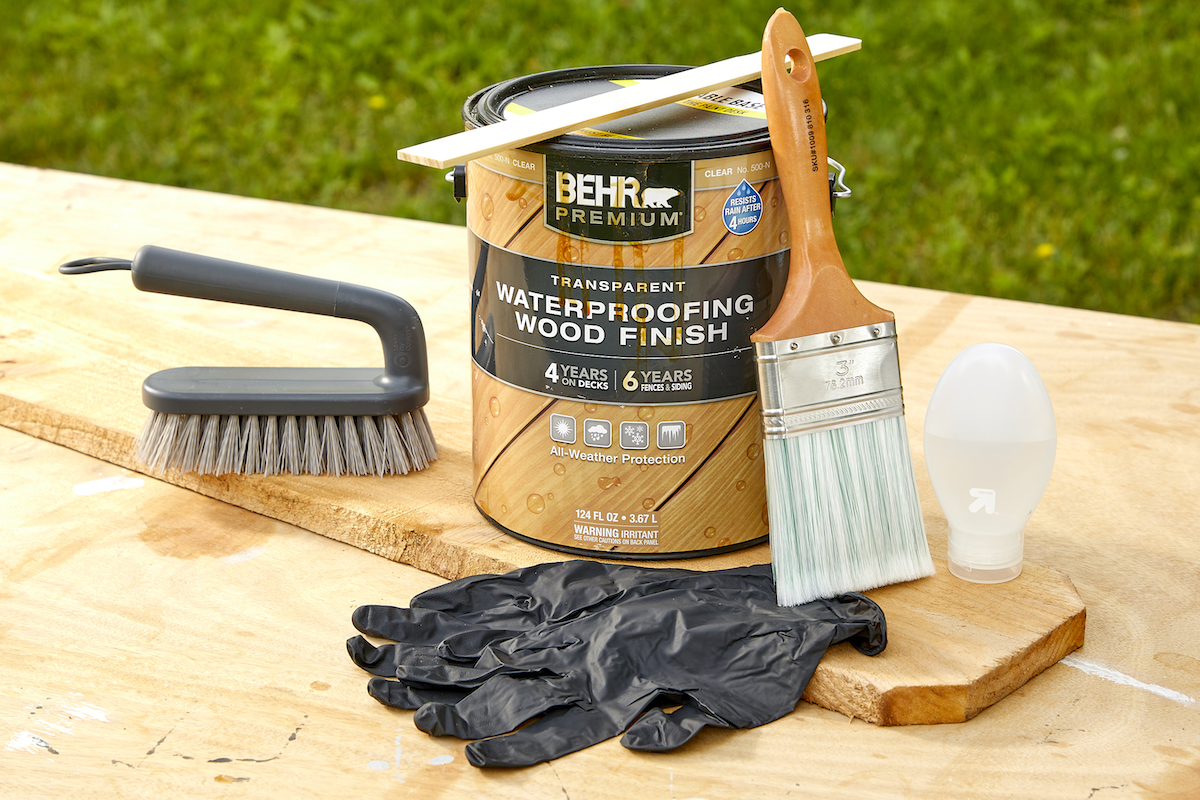
Photo: Tom Fenenga for Bob VIla
to boot , latex stains are more unintelligible , almost paint - like , and incline to hide the wood ’s grain blueprint , something DIYers are typically not bet for . While it is potential topaint pressure - address wood , it offers a very different look and feel than stain .
Some maker have give voice stains that are specifically designed for use on force per unit area - treated wood .
Step 2: Prepare the surface you plan to paint.
Before you tarnish pressure - address woodwind , you should strip it first . The leisurely direction to wash fresh Grant Wood is to tap loose any dirt or rest using a insistence washer . If you ’re cover with older woodwind , however , you ’ll need to take additional step in club to transfer grime and days ’ Charles Frederick Worth of built - up grime . turn back by your local hardware memory board to pick up a specially developed wood dry cleaner for decks , fence , or other wood body structure , and travel along the ware ’s pedagogy for a exhaustive cleansing . ( Need a good word ? Ourtested guidebook to the best deck cleanerscontains our top picks . )
It ’s important to wait until your pressure - plow wood is completely dry before applying stain , as the chemicals used to treat the forest often leave additional moisture behind . dry out times drift anywhere from a few weeks to a few month , depending on such factors as weather condition and climate .
Step 3: Test the moisture level of the wood.
When you ’re quick to continue , there are a few effective way for test the point of moisture in the woodwind instrument . The first is a bead trial run , which is performed by but dripping little amounts of water on the forest ; if the water beads , then the Mrs. Henry Wood still retains some moisture . Alternatively , simply press a nail into the Sir Henry Wood to quiz for wetness . If water ooze out around the nail while it ’s being compact into the wood , then more drying meter is need .
Step 4: Choose the right time for your project.
watch the weather condition forecast to verify no rainwater is wait . smear lotion need about 24 to 48 hours of dry out sentence , so you ’ll need to be certain that the sky will rest precipitation - free during that time .
Step 5: Ready your chosen wood stain for application.
Next , thoroughly mix the grunge . you could have the hardware store do so at the metre of leverage , or you could just shake it well at home . Either way , continue to stir the stain oft as you make to ensure the best applications programme .
Step 6: Test the stain to make sure you like how it looks.
While it may be tantalizing to rush to finish the project completely , always try out the stain in an inconspicuous spot . Select a small area and coppice on the grime , earmark it to dry before continue to work on the total construction . This test patch will help ensure that you ’ll be happy with the complete labor before you sink hour into it , and will also confirm that the stain will go on right and without any outlet , such as wetness .
Step 7: Apply at least one coat of stain.
If all face undecomposed , continue tarnish the eternal sleep of your pressure - treated Sir Henry Wood . As you ’re applying discoloration to pressure - treated wood , keep in mind that back brushstrokes constitute extra pelage and may make color variation . If you are stain a fence or other erect airfoil , take up at the top to ensure that you ’ll cover any drip or flow as you act your way down . retrieve that exposed end of forest may require extra staining , due to greater absorption .
Tips for Staining Pressure-Treated Lumber
Pressure-Treated Wood Needs Protection
The chemicals injected into press - handle wood are intended to serve forbid decline and attacks from insect , but pressure - regale lumber , on its own , is still susceptible to signs of ageing .
Applying brand to imperativeness - treat wood offers an additional level of protection that homeowner do n’t want to be without . Stain offers another layer of much - needed protection from insects and decay , as well as from mold and mildew . Additionally , unstained Grant Wood can break up and splinter ; stain serve prevent that .
Furthermore , of course , and perhaps most significant , are the aesthetic benefits imparted by wood stain . An attractively colored pack of cards adds enrichment and personality to the landscape . Stain enhances or maybe even improve wood ’s natural looker , bringing out pattern and texture .
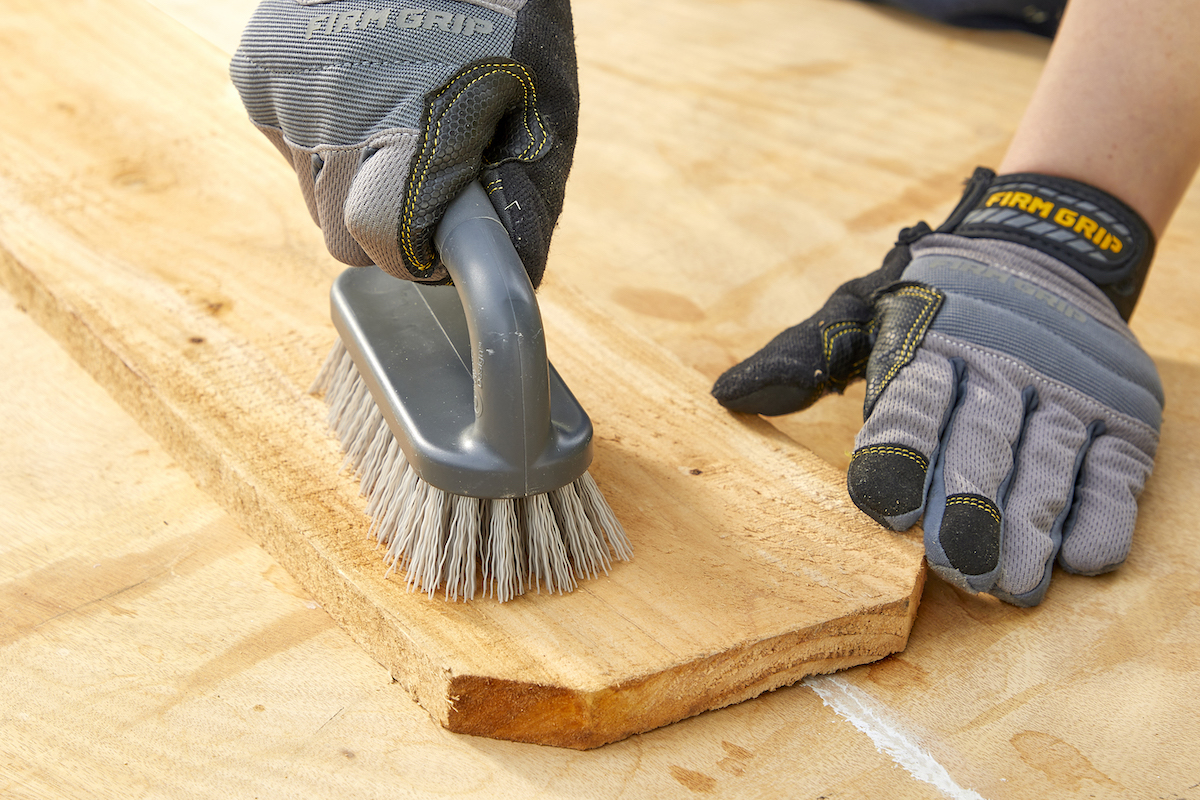
Photo: Tom Fenenga for Bob Vila
Don’t Stain Fresh Pressure-Treated Wood Straight Away
You might be eager to complete your newly built deck , but if it ’s build of pressure - treated wood , it ’s crucial to wait until the forest has dried out before staining it .
In order for stain to be effective , it ask to penetrate the wood , and this can only hap if the wood is ironic enough to ingest the stain . As most pressure - address lumber acquired from home advance computer storage is still quite wet from its late handling , homeowner are forced to wait for the wood to dry .
This waiting can be anywhere from a few weeks or a few months , depending on clime conditions . How do you know if it ’s ready ? Conduct a “ sprinkle test . ” splash a bit of water on the wood . If the body of water is absorbed by the wood within 10 minute , it ’s time to maculate ! On the other hand , if the piss bead or pools on the wood open , the wood is n’t quite ready to be maculate .
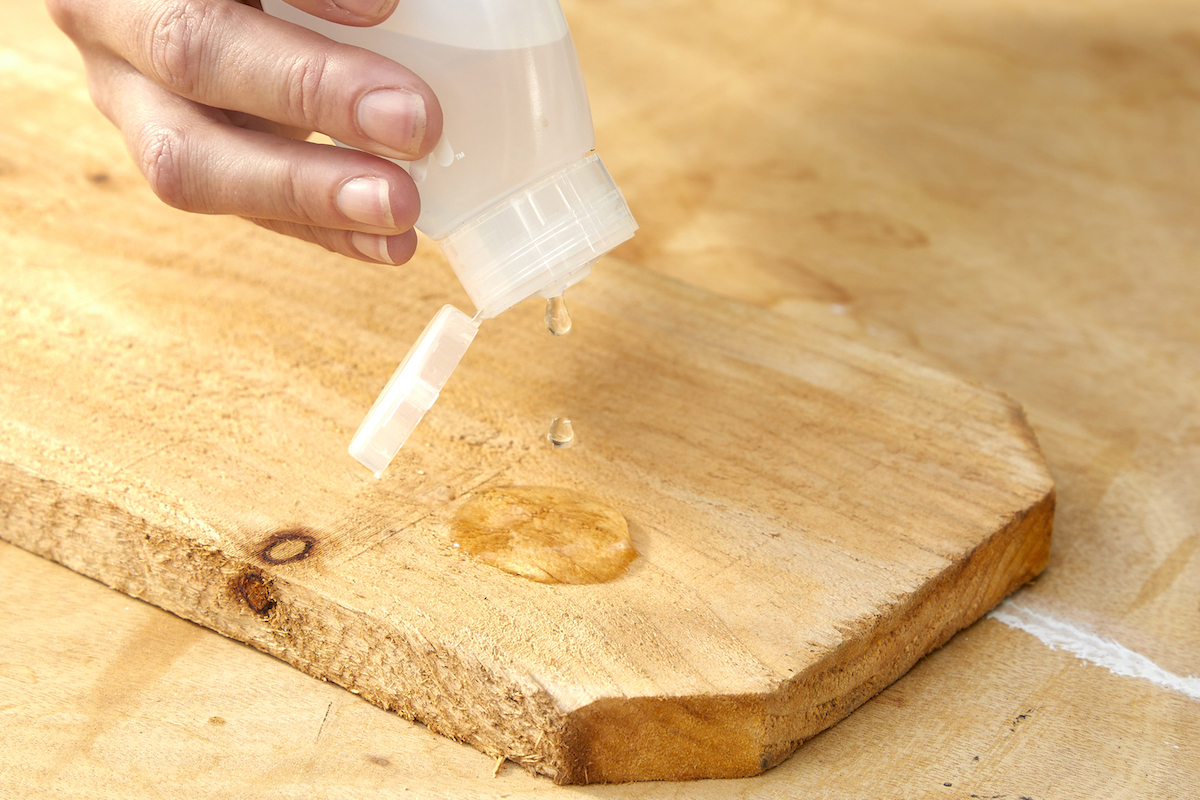
Photo: Tom Fenenga for Bob Vila
Final Thoughts
Staining a deck or fence made of press - treated wood not only adds extra protective cover against decay and damage , but it also beautifies the structure , allow the homeowner to add personality and plug to the landscape painting . Just follow the steps outline above , and you ’ll be on your way to an even more beautiful backyard .
FAQs
hold back until the wood is whole dry . look on climate conditions , pressure - plow wood can take anywhere from a few weeks to a few months .
Yes , it ’s okay to stain pressure sensation - treated wood , but you ’ll require to expect until the Sir Henry Wood is completely dry .
If you stain pressing - treated Ellen Price Wood too soon , the blot will be ineffective to fully riddle the wood , and you will not get the protective welfare of the stain . What is the good stain for pressure - treated wood?An oil - base dirt is the best for insistence - treated Natalie Wood . Some manufacturers have make stain specially project for stain treated Sir Henry Wood .
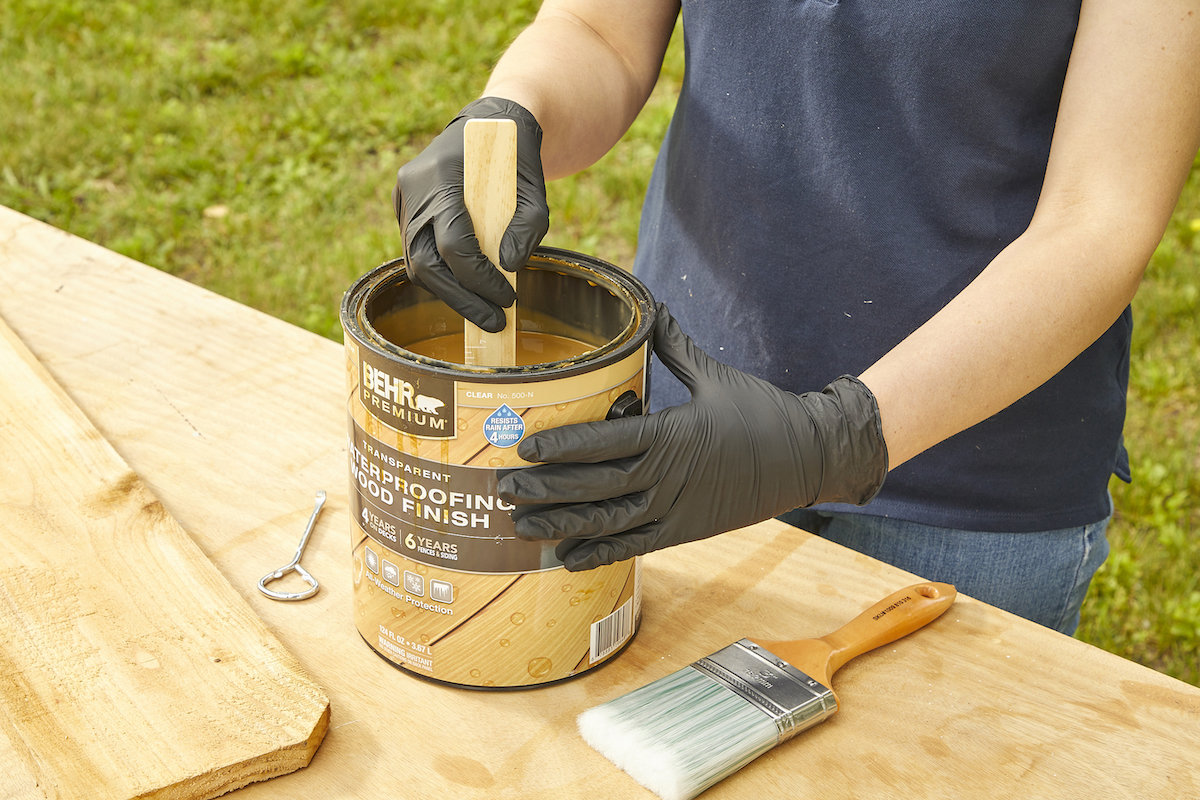
Photo: Tom Fenenga for Bob Vila
This Is the Year for a Kitchen Renovation
Whether you ’re selling or staying , everyone can get something out of a kitchen update . Learn why we consider this restoration the Most Valuable Project of 2025 and how to ride out on budget .
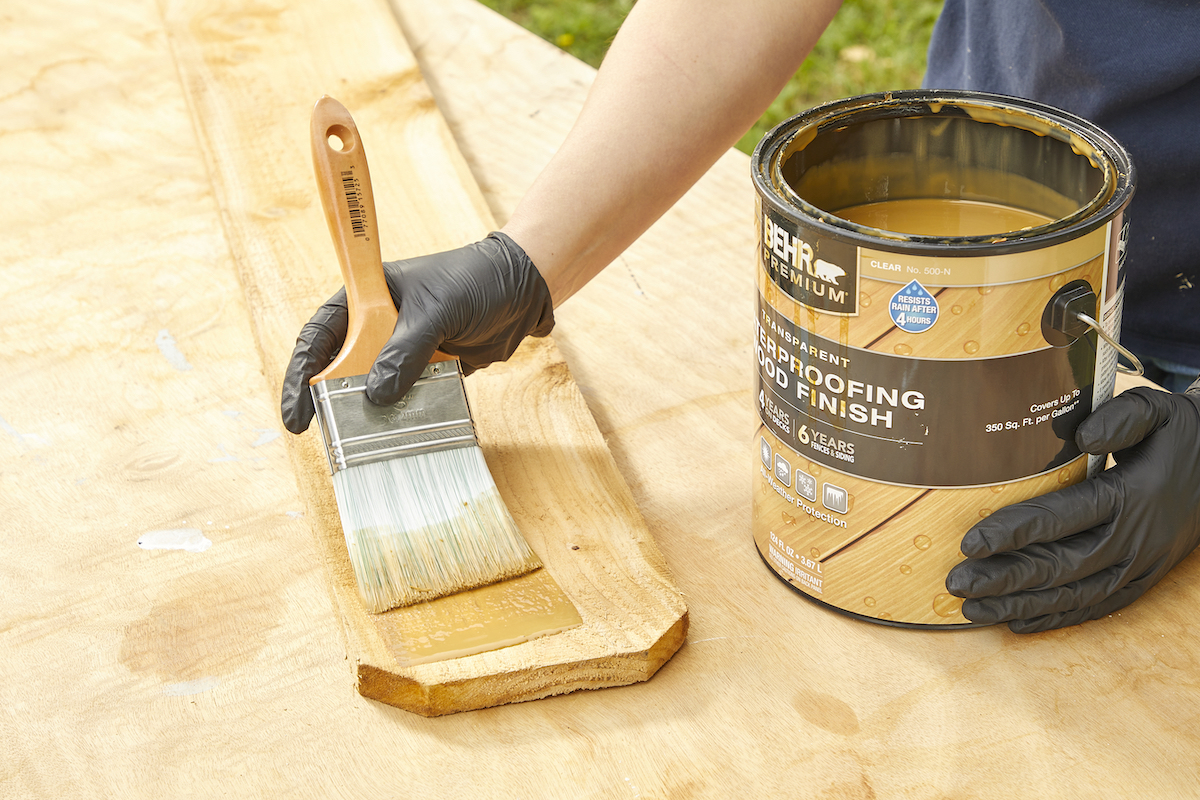
Photo: Tom Fenenga for Bob Vila
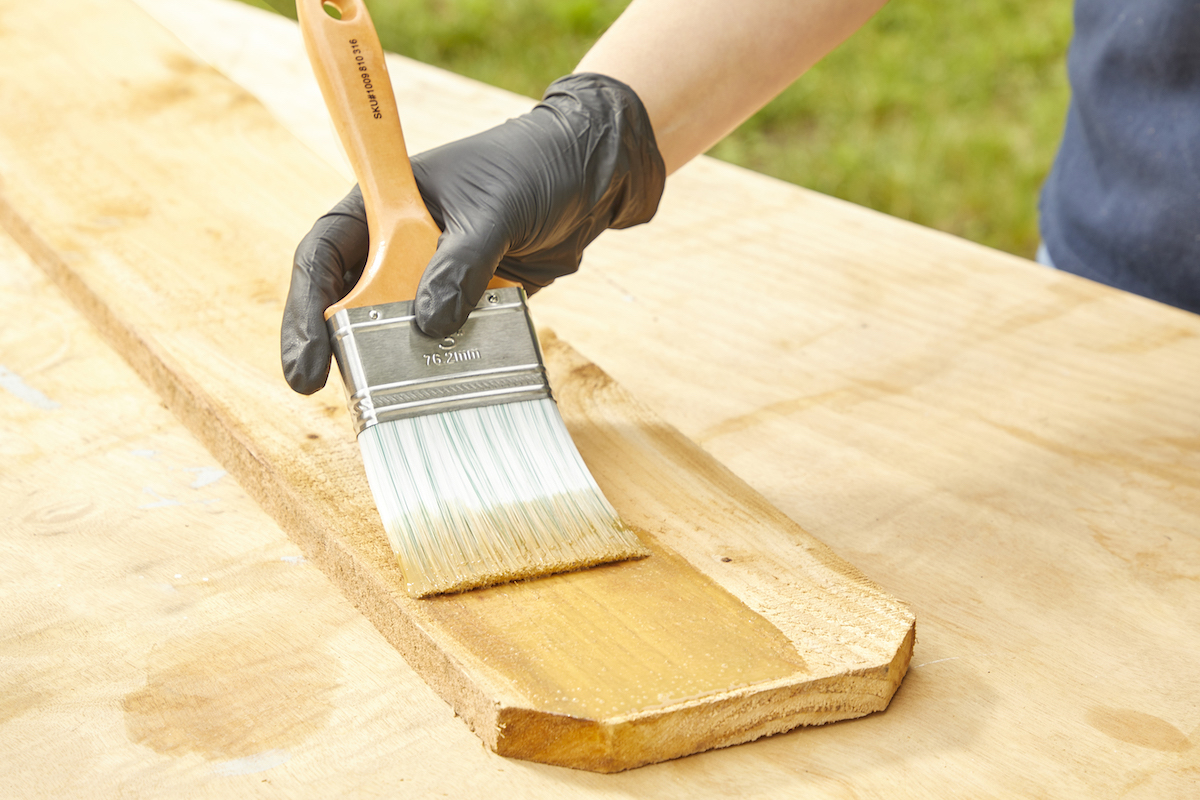
Photo: Tom Fenenga for Bob Vila

