We may earn revenue from the product uncommitted on this page and participate in affiliate programs . con More ›
Stick welding , formally known as screen metallic element arc welding , is the process of conjoin two piece of alloy by melting them using an electric arc at the roast . Unlike otherwelding method acting , stick welding can be performed horizontally , vertically , overhead and in windy weather , making it one of the more versatile welding methods . And sincestick welding equipmentis comparatively thick and lightweight , it ’s ideal for the jobsite or for a DIYer ’s shop where infinite is at a premium .
spliff welding also uses a uncomplicated setup that makes it a relatively well-heeled method for founding father welders , and supply and equipment are also more low-priced with stick welding than with other welding methods . That tell , safe is preponderant with any character of welding , and joint welding is no exception . We tap David Crosby , a general contractile organ and mechanic with more than 30 years of welding experience , for advice on how to beat weld . We ’ll also review the equipment it expect , and offer stick welding tips .
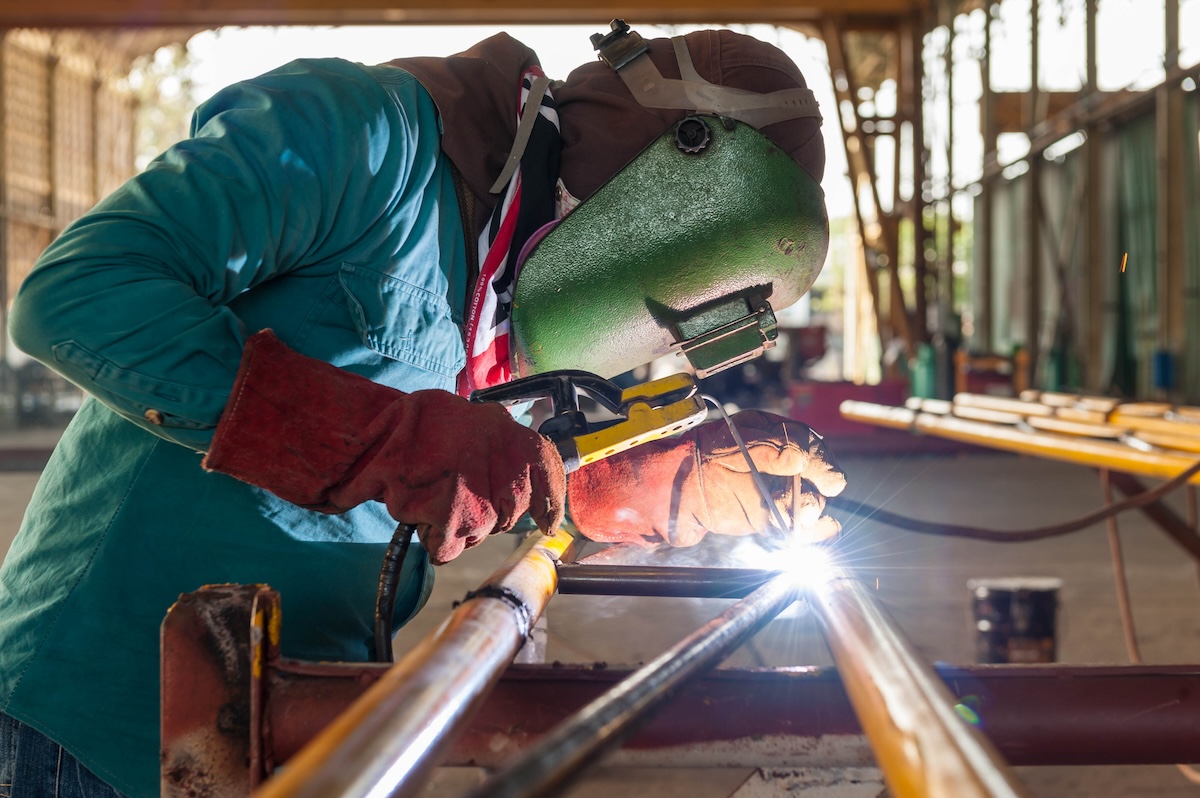
Photo: AROON PHUKEED/Moment via Getty Images
Important Stick Welding Components
One of the reasons stupefy welding is so popular with DIYers is that the equipment it requires is comparatively low-cost and does n’t take up much quad . Here ’s what you ’ll necessitate to get started :
Three Electrode Rod Types to Know
UnlikeTIG and MIG welding , gravel welding uses electrode rods to create the heat required for welding . These retinal rod come in a sort of types and sizes to fit different applications and materials . Electrode retinal rod are labeled with four - digit numbers . The first two numeral come to to the pliable posture , which is the amount of weight it can withstand after weld .
The third number name to the position in which you could use the rod : horizontal , flat , vertical , or overhead .
The fourth number refers to the musical composition of the fluxion coat around the rod . A lower telephone number sets more quickly , create more identifiable weld marks , while a high-pitched number is sonant material that creates a flatter and smoother weld .

Photo: Amazon
Below are three of the most usually used electrode rod character :
1. E6010
An E6010 welding retinal rod is illustrious for create a inscrutable cut arc . This make it ideal for thicker metals or for get through metallic element that ’s coated in rust or dirt . An E6010 rod is also one of the harder electrode rod to ferment with , requiring more experience from the operator to prevent them from digging too deep into the metal .
2. E6013
A near general determination electrode , E6013 works in a miscellanea of welding applications . They leave a white , professional look weld and are easygoing to work with . “ The E6013 is commonly the go - to electrode for beginners and all - around use , ” says Crosby . “ It works on any polarity in any place , the scoria is easygoing to remove , the insight is mild , so it ’s prosperous to not squander through lean segment , and it ’s easy to learn how to control heat and travelling speed . ”
3. E7018
E7018 electrodes are typically the choice of professionalwelders . They get a clear arc that limit spattering , appropriate the operator to create a unattackable , smooth bead that requires little stake weld clean - up .
Important Stick Welding Safety Tips
Given that stick welding can reach temperature approaching 7,000 degrees Fahrenheit while create life-threatening UV irradiation , taking safety precautions and employing good practices when stick welding is all-important . “ You ’re dealing with very eminent temperatures , and in most case , muscular electric currents , ” say Crosby . With this in nous , he commend the come safety precautions :
Initial Setup and Calibration
pop out by choose an electrode that suits the types of job and textile ( see above ) . Plug in thewelding machineand set the amperage base on the electrode type and heaviness . Calibration options are typically on the electrode recording label . you’re able to also get hold astick welding amperage chartonline .
Next , set up the polarity of the welding machine to match the electrode rod . The rod ’s sign will be listed on its boxful .
For an AC / DC+ electrode , associate the welding machine ’s ground clamp to the negative port on the welding machine and attach the clamp end to the workpiece , then attach the electrode holder to the positive side . FOR AC / DC- , link up the footing clamp to the cocksure side and the clamp to the negative mount .
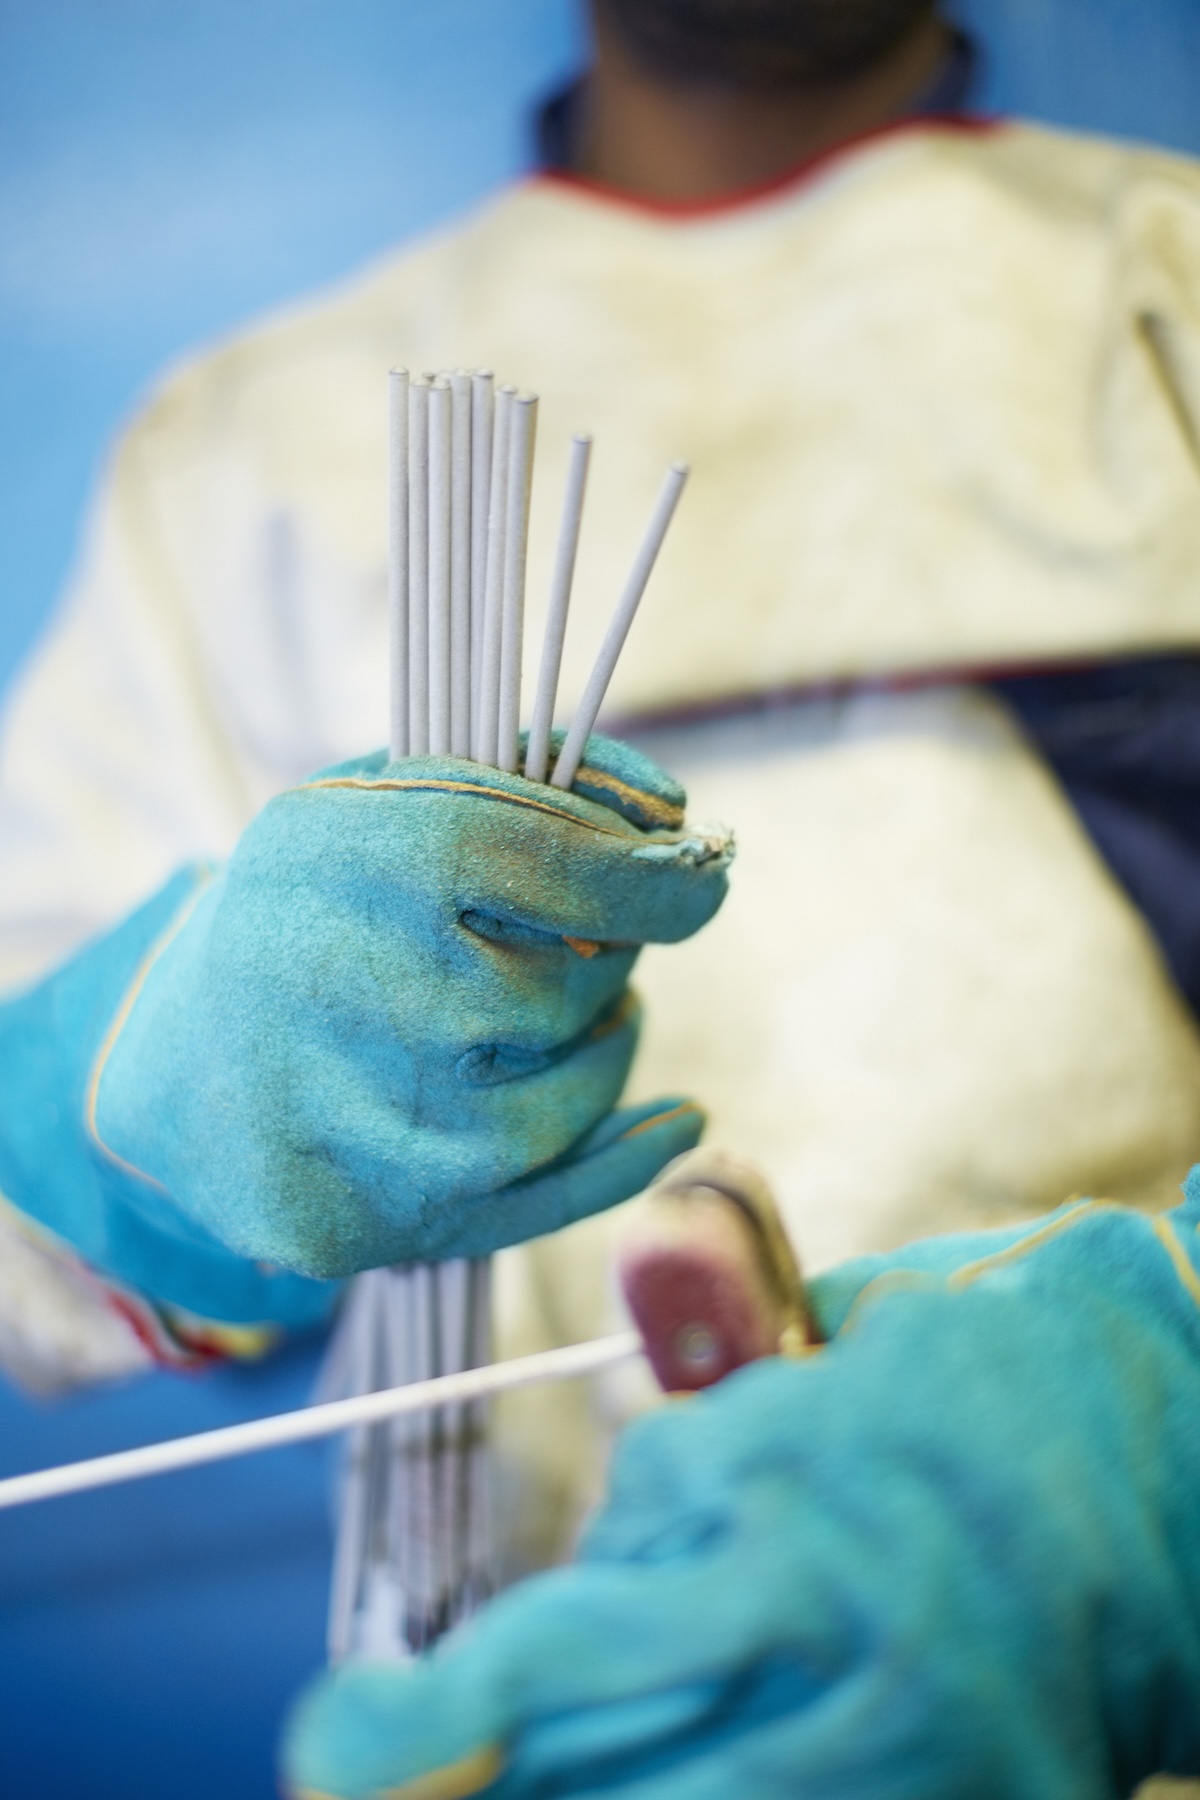
Photo: Westend61/Westend61 via Getty Images
How to Stick Weld
Stick welding methods all follow the same general guidelines , with some variances bet on the type of joint you ’re welding .
STEP 1: Prep the surface.
One benefit of stick welding is that it do away with the need to pick rusting and dirt off alloy before beginning the weld because of the flux coating on the electrodes that it apply . That being said , having a clean start area is key to establishing an electric arc , especially for beginner . Crosby recommends using anangle grinderwith a flap steering wheel . you’re able to also use a wire thicket to withdraw any filth or rust fungus from your starting area . The key here is to have both the clinch and rod touch bare metallic element .
STEP 2: Strike an arc.
bond the electrode holder to the goal of the rod . Make indisputable the clamp only contacts bare metal and not the flux to ascertain a clean connection .
Check the close of the rod and verify the peak is not coated over with fluxion . stir the final stage of the electrode to the workpiece in a quick movement that ’s standardised to striking a match , then pull it slightly out from the control surface . This will make a twinkle that ionizes the air travel , allowing you to plant a welding electric discharge . “ It should sound just like eggs frying in bacon grime when you have it right , ” Crosby tell .
If you do n’t get out the tip off the metal tight enough , the electrode may amaze to the metal , in which example you ’ll want to make a flying twisting motion to release it . If you get out the tip too far from the surface of the workpiece , you ’ll lose the arc and need to go over again .
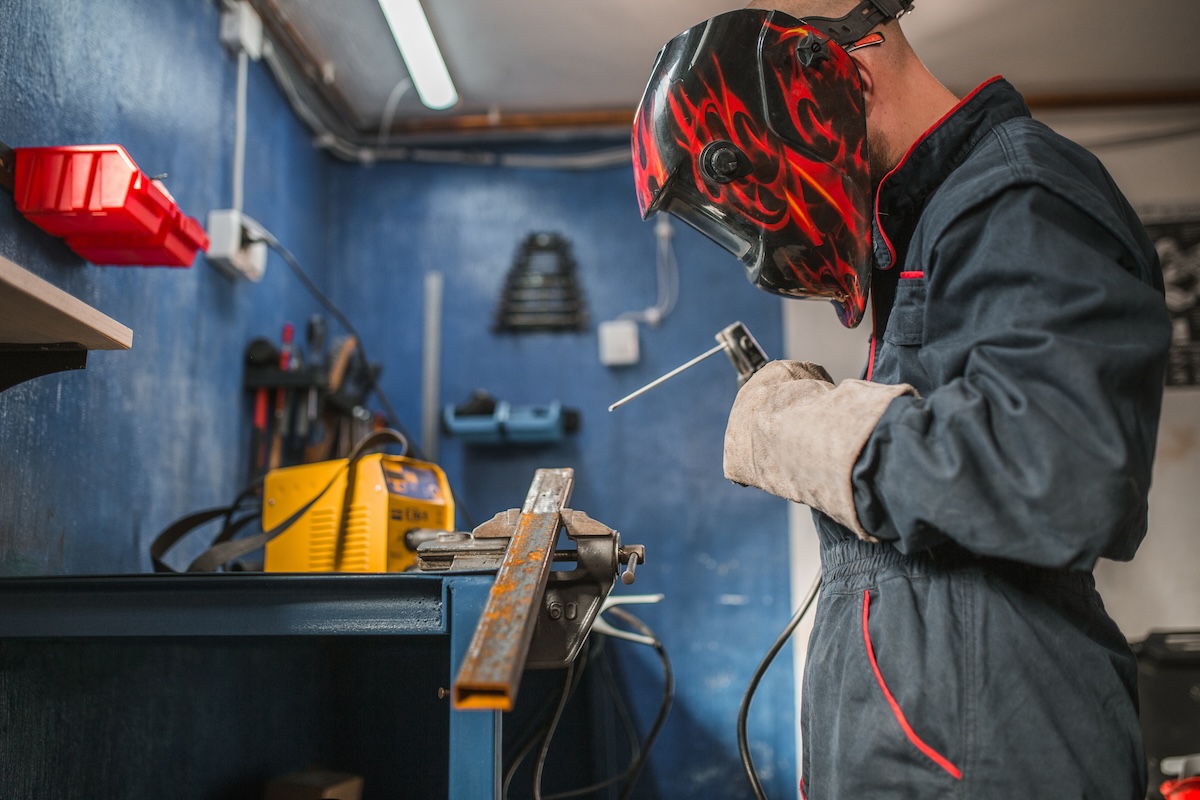
Photo: DekiArt/E+ via Getty Images
Striking an discharge is perhaps the most intriguing part of stick welding for beginners . Crosby says the best way to become proficient is through practice . “ It does n’t matter if you did n’t complete high school or just complete your post - doc work , it might take some sentence and exercise to acquire that skill , ” he says . “ Get some scrap steel , clean it , and burn some rod . ”
STEP 3: Start the weld.
Hold the rod so that it ’s at a 10- to 15 - degree slant from the workpiece and drag the rod along the dyer’s mignonette line , moving in a straight cable . Do n’t crusade the rod along the weld , as doing so could strap dross in the weld pond , contaminate the weld .
STEP 4: Maintain even distance and speed.
To get a good dyer’s rocket , you ’ll also want to keep up a consistent arc , which expect you to maintain a distance from the material that ’s no greater than the diam of the gat . This can be a challenge give that the rod will shorten as it thaw . Use your off - hand to help prop up and steady the dominant hired hand that ’s holding the rod cell so as to uphold proper control and distance .
upper is also central . Go too dense and you ’ll depart a wide dyer’s rocket or even overheat the material and unthaw completely through it . Move too tight and you wo n’t get across profoundly enough into the cloth to create a strong connection . Your goal is to produce a weld that ’s about twice the width of the diameter of the rod .
Practice make welding lines over a piece of scrap cloth to get a feel for what travel speed grow the proper weld breadth before moving forward with your dyer’s mignonette .
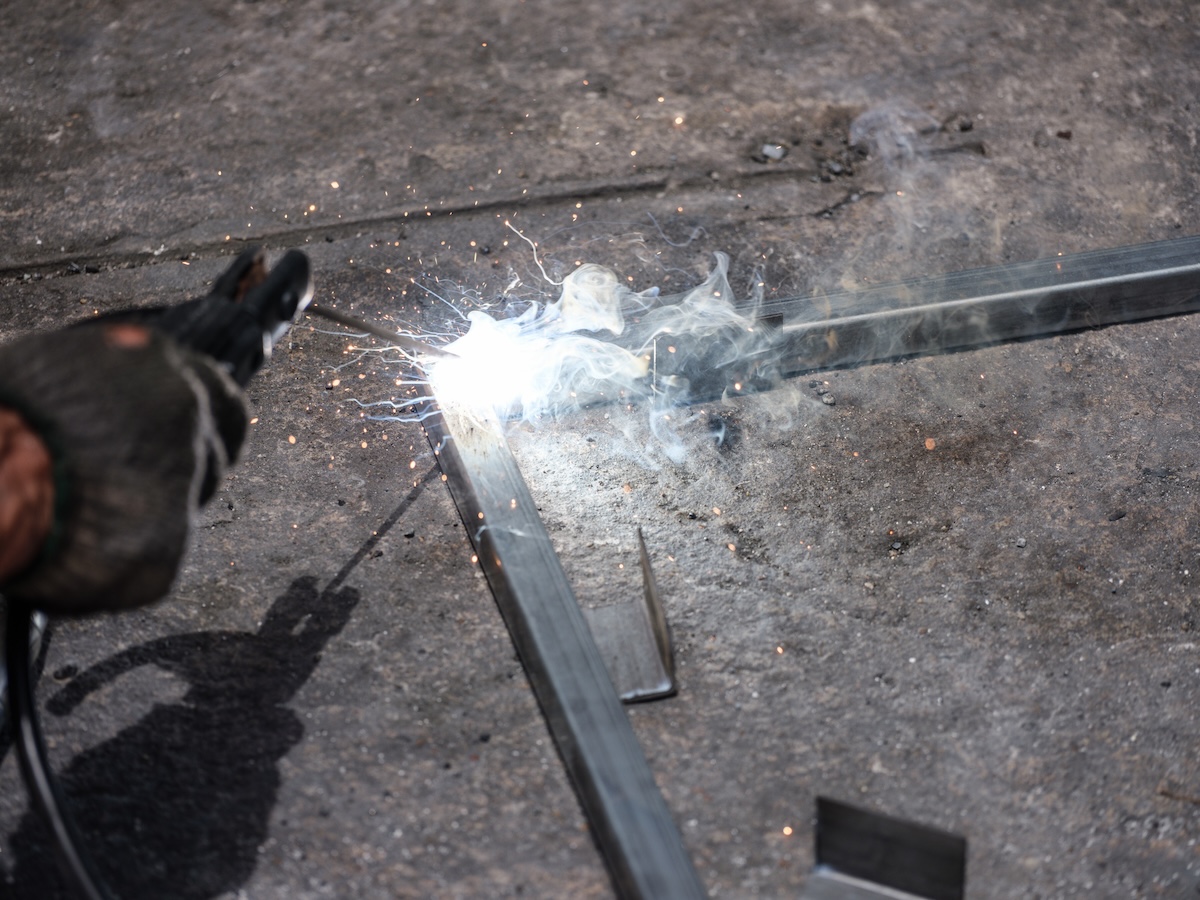
Photo: Navinpeep/Moment via Getty Images
STEP 5: Clean the weld.
Once the weld is staring , there ’s likely to be some slag leave behind . Clean up the weld by removing the excess bits of dross with the chipping pounding and wire brush .
Stick Weld Joint Types
While experts recommend holding the welding rod at a 10- to 15 - degree slant that head onward , the slant at which you hold the rod in coitus to the workpiece will vary calculate on thetype of weld .
Butt Joint
A butt joint is when two while of fabric are butt on up against each other . When making a butt dyer’s mignonette , the electrode should be pose so that it ’s at a 90 - degree angle in coition to the workpieces .
T-Joint
A T - articulation weld is when you ’re joining two textile to form a T - shaped joint . When execute a T - weld , direct the electrode so that it ’s at a 45 - degree angle in coition to both pieces .
Lap Weld
A lap covering Theodore Dwight Weld is when you join two piece of metal that are overlap each other . As with a T - junction weld , you ’ll want to bind the electrode so that it ’s at a 45 - arcdegree angle to the oeuvre pieces when execute the weld .
Final Thoughts
Stick welding is a simple and affordable method acting for welding , which is why it ’s such a popular option for beginners . However , there ’s an art tolearning how to weld well . Your first efforts at pin welding are potential to ensue in choppy weld line that vary from thick to thin . Do n’t get foiled . As with most things , practice makes perfect . “ Read everything you may find on the subject field , practice , practice , practice , and be safe , ” Crosby says .
This Is the Year for a Kitchen Renovation
Whether you ’re selling or staying , everyone can get something out of a kitchen update . Learn why we consider this renovation the Most Valuable Project of 2025 and how to stay on budget .

