We may pull in tax revenue from the production available on this Thomas Nelson Page and enter in affiliate course of study . Learn More ›
Thanks to its well-fixed fresh - up and short dry out time , latex paint has a leg up over oil - ground rouge foreasy weekend projects . But the water - based mathematical product also has a downside : It lean to inspissate when stored without an airtight seal , at below - freezing temperatures , or for an lengthened period of time .
The consistence change – which come because heavy rouge particles settle at the bottom of the can while the solvent rise up to the top – is problematical for two reasons . First , gooey paint wo n’t promptly work with rollers , brushes , and sprayer . secondly , it looks spotty and jolty when applied to a surface .
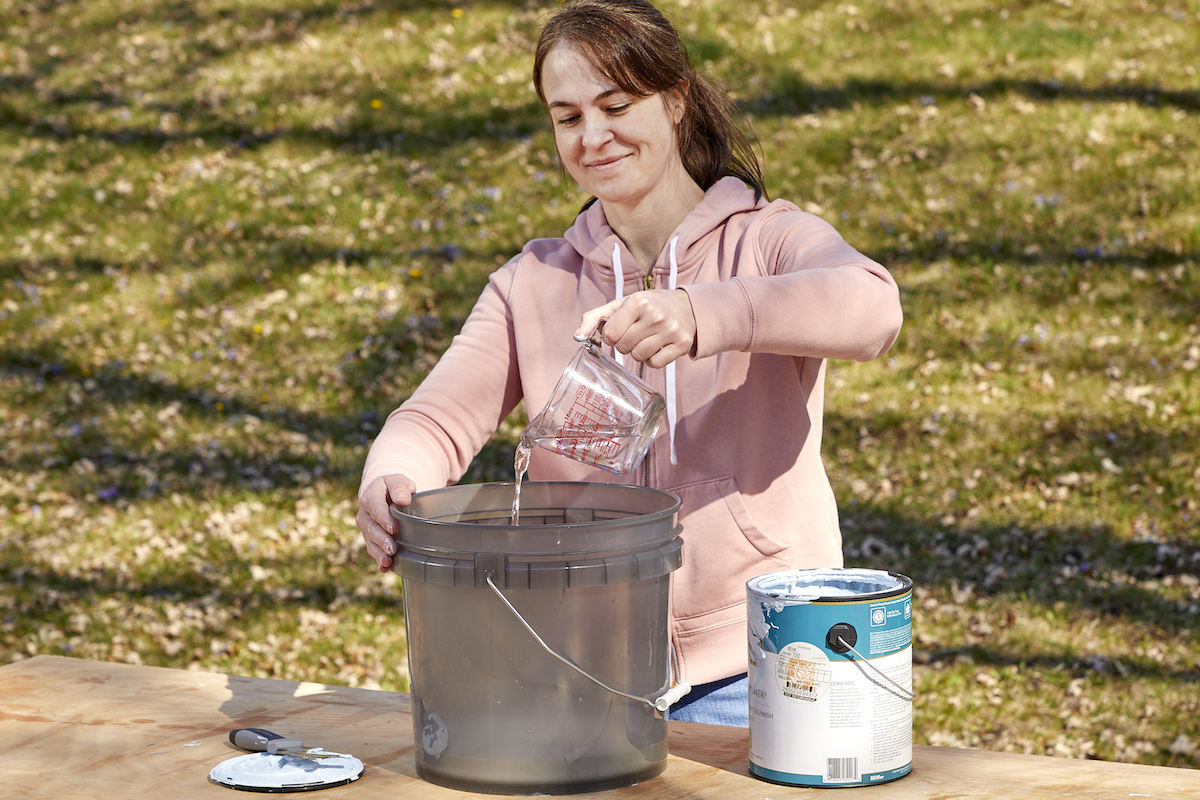
Photo: Tom Fenenga for Bob Vila
Although commercial-grade pigment thinners can help loosen up your rubber-base paint pigment , there ’s a quick and easy way to salve the can yourself with a few household production . Keep reading for how to lean latex paint paint to the thoroughgoing consistency for your next paint job .
Tools & Materials
Bobvila.com may earn a committee from purchases made through these contact .
Step 1: Ready your work area.
Ventilation is a must when handling pigment due to the effectiveness of the fumes , so carry your latex paint can and supply into a well - ventilated room or outdoor space .
reach the rouge canyon a stout workplace surface . Take charge not to bend the lid so much that it wo n’t reseal completely — a lid that does n’t come together properly will impress the quality of your rouge if you intend to spare the excess . The best way to do so is to open using a 3 - in-1painter ’s cock . If you do n’t have one , though , position the flathead oddment of the screwdriver between the sass of the lid and the rim of the can . Lever the handle down gently and , rather than pry the whole lid off in one go , turn the can so that the screwdriver can fall apart the seal on all side and slowly drive the lid open . Remove the hat and coiffure aside .
Step 2: Evaluate the paint and determine ifit needs to be thinned.
First fix if the key needs to be slim down . assume a junk masque and protective gloves , plunge a ado beat into the paint for a few second , then withdraw it and hold up it over a paint tray or newspaper publisher scale .
Step 3: Add water.
pour out all of the paint from the can into a cleanfive - Imperial gallon pail , and tote up a half - cupful of way temperature water for every one gal of paint . Then thoroughly combine the paint and water with a ado stick , using a combination of upward and downward turbinate motions .
Step 4: Evaluate the paint’s thickness.
Remove the stir cling from the paint can and hold it over a rouge tray or paper plate . If the paint readily mizzle off of the stir stick , it ’s ready for software .
If the paint still come off in globs , add an extra apothecaries' ounce of elbow room temperature weewee to the pail and then integrate the rouge again with the stir vex . Keep adding water , one ounce at a meter , until the paint get to the eubstance of gravid ointment . do the stir cleave test to check out for the desired consistency .
Step 5: Pour paint into a new container.
rain buckets the rouge from the bucket into a sporty empty paint can , then proceed with your house painting labor as usual .
Step 6: Store the paint properly.
Before reseal the lid of the can at the ending of your do - it - yourself project , add an ounce of water over the top of the blusher to keep it from dry out or forming a skin .
Store the can at above - freeze temperatures in a dry place without wild temperature fluctuations , and make certain it ’s protect with an airtight cachet . Remember that the utilitarian lifespan of an opened can of latex paint is two years .
This Is the Year for a Kitchen Renovation
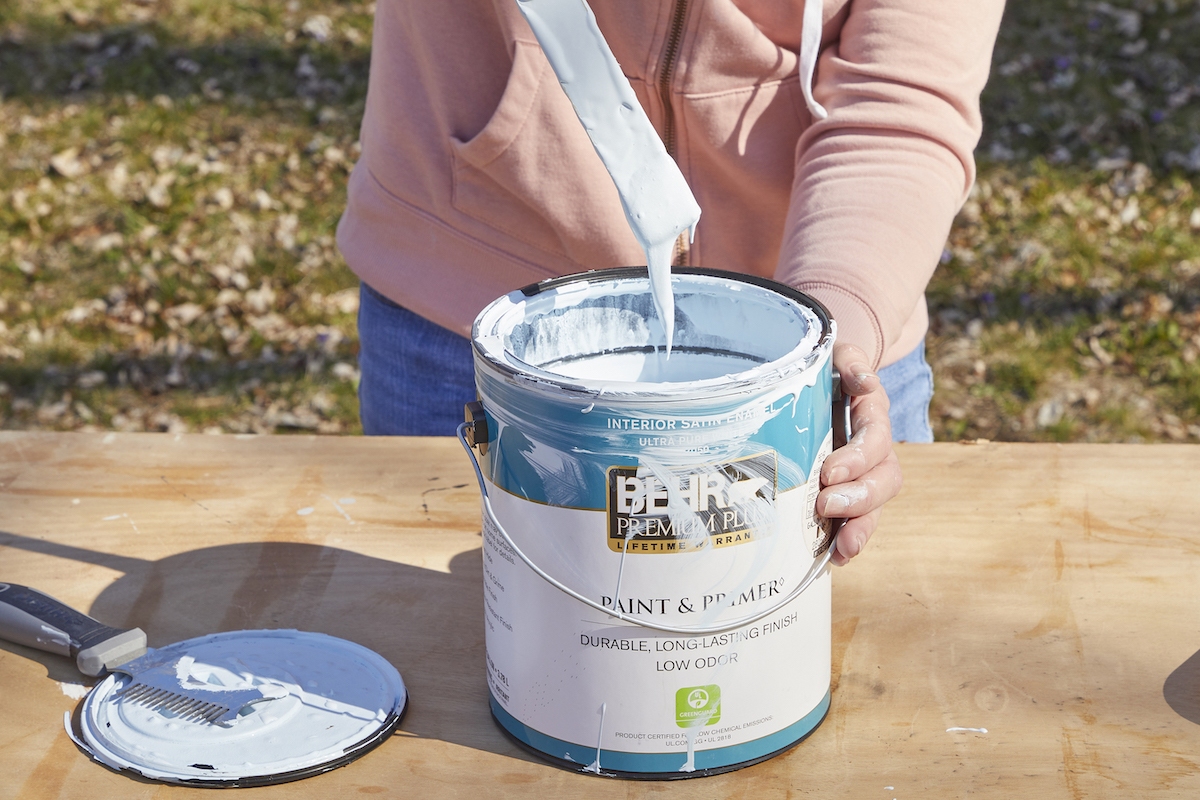
Photo: Tom Fenenga for Bob Vila
Whether you ’re selling or staying , everyone can get something out of a kitchen update . read why we deal this renovation the Most Valuable Project of 2025 and how to rest on budget .

Photo: Tom Fenenga for Bob Vila
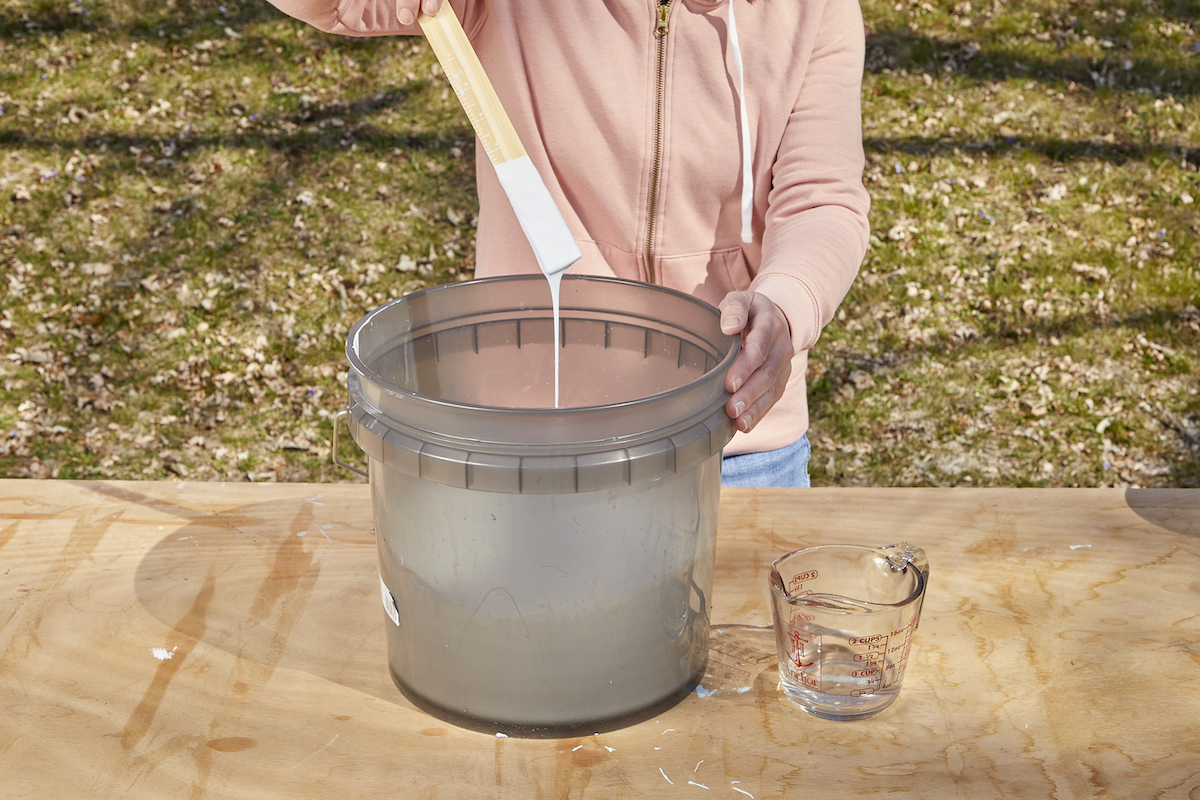
Photo: Tom Fenenga for Bob Vila
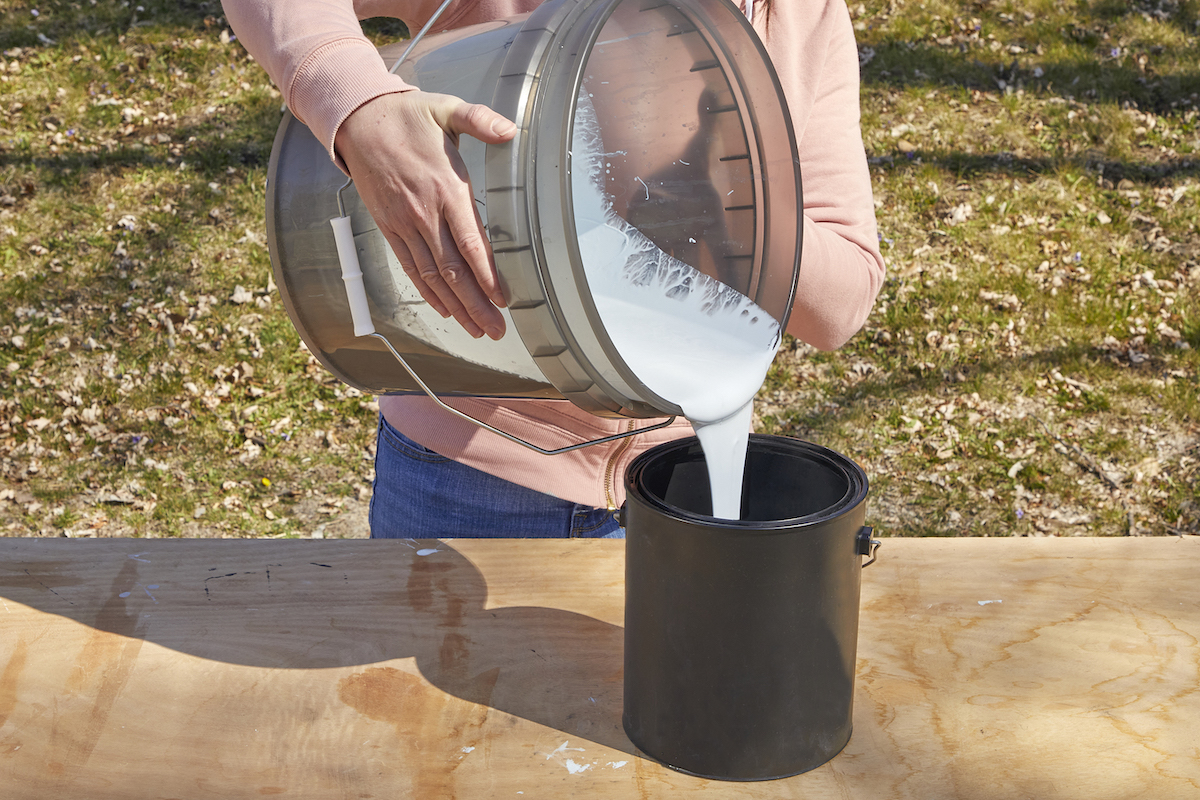
Photo: Tom Fenenga for Bob Vila

