We may earn revenue from the production available on this pageboy and take part in affiliate programs . get a line More ›
When it come to undestroyable lav materials , few stand out the public-service corporation and great looks of tile . While tiles are frequently used on floors , they can also dress up a john paries , and protect it from wet . While tiled wall are normally found in sumptuousness inside and hotels , they can be just as well suited to the average neighborhood home . Best of all , with some guidance and the righttiling tools , they are n’t that hard to instal . This guidebook will explain how to tile a bathroom wall so DIYers can bring this gamey - ending vibe to their bath space .
Tools & Materials
Bobvila.com may earn a commission from purchases made through these links .
Project Overview
Working Time : Approximately 6 hours for an 8 - foot by 8 - foot wallTotal Time : 3 to 4 daysSkill Level : IntermediateEstimated price : Between $ 2 and $ 50 per square foot , depend on material .
Tile is the big disbursal , and tile price vary widely . Thinset and grout be less than 50 cents per straight invertebrate foot of tiled bulwark .
Before You Begin
Overall , tiling is a relatively good project . There are , however , a couple of safety considerations to keep in head while you play :
Before you begin tiling , verify that the bathroom wall is in secure shape before adhering tiles to it . Walls that are intemperately bowed , snap , or body of water damaged are n’t near candidates for tile . In these case , it may be necessary to remove the wallboard and supplant it , either with more wallboard or concrete card .
Tiling a Bathroom Wall
tile a bathroom wall takes a little longanimity , but this commonbathroom upgradeis well within the ability of a distinctive DIYer . This guide will explain the basic steps for tile a bathroom wall and offer some utilitarian tips along the mode .
STEP 1: Choose your tile.
The first pace is the most fun : choosing thetype of roofing tile , and the grout to twin it . While it may seem like one kind of tile is as good as another , that ’s not the shell . First of all , there are departure between floor tiles and paries tiles . Floor tilesare durable , while wall tile tend to be flimsy , softer , and easier to crack , which is why they should be used only on wall .
Floor tile choice tend to be limited , but folks shopping for wall tile have seemingly endless hypothesis . Because DIYers can use almost any form of roofing tile on their walls , making a last pick can be paralyse : Ceramic , porcelain , or spyglass ? Classic livid or colorful ? Traditionalsubway tile , playful arial mosaic , or bluff squares ? Here ’s a suggestion that may make the decisiveness easier : tile that are overly trendy , super advanced , or ornate may not mature well , and murder tile is n’t a lot of play . That ’s why it ’s always a good thought to opt for people of colour and pattern that are classic and can stand the test of time .
STEP 2: Prep the wall for tiling.
There is often some wall prep work need before instal tile . This might mean removing existing tile and repairing the wall before move any further ( though it is potential totile over existing tile , in some cases ) . Your prep oeuvre might also involve removing sections of damaged wall , set up concrete board , or patching dents .
Bows and “ whips ” can be a piece more ambitious to carry on with . These irregularities can stimulate valley or humps that will impress how well the roofing tile adheres , and the overall uniformness of the wall . In such face , it ’s sound either to use small - format mosaic roofing tile or to remove the drywall , pad out the stud so they ’re even , and set up new drywall or concrete board .
STEP 3: Create a tile layout.
Creating a roofing tile layout is largely a matter of personal druthers ; some of the most pop patterns include take to the woods bond , herringbone , and aslant . Whichever you select , it ’s important to lay the tiles out in such a way that the ruined project front even and level .
For most installations , the gentle room to begin tile a rampart is as follow :
This gameboard will represent as a daybook , allow the DIYer to start place roofing tile on the paries in a straight , even stock . Its location also check that the top and bottom row of tile will be uniform , and the center wrinkle ensure that the tiles on either oddment of each quarrel will be even as well . Once the tile begin to set , get rid of the board .
STEP 4: Mix the thinset.
Bathrooms experience very high moisture and humidity spirit level , so it ’s important to choose a roofing tile mortar that ’s waterproofed and wanton to work with . The mortar for this job is thinset .
Premixed thinset is also available . While it ’s slightly more expensive , you wo n’t have to bother with work out out the water - to - powder ratio , though mixing is still necessary .
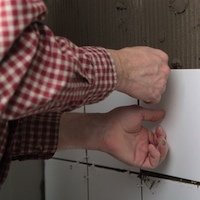
STEP 5: Lay the tiles.
Start lay the tiles above the ledger board attached to the paries in Step 3 . Use the trowel to apply thinset to the wall , work in pocket-size subdivision at a time . For large tiles , consider practice thinset to the back of the tile as well .
Place the bottom edge of the roofing tile on the ledger board and position it so the middle line on the wall is directly in the centre of the roofing tile . Firmly adjure the tile into the thinset . Repeat the cognitive operation on either side of this tile , using tile spacers to maintain even spacing .
Either end of the dustup will likely ask a cut tile . Measure the gap and cut the tile on a tile ship’s boat or wet saw ( bet on the material ) , and install it on the bulwark . It ’s best to complete each row before move up to avoid thinset hardening along the way .

Photo: istockphoto.com
take over this outgrowth row after run-in , maintain the choose convention and cutting tiles to fit when necessary . The top dustup may also need cut to ensure that the tiles match nicely .
Once the top one-half of the wall has been tile , withdraw the ledger display board and repeat the process from the top down , using spacers to keep the ordered spatial arrangement and radiation pattern . allow the tile sit down for at least 24 hours before grouting .
STEP 6: Apply the grout with a float.
take note : If you ’re installing natural pit , marble , or another porous tile , move on to ill-use 7 and then derive back to Step 6 . poriferous tiles need to be sealed before the grout is applied .
After at least 24 hours , it ’s time togrout the tile . ruffle the gunpowder with water in a bucket , following the manufacturer ’s instructions . A thick waffle - batter consistency is ideal . Use the ice-cream float to practice the grout to the grout lines in a 45 - point angle before dragging the air bladder along the lines to smoothen out any lumps .
hold back 15 to 30 moment to allow the grout to set . Use a damp parasite ( not a wet parazoan ) to wipe off supererogatory grout from the airfoil of the tile .
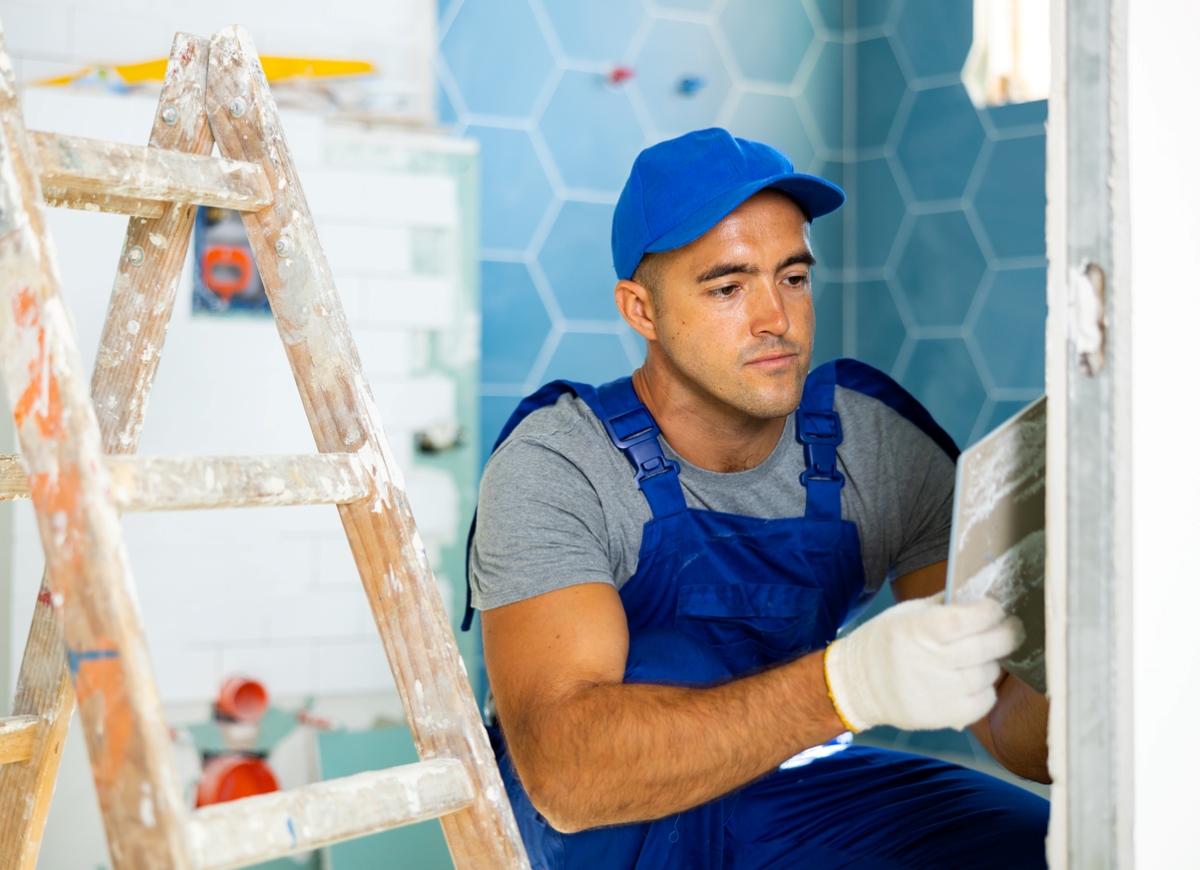
Photo: istockphoto.com
STEP 7: Once the grout cures, seal the tile.
Grout needs about 72 hours to cure all . Once it does , the groutneeds to be seal off . To seal off the grout and tile , apply sealer to a leech and rub it into the surface , paying especial attending to the grout line .
Wait 1 hour and put on a second coat of sealant . After the second coat , give the sealant up to 48 hours to bring around ( tick off the maker ’s instruction ) before using the space .
FAQs
That ’s a lot of information about how to set up bathroom wall tile , but there may still be some linger interrogation . The follow are some of the most frequently asked questions about the topic .
Q: Can you tile over wall tiles in a bathroom?
you’re able to , but it ’s not always advisable . This method often requires etching the existing roofing tile and using a particular epoxy thinset . This thinset can be hard to act with and tiles may slew , but if done correctly , it ’s potential to tile over live tile .
Q: How do you tile a shower wall?
The main difference between tiling a exhibitioner bulwark as contradict to a standard bathroom wall is that shower walls require a waterproof tissue layer to be installed behind the tile . Otherwise , the step are the same .
Q: What’s the best kind of tile for bathroom walls?
Almost any type of roofing tile will do for bath wall . Wall tile does n’t involve to be as strong or durable as floor tile , so there are n’t many limitation . Graeco-Roman choices include ceramic and porcelain , though marble is also a peachy option .
Final Thoughts
A vivid area of new roofing tile is a great way toreinvigorate a tired can , and with these try - and - true methods , installing bathroom wall tile does n’t have to be so hard . Just be sure to develop the walls , find the idealistic roofing tile layout , and keep consistent spacing throughout the project to ensure beautiful results . Once done , those rampart tile will provide that luxury vibe for eld and years to come .
This Is the Year for a Kitchen Renovation
Whether you ’re selling or staying , everyone can get something out of a kitchen update . memorise why we consider this renovation the Most Valuable Project of 2025 and how to stay on budget .

Photo: istockphoto.com

Photo: istockphoto.com
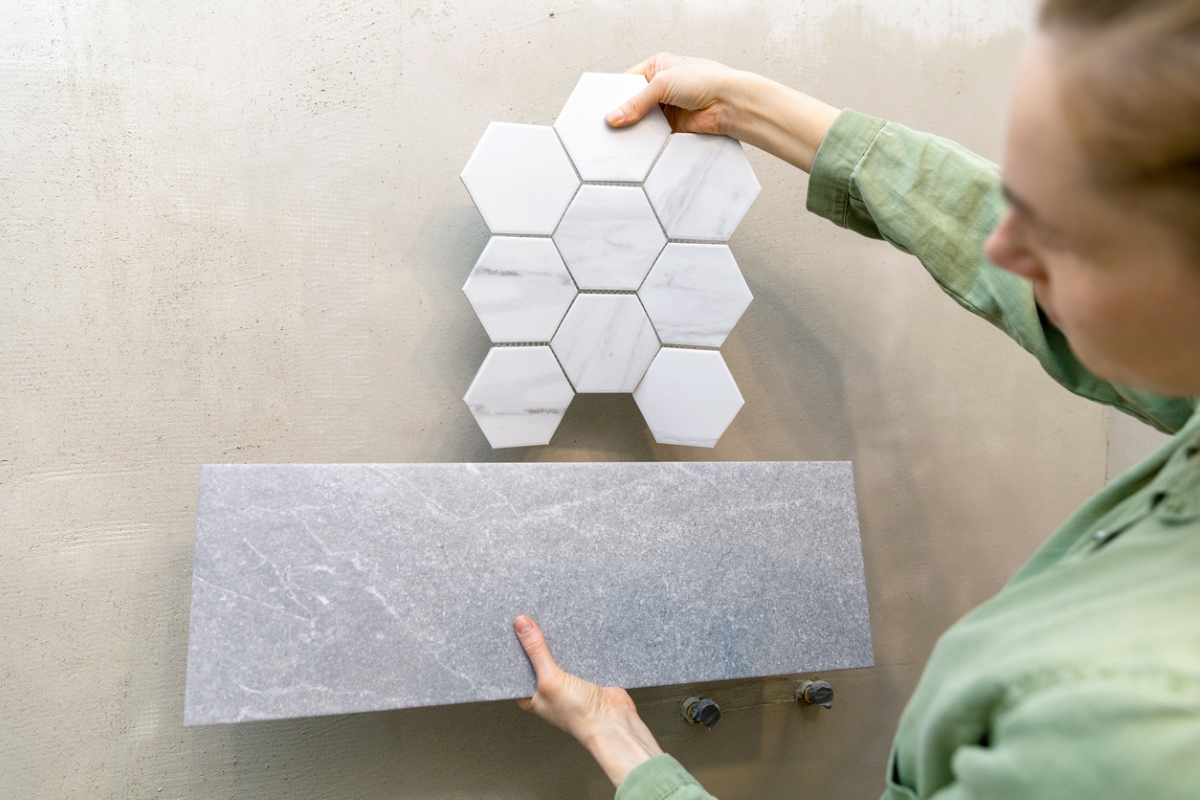
Photo: istockphoto.com
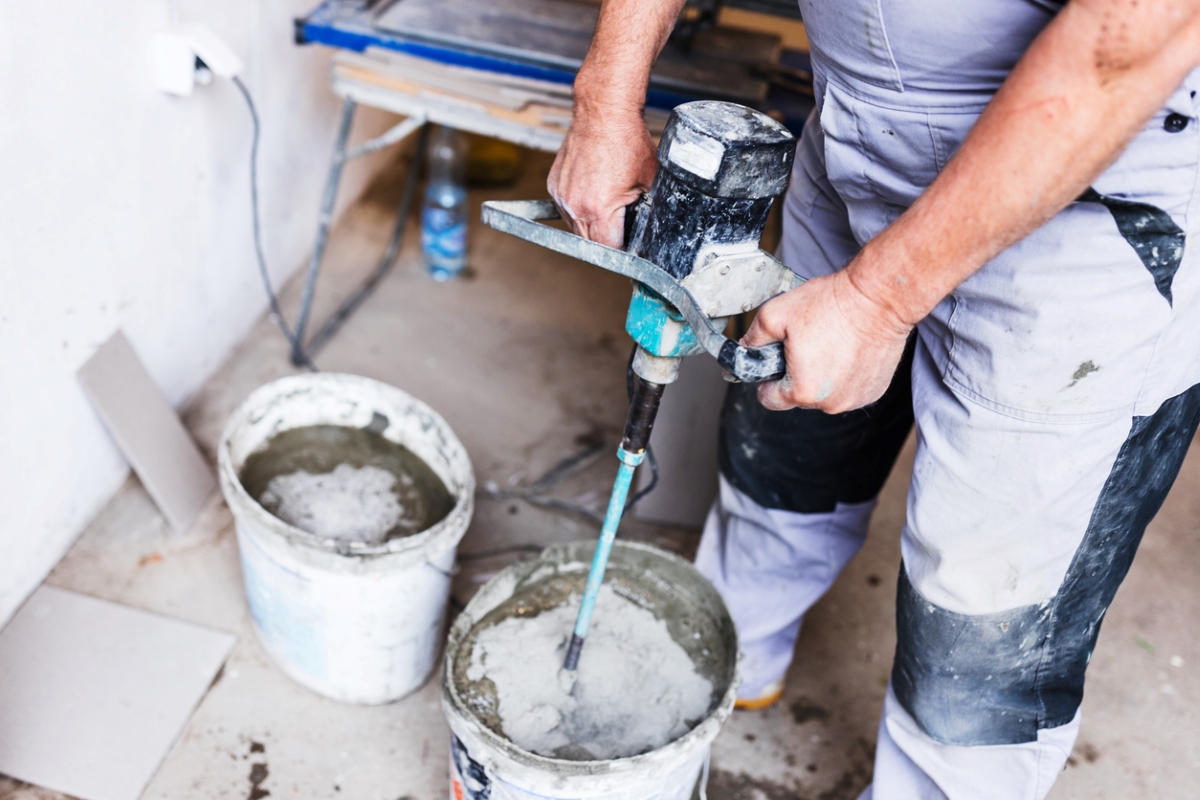
Photo: istockphoto.com
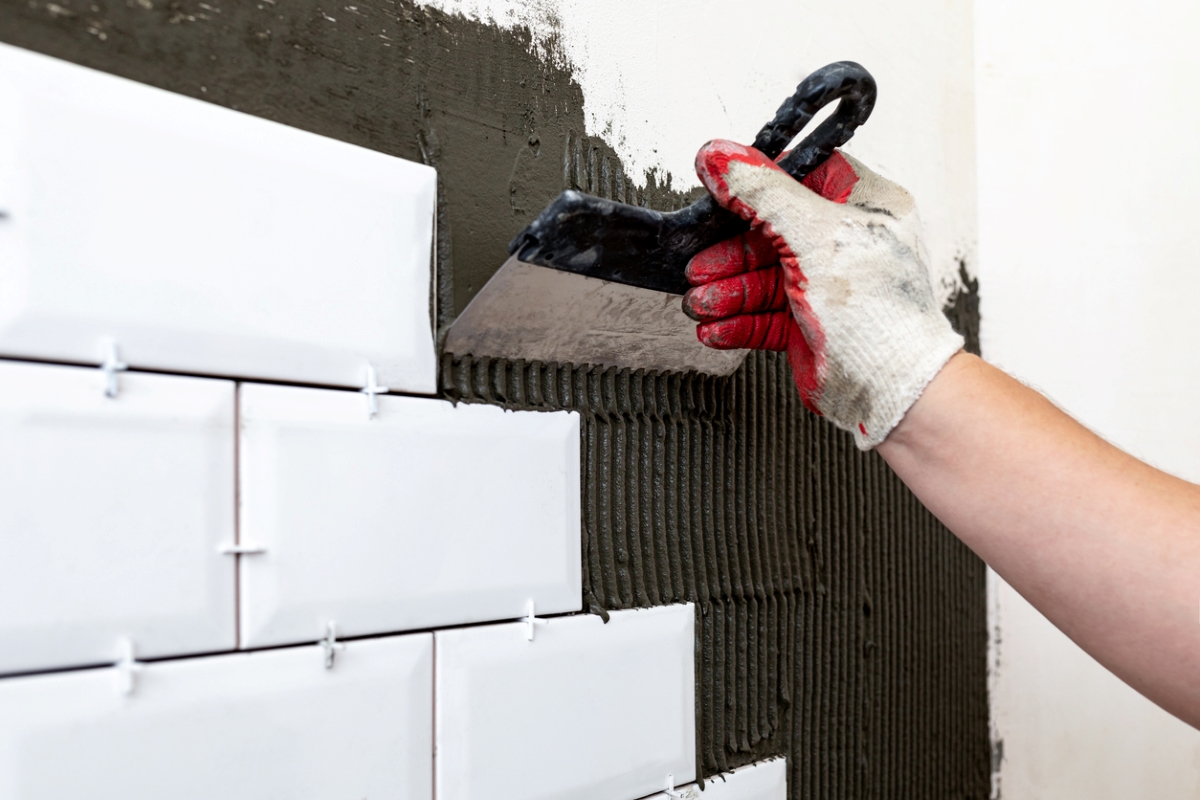
Photo: istockphoto.com

Photo: istockphoto.com
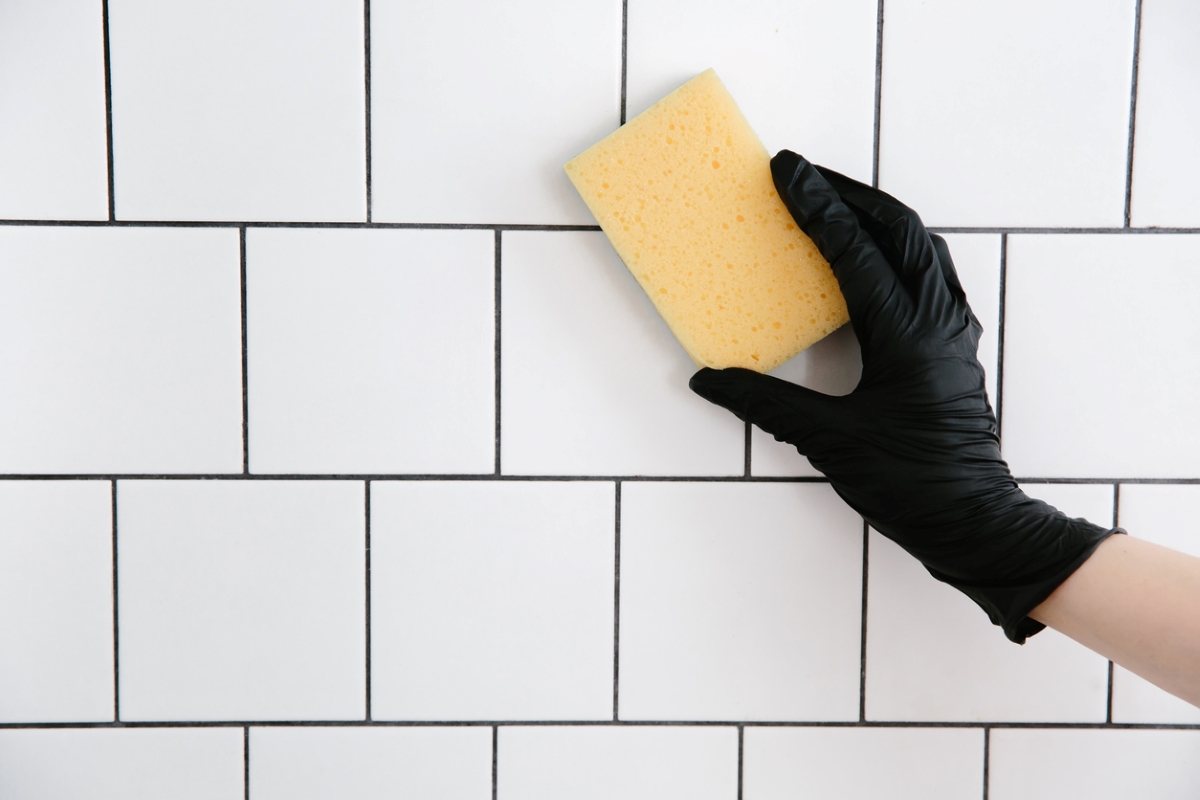
Photo: istockphoto.com

