We may bring in revenue from the products usable on this Sir Frederick Handley Page and participate in affiliate program . Learn More ›
Badly scratched hardwood flooring , rotted windowpane frames , and chipped piece of furniture are plebeian problem that can be time - consuming and expensive to repair . Or they can be dealt with quickly and affordably by homeowner who cognize how to practice wood filler . If you ’ve never worked with this stuff before , get mad : It might before long be your favourite detail in the prick box . mere in construct and loose to use , Grant Wood filler works wondersto remedy control surface imperfection in a immense and varied stove of household items .
At first rosiness , using wood filler may seem like a messy unconscious process , but precise results are not only possible , they are also in fact rather well-to-do to reach . It ’s important to note , however , that wood filler is intended rigorously for superficial yield , such as mark and nick . If the legal injury call for a proper mending , wood filler is no substitute . That say , there ’s no shortage of ways in which to use wood makeweight to improve the look of both hard-nosed and cosmetic constituent that have seen better days .

Photo: istockphoto.com
Is Wood Filler Stainable?
There are a few unlike sort of Grant Wood fillers , and the solvent to which type is good to use depend largely on the job .
6 Quick Steps to Repairing Wood Using Wood Filler
Our researched guide to the better wood fillerscan help you take a product that ’s tailor to your specific project . Once you have the right supplies , move with the watch steps for how to use woods makeweight so that your repair is nearly invisible .
Tools & Materials
Bobvila.com may earn a direction from purchases made through these link .
Step 1: Sand and clean the wood surface in need of repair.
Start by preparing the damaged surface . First , remove any unaffixed ball of Sir Henry Joseph Wood or flaking key . Next , sandany rough sharpness in or immediately next to the damaged arena you care to repair . eventually , all the way out all lingering debris and debris by mean of a shop vac or moistened weather sheet cloth . If you use a damp textile , hold back for the sphere to dry completely before you proceed to the next step .
Step 2: Use a preconditioner on the damaged area to prevent color discoloration.
Mrs. Henry Wood filler is different from the woodwind being filled , and the aerofoil of the wood that ’s in contact with the wood filler is susceptible to absorbing the grime or coloration of the woods filler . Protect the scupper parts of the wood by lend oneself a wood filth preconditioner to seal the damaged area and surrounding surface . allow the conditioner fully dry .
Step 3: Apply the wood filler using a putty knife.
begin at the edge of the damaged area , pressing the wood makeweight into the depression . Overfill slenderly to allow for the fact that the filler shrinks as it dries . Once you have utilize as much makeweight as necessary , smooth over the fulfil area with a fresh part of aputty knife .
Step 4: Allow the wood filler to dry completely.
hold in the packaging for manufacturer recommendation on how much time is postulate for the wood filler to dry . reckon on the profoundness of the software , it could take anywhere from 15 minutes to 8 hours .
Tried-and-True Advice
A piddling woods makeweight goes a long fashion . When I changed out the computer hardware on an old dresser , it was n’t until after I removed every drawer pull that I realized the novel ones I ’d buy had jailor holes that did not line up with the previous ones . I used wood filler to patch the holes and then redrilled the drawers to line up with the new ironware . Easy makeover and the wood makeweight was so mere to apply , but I ended up buying way too much and still have an almost - full container of wood filler with nothing to fill !
— Amber Guetebier , Contributing Writer
Step 5: Sand the filled area so that its height is flush with the surrounding wood.
Once dry , work with a lightsome hand to sand the area bland . When you run your hand over both the undamaged and saucily filled part of the point you are fixing , you should palpate only the slightest difference of opinion between the two .
Step 6: Complete the project by applying your choice of finish.
In most cases , the goal will be to make the repair virtually obscure . If you ’ve been act on a baseboard paint white , concealing the fix is simply a affair of painting over the fill area in the same color .
Stained wood is trickier to deal with . For the undecomposed possible mate , it ’s recommend that you dab some wood filler onto a piece ofscrap Sir Henry Joseph Wood . await for it to dry , then examine the stain to see how it wait . Depending on the run results , you may then choose to thin out out the stain , use a dissimilar color , or ( if you got a close enough equal ) proceed to enforce the smear to the detail that you ’ve now successfully fix — chintzily , easily , and possibly in less than an hr .
This Is the yr for a Kitchen Renovation
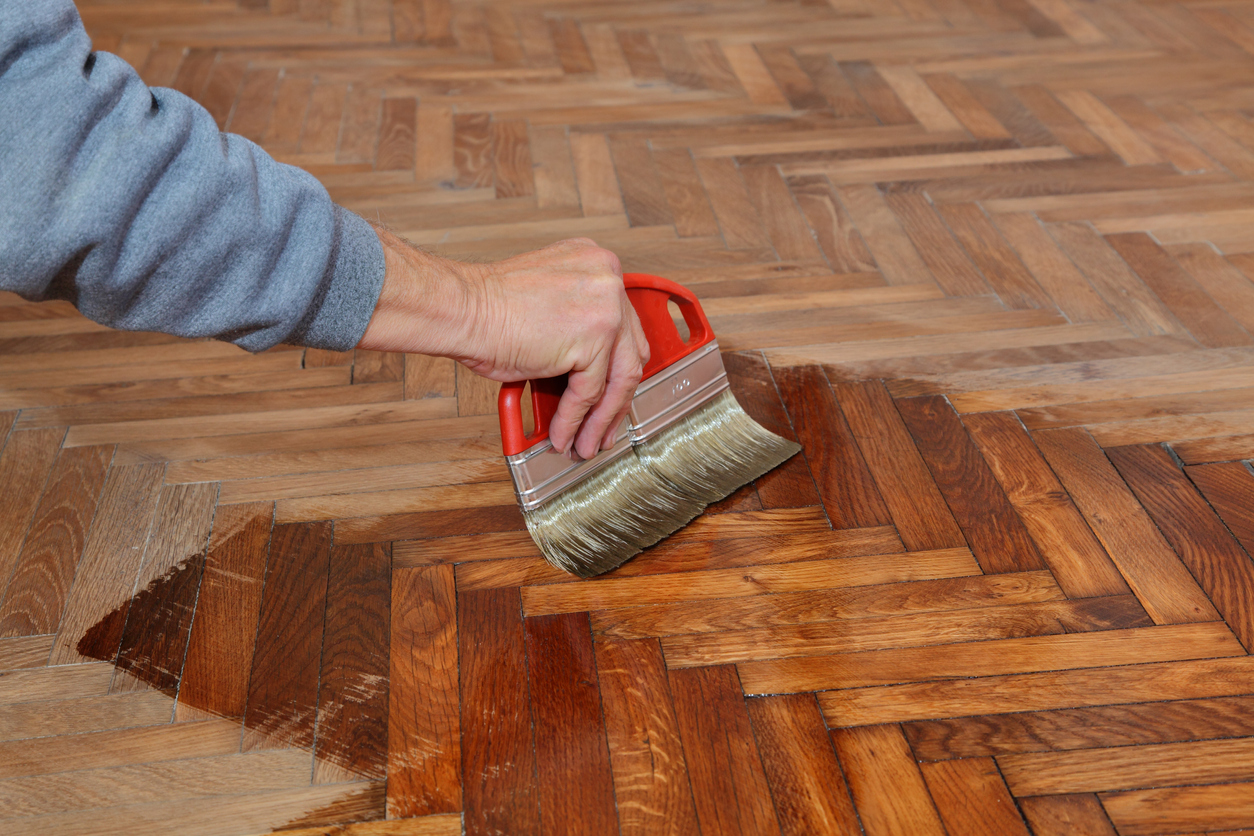
Photo: istockphoto.com
Whether you ’re selling or staying , everyone can get something out of a kitchen update . Learn why we view this renovation the Most Valuable Project of 2025 and how to stay on budget .
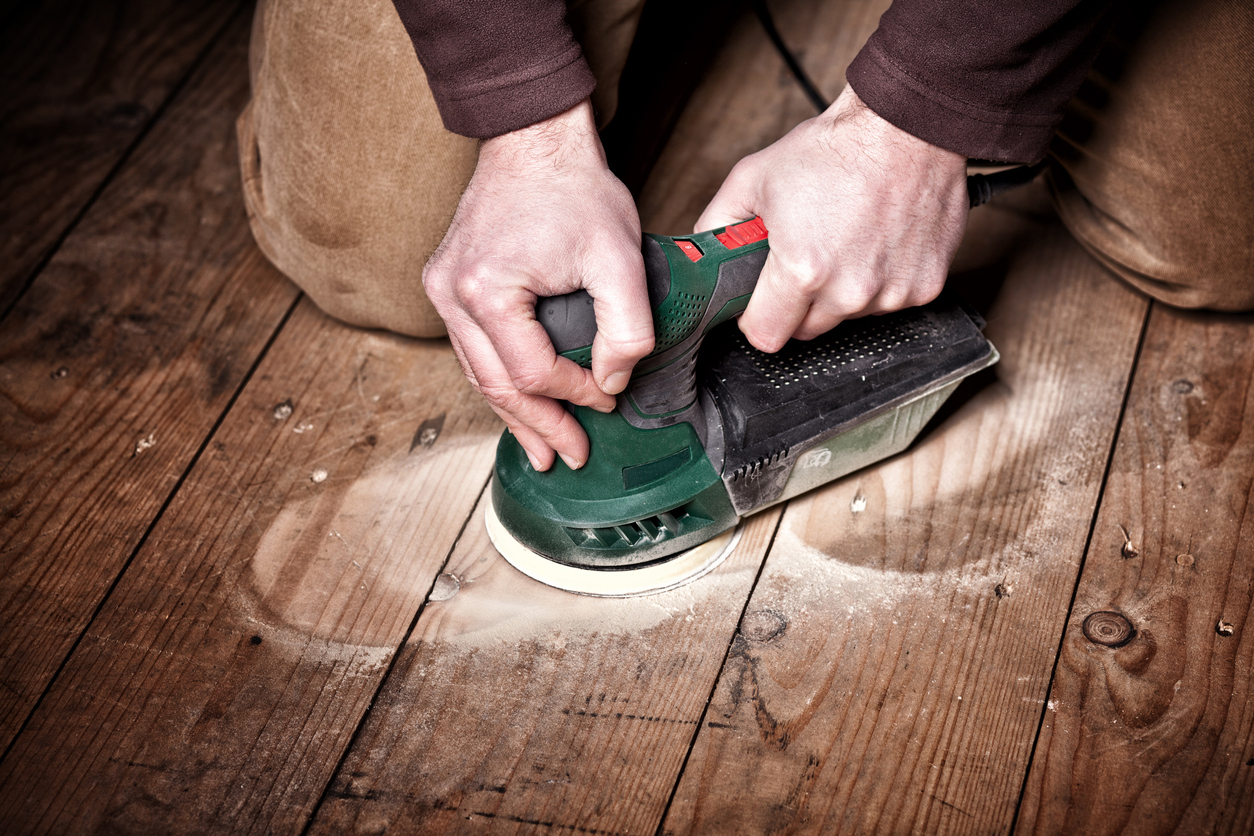
Photo: istockphoto.com
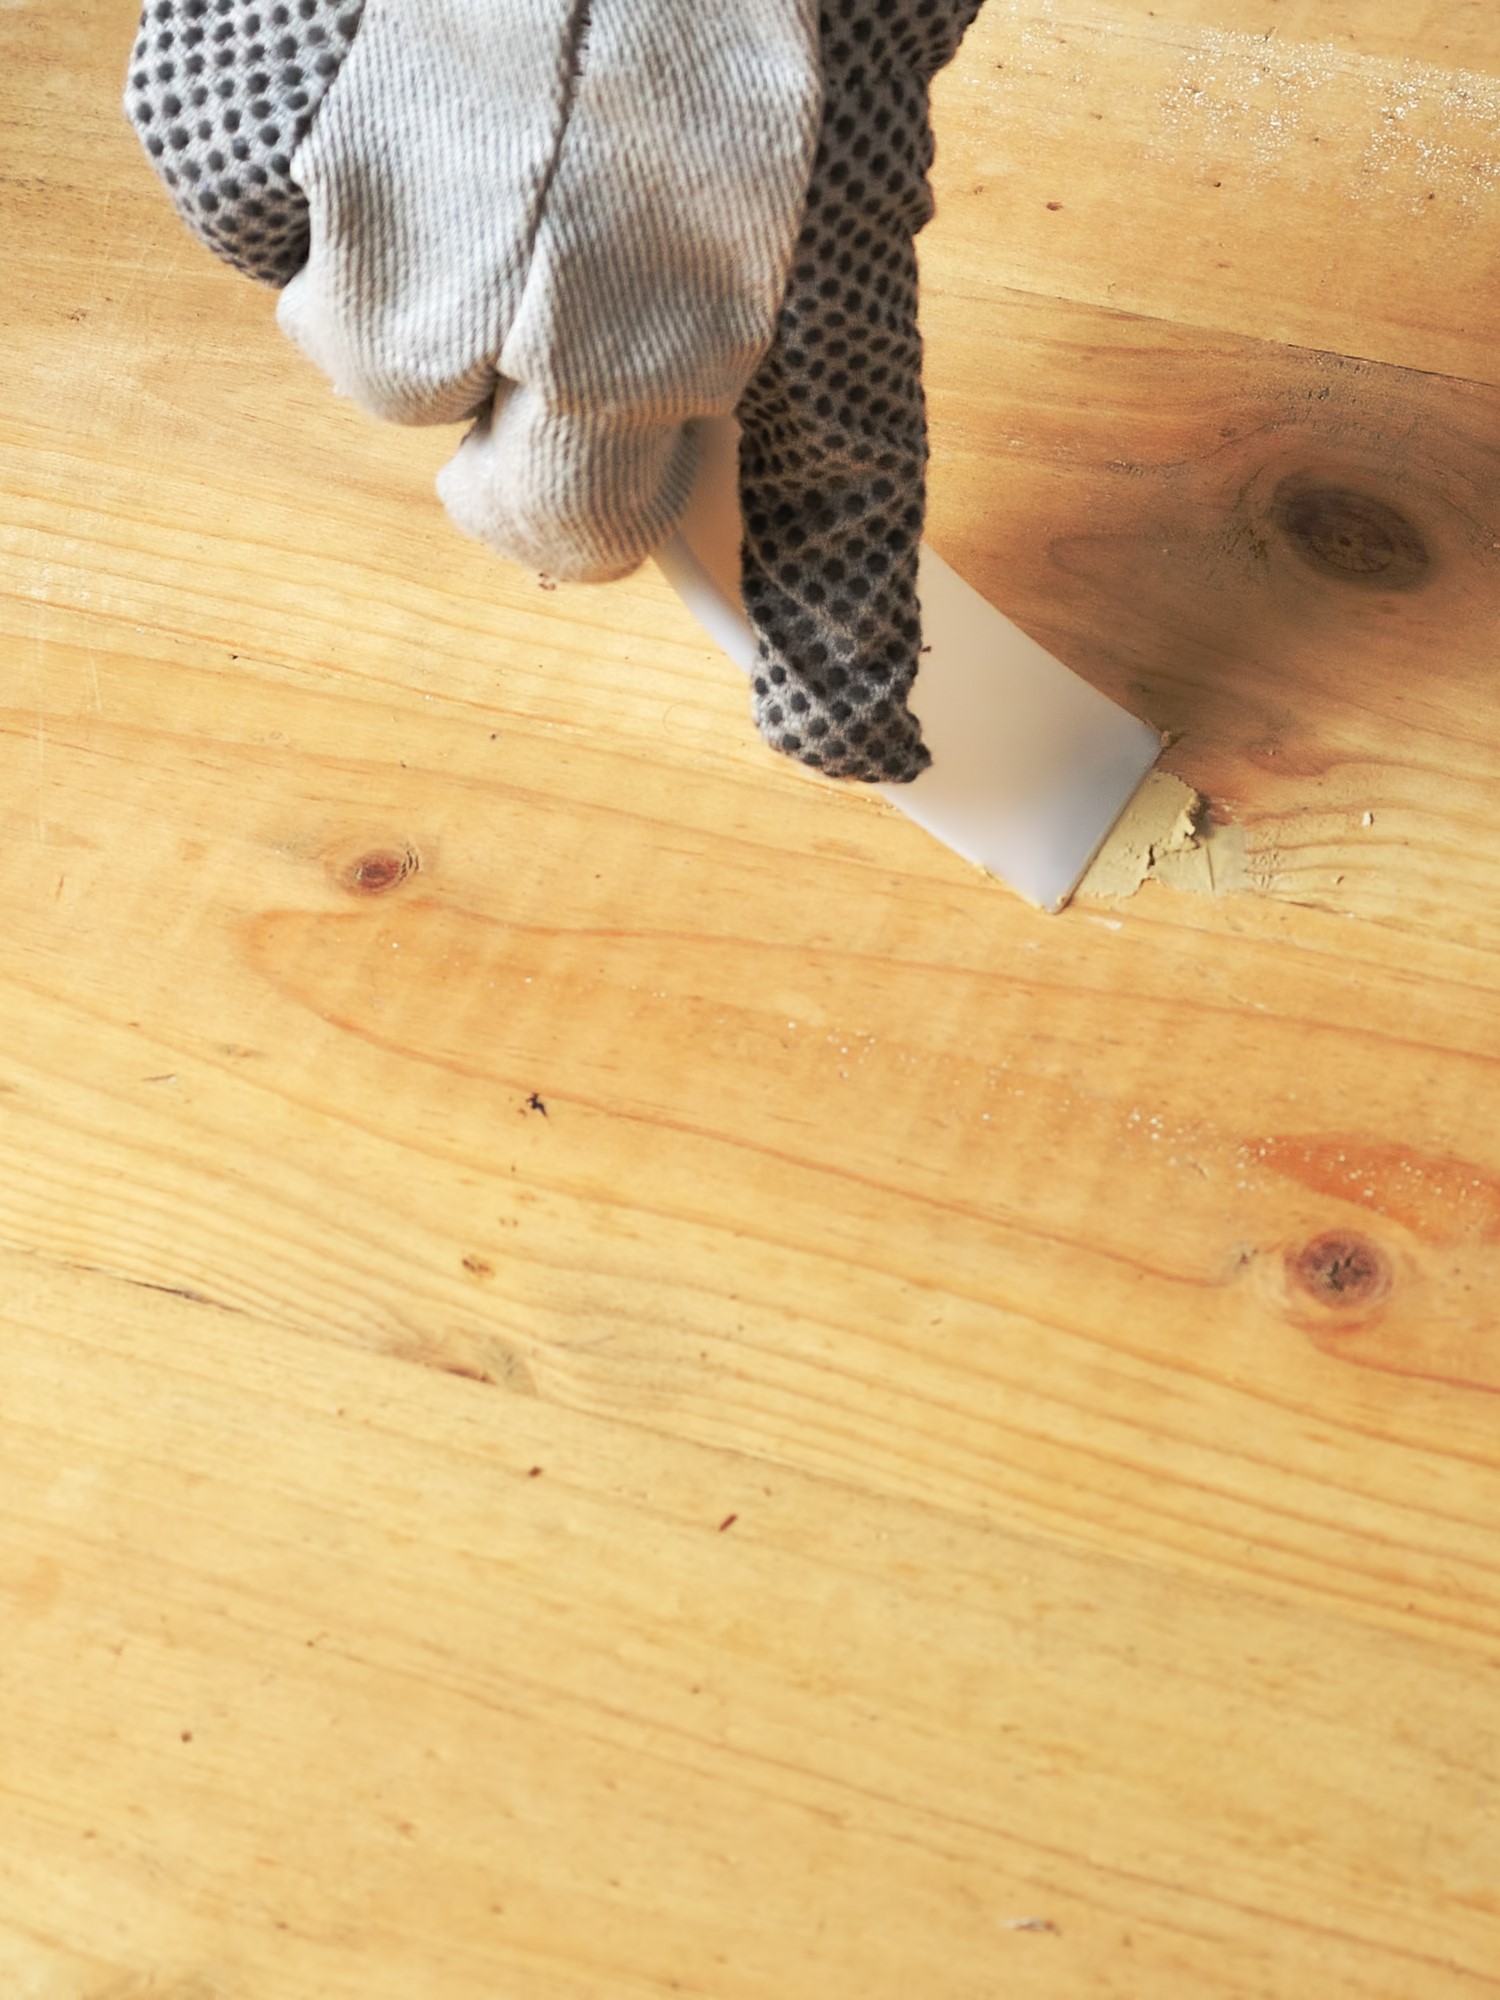
Photo: istockphoto.com


Photo: istockphoto.com

