We may realize revenue from the products usable on this Sir Frederick Handley Page and participate in affiliate programs . memorize More ›
A indestructible finale for woodworking pieces , furniture , and flooring , varnish beautifies forest and protects it from gelt and smirch . To the uninitiated , achieve a smooth and shiny look may seem like a thaumaturgist ’s trick , but once you interpret the rudiments , varnishing wood could n’t be much easier .
Tools & Materials
Bobvila.com may earn a committee from purchase made through these links .
Before You Begin
ensure the airfoil you wish to varnish has been sandpaper smooth , and do n’t begin seal until you have cleaned your piece of work space . Varnish dries slowly and rarely fails to appeal rubble , haircloth , and loose debris , so the success of your project ultimately depends , in part , on how well or poorly you scavenge up beforehand .
How to Varnish Wood in 4 Steps
Step 1: Gather new, high-quality varnish and brushes.
First , go grease one’s palms some novel varnish . A can that has been sitting for years in your shop may contain stumblebum that could compromise your final results . ( Test the quality of a varnish by coating it on a bit of scrap wood . ) Of equal importance is thepaint brushyou use . Do n’t lay waste to clock time with a subpar tool : Opt for a natural - bristle brush that feels thick at its heel — that is , the bristle area opposite the copse tip . alike , pass on any brush whose bristles throw off idle when they are firmly clench .
Step 2: Stir the varnish and pour it into a plastic container.
With a clean stirring stick , stir the varnish soundly , but do it slowly enough to avoid forming melodic phrase house of cards . ( For this reasonableness , take pain to avoid shaking the can too in transport . ) Next , cautiously pour enoughvarnishfor your first coat into a plastic container marked on its side with intensity measure .
Step 3: Thin the varnish.
Add a thinning agent , preferably gum gum terpentine , to the varnish in your mixing loving cup . By making varnish dry more slowly , thinner effectively sabotage control surface imperfectness like streaks and bubbles . How much sparse is enough ? Opinion varies . If the varnish you are preparing will be applied as a first coat , cease guru Steve Mickey commend a salmagundi that hold 20 to 25 pct thin ; subsequent coats should curb just 5 to 10 percent thinner .
Step 4: Apply the varnish.
When coating onvarnish , work with a lightsome touch ; only the tip of your coppice should flex . If you ’re decently - handed , begin in the upper - leave corner of the open . Varnish a 1 - square - foot surface area , brushing in the focussing of the wood food grain — never back and off — then move on to an conterminous square of alike dimensions . Proceed in this agency until you have a full coat .
While the varnish is still wet , remember to “ tiptoe off ” : Drag the tip of your brush over the study piece to smoothen any remaining stripe or lingering bubble . Your tipping solidus run in the same focal point as your program program cerebrovascular accident ( in the direction of the grain ) .
This Is the class for a Kitchen Renovation
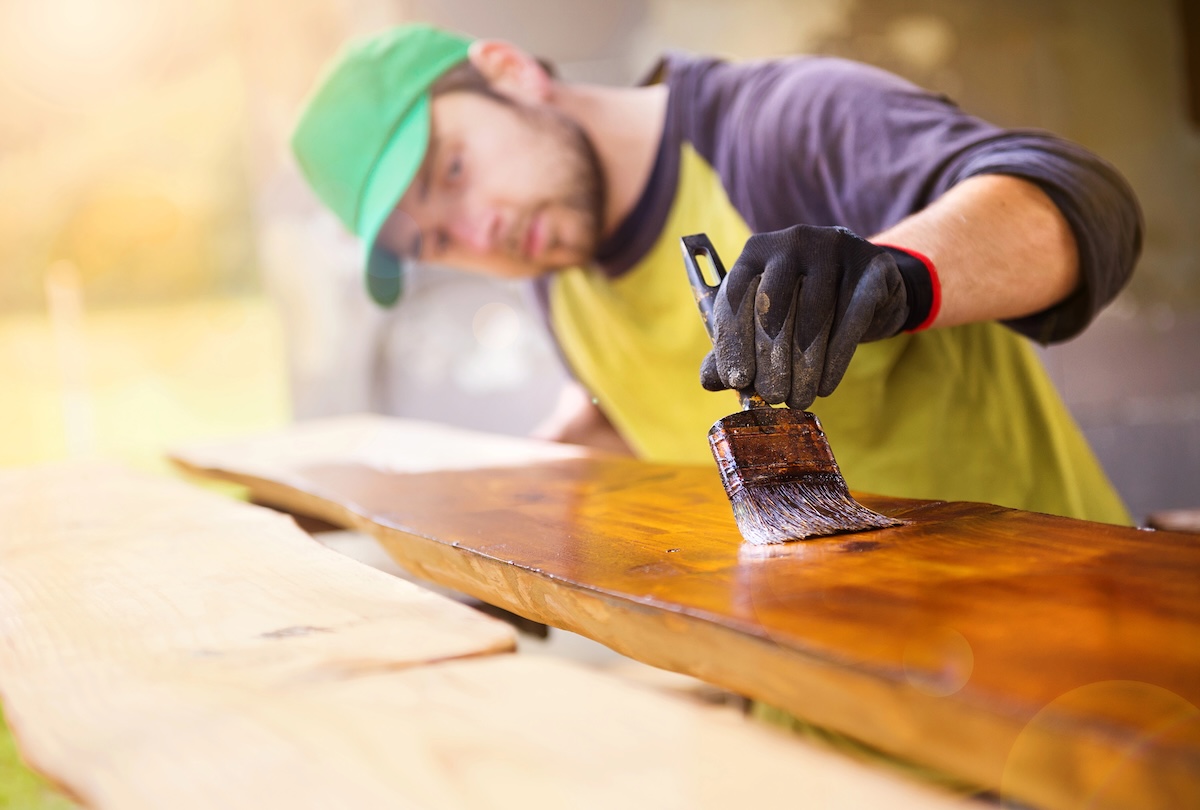
Photo: halfpoint via Depositphotos
Whether you ’re sell or staying , everyone can get something out of a kitchen update . Learn why we consider this renovation the Most Valuable Project of 2025 and how to stay on budget .
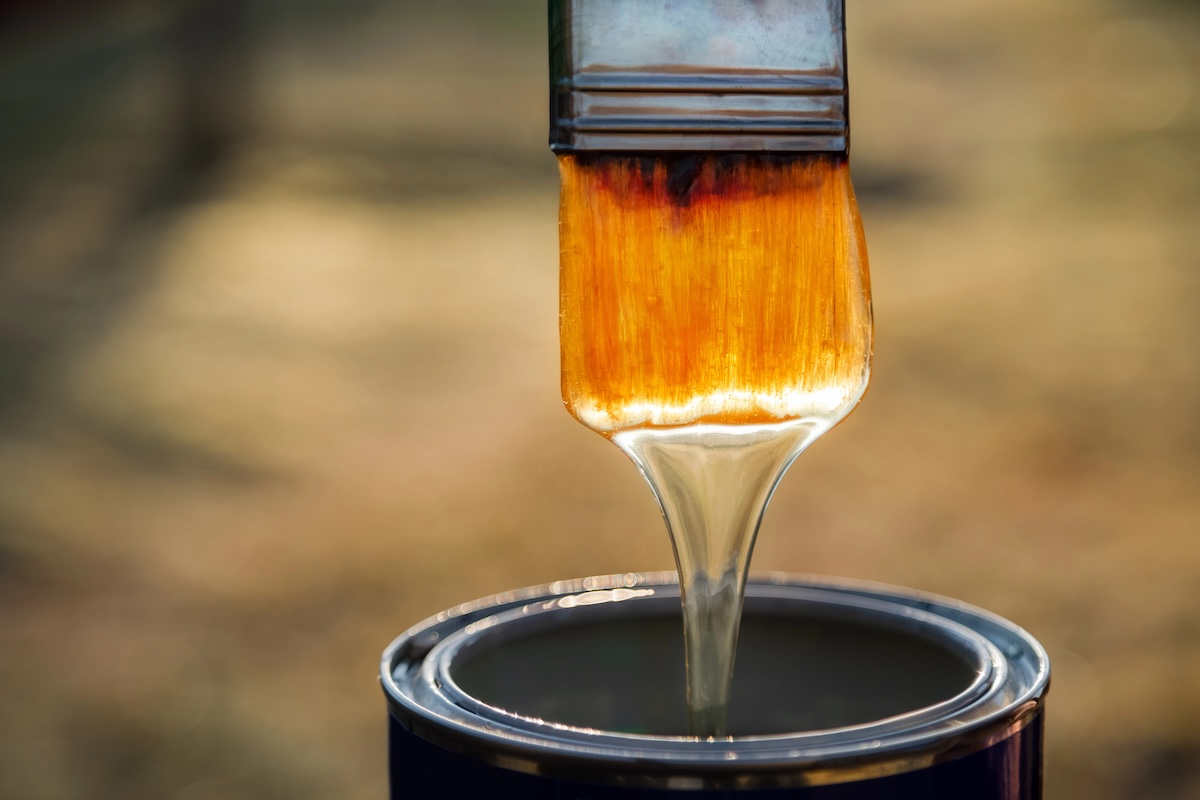
Photo: JaCrispy via Depositphotos

